


How to Make a DIY Christmas Gift Box Out of Tinsel Garlands
Looking to add some holiday flair to your decor? With just a few items from your local dollar or craft store, you can create a DIY Christmas gift box.
This project is not only easy but also incredibly festive. Follow along as we guide you through each step. Let's get started with this DIY oversized Christmas decoration!
This post was transcribed by a member of the Hometalk editorial team from the original HometalkTV episode.
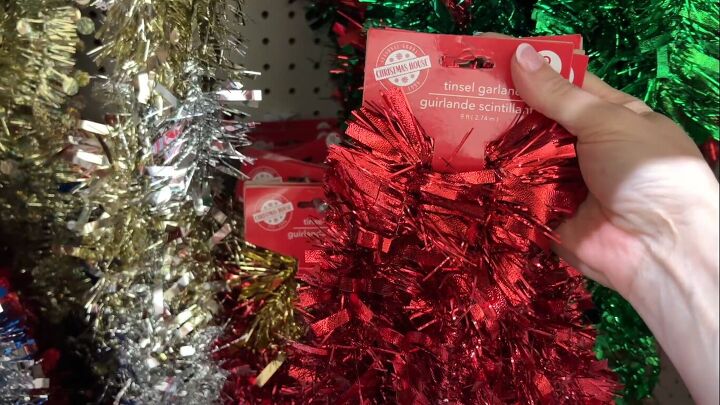
Tools and materials
Hometalk may receive a small affiliate commission from purchases made via Amazon links in this article but at no cost to you.
Steps
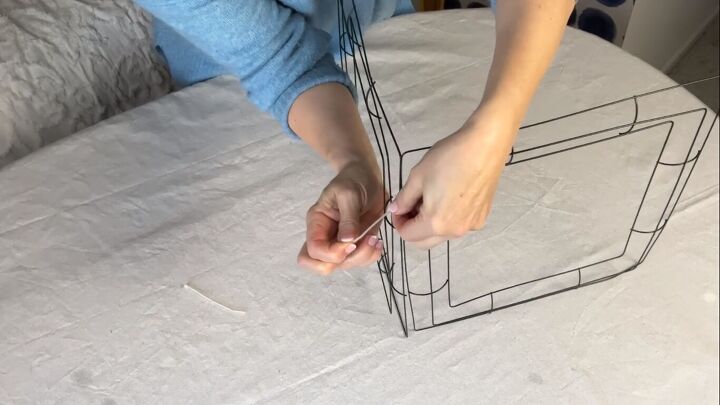
1. Make the box shape
Place two of the square wreath forms on their side to create an upright L shape. Then, using small zip ties, connect one side of each frame to the other. Use two zip ties to create a solid connection for stability.
Add that fourth wreath form with the zip ties so all four wire frames are connected to form a 3D square. Now that you've got one wreath form left, lay it on top to create a box.
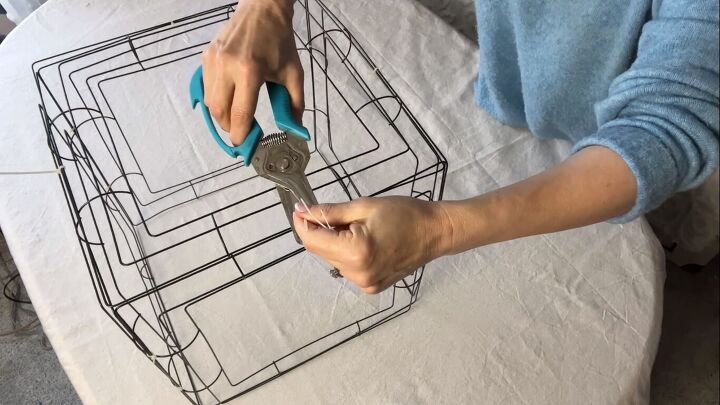
2. Cut off the zip tie ends
Cut off the ends of all the zip ties with some sharp scissors.
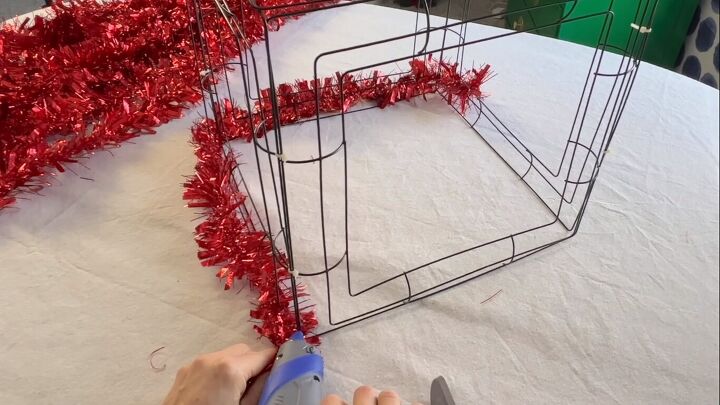
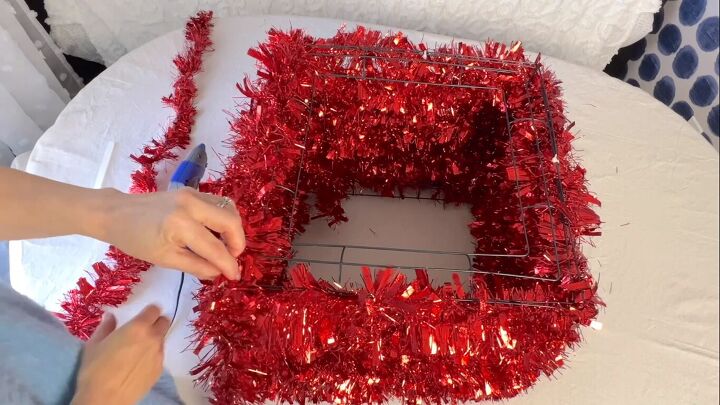
3. Wrap tinsel around the box
It's tinsel time! Take a tinsel garland and hot glue one end of the garland to a corner at the bottom of the wreath frame box. Carefully wind the garland around the bottom of the frame box and continue to wrap, working your way upwards.
Periodically, use a little hot glue to anchor the garland to the box. A little goes a long way. You don't need to go crazy with the hot glue.
When you come to the end of one garland, just start with another garland and continue the wrapping. Hot glue at the beginning of each garland to attach it to the frame.
4. Cover the top of the box
Next, take another garland and start to cover the top. Again, use hot glue to anchor the end of the garland to the edge of the top.
Because you're covering the top of the box frame, you can just weave the garland in and out through the sides of the box frame. I ended up using just two garlands to cover the top of my box.
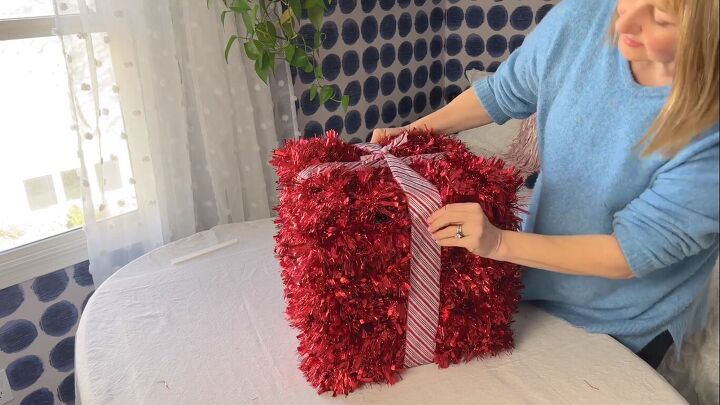
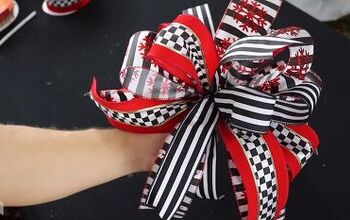
5. Add ribbon
Every wrapped present needs some ribbon and a bow, and this present needs a big bow. I broke it down into three steps.
Wrap the side ribbon
First, the side ribbon. Wrap a long length of wired ribbon around the box and twist underneath before bringing the tails up and over the sides of the box and knotting on top.

Attach bow tails
Second, take another length of wired ribbon and slide through the previously knotted ribbon at the top of the present. Tie in a knot on top and curl the ribbon ends with your hand into a gentle wave for the tails of the bow.
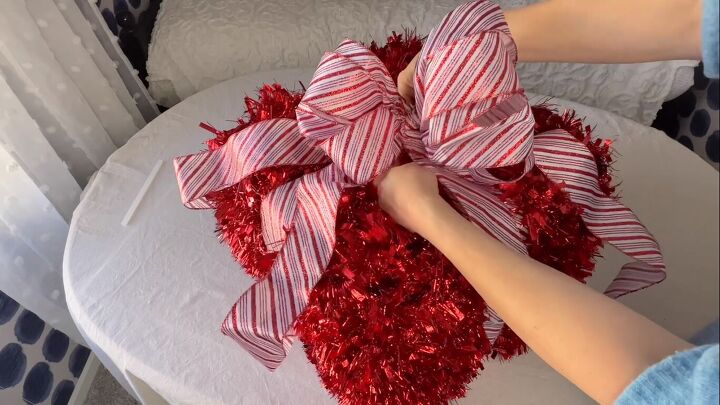
Attach the bow
Last, make the actual big bow. Then, attach the bow to the top of the box by connecting it with florist wire.
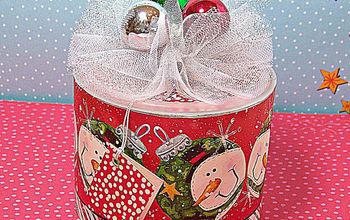
See here for how to make a Christmas bow in 5 different styles.
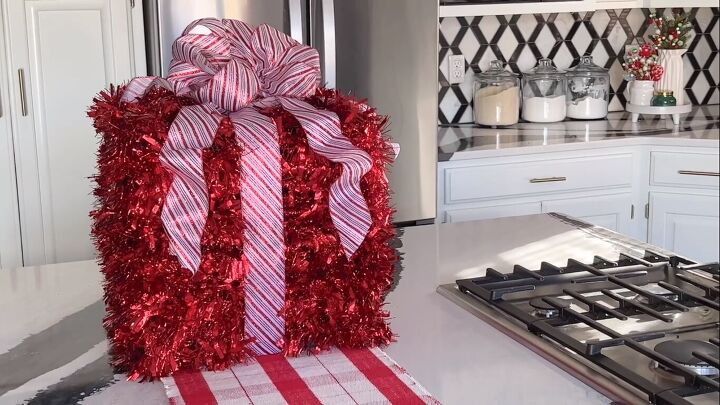
DIY Christmas gift box
There you have it! This project looks great displayed under a Christmas tree or even on a dining table or kitchen island as a spectacular centerpiece.
I hope this inspired you to make your own DIY Christmas gift box. Let me know what you think in the comments below.

Comments
Join the conversation
-
Great idea. Going to copy you👍🏼👍🏼
-
Your beautiful bow really makes this box look special


Frequently asked questions
Have a question about this project?