


Halloween Craft: How to Make a Stunning Mesh Pumpkin Wreath
If you're looking for a hands-on Halloween craft project that's as unique as it is enchanting, you're in the right place.
In this tutorial, I'll walk you through the process of crafting a one-of-a-kind pumpkin wreath that's both eye-catching and budget-friendly.
This post was transcribed by a member of the Hometalk editorial team from the original HometalkTV episode.
Tools and Materials:
- Foam pumpkins
- Spray paint (black, silver, white)
- Pool noodles
- Duct tape
- Hot glue gun
- Deco mesh (black and silver)
- Small black skulls
Hometalk may receive a small affiliate commission from purchases made via Amazon links in this article but at no cost to you.
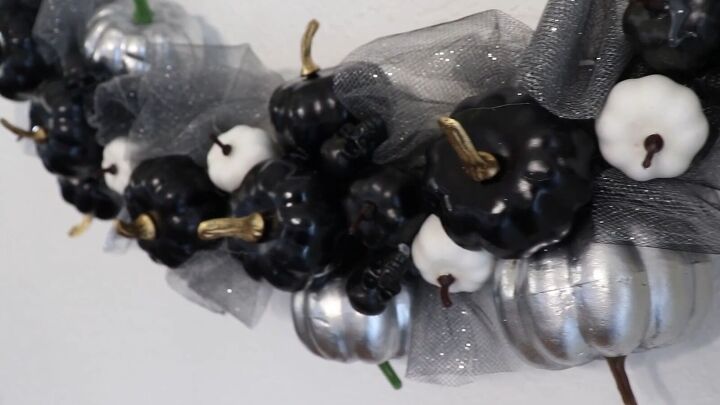
1. Painting the Pumpkins
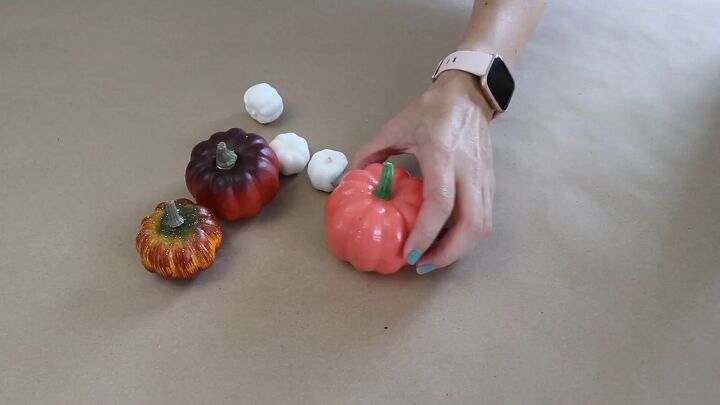
To start your holiday crafting project, grab a bunch of foam pumpkins. The color doesn't matter, we are going to spray paint them.

Remove the stems from the foam pumpkins, we will reattach them when the paint is dry.
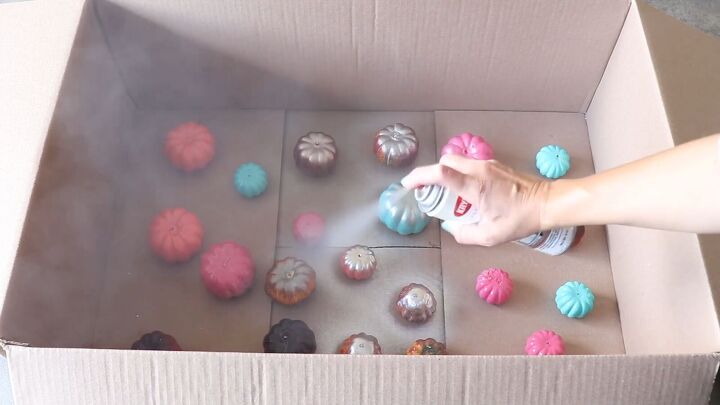
Next, grab some black, silver, and white spray paint. Lay the pumpkins in a box.
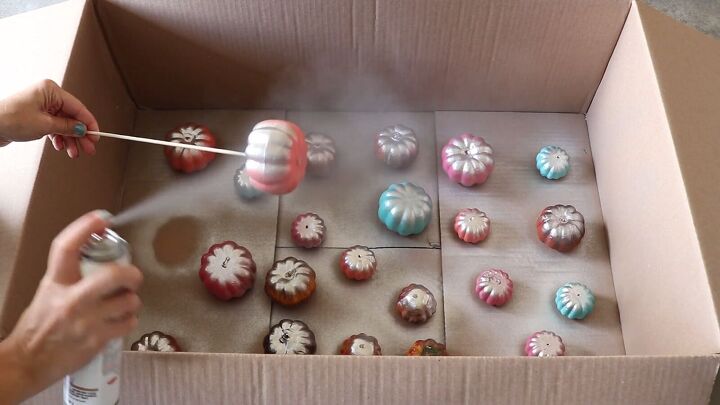
Now, spray paint all the pumpkins in these varying colors.
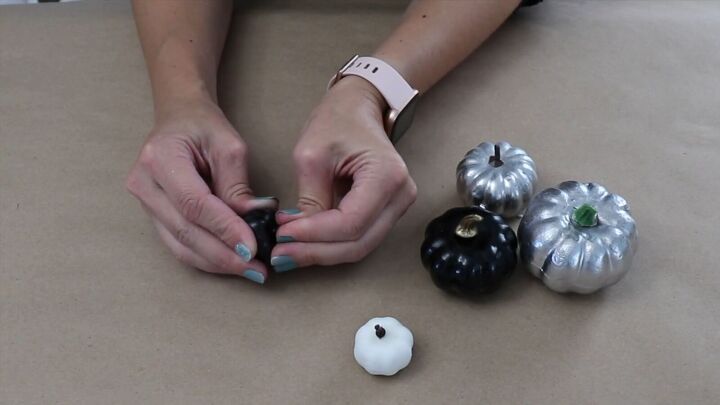
Allow ample time for the paint to dry completely. Once your pumpkins are dry, bring them inside and reattach the stems.

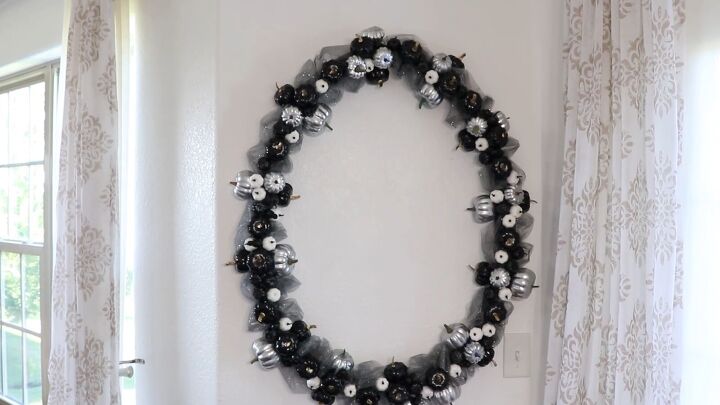
2. Preparing the Base
Now, let's create the base for your DIY pumpkin wreath.
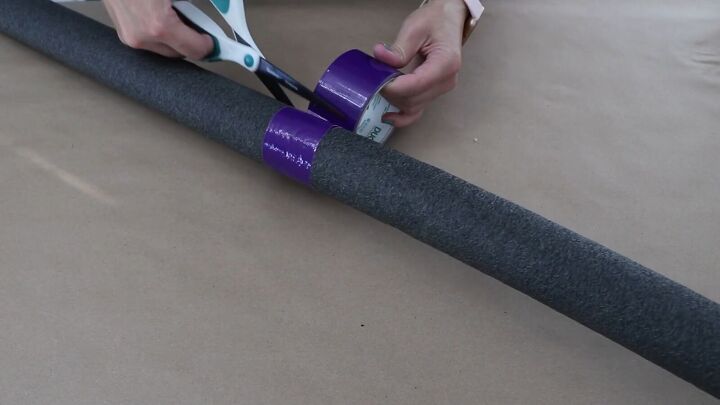
Grab two pool noodles and tape the ends together using duct tape.
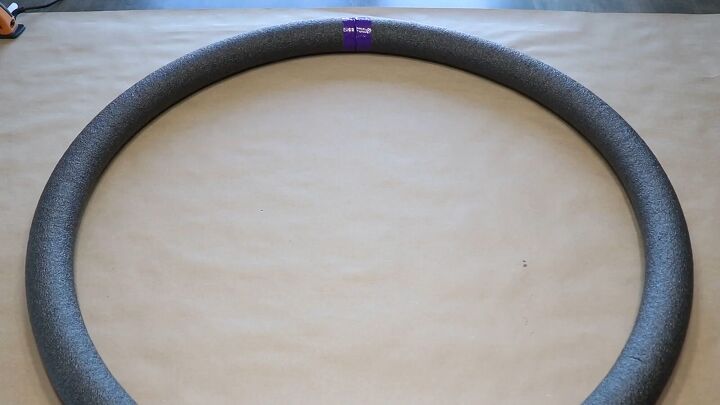
Then, take the other two ends and duct tape those together as well, forming a giant pool noodle wreath form.
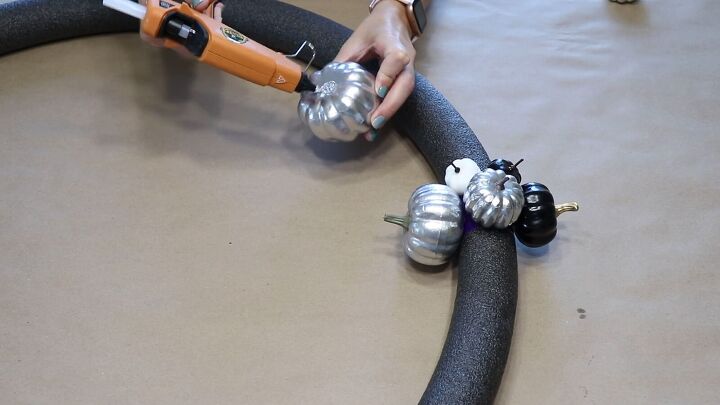
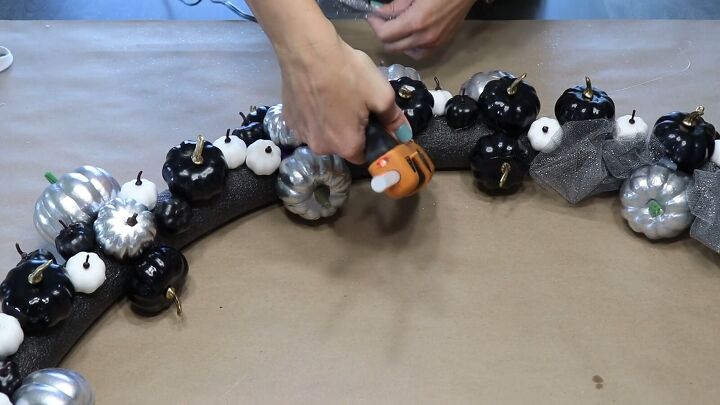
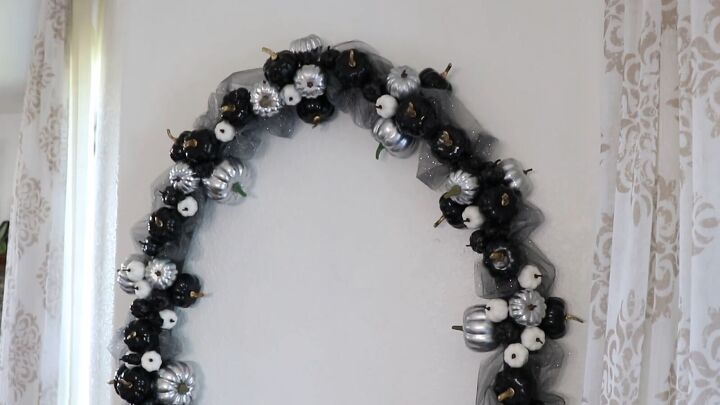
3. Attaching the Pumpkins
It's time to add your painted pumpkins to the wreath base. Start applying the pumpkins with hot glue in clusters around the noodle circle.
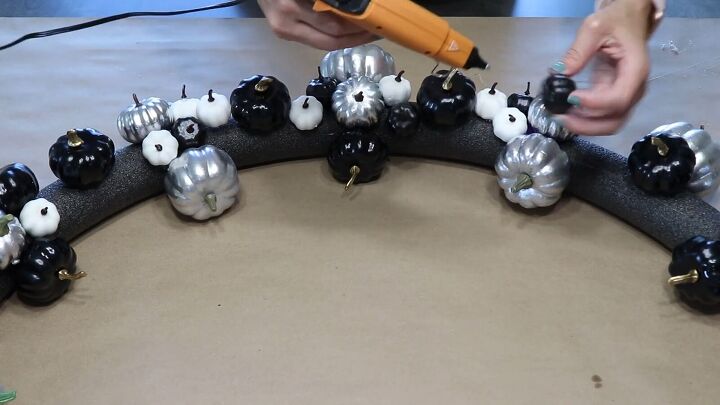
Leave about six inches of space between the clusters. Then carry on filling the areas between the clusters with the pumpkins, making sure to leave spaces for the deco mesh.
Continue this process until you've covered the entire wreath.
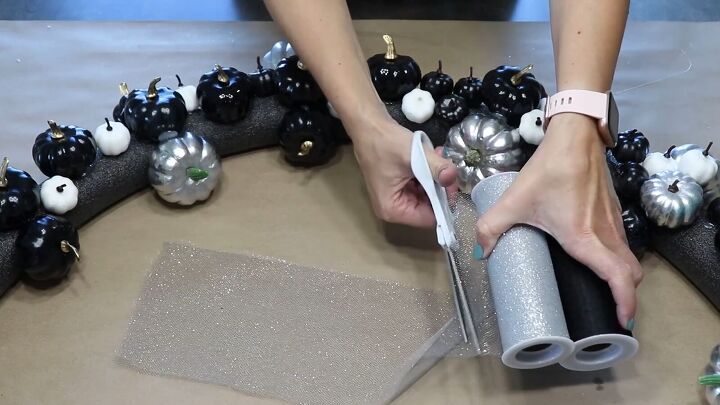
4. Adding Deco Mesh
To add some extra flair to your Halloween project, grab deco mesh in black and silver.
Layer the silver on top of the black, bunching it up to create a textured effect.
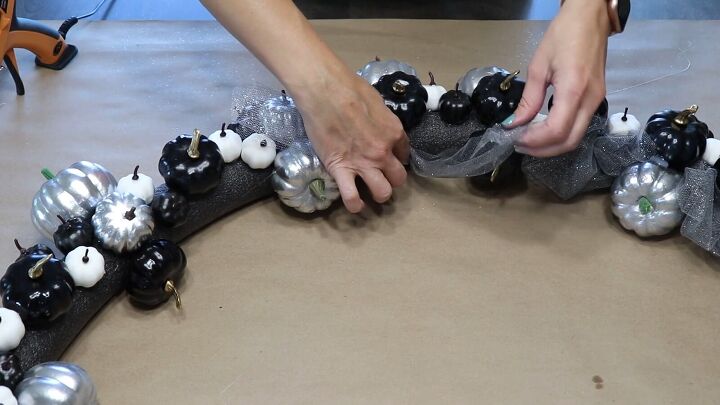
Use hot glue to secure the mesh into the gaps between the pumpkins. This will give your wreath a full look.
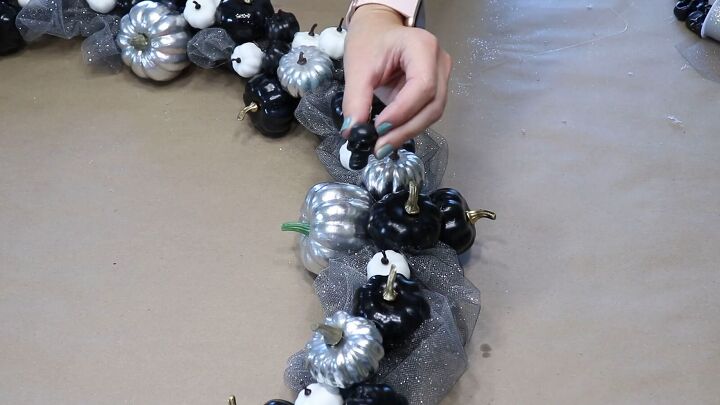
5. Final Touches
For the finishing touches on your pumpkin mesh wreath, attach small black skulls throughout the wreath using hot glue.
More Haunting Halloween Decorating Ideas!
DIY Halloween Pumpkin Wreath Tutorial
Thank you for joining me on this creative journey to craft your very own pumpkin wreath.
Now that you've completed this exciting DIY Halloween project, I invite you to share your thoughts and ideas with our community.
If you have any questions, suggestions, or variations you'd like to share, please don't hesitate to leave a comment.

Comments
Join the conversation
-
So different! I like the addition of the mesh; it really adds an elegance to it


Frequently asked questions
Have a question about this project?