


No Fireplace? Here's How to Make a DIY Stocking Holder Stand

Tired of searching for the perfect spot to hang your Christmas stockings? Look no further! In this project, I'll guide you through building a simple DIY stocking holder stand.
With easy-to-follow steps and readily available materials, you'll have a practical and festive solution for displaying your stockings this holiday season, even if you don't have a fireplace. Let's get started!
For even more ideas, see Hometalk's ultimate guide to DIY Christmas decor here.
This post was transcribed by a member of the Hometalk editorial team from the original HometalkTV episode.
Tools and materials
- Scrap wood
- Corner braces
- Drill
- Screws
- Marker
- Wood glue
- Wood cap for the top
- Primer
- 2-inch tape
- Red acrylic paint
- Foam brush
- Single robe hooks
Hometalk may receive a small affiliate commission from purchases made via Amazon links in this article but at no cost to you.
Steps
1. Build the stand
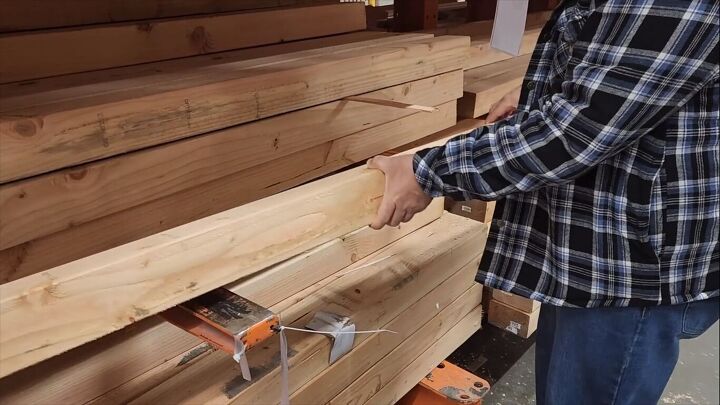
For today's project, let's head down to the local lumberyard. It's time to grab some scrap wood.
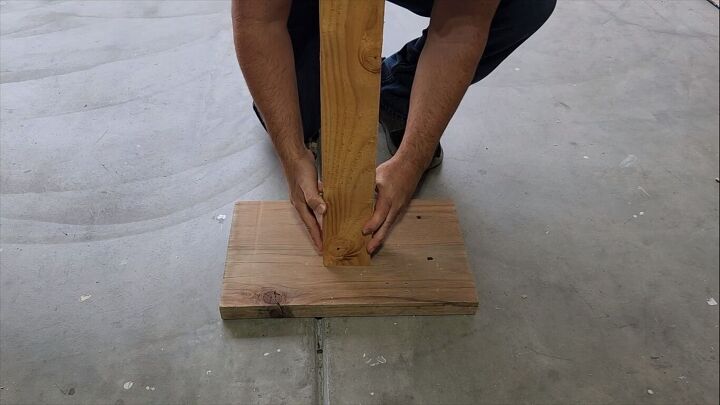
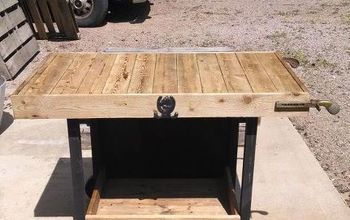
Place the 4x4 on the base
I grabbed a nice big thick board for the base and a 4x4 post. Put it right in the middle, but how do we attach it? Well, I used some corner braces.
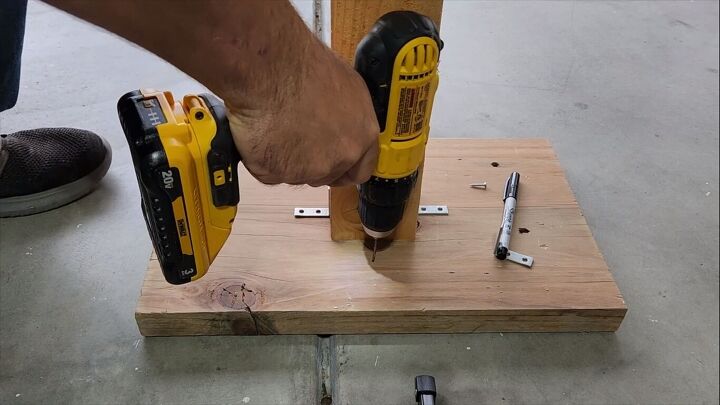
Drill pilot holes
Drill some pilot holes. These will keep the board from splitting when I put the screws in. Just a small little drill bit with a drill will work great.
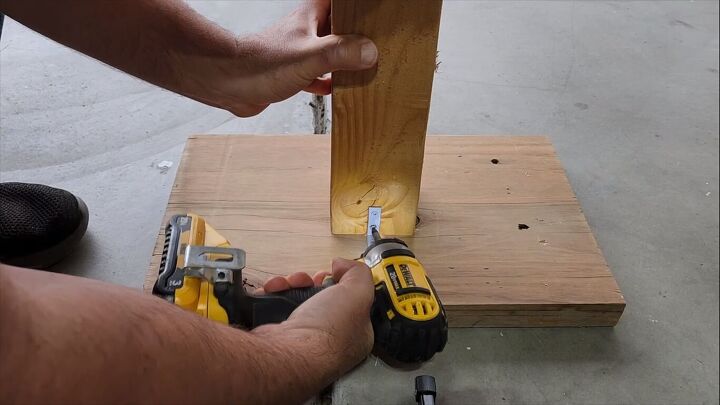
Screw the corner braces in
Slide the post right up, pre-drill it, and install the screws where they need to go. I put one in the front and one in the back, and it's really strong.
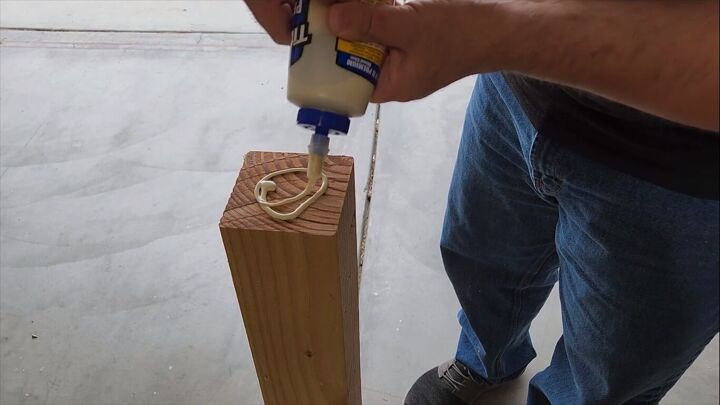
2. Glue the cap to the top
I don't want some bare wood on top, so we're adding a cap. We use glue instead of driving a nail that you can see through the top.
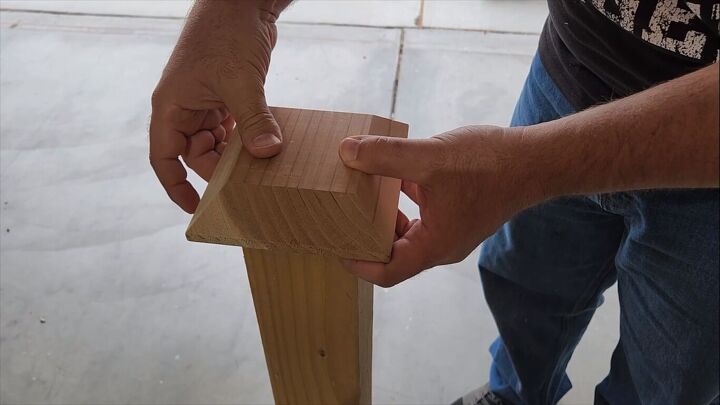
Place it on top, give a little bit of weight on top, and in about 30 minutes, it's solid right on top.
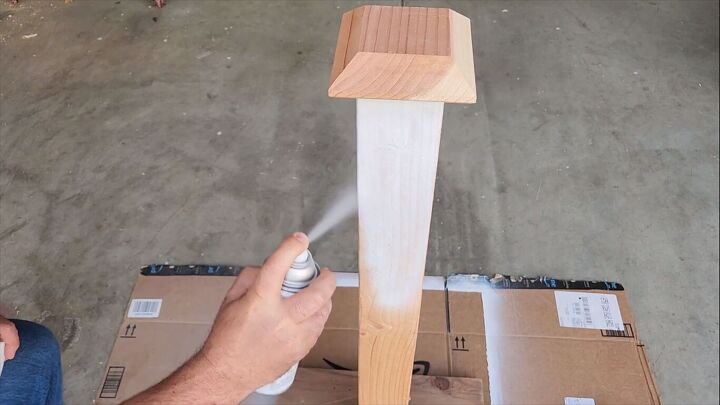
3. Prime and paint the wood
A lot of people like to just go ahead and paint first. I like to prime. It gives the paint something to stick to, and you don't have any peeling later.
So I took the stand outside, put some cardboard underneath, and just primed every bit of wood. It actually looks really good once you get the primer on there.
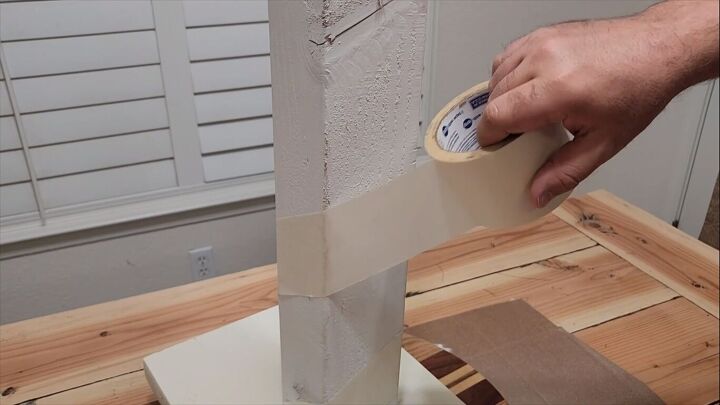
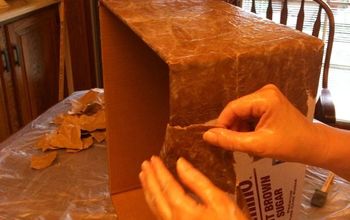
4. Wrap tape around the post
Take some two-inch tape and start wrapping it all around the post at an angle. Just take it all the way up. Take your time. We want this to look good.
Make sure the sides of the tape are sealed, though. We don't want any paint getting underneath.
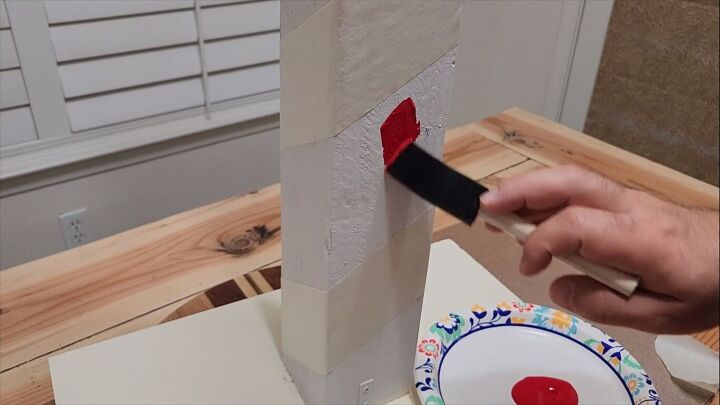
5. Apply red paint
Grab some red paint and foam brush, then start painting. Now, you'll see I don't paint up towards the tape. I paint away from it. I don't want any bleed underneath that tape; I want some nice, crisp lines.
We want to make sure that we get two good coats, but make sure it dries in between the coats.
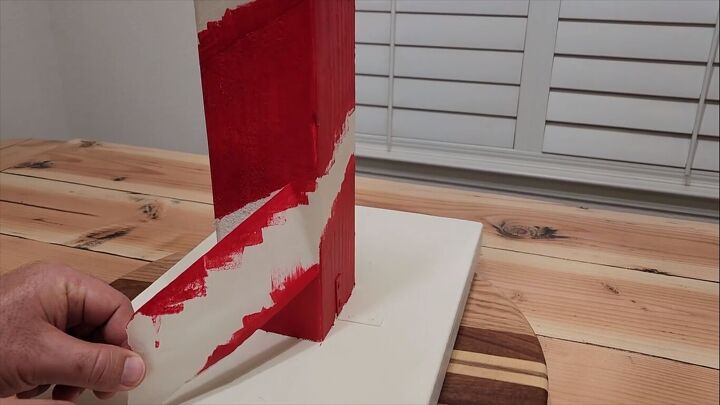
6. Peel the tape off
Once you get those coats on, start peeling that tape off. It's actually kind of fun. I used this swinging board that I made earlier. It gave some nice, crisp lines. I thought it turned out pretty good.
If you need to do some touch-up paint, go ahead and do it.
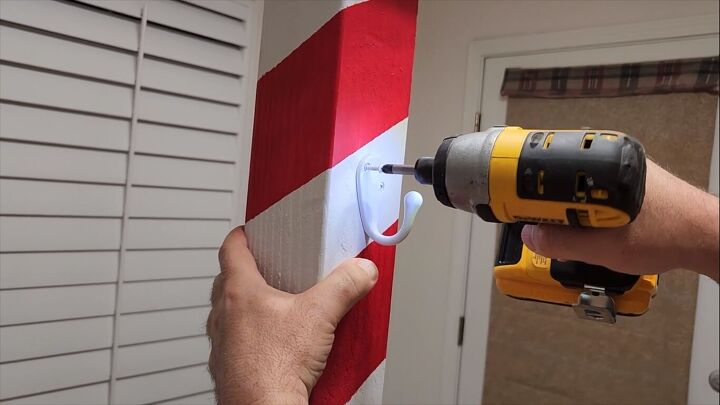
7. Attach the hooks
Now we put some hooks on. I just need three. Again, just like we did with the braces, we're going to mark our holes, pre-drill, and install it. I put these at random spots on the post to hang the stockings.
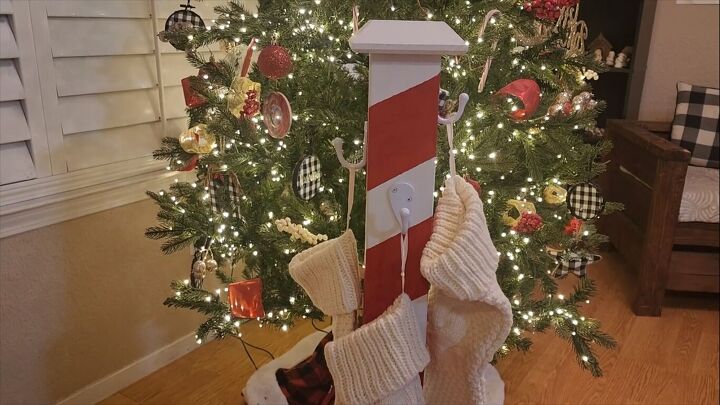
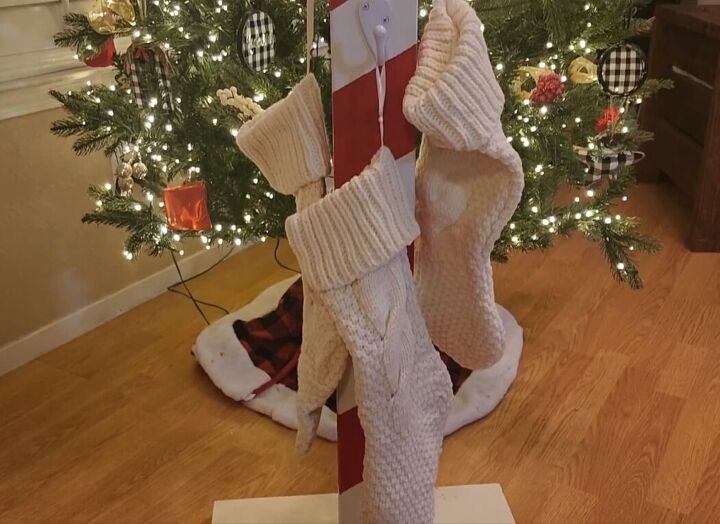
DIY stocking holder stand
Just look at that. It's nice and strong, and it turned out beautiful. A lot of us don't have fireplaces, so this DIY stocking holder stand works great. I hope you enjoyed this DIY stocking stand.
Let me know your thoughts in the comments below.


Frequently asked questions
Have a question about this project?