


Patio Makeover: How We Created an Outdoor Dining Space

In this tutorial, I'll take you through the process of our patio makeover. We turned this beautiful outdoor dining area into a stunning space using affordable materials.
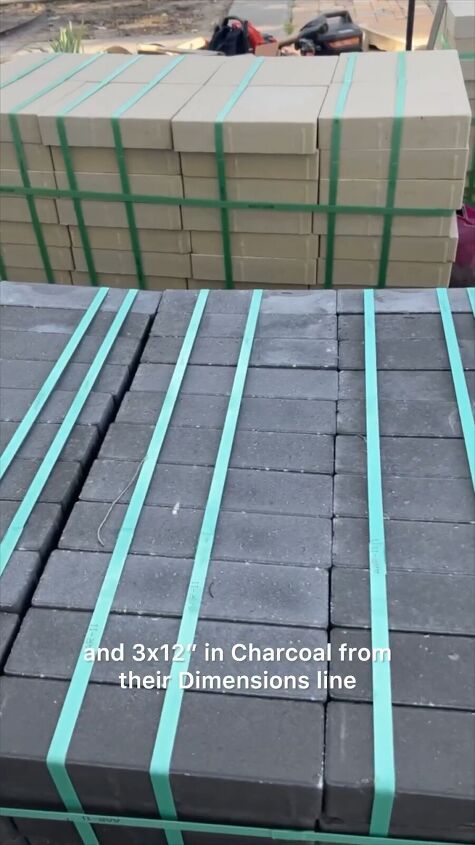
We used Belgard Dimensions Pavers in cream and charcoal for our design but of course, you can customize the colors to match your style.
We enlisted professionals for the installation to ensure precision and efficiency and to bring our patio makeover ideas to life. Here are the basic steps of what we did:
Tools and materials
- Belgard Dimensions Pavers (12-inch x12-inch cream and 3-inch x12-inch charcoal)
- Gray granite rock
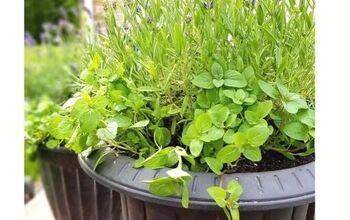
- Areca palms and hibiscus bushes
- Café lights
- Grill
- Weatherproof tables and chairs
- New fence materials
- Landscaping plants and materials
Patio makeover
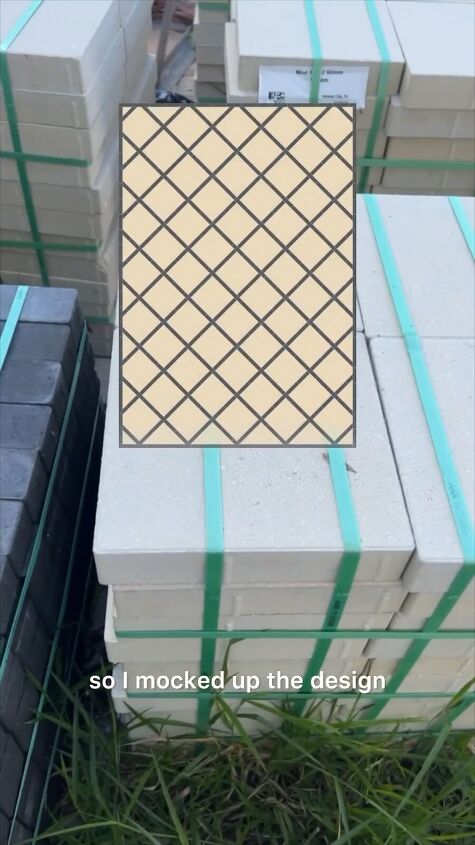
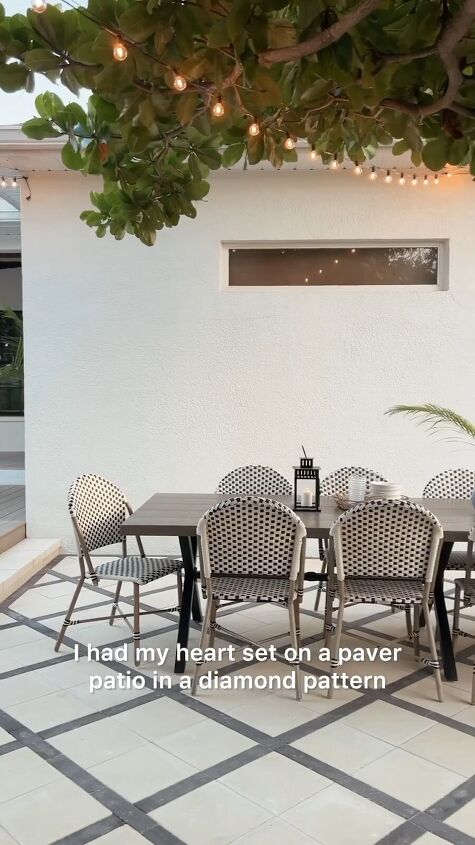
Step 1: Planned and designed
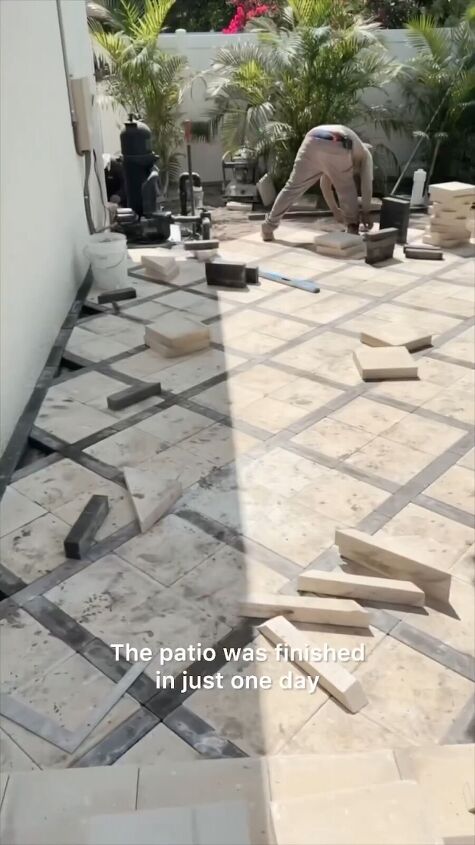
We envisioned the layout of our patio and the diamond pattern we wanted. We used 12x12-inch cream pavers and 3x12-inch charcoal pavers from Belgard's Dimensions line to create a striking contrast.
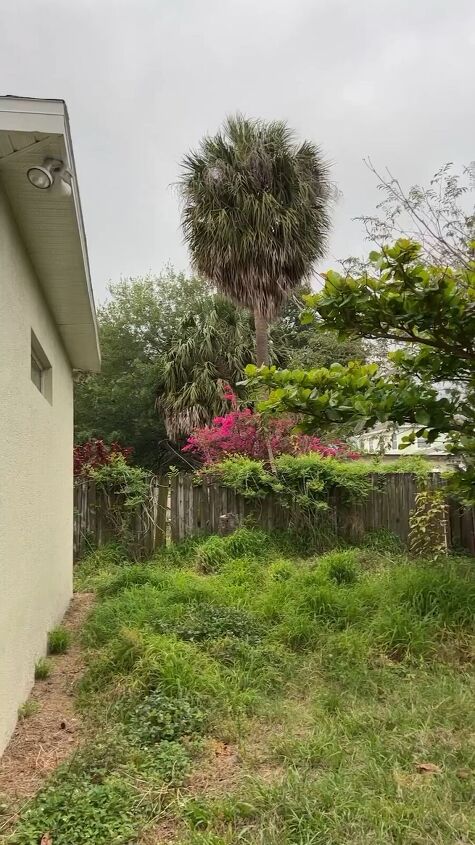
Step 2: Prepared the area
We cleared the space where our patio was going to be installed. We removed any existing grass, weeds, and debris.We leveled the ground and ensured that it was compact and well-drained. This step was crucial for the paver's stability.
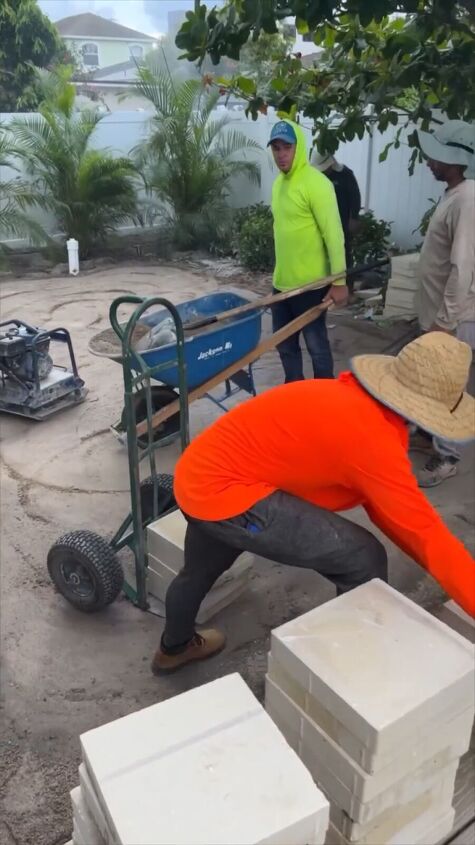
Step 3: Hired professionals
We decided to hire professionals for the installation to ensure a precise and efficient job. Installing pavers can be challenging and labor-intensive, so having a skilled crew made a significant difference.
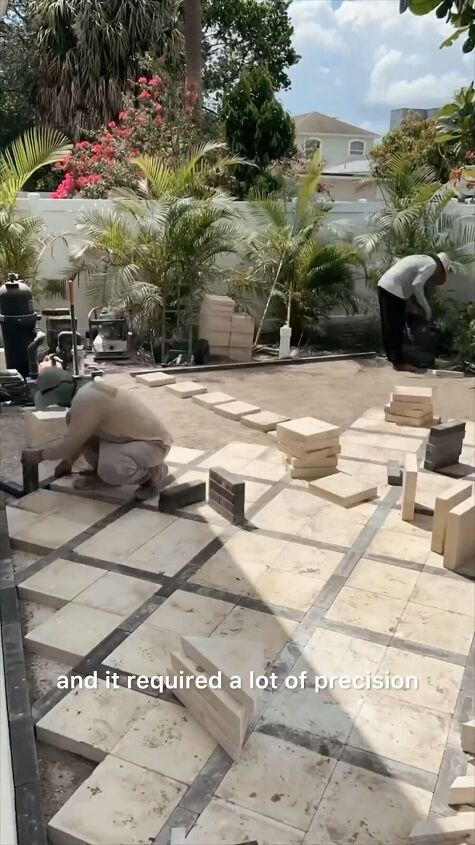
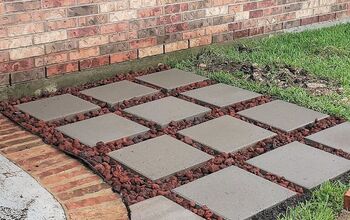
Step 4: Installed the pavers
The installation crew laid the pavers in the diamond pattern we designed. They used the cream and charcoal pavers to create the desired contrast. The precise placement and alignment of each paver was critical for a polished finish.
Step 5: Added the perimeter
To give our patio a finished look, we lined the perimeter with gray granite rock. This not only added visual appeal but also helped secure the pavers in place.
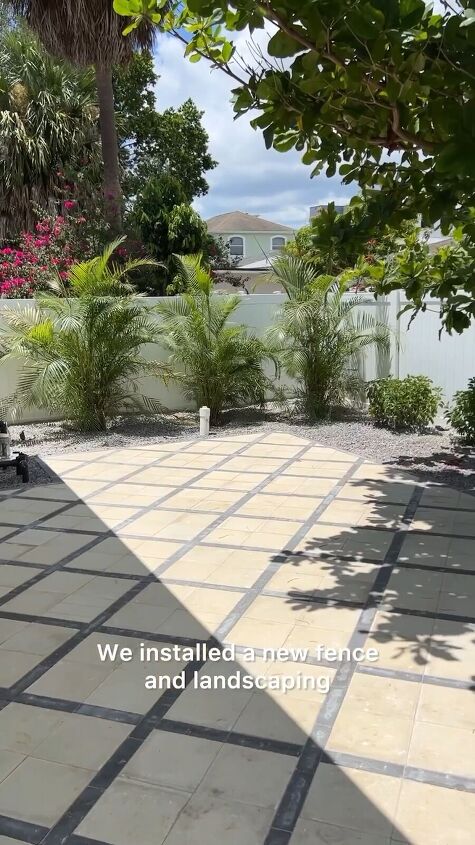
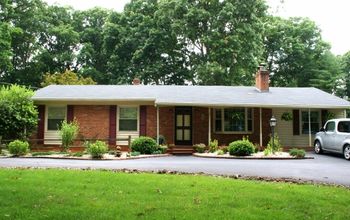
Step 6: Put up a fence and landscaped
We installed a new fence to define the space and provide privacy. Then we planted areca palms and hibiscus bushes around the perimeter to enhance the ambiance and provide natural separation from the surroundings.
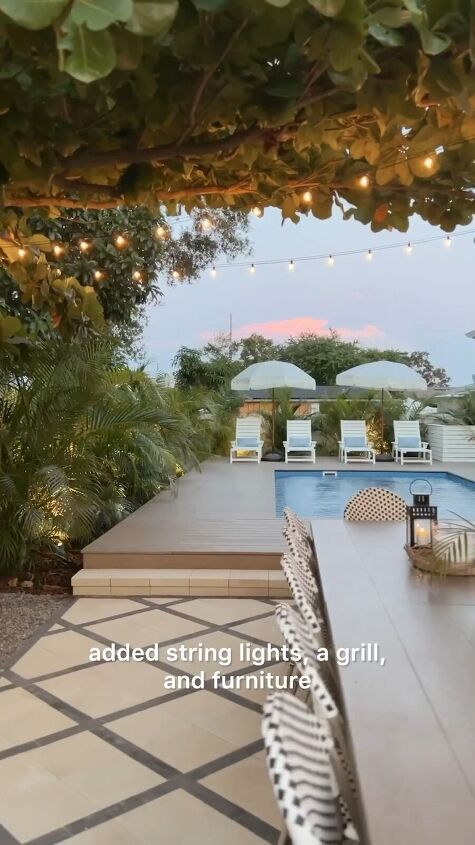
Step 7: Added lighting and furnished for ambiance
We strung café lights overhead to create a cozy and inviting atmosphere for our outdoor dining area. We brought in a grill and budget-friendly, weather-proof tables and chairs to complete the patio.

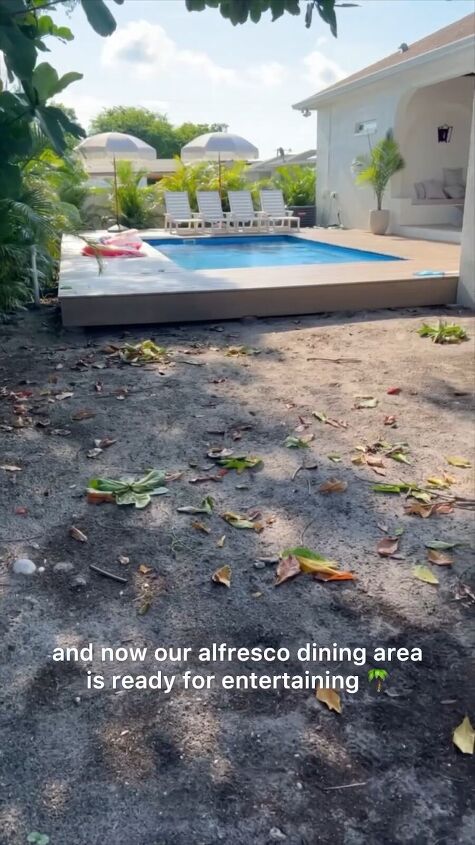
Patio makeover
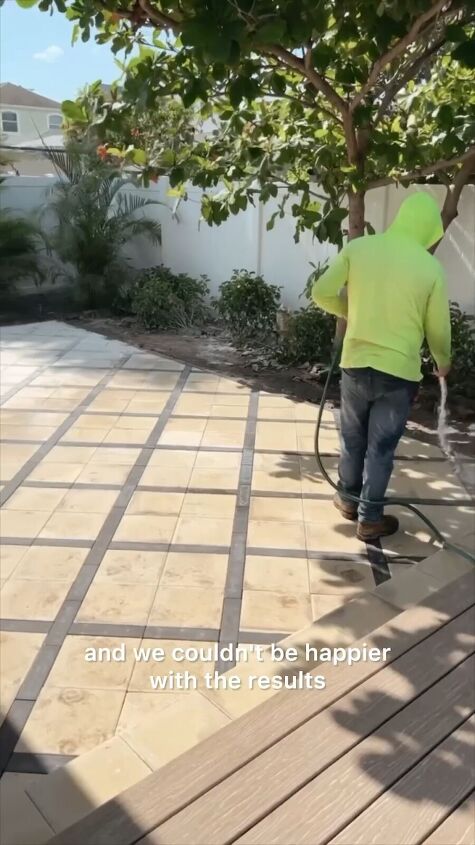
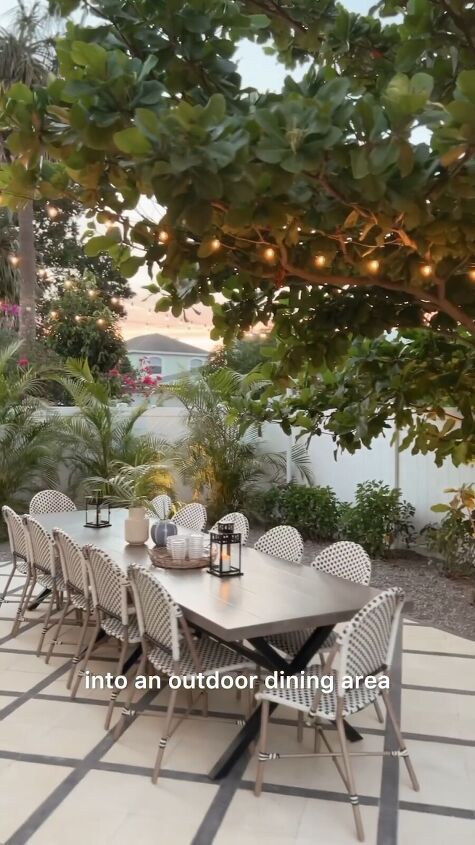
Now we enjoy our alfresco dining area with everything in place. We’ve achieved a high-end look using affordable materials and professional installation.
By choosing the right pavers and hiring professionals for installation, our patio makeover turned into a beautiful and functional alfresco dining area. Let us know what you think of these patio makeover ideas in the comments!
Follow @jennasuedesign on Instagram for DIY ideas.
Comments
Join the conversation
-
This paver patio is just beautiful!! It’s too bad you covered up a good portion of it with that big table. (Unless you were planning a party!) A smaller table and maybe some planters, would really make your patio stand out
-
Love it!


Frequently asked questions
Have a question about this project?