


How to Do a '70s Old Kitchen Cabinets Makeover on a Budget

Love the ‘70s, but hate those ‘70s kitchens? Then you’re going to love this ‘70s old kitchen cabinets makeover. Today, we’re giving my friend’s kitchen a much-needed facelift.
I’m going to show you how to put contact paper on cabinets as well as other budget-friendly ways to makeover a kitchen, even if you’re only renting.
Tools and materials:
- Cleaning materials
- Painter’s tape
- Pen and pencil
- Electric screwdriver
- Degreaser (optional)
- Gold spray paint
- Gloss spray
- Cardboard boxes
- Level
- Paint and painting tools
- Cabinet hole jig
- Drill with 3/16” bit
- Cabinet and draw handles
- Drywall anchors
- Shelf wood
- Brackets
- X-ACTO knife
- Contact paper
- 5-way paint tool
- Scissors
- Peel-and-stick floor tiles
- Scraper
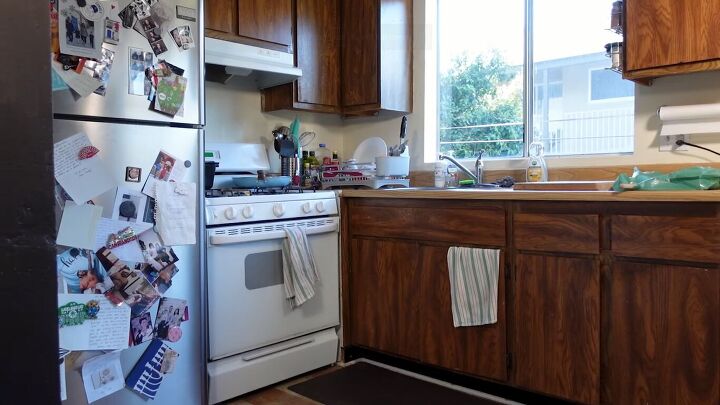
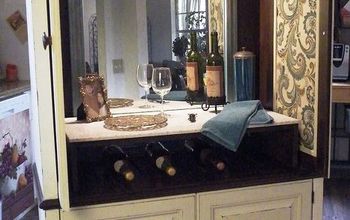
This kitchen has a common problem in that it’s disgusting. Hideous. Horrifying. (My friend’s own words.) We’re talking brown floors and brown wood laminate cabinets. It feels so cramped. We need to lighten and brighten the whole area.
1. Prep
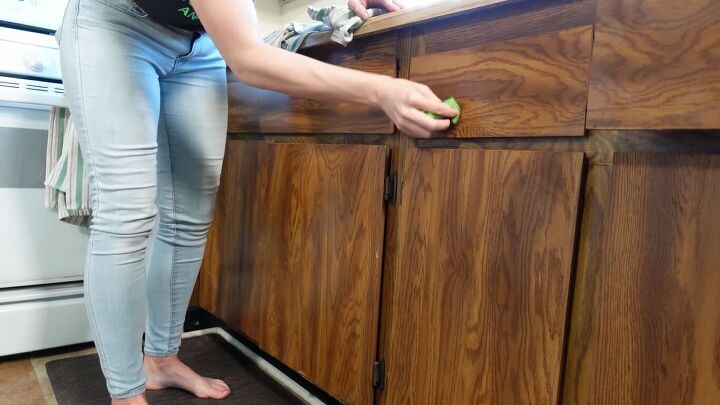
Wipe everything down and take the doors off the hinges.
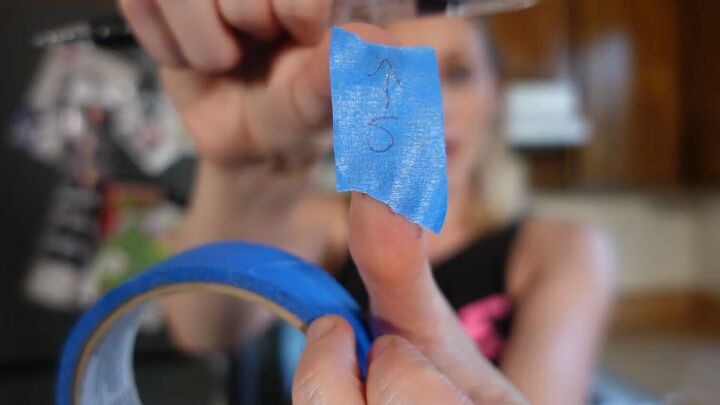
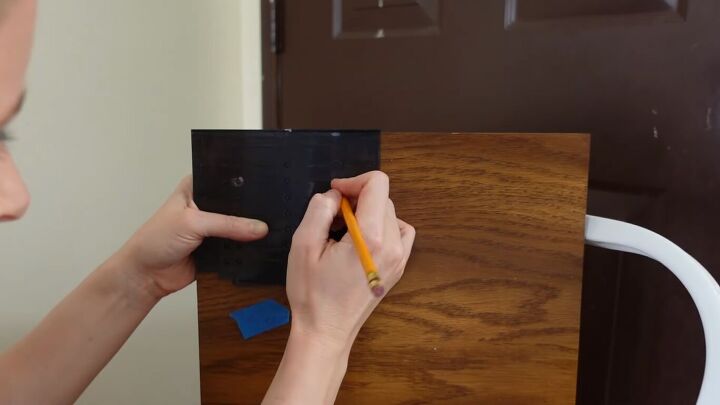
To keep track of the cabinet doors, I’m writing a number on each cabinet and the direction up that it should go.
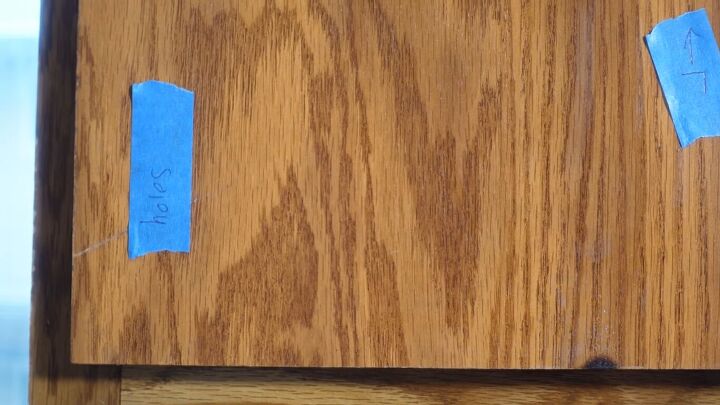
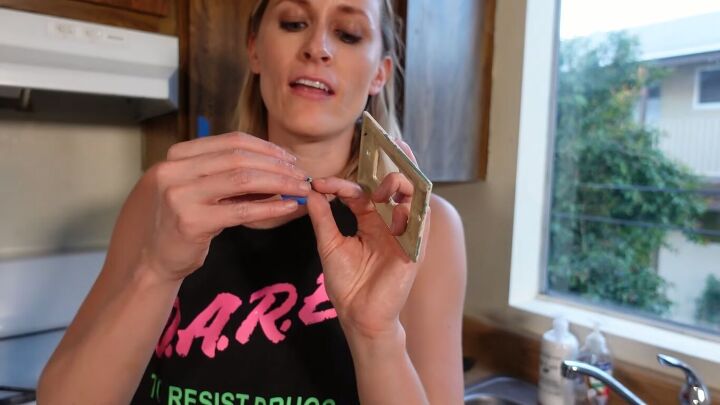
We’ll also be adding hardware to the cabinets, so I stuck a piece of painter’s tape where the drilled holes will be.
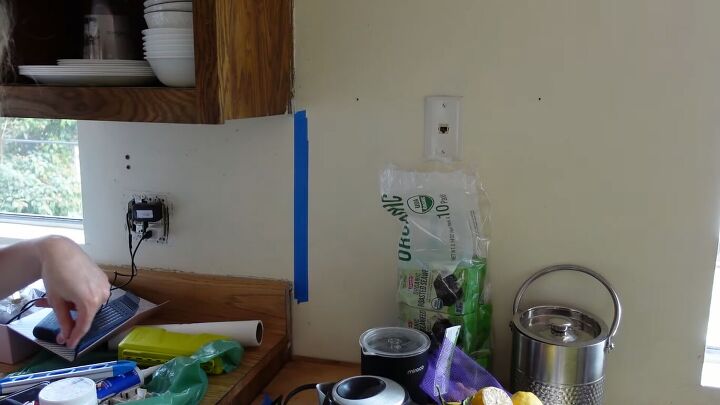
To prep the walls for paint, I’m removing the outlets. One trick is to stick the screws to the back of the outlet so you don’t lose them.
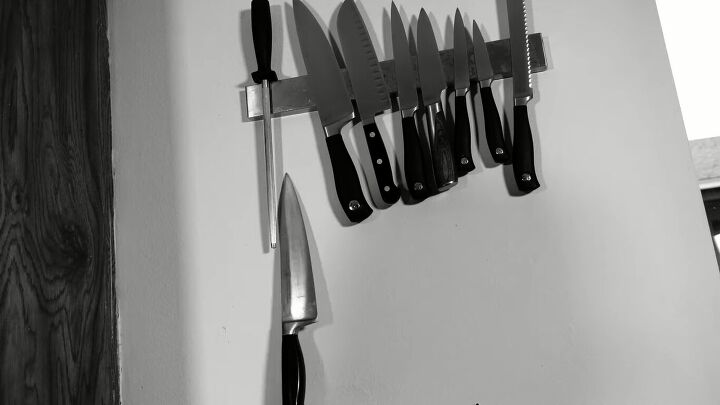
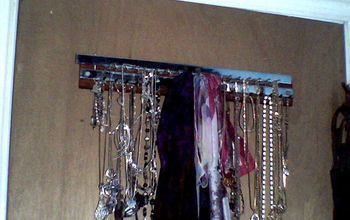
I also removed this magnet knife holder because my friend’s flatmate is quite short, so she struggles to reach it.
2. Paint the hardware
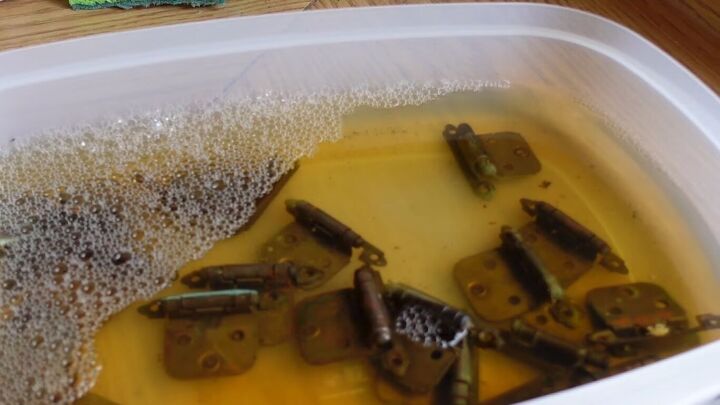
First, clean the hardware.

Then, spray-paint the hardware gold.
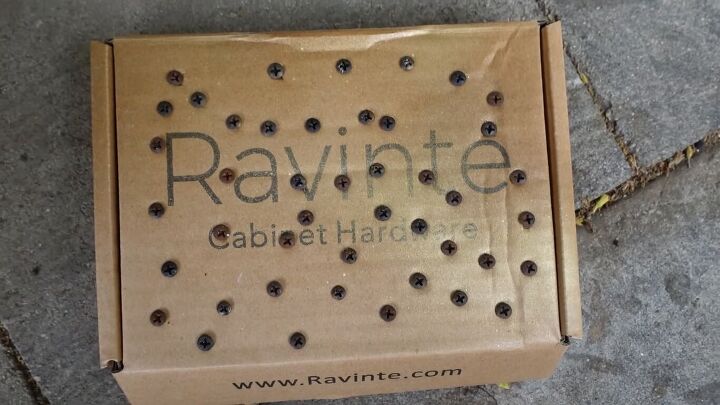
For the screws, only the tops will be showing, so poke them into a box and spray-paint the tops.
Finish the paint with semi-gloss.
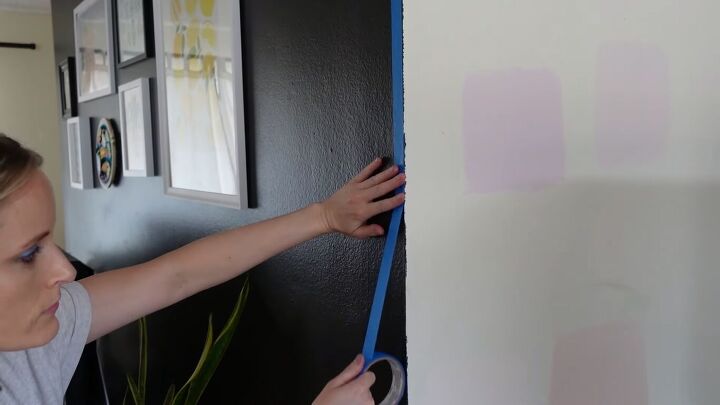
3. Paint the walls
Apply painter’s tape to the edges for clean lines.
I also used a level to get a straight line for where the paint will end.
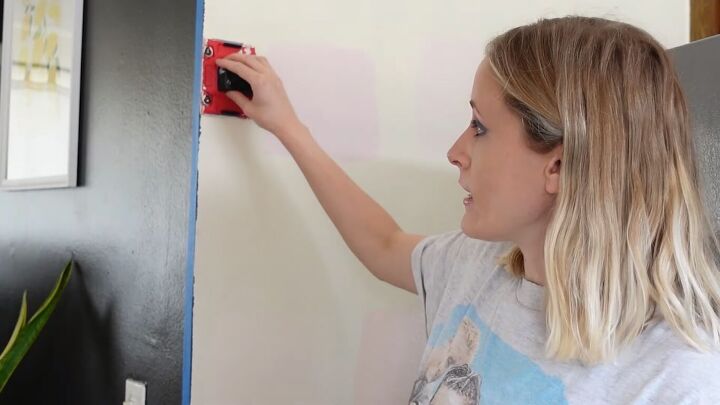
When you paint a room, you need to cut in first, which means you do the outer edges and the corners before the middle. I like to use this square painting tool, which perfectly cuts corners.
We’re going with Flamingo Peach by Glidden. It looks more orange in the tray, but pinker on the walls. Always swatch your paint first.
4. Drill holes for the new hardware
I’m using this nifty cabinet hole jig tool, which helps measure the drill holes accurately.
Tip: whenever you’re doing a project like this, start with the piece or area that is least visible. Here, I’m using the top cabinet door by the fridge. So, if I make a mistake, it’s hidden in the shadows.
I ended up mismeasuring the handle holes because they had an overhang, so I drilled the holes further in instead. The contact paper will cover the lower holes anyway.
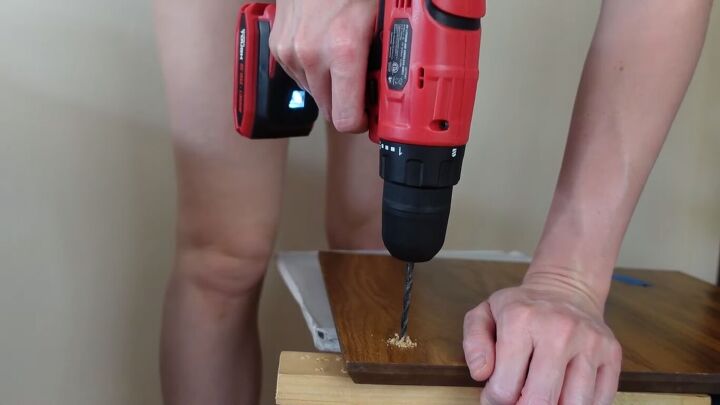
Use your 3/16” bit to drill holes for the cabinet hardware. Most cabinets require a 3/16” hole.

5. Reattach the knife magnet
We’re using drywall anchors to reattach the knife magnet as regular screws would just fall out of the drywall.
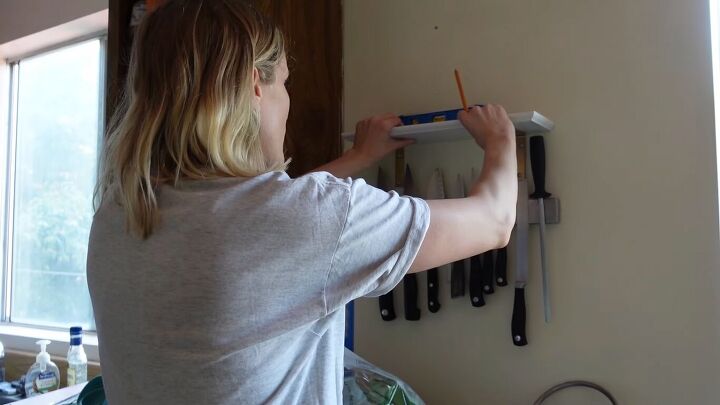
Once the knife rack was in place, I also added a shelf above it made from white-painted wood and cheap brackets that I spray-painted gold.
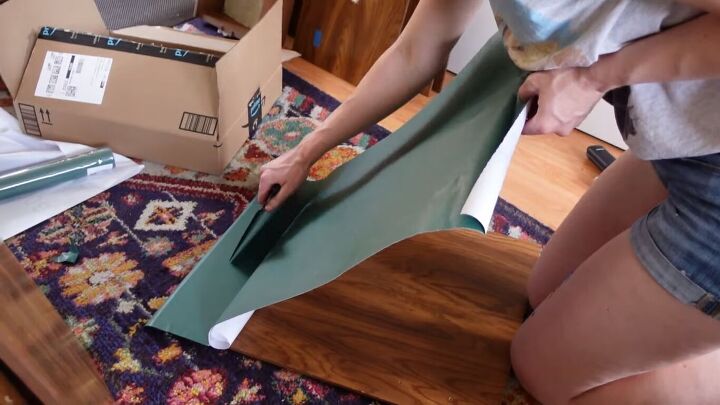
6. Apply contact paper to the cabinet doors
Peel-and-stick contact paper for cabinets is a great, renter-friendly solution to making over your kitchen. We’re using white for the top cabinets and dark green for the bottom, to make the space feel bigger and brighter.
These cabinets are flat, so they’re easy to DIY. If your cabinets have cut-outs or wooden carvings, follow this hack for how to cut poster board to size and cover it with contact paper.
Tip: contact paper is usually printed to order. So, if you run out and order again, the color match may not be exact. It’s always best to over-order, just in case.
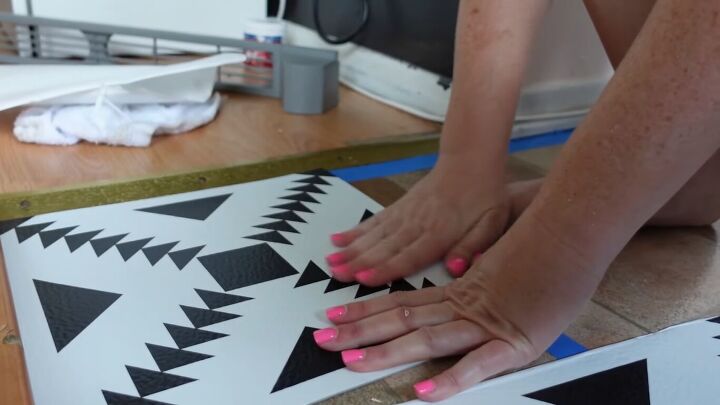
How to apply contact paper to cabinets
Measure and cut your contact paper to size. Don’t peel off all the backing in one go. Peel an inch at a time, peeling the backing under it, keeping that as a guide. Stick the top edge in place and use a scraping tool to prevent creases and bubbles.
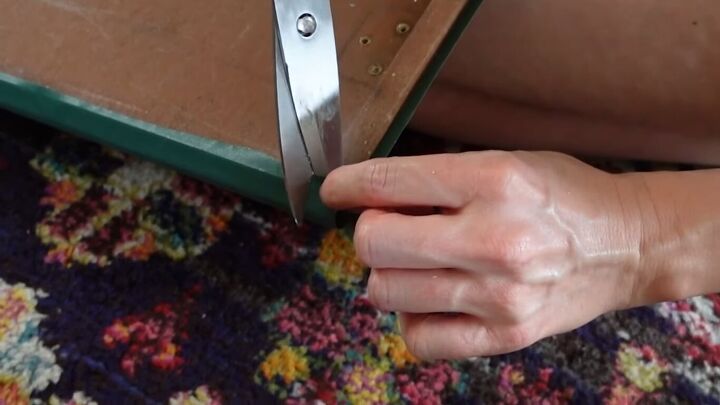
For the edges, cut in and out to the side, then fold over.
Tip: tie your hair back. It will get stuck to the contact paper.
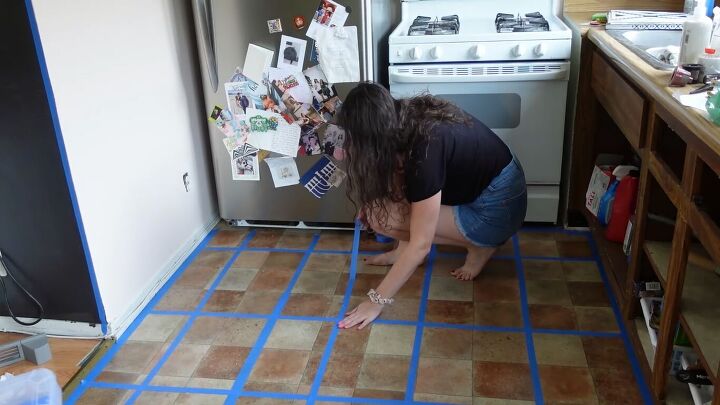
7. Apply peel-and-stick floor tiles
Peel-and-stick floor tiles are great, but they have a strong adhesive, so they can be difficult to peel off. So, if you’re in a rental, apply painter’s tape in a grid under the tiles. This will help with the removal process.
Peel the backing off and stick the tiles down side by side.
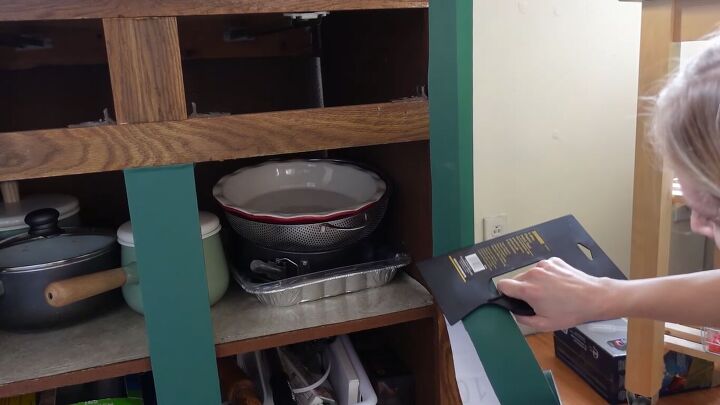
8. Apply contact paper to the rest of the cabinets
Cut the pieces to size and apply them using the same method. Use your X-ACTO knife to trim the edges if needed.
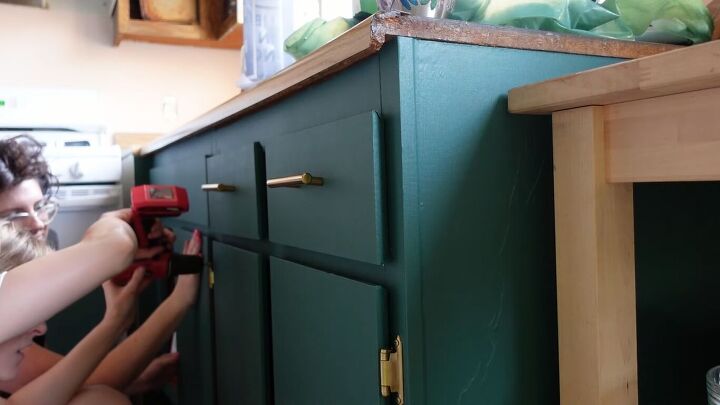
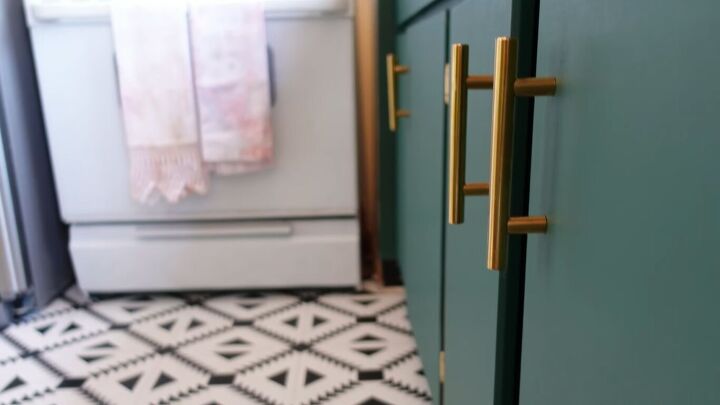
9. Add the hardware
Finally, add the hardware. Screw the new handles in place and reattach the cabinet doors with the hinges.
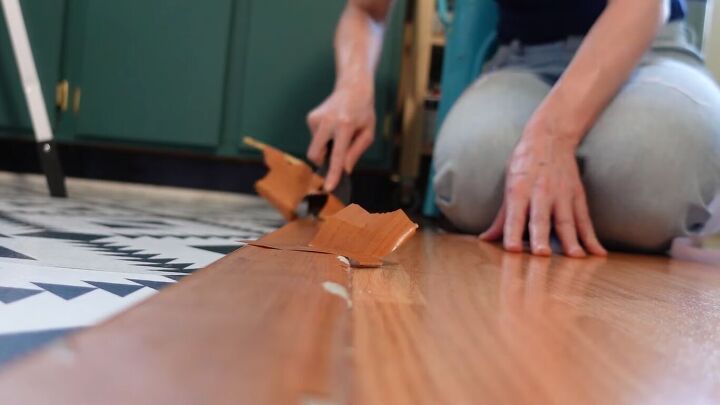
10. Apply contact paper to the floor border
Last but not least, we scraped the surface off the floor border and covered it with—guess what—contact paper.
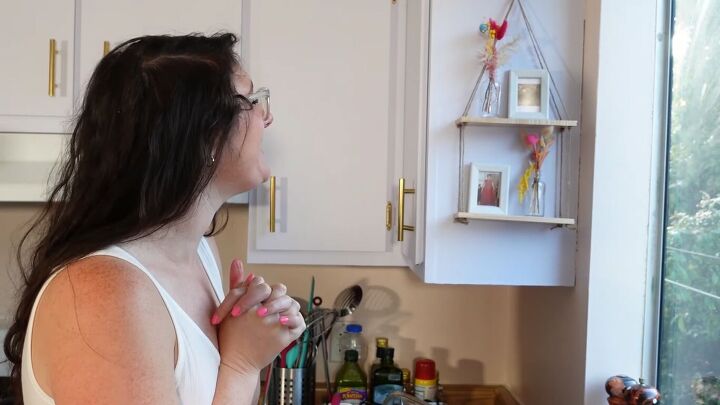
Bonus: personal touches
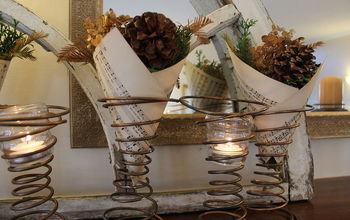
As a final surprise for my friend, I made this small rope shelf, hung it from a cabinet, and added some photos of loved ones who have recently passed on and some dried flowers.
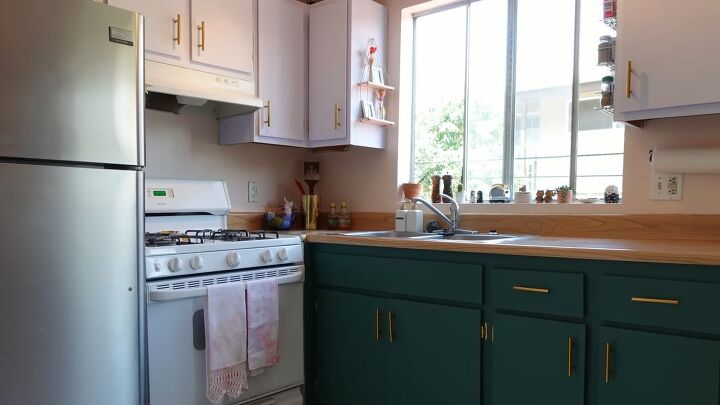
‘70s old kitchen cabinets makeover
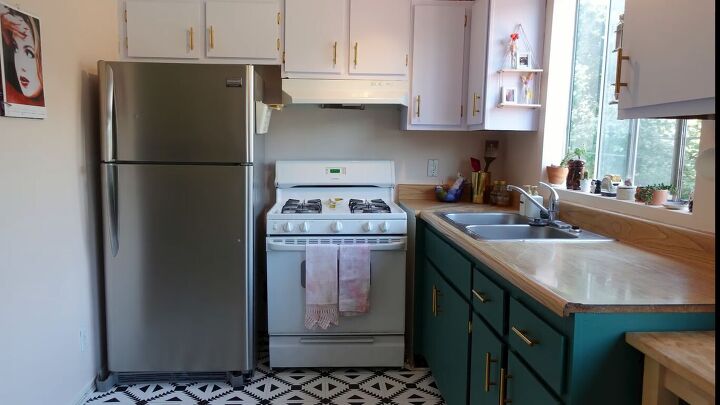
Here’s the final kitchen makeover reveal! The space looks much more modern, light, and spacious. And there were only a few DIY meltdowns in the process.
But wait, how much did it cost? For the handles ($24), contact paper ($45), paint ($30), and tiles ($51), the total came to just $149.
Let me know your thoughts on this 70's old kitchen cabinets makeover in the comments below.
Resources for this project:
See all materials


Comments
Join the conversation
-
I Want to do something with my kitchen cabinets. They are very dark and matches the wood in the rest of the house. There are grooves in all the doors. I own so i can do what I want but I also want it attractive enough that when the inevitable happens it will be a plus for the sale of the house. “I’m 78” so I think about these things. I like what you did with yours.
-
Love the color you chose. I put peel and stick vinyl wallpaper on my countertop in the bathroom and also covered my refrigerator with peel and stick. It works just great and it's so easy to wipe off. Thank you for showing us what you did❤️


Frequently asked questions
Have a question about this project?
Did you cover the whole cabinet or just the front ??
I love the color. In fact, I’m considering painting my cabinets around the same thing.
Did you move the fridge and stove for the floor tiles? Or just do the peel and stick till around the bases?