


How to Create a Modern & Stylish DIY Slat Wall, Step by Step

In this step-by-step tutorial, we'll guide you through creating a stylish and functional DIY slat wall. Slat walls are a fantastic way to add character to any space.
We'll be using 1-inch wood slats cut from half-inch birch plywood to achieve a modern and trendy look. To complement the slats, we'll install linen peel and print wallpaper on either side and give it a chic touch by painting it black.
Follow along as we take you through the process of building this impressive slat wall with easy-to-follow instructions and a list of materials you'll need to get started.
Tools and materials
- Half-inch birch plywood
- Linen peel-and-stick wallpaper
- Black paint
- ⅛ inch MDF sheets
- Primer
- Wood glue
- Pin nails
Steps
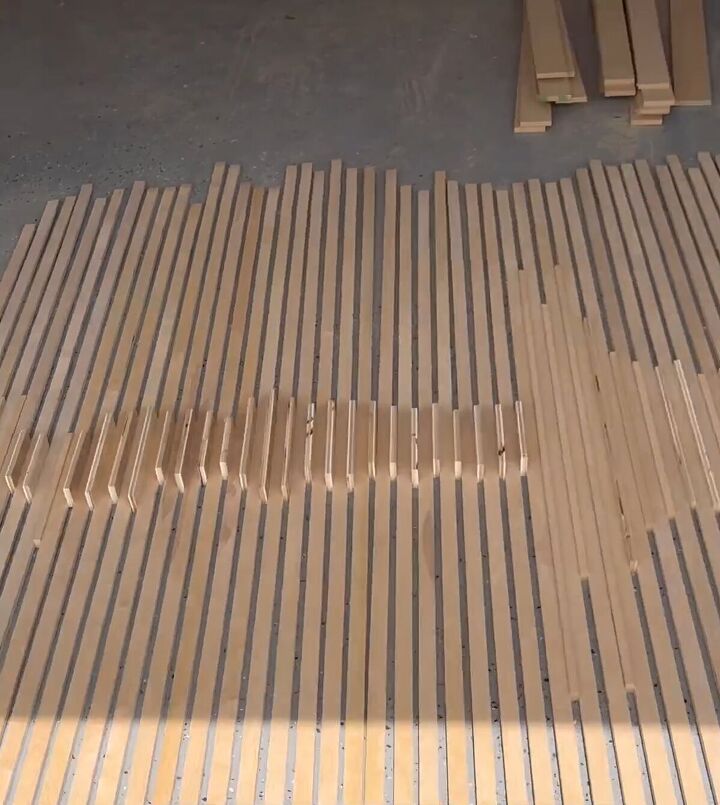
1. Cut the Wood Slats
Using the half-inch birch plywood, cut 1-inch wide slats using a saw. Ensure that the edges are smooth and straight for a clean finish.
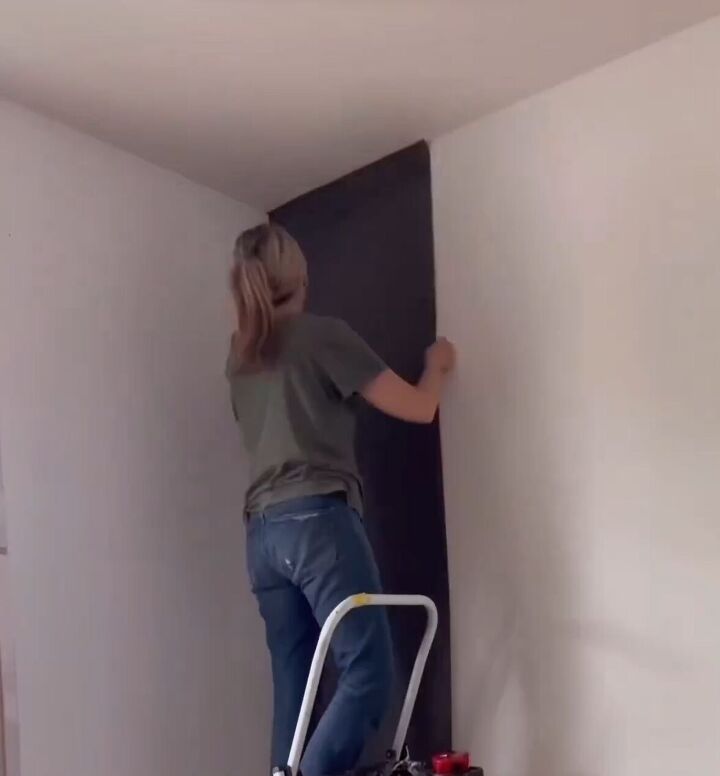
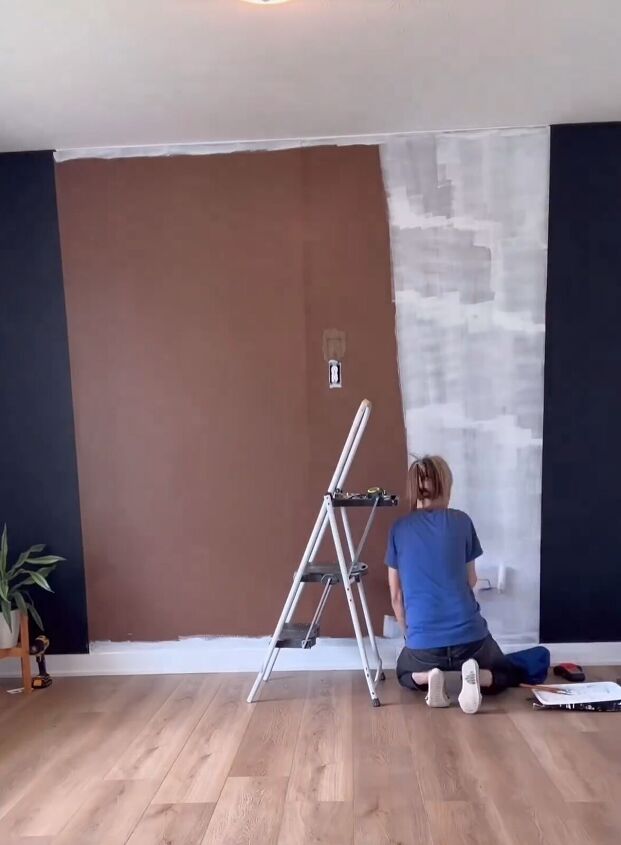
2. Apply Wallpaper and Paint
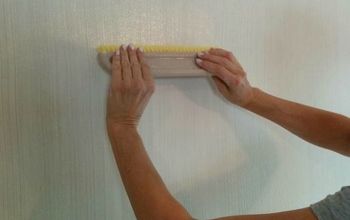
On the areas where the slats will go, put up the linen peel and print wallpaper.
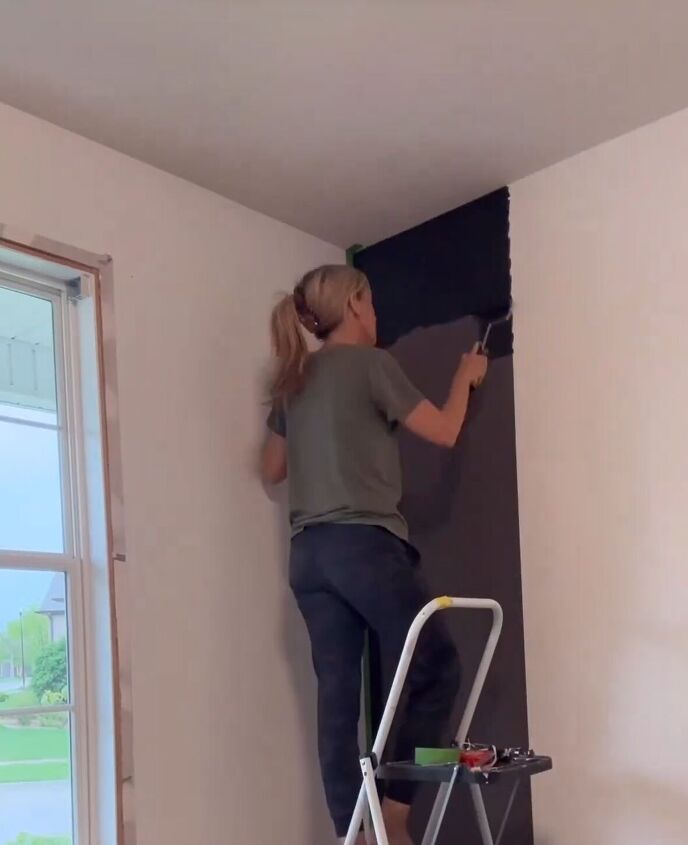
Once it's in place, paint the wallpaper with black paint. This step adds depth and texture to the slat wall, enhancing its visual appeal.
3. Install MDF Sheets
Locate the studs on the wall where you plan to mount the slat wall. Attach 1/8 inch MDF sheets to these studs using screws, creating a sturdy and supportive backing for the slats.
4. Prepare the Surface
Before installing the slats, make sure to prepare the MDF surface. Apply a coat of primer to the MDF sheets, allowing it to dry thoroughly.
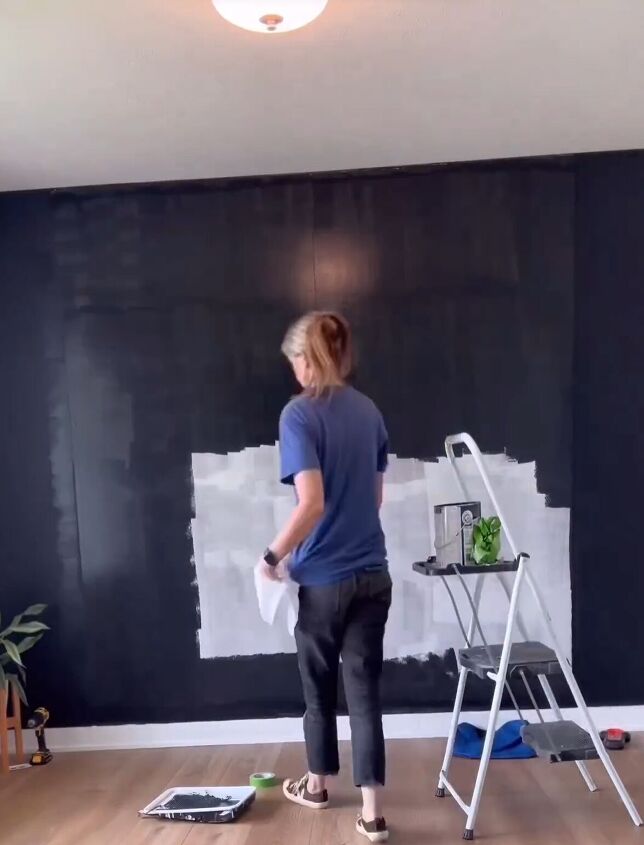
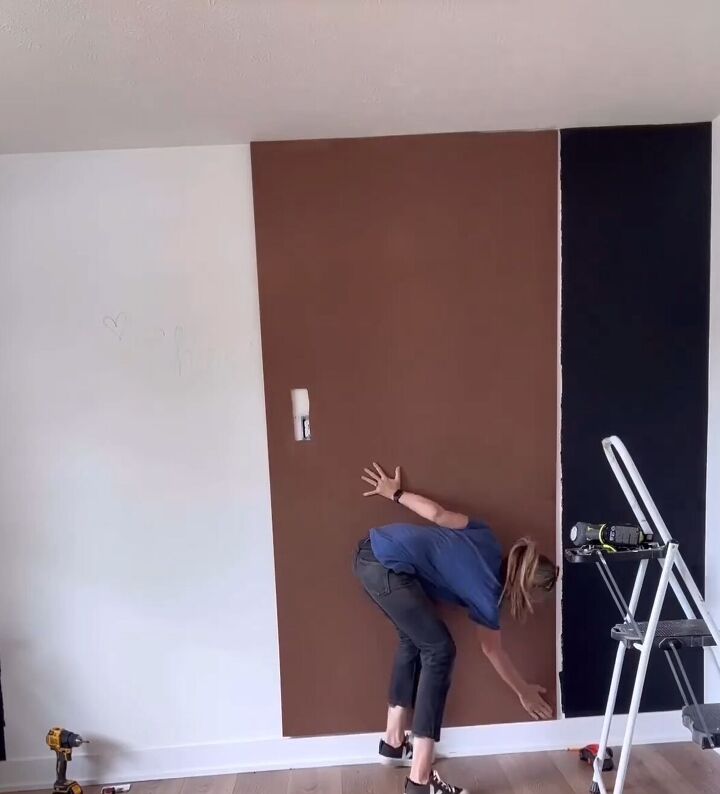
5. Paint the MDF Surface
Once the primer has dried, paint the MDF surface with black paint. This step ensures that the wall behind the slats has a cohesive look with the rest of the slat wall.
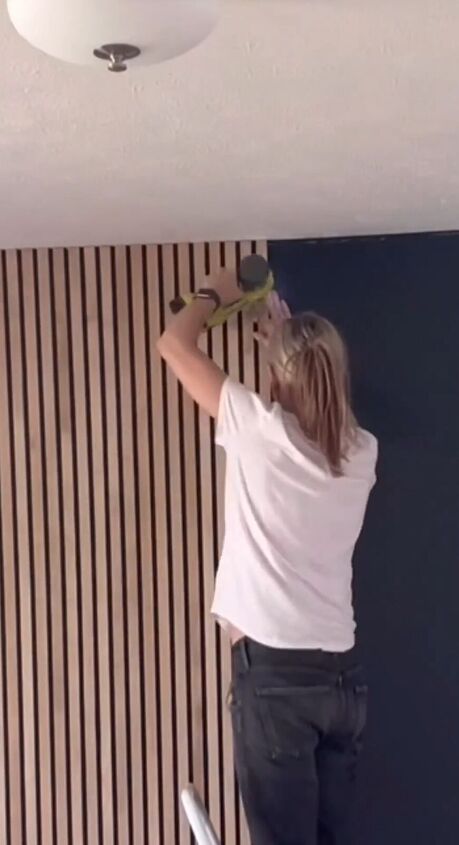
6. Attach the Wood Slats
Using wood glue and pin nails, secure the 1-inch wood slats onto the prepared MDF surface. To ensure even spacing between each slat, use a piece of scrap wood as a spacer during installation.
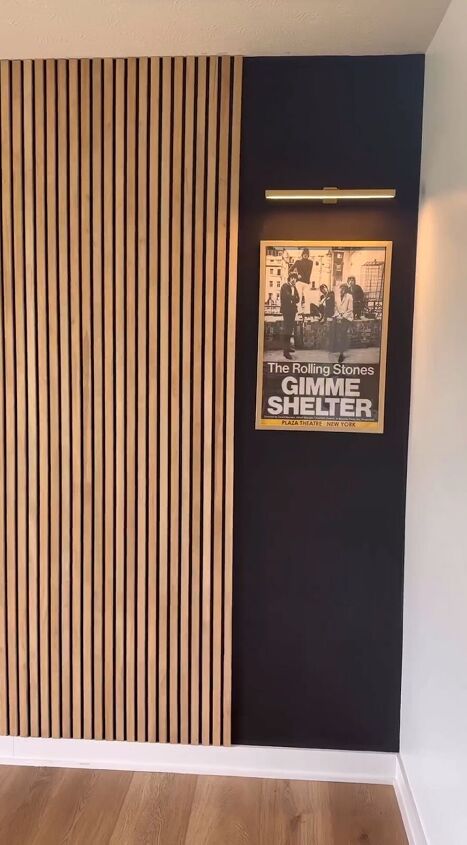
7. Add Accents
To make your slat wall stand out even more, consider adding accents to either side of the slats. Simple framed pictures or other decorative elements can give your slat wall a personalized touch.
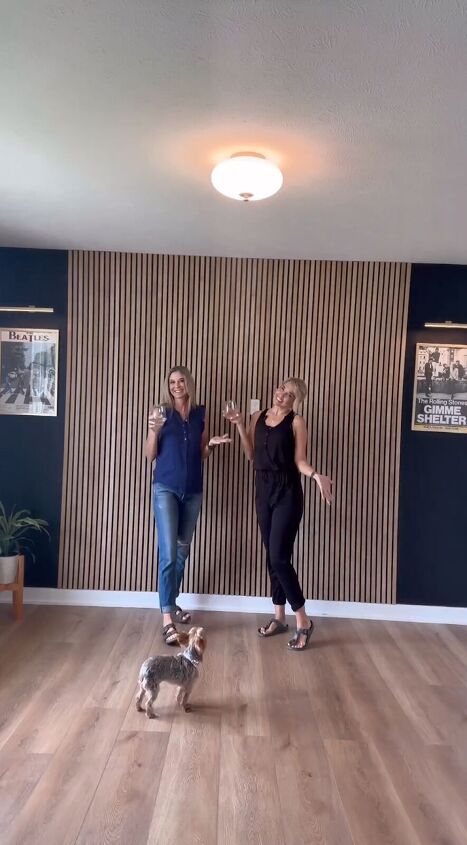
DIY slat wall
With these easy-to-follow steps and the right materials, you can create a stunning DIY slat wall that will not only serve as a functional organizer but also add a touch of style and sophistication to any room. Enjoy the process of bringing your vision to life and marvel at the impressive results of your handiwork!
For more ideas, follow @a_bit_unexpected_diy on Instagram
Comments
Join the conversation
-
Great look. Thanks for sharing💐💐


Frequently asked questions
Have a question about this project?