


How to Make Custom-Sized DIY Arch Mirror For Your Home

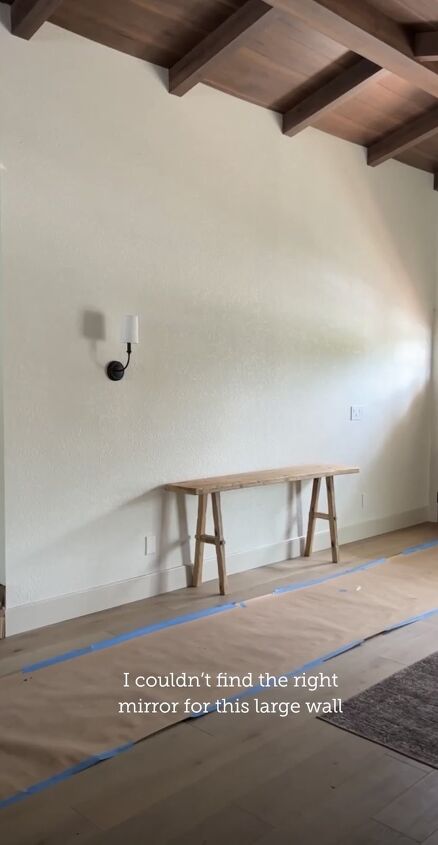
In this step-by-step tutorial, I'll walk you through how to make a custom-sized DIY arch mirror for your home. If you've ever struggled to find the perfect mirror to fit a large or awkwardly shaped wall, you're not alone.
Sometimes, what you need just isn't available in stores. That's why I decided to DIY my own arch mirror, and I can't believe how simple it was!
Tools and materials
- 4x8 sheet of plywood
- Pencil for marking
- Jigsaw or circular saw
- Sandpaper
- Glue (wood glue or strong adhesive)
- Clamps
- Car wheel arch molding with adhesive backing (available on Amazon)
- Custom-cut mirror glass
- French cleat for hanging
- Measuring tape
Steps
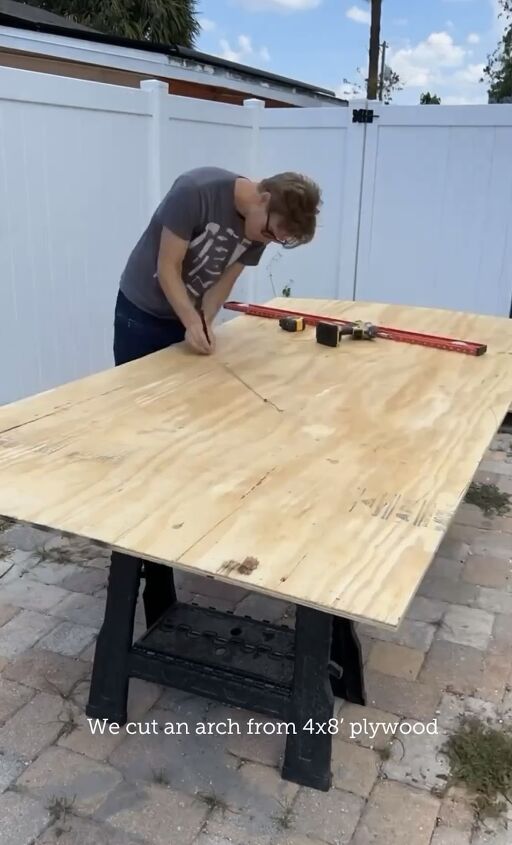
Step 1: Cut an Arch Top from Plywood
First, measure and mark the dimensions of your desired mirror shape on the 4x8 sheet of plywood. Draw an arch at the top to give it that elegant curve. Once you're happy with your design, use a jigsaw or circular saw to cut it out.
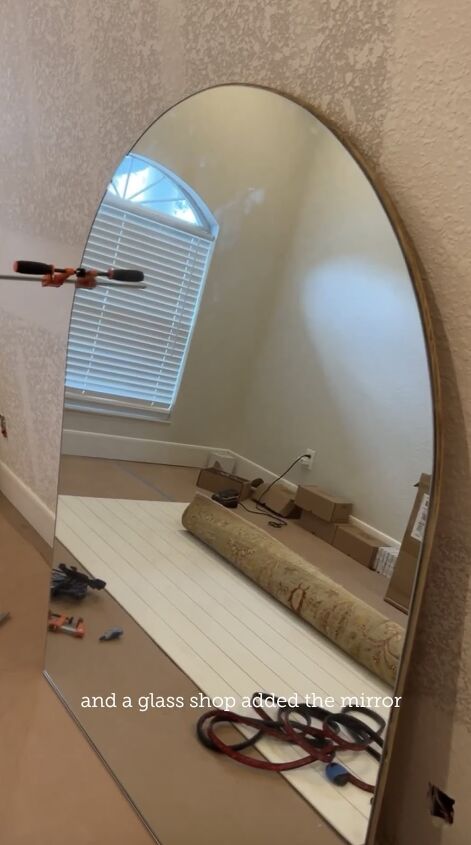
Step 2: Take the Plywood to a Local Glass Shop
After you've cut out your plywood base, take it to a local glass shop. They can custom-cut a piece of mirror glass to match the shape and size of your plywood. Ask them to attach the mirror to the plywood; most shops will use a strong adhesive for this.
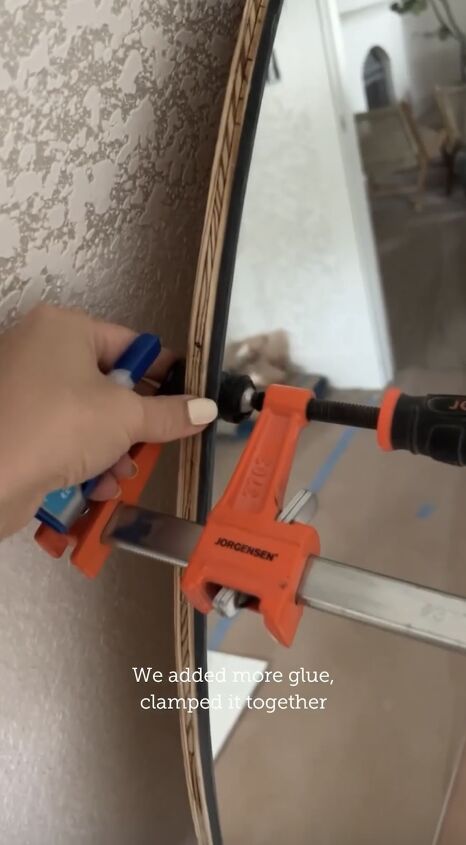
Step 3: Add Extra Glue and Clamp Together
Sometimes, you might need a bit more adhesive to ensure that the mirror sticks firmly to the plywood. If that's the case, apply a bit more glue around the edges or any areas that seem loose. Clamp the pieces together and let them sit overnight to make sure the glue sets properly.
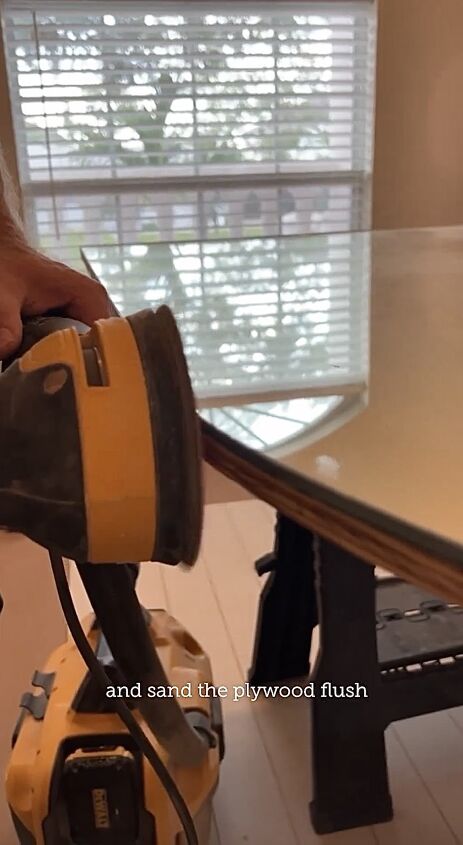
Step 4: Sand the Plywood
Once the glue has set, take some sandpaper and smooth out the edges of the plywood. This will help make everything flush and prepare the surface for the molding.
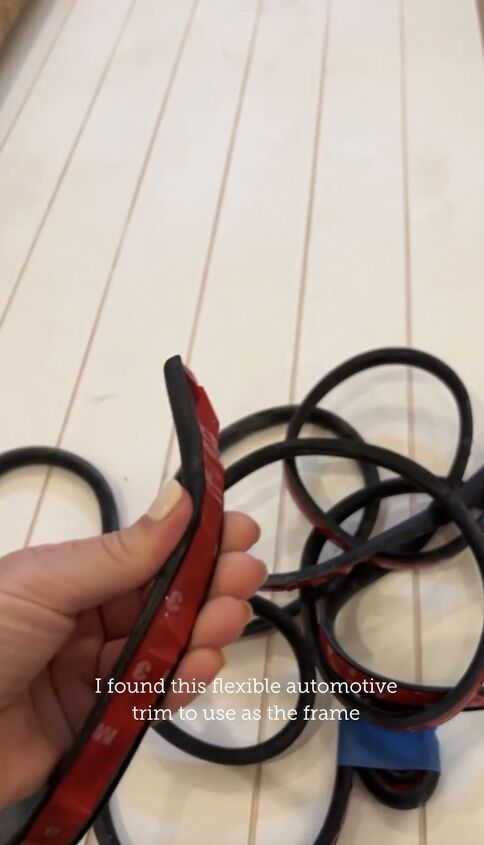
Step 5: Attach the Car Wheel Arch Molding
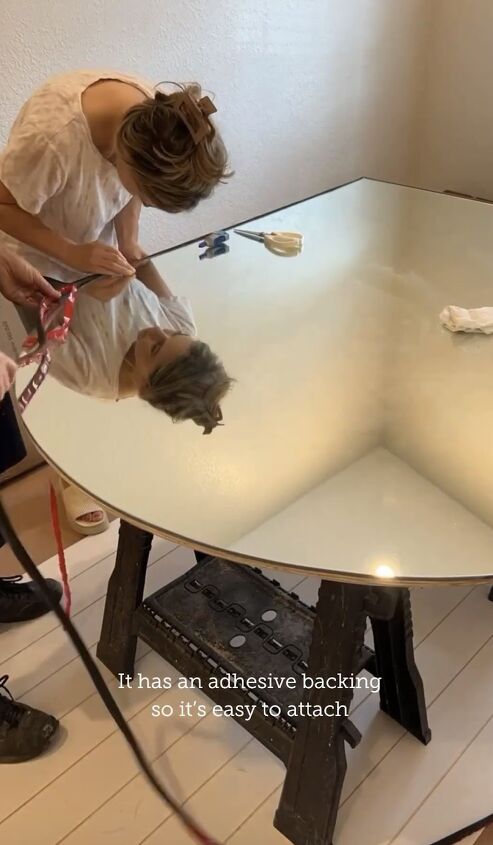
Find some flexible car wheel arch molding that's wide enough to cover the edges of your plywood. The great thing about this material is that it often comes with an adhesive backing.
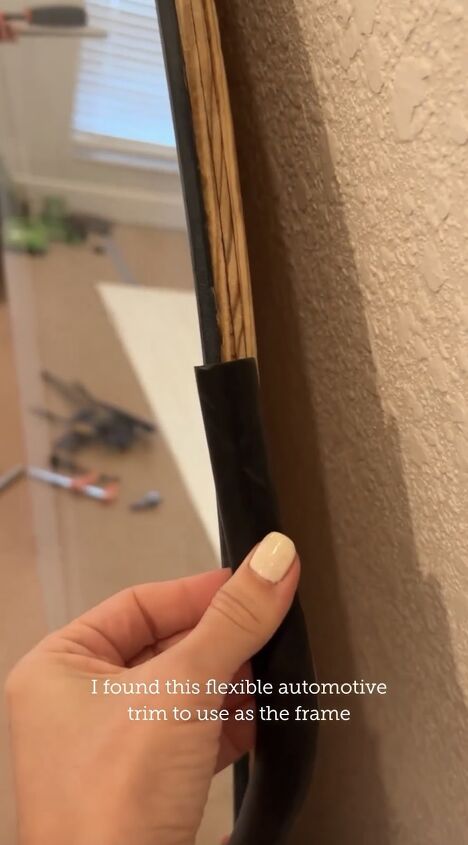
Peel off the backing and carefully secure the molding along the edge of your plywood and mirror. Make sure it sticks firmly and looks even.
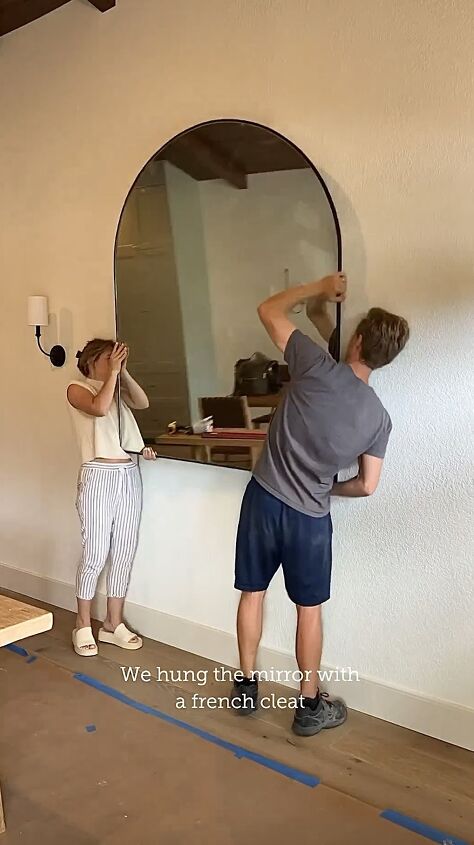
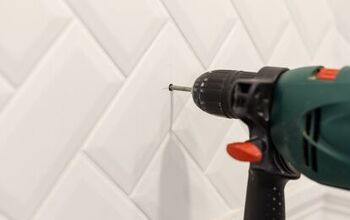
Step 6: Install a French Cleat for Hanging
To hang your DIY arch mirror securely, use a French cleat. This hardware is incredibly stable and perfect for heavy items like mirrors. Attach one piece of the cleat to the back of your mirror and the other piece to the wall, making sure it's level.
Step 7: Hang and Admire Your Work!
Now, all that's left is to hang your mirror. Align the two pieces of the French cleat, and your DIY arch mirror will click right into place.
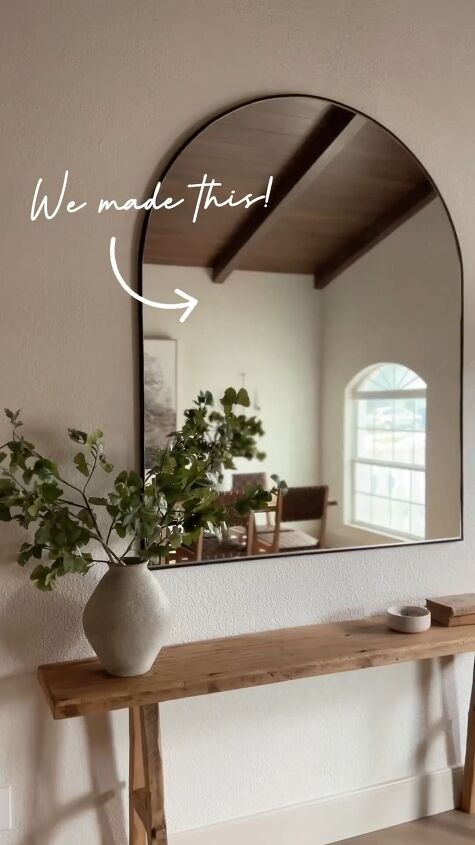
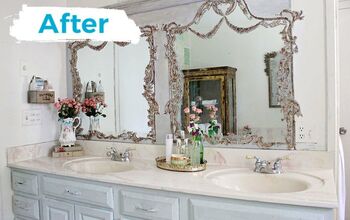
DIY arch mirror
Whether you're hanging it in an entrance like in my Hacienda hideaway or a cozy corner of your home, a DIY arch mirror is a beautiful décor addition.
Have you created any DIY decor recently? Share your projects in the comments below.
Follow @jennasuedesign on Instagram for more DIY ideas.
Comments
Join the conversation
-
Impressed. I have no doubt about cutting wood, installing edge trim but adding mirror would intimidate me. I just KNOW I’d chip at the least. Bravo on job well done and the confidence to do
-
Love this! Working on one myself right now. How thick is your plywood? 1/2”?


Frequently asked questions
Have a question about this project?