


How to Make a Cute DIY Christmas Tray With a Stencil Design

In today's episode, I'm going to show you how to stencil a beautiful DIY Christmas tray for the holidays. With a few simple steps and some readily available materials, you'll have a beautiful, personalized piece for your holiday gatherings.
So, let's roll up our sleeves and get started!
This post was transcribed by a member of the Hometalk editorial team from the original HometalkTV episode.
Tools and materials
- 220 sandpaper
- Rubbing alcohol
- Base coat paint
- Christmas stencil
- Acrylic paint
- Paintbrushes
- Spray adhesive
- Verithane polyurethane
Hometalk may receive a small affiliate commission from purchases made via Amazon links in this article but at no cost to you.
How to make a DIY Christmas tray
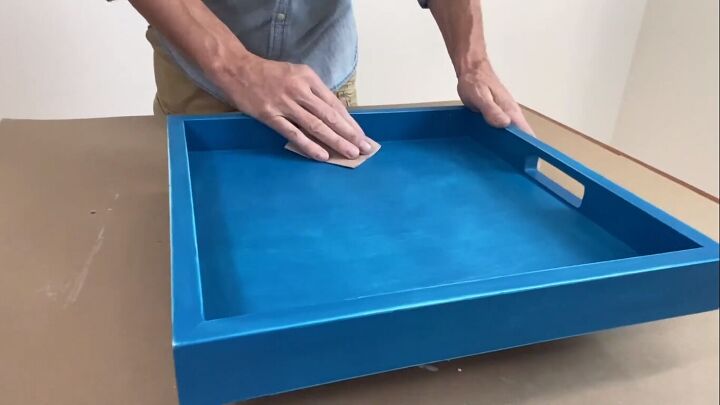
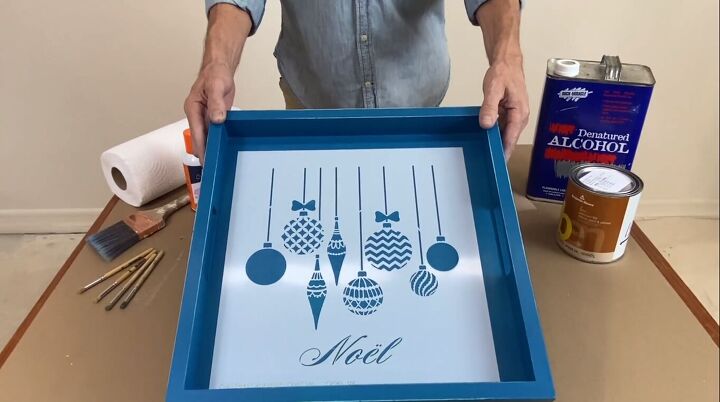
1. Prep the tray
Take some 220 sandpaper, give the tray a light sand all over, and break the sheen of the old finish. Then we'll give it a wipe down with denatured alcohol and we'll be ready to base coat.
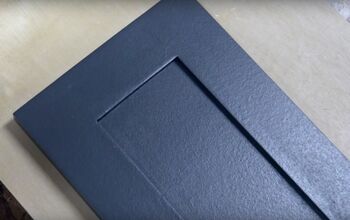
2. Apply the base coat
We're using Benjamin Moore Ben Flat to get this going.
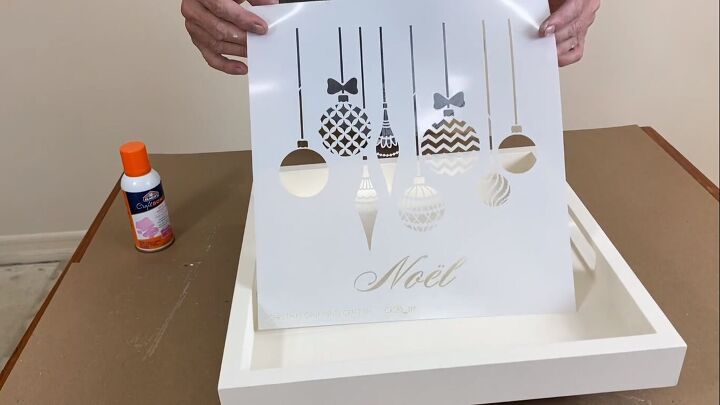
3. Apply spray adhesive
Now we're going to take this beautiful holiday stencil with ornaments and apply a little bit of spray adhesive to the back of it. This is going to help reduce bleed when we stencil this beautiful tray.
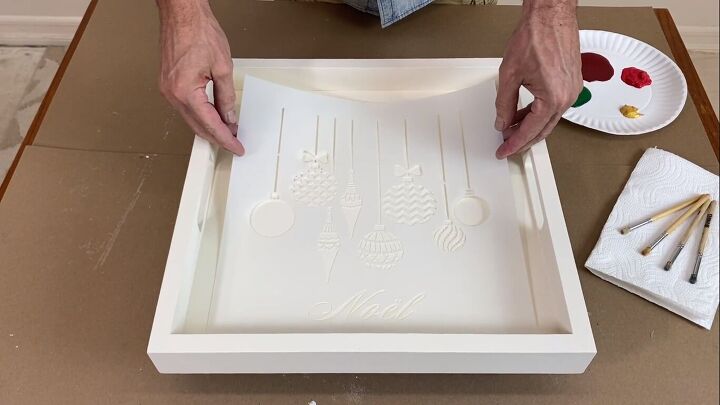
4. Place the stencil on the tray
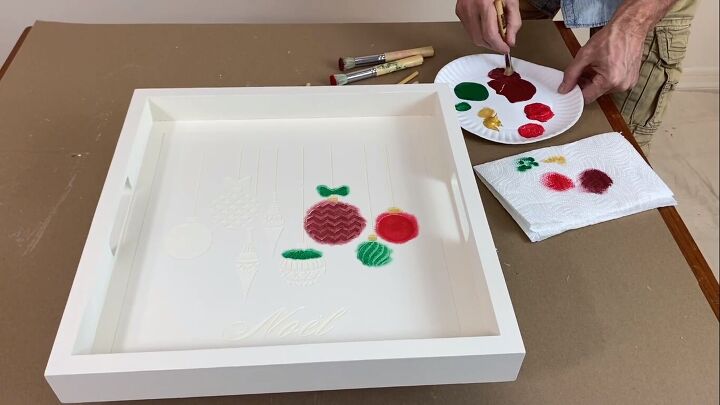
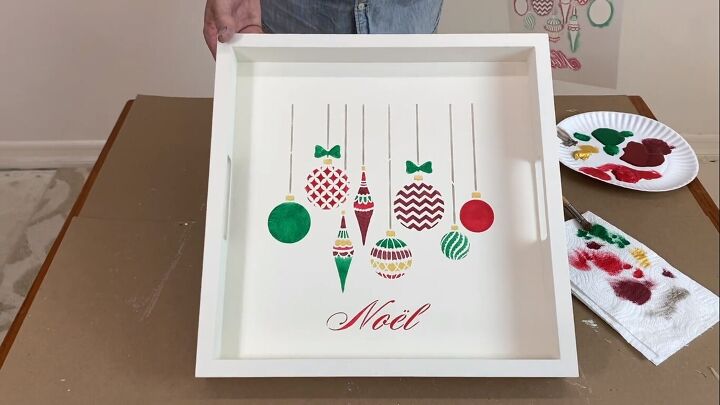
Okay, it's time to stencil. We've selected some beautiful holiday acrylic colors here. That's part of the fun. So find colors that are meaningful for you and you'll know they're right.
I'm just going to eyeball this. You can eyeball this and get it close or you can measure it, but this is going to be just fine eyeballed because it's not an exactly symmetrical design anyway.
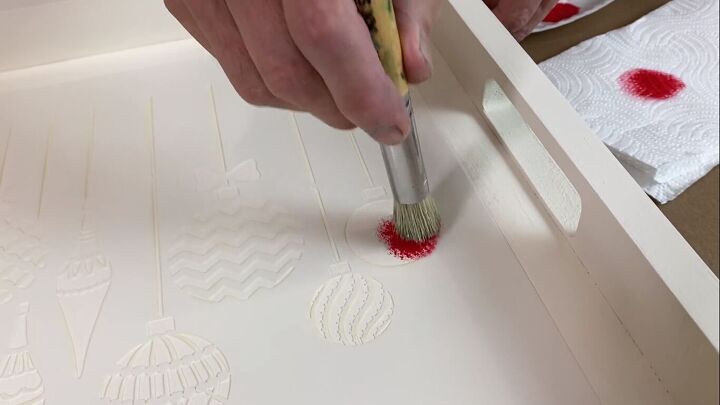
5. Paint the stencil
Okay, I dip the brush in just a little bit and then I do a circular motion. That is called paletting the brush and that puts it right into the tips. Then offload a bit of paint onto a paper towel before applying it to the stencil.
Try not to put the same colors next to each other. You can always tape off the designs next to the one you're stenciling if you're worried about bleeding into the next one or just be very deliberate.
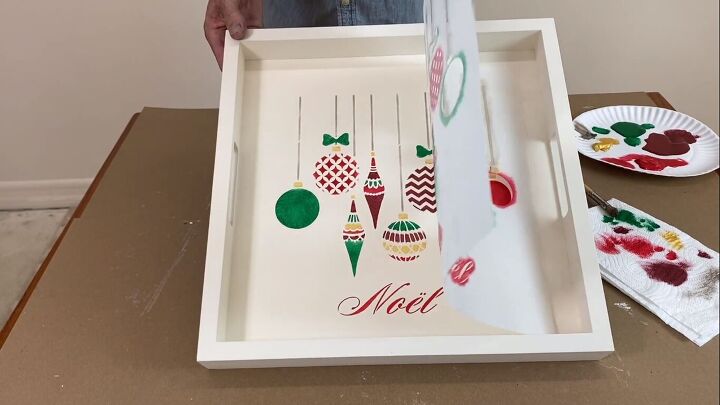
Once you're done, peel off the stencil and let the paint dry.
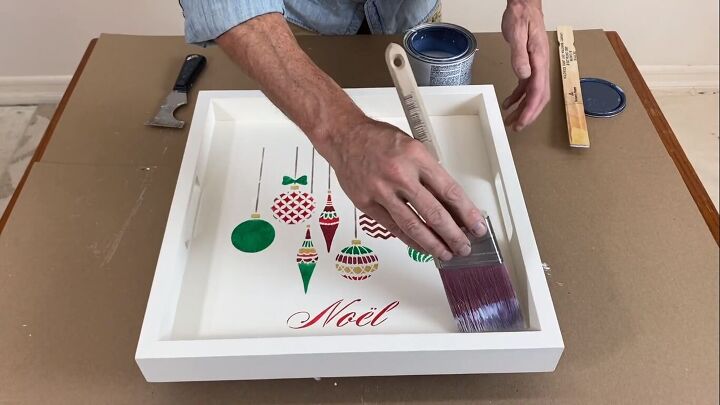
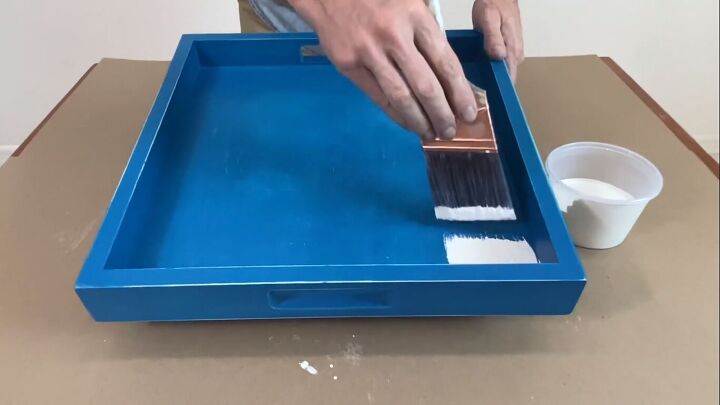
6. Apply verithane polyurethane
It's time to protect this beautiful tray with some verithane polyurethane. We like the water-based polyurethane here. It doesn't yellow as much as oil-based.
The trick about polyurethane is you always want to stir it from the bottom because you don't want to shake it and incorporate bubbles. Give it a nice stir from the bottom and then you're ready to go.
Don't worry. It's white now. It might have a little blue tint while it's still wet, but it will dry crystal clear. Just using a nice nylon bristle brush for water-based paints. This works great. I'm working right out of the quart itself and let's get a coat on this.
DIY Christmas tray
This DIY Christmas tray is a perfect project for the holidays because you get to get creative, upcycle a piece, and actually have a usable tray at the end of it all to serve your guests.
What do you think of this easy Christmas craft? Let me know in the comments below.


Frequently asked questions
Have a question about this project?