


How to Do DIY Picture Frame Molding, Step by Step

Creating a stunning accent wall with DIY picture frame molding is a budget-friendly way to enhance the aesthetic of your space. In this step-by-step tutorial, I'll guide you through the process, sharing tips and tricks for a flawless finish. Let's get started!
Tools and materials
- 1/2” MDF 4x8 sheet - $52
- Sandpaper
- Paint in your desired color
- Spacer
- Saw
- Nail tub
- Brad nails
- Paintbrush or roller
- Measuring tape
DIY picture frame molding
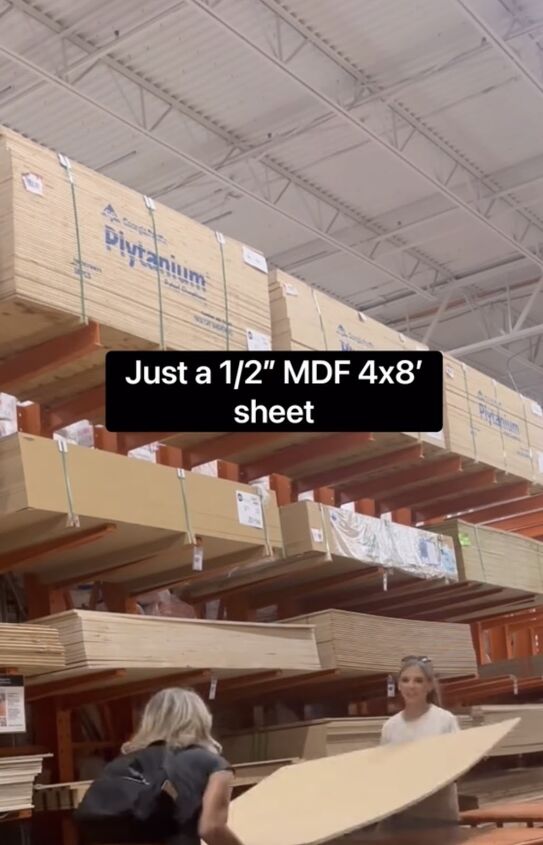
Step 1: Acquire Your Materials
Head to your local lumber store and grab a 1/2” MDF 4x8 sheet for an affordable $52.
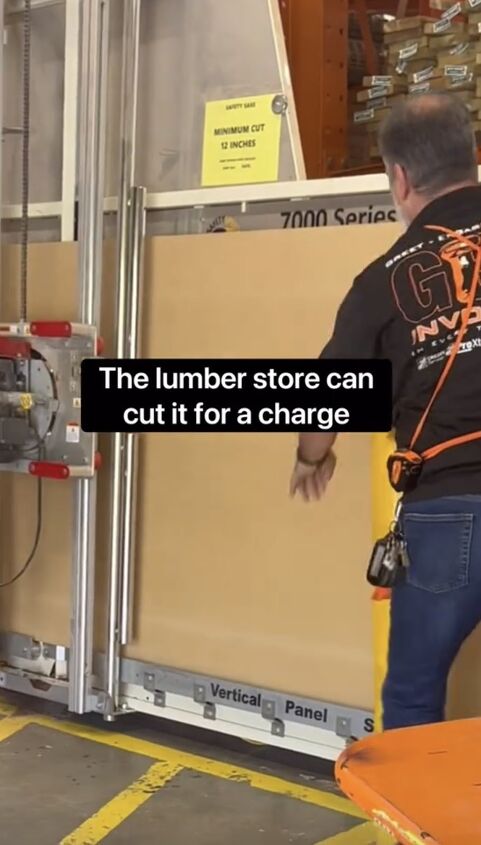
Remember, the lumber store can cut it for you at an additional cost, but we opted to save by cutting it ourselves.
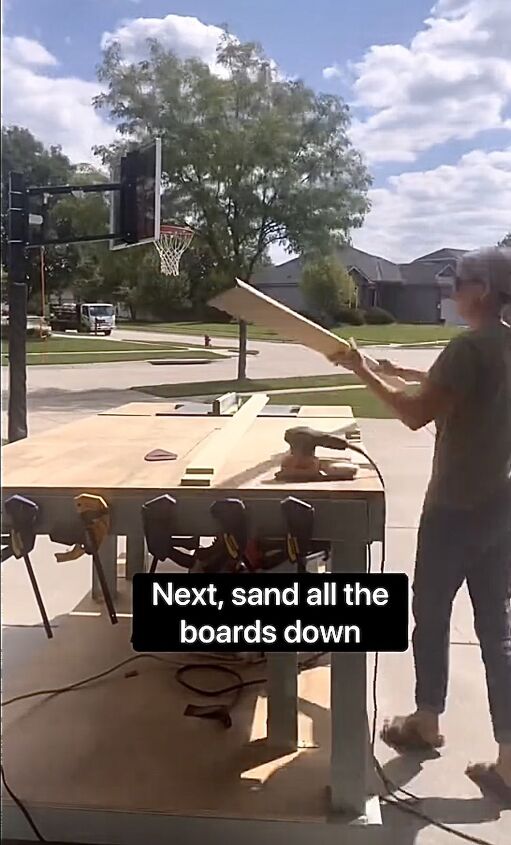
Step 2: Sanding
Before you start cutting, sand all the boards down to ensure a smooth finish. This step is crucial for achieving a polished look in your final product.
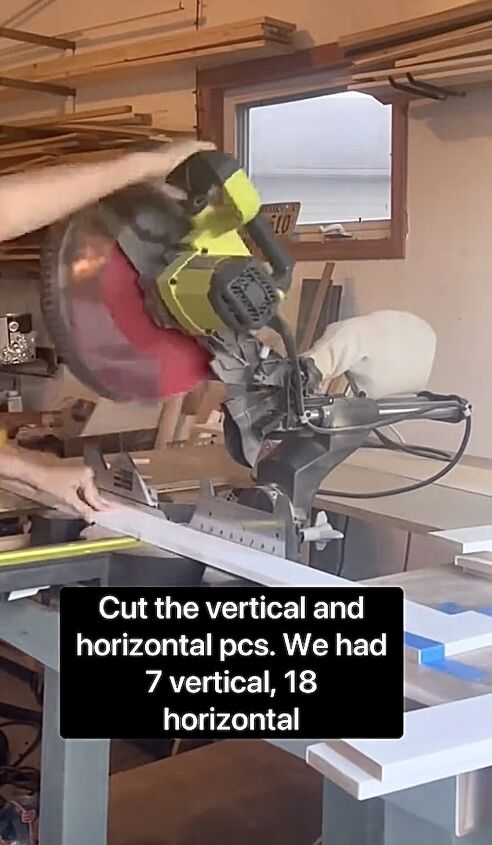
Step 3: Cutting the Boards
Now, it's time to cut the MDF sheet into vertical and horizontal pieces. For our project, we had 7 vertical and 18 horizontal boards. Use a saw to make precise cuts, ensuring uniformity in size.
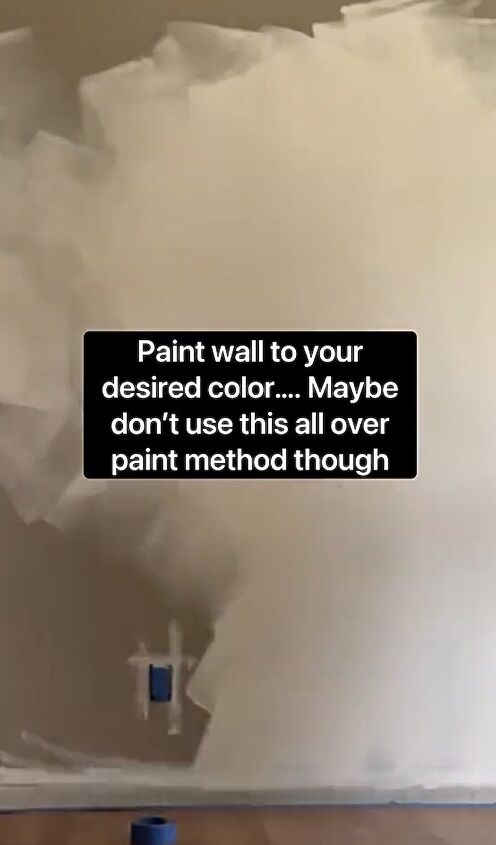
Step 4: Paint the Wall
Choose a paint color that complements your space and paint the wall where you plan to install the picture frame molding. Be creative with your approach, as you might not want to use an all-over paint method. Let the paint dry completely before proceeding.
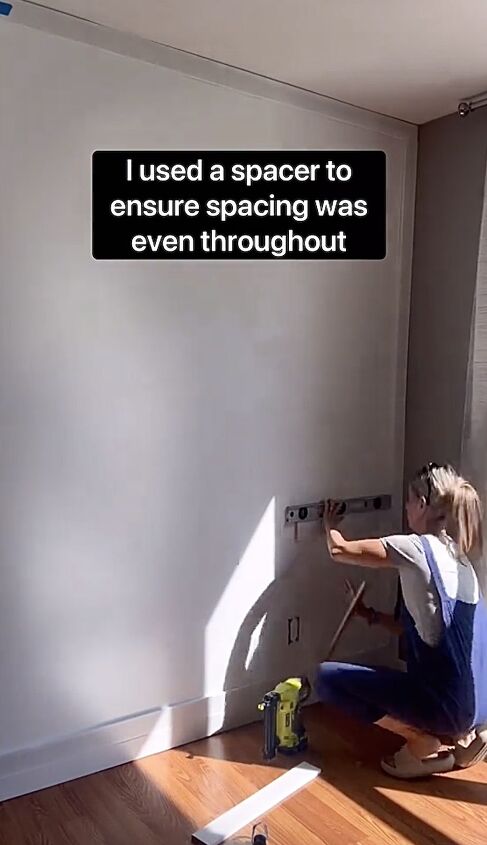
Step 5: Creating the Boxes
Use a spacer to ensure even spacing between the boards. Attach the boards with a nail gun and brad nails.
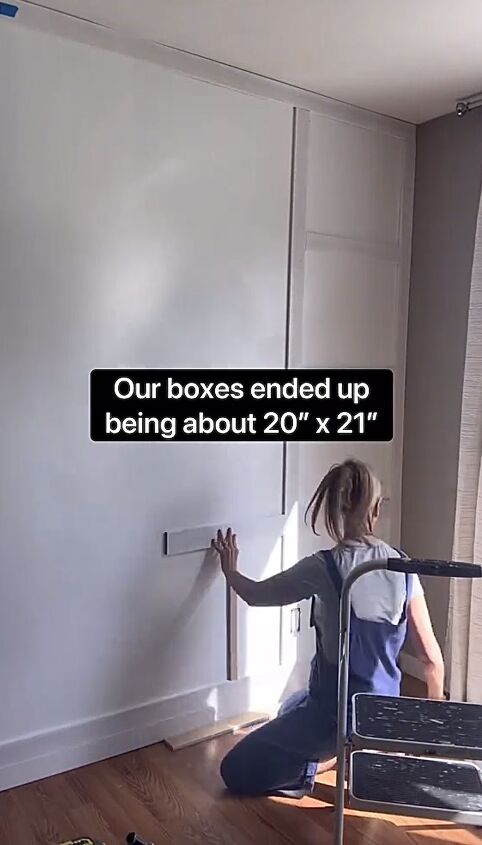
For our project, the boxes ended up being 20” x 21”. Adjust the dimensions based on your preferences and the size of your space.
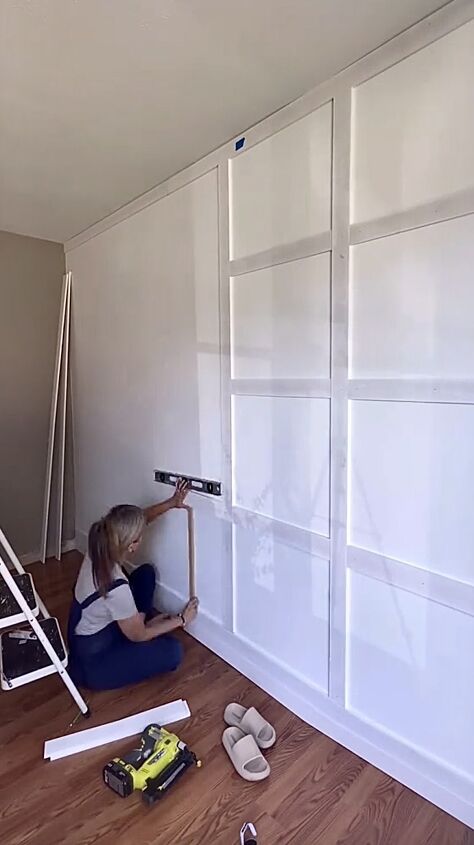
Step 6: Assembling the Picture Frame Molding
Carefully assemble the cut pieces on the painted wall, following the layout you've planned.
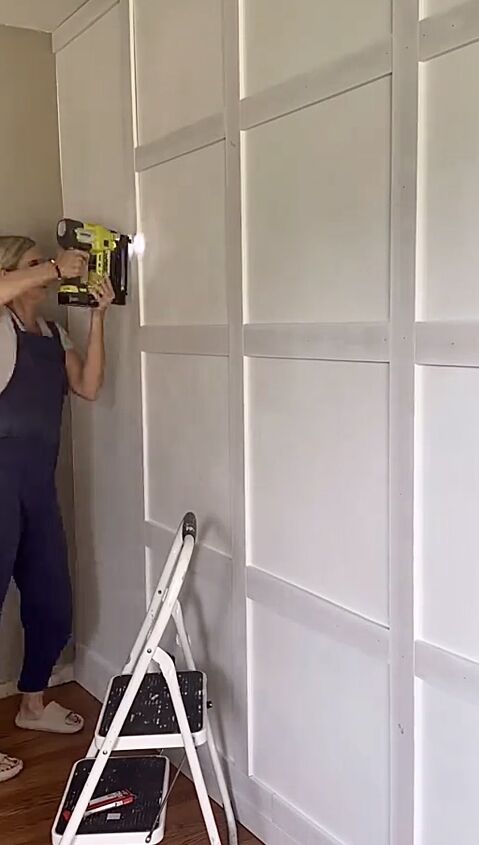
This is where the spacer comes in handy to maintain consistent spacing between the boards. Take your time to ensure precision in assembly.
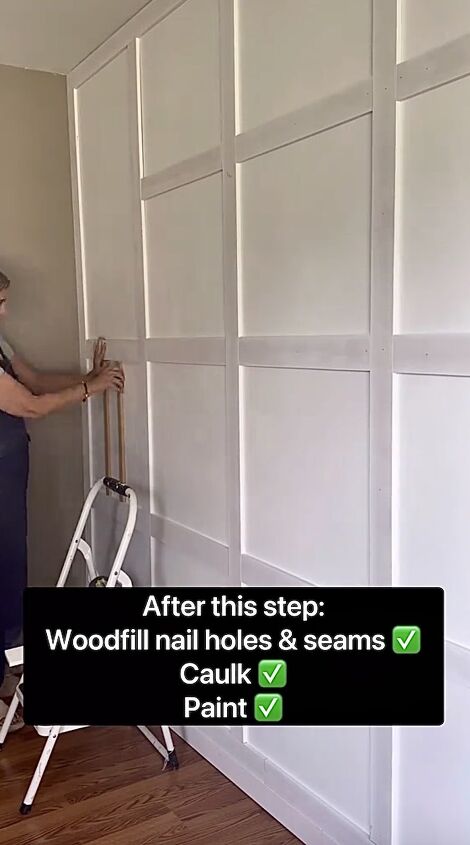
Finish your project by filling in the nail holes and seams, caulking spaces, then painting the wall.
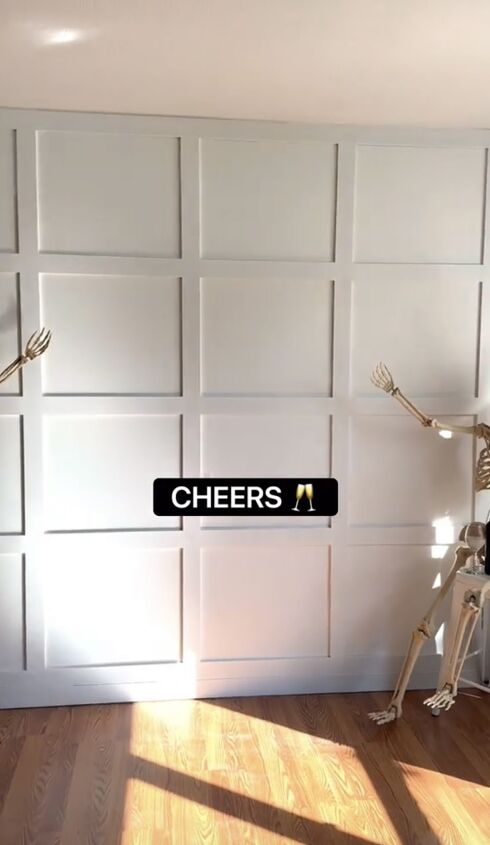
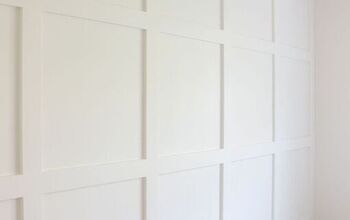
DIY picture frame molding
With just a $52 investment in materials and a bit of DIY spirit, you can create a stunning picture frame molding accent wall. This budget-friendly project allows you to personalize your space and enjoy the satisfaction of a job well done.
Do you have picture frame molding in your home? Share your projects in the comments below.
Follow @a_bit_unexpected_diy on TikTok for more DIY ideas.


Frequently asked questions
Have a question about this project?