


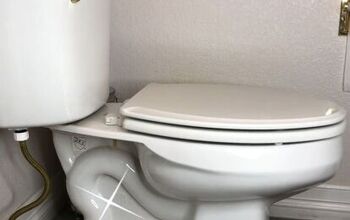
How to Build a Stylish Over-the-Toilet Shelf Idea in 7 Steps

Are you itching to transform your bathroom into a more organized and chic space?
Look no further! In this step-by-step guide, I'll show you how to build this easy over the toilet shelf idea.
Ready to turn your bathroom into a DIY haven? Let's get started!
This post was transcribed by a member of the Hometalk editorial team from the original HometalkTV episode.
Tools and Materials:
- 2x2 lumber
- Kreg Jig
- Pocket screws
- Wood glue
- Sandpaper
- Countersink bit
- Wood filler
- Paint
- Cedar 1x6 boards
- Polyurethane
- Brad nailer
Hometalk may receive a small affiliate commission from purchases made via Amazon links in this article but at no cost to you.
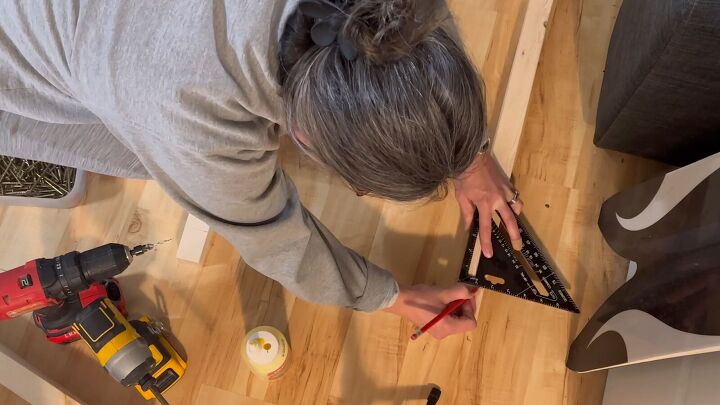
1. Measure and Cut
Start by cutting 4 pieces of 2x2s to 6 feet each.
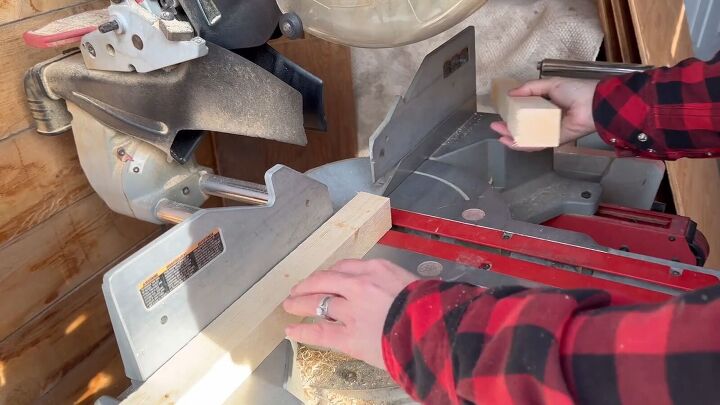
Then, cut 6 pieces to 19 inches and another 6 pieces to 4 inches each. Precision is key in this step, so take your time to ensure accurate measurements.
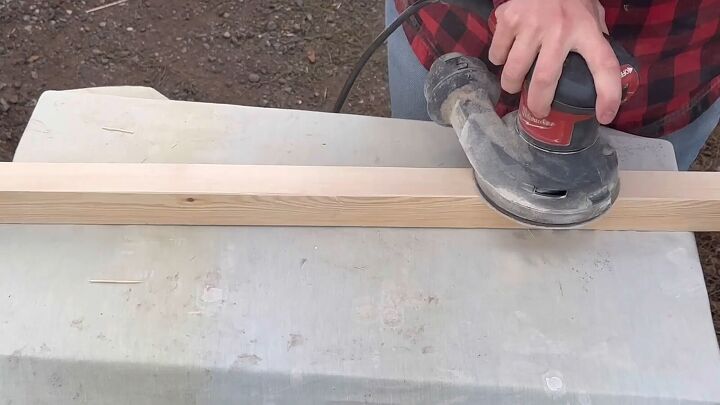
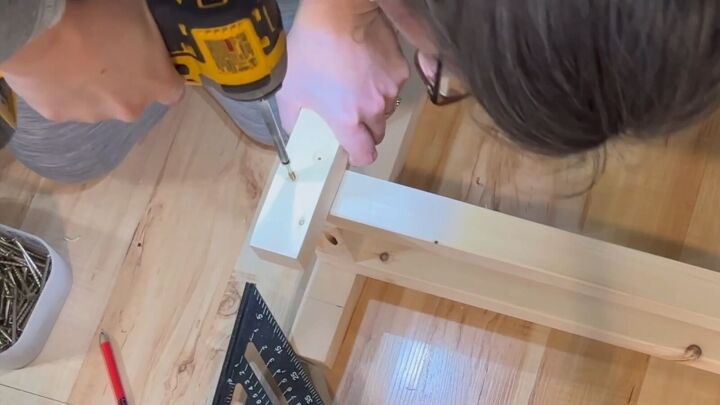
2. Sanding and Pocket Holes
Smooth out all the boards by sanding them.
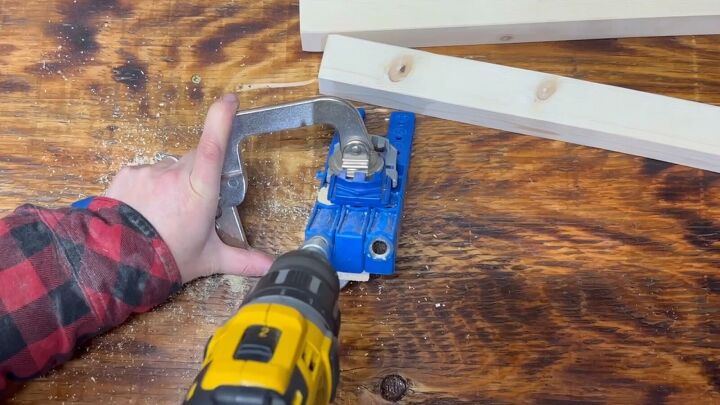
Next, use your Kreg Jig to drill pocket holes into each side of the smallest 4-inch 2x2’s. These holes will be essential for securing the 4-inch boards to the 19-inch boards.
3. Assemble Rectangles
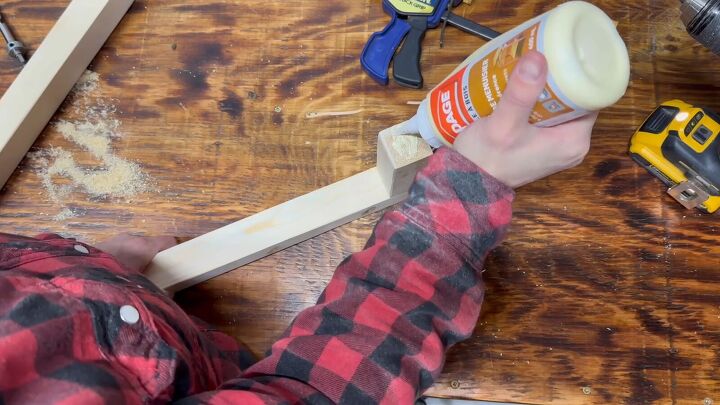
Place glue on the ends of the 4-inch boards.
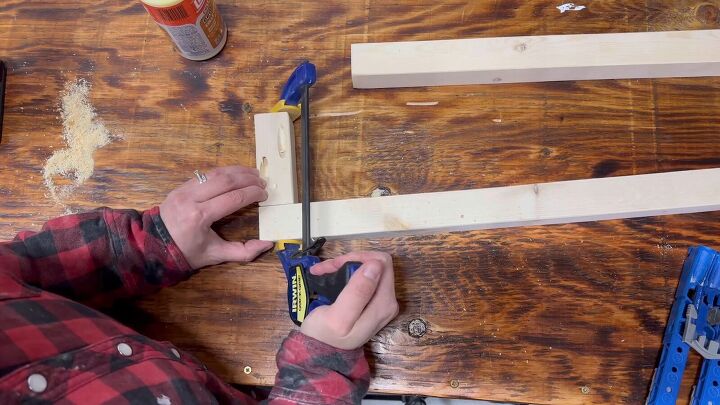
Align them with the 19-inch boards using a clamp to hold the pieces together.
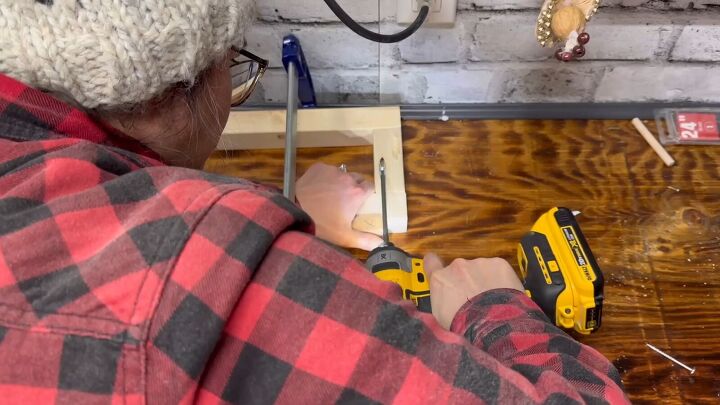
Then, secure them using the pocket screws.
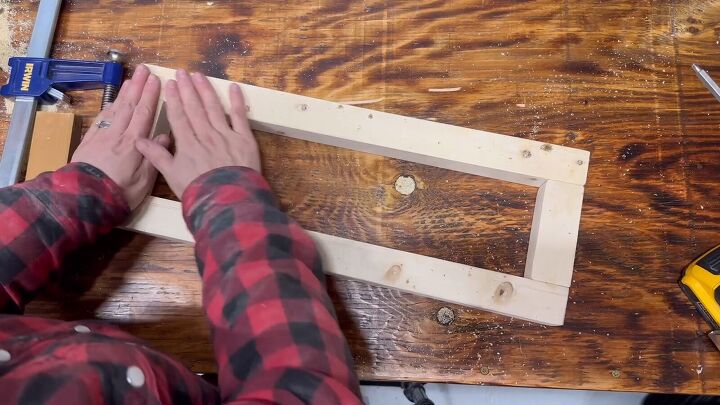
This should form a rectangle.
Repeat this step twice to end up with three sturdy frames.
4. Mark and Attach
Mark down two inches from the top of each six-foot 2x2.
I used a countersink bit to pre-drill the long 2x2s and attach them to the rectangle frames.
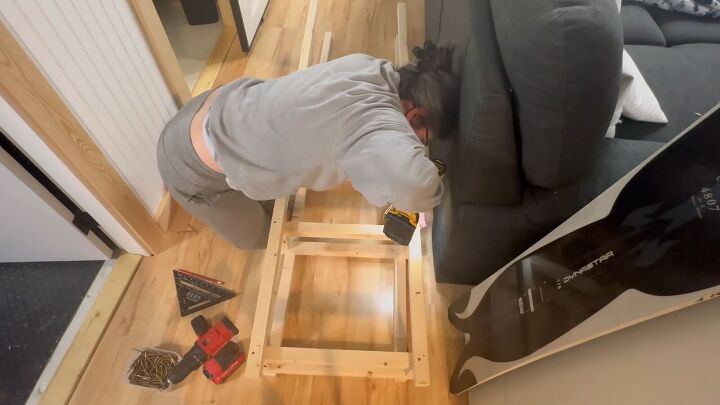
Then mark where you would like your bottom two frames to sit and secure them in place.
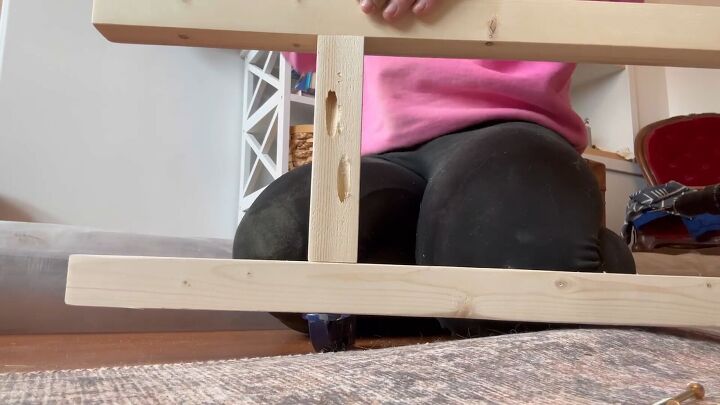
Attach two of your smaller 2x2s to the bottom of the shelf for stability.
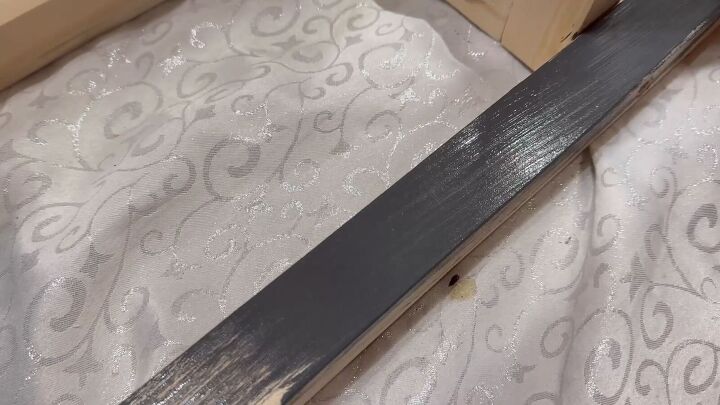
5. Fill, Sand, and Paint
Fill the screw holes with wood filler and once it’s dry, sand the excess off smooth.
Now, paint the frame with your chosen color; I recommend Benjamin Moore's wrought iron for a modern look.
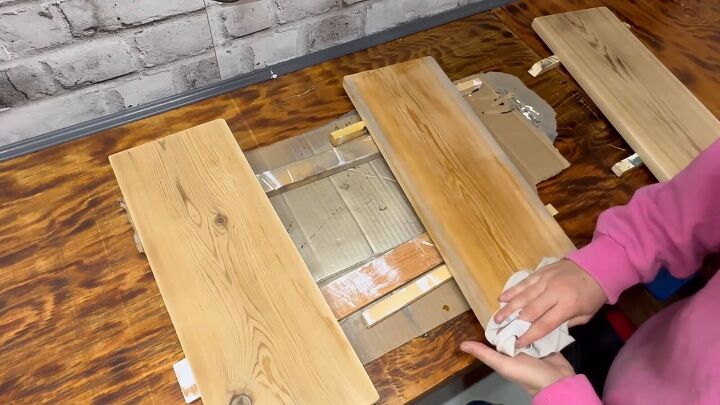
6. Prepare Cedar Boards
While the frame is drying, sand cedar 1x6 boards and rip them down to size. Seal them with two coats of polyurethane to enhance durability and give a polished finish.
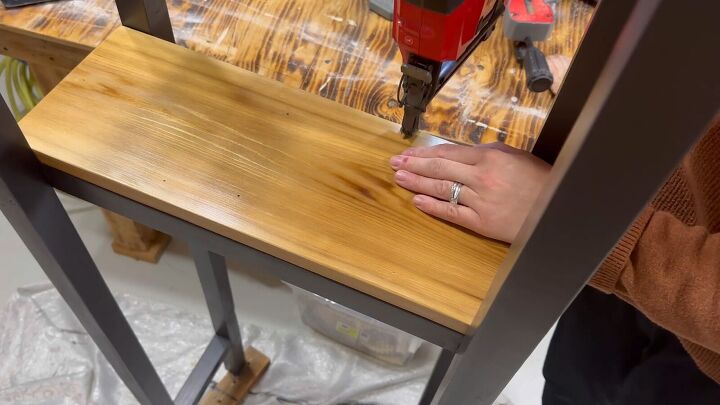
7. Assembly
Use a Brad nailer to secure the cedar boards to the top of each rectangle base. This creates a beautiful and functional shelf.
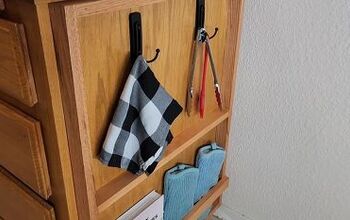
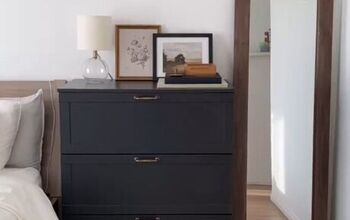
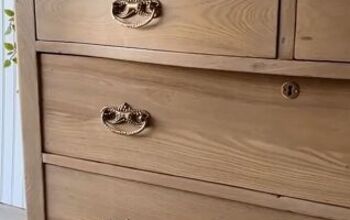
More DIY Bathroom Projects
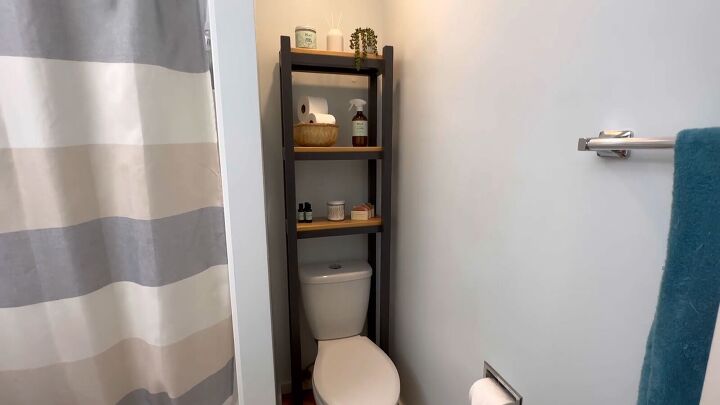
Over the Toilet Shelf Idea
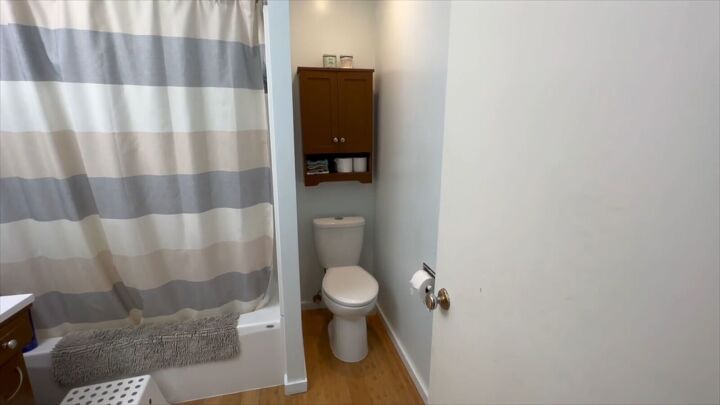
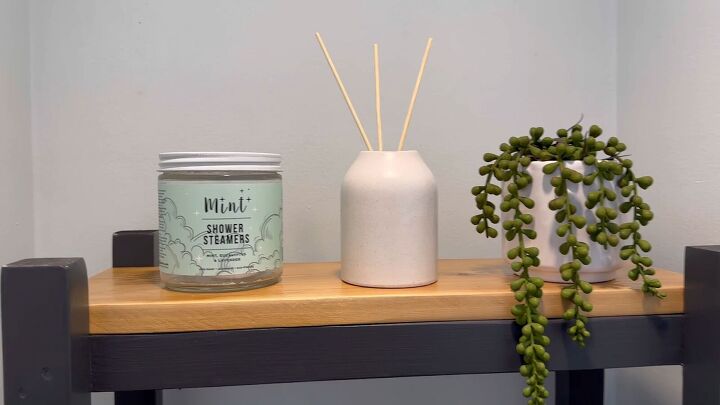
Slide your customized shelf over the toilet, and voila! You now have a modern and efficient bathroom storage solution.
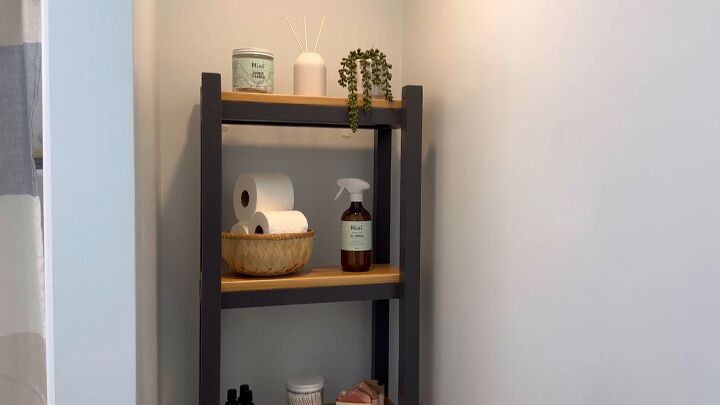
A personalized sanctuary above your toilet!
I'd love to see your spin on this storage idea for the bathroom—did you customize it further?
Let me know in the comments below!
Comments
Join the conversation
-
If the goal is storage, why not make it wider as the space permits. Doing so would make the shelf unit more custom-looking and would have the added advantage of allowing a removable lower shelf for easier access/a bit more elbow room to remove the toilet tank lid if need be.
-
This is what I did to my area.


Frequently asked questions
Have a question about this project?