


Make a Bright, Colorful Moroccan Side Table for Your Home
Need to take that plain wooden side table up a notch? Make it Moroccan! In this tutorial I’ll show you how to create a stylish Moroccan side table that will quickly become a conversation piece. This technique can be used to create a variety of designs, so you can apply it to any project you want! Ready to make a side table worth of resting your morning coffee on? Follow my step-by-step tutorial below to get started today!
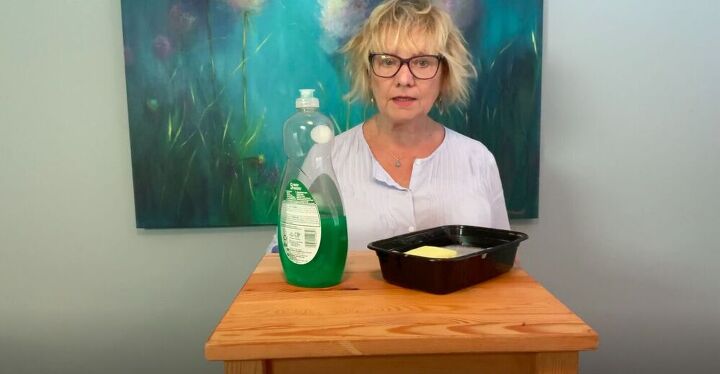
Tools and Materials:
- Wooden side table
- Dish soap
- Sponge
- 220 sanding sponge
- Offset spatula
- Ready mixed drywall compound
- Stencils
- Country Chic Paint
- Paint brush
- Stencil brush
- Topcoat
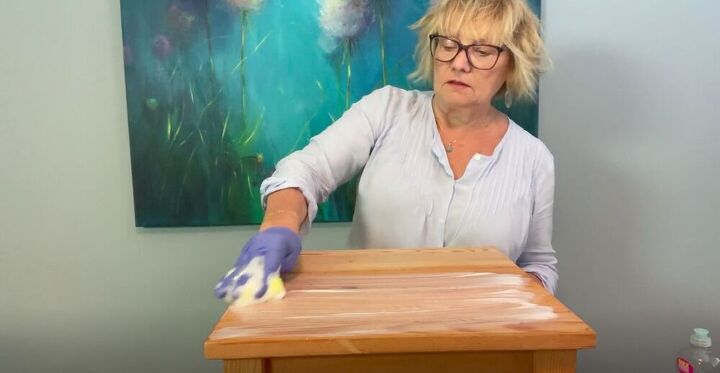
Before I could get started I needed to thoroughly clean my surface. I mixed some dish soap with hot water and scrubbed the surface of the side table with a sponge.
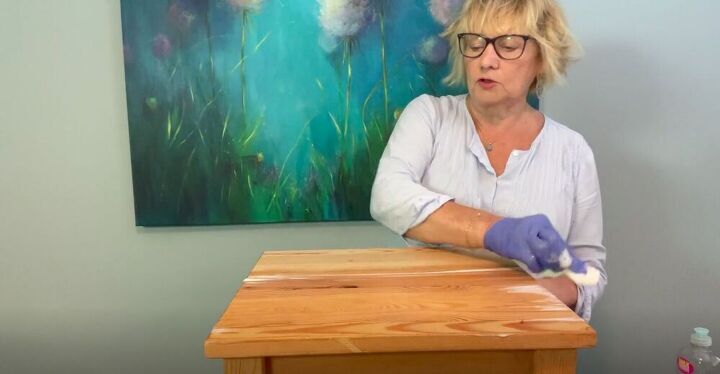
Once I had cleaned everything off, I removed all of the soap using clean water and paper towels. It’s very important to remove all of the soap.
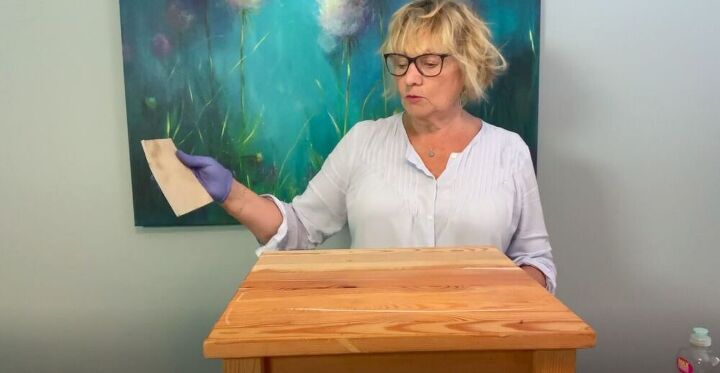
Then I sanded it with a 220 sanding sponge. Sanding the surface will help the paint adhere better later on.
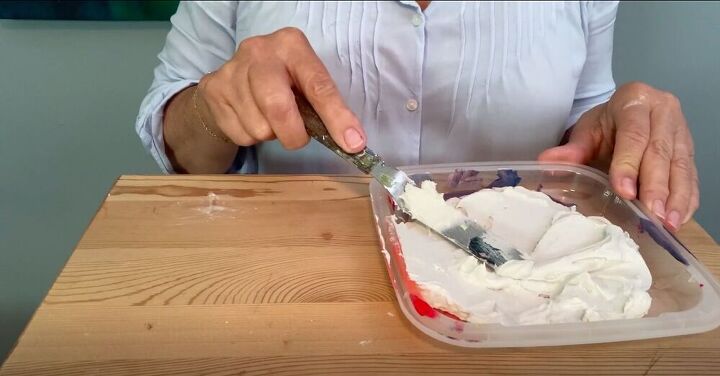
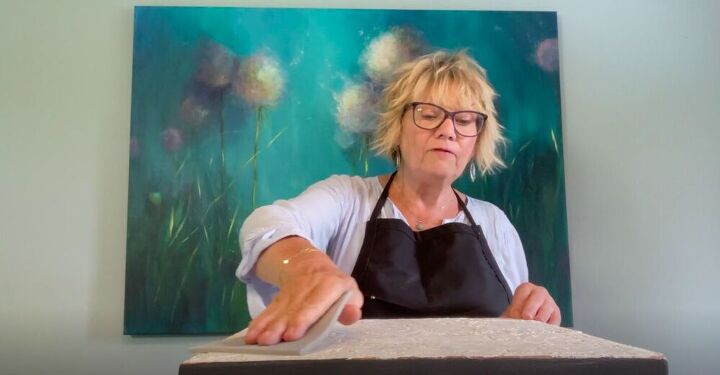
Using an offset spatula, I spread a layer of ready mixed drywall compound over the top of the table.
I spread it unevenly over the entire surface. It’s important to keep the texture produced by spreading it with the spatula.
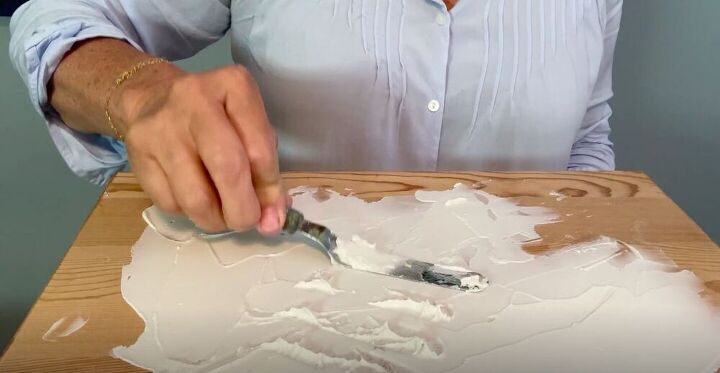
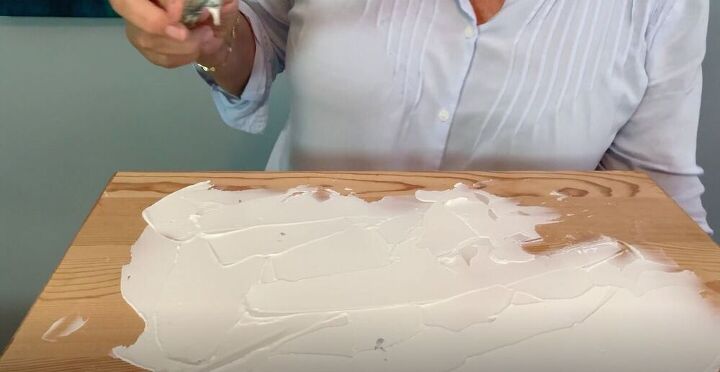
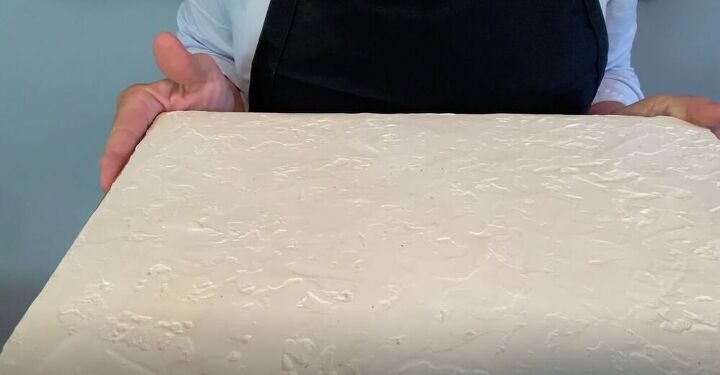
Then I went back with the spatula and pressed it down into the drywall compound and lifted to create peaks.
Next I went back over the peaks I had created and lightly brushed over them, to create a dragged effect. I made sure to do this in a few different directions to make it look random. Once I was happy with the texture, I left it to dry completely overnight. If you want to speed up the process you can use a hairdryer. I also used this time to paint the legs of the table.
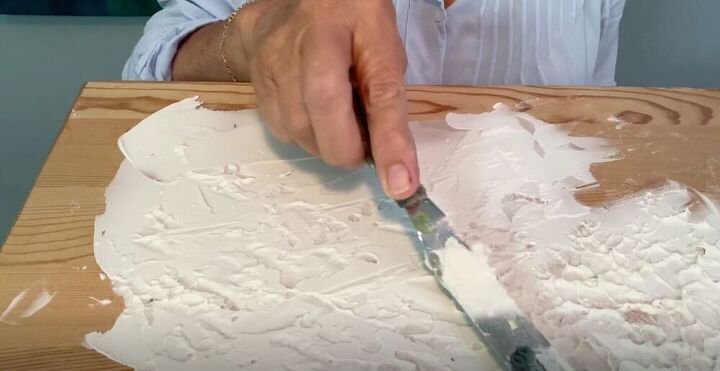
Once everything was dry I lightly sanded the top of the table and then wiped off any dust.
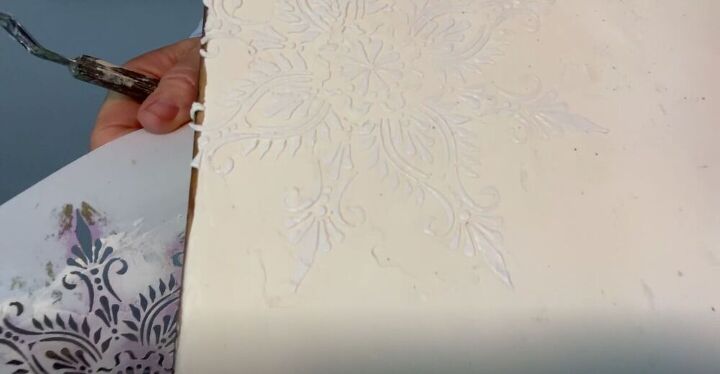
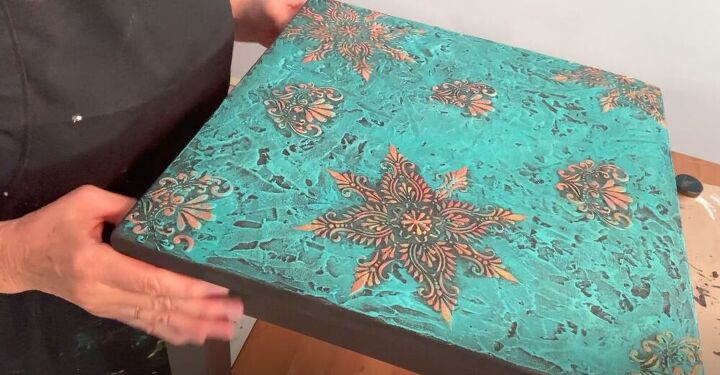
How you do this part is totally up to you, but I chose to work with two smaller stencils for my design.

I placed them randomly on the table and spread a layer of the drywall compound over them, creating a raised stencil effect. For this part, I aimed for a very even, smooth texture so that the stencil would stand out against the textured background.
I repeated this process all over the table with both stencils, randomly placing them. Then I had to let it completely dry once again.
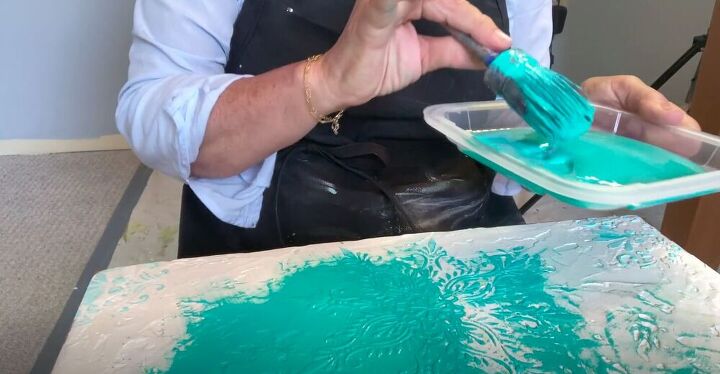
I liberally applied paint to the entire tabletop, making sure to fill in every nook and cranny. Then I once again left it to completely dry.
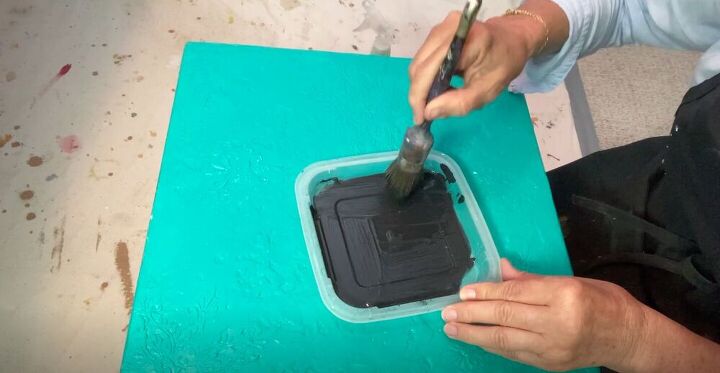
Once it was completely dry I painted it black. I mixed black paint with a bit of water to water it down a touch.
Tip:
If you’re working with a chalk based paint you may want to add a top coat to your table before painting it black. This will stop it from being pulled up in the next step.
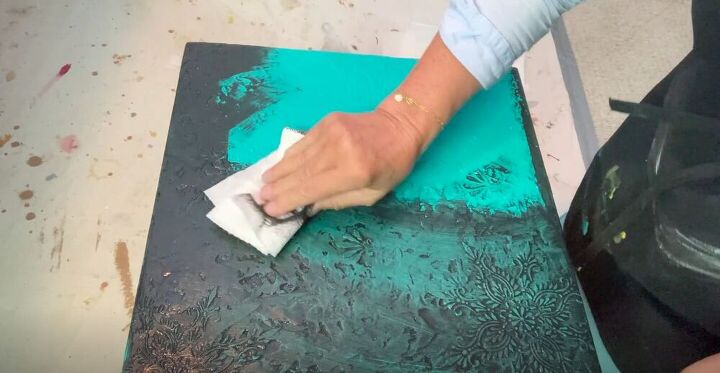
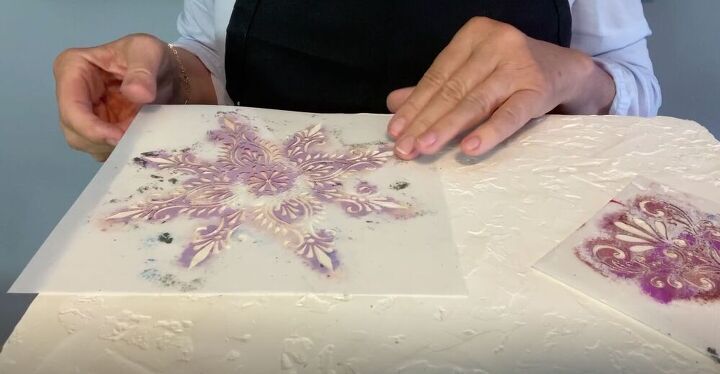
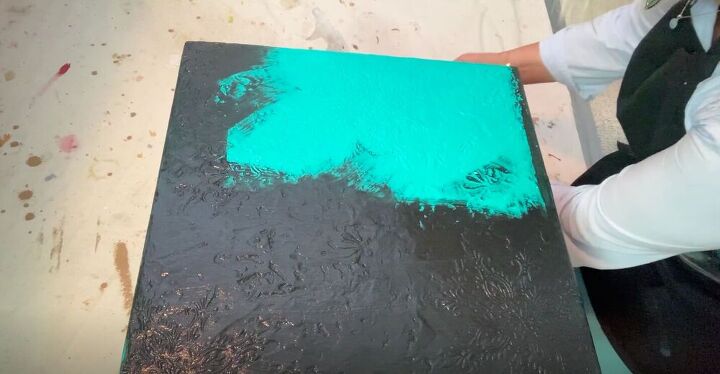
I gave it a few minutes to dry a touch, and then wiped it down using a paper towel. This pulled a lot of the black off the surface and emphasized the texture I had created with the drywall compound.
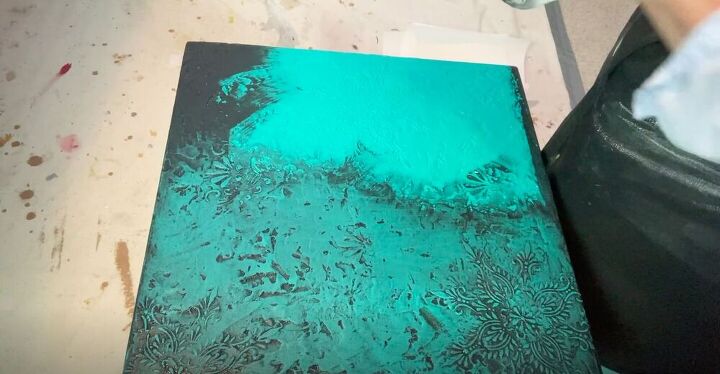
In between wipe downs I sprayed the paper towel with some water and continued wiping down. I have found baby wipes to be a bit too wet for this project, so I chose to control the wetness of the paper towel by spraying with water as needed.
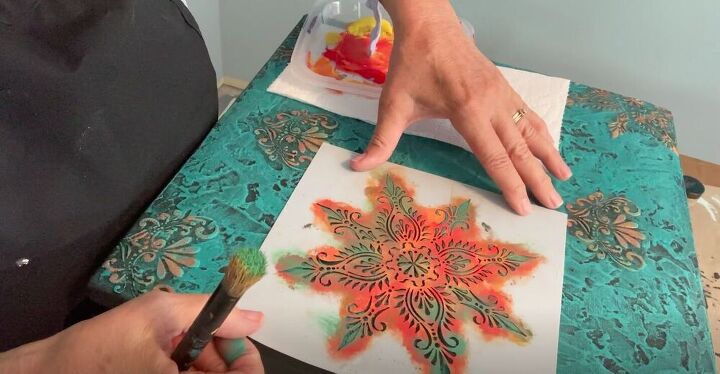
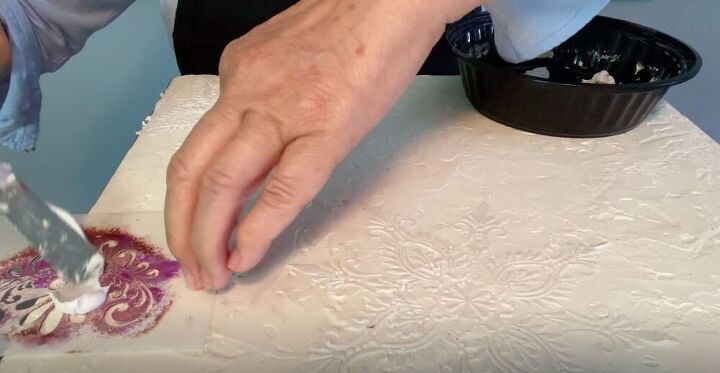
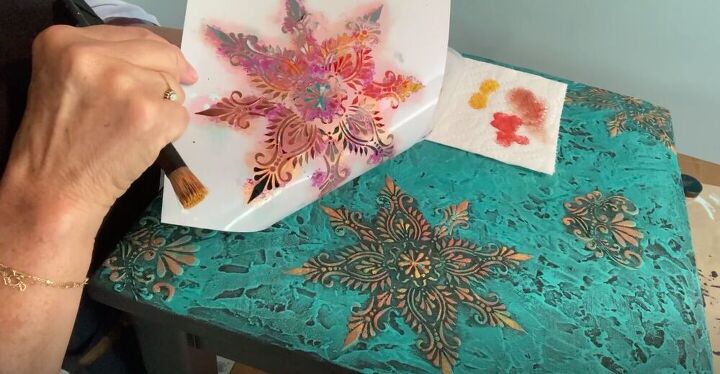
I lay the stencil back over where I had stenciled previously with the drywall compound, and randomly pounced over it. I didn’t want to fully cover the entire stencil, so I made sure to leave some bits unpainted.
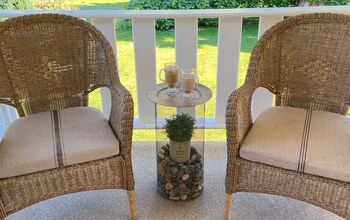
My Moroccan table will be living outside, so I added a topcoat to protect it from the elements.
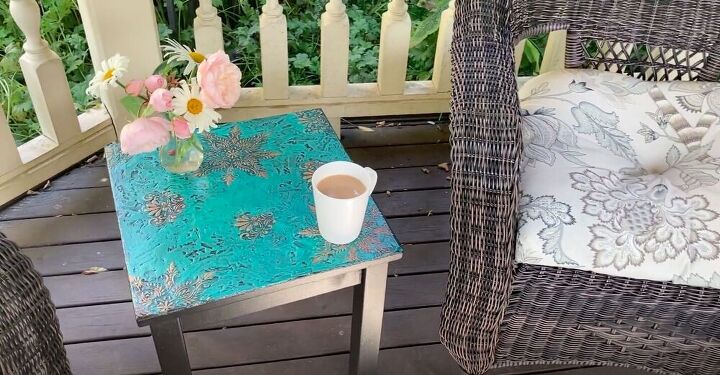
I’m really happy with how this table turned out. It’s completely weatherproof and the perfect spot to rest my cup of tea while reading a book under my gazebo. How would you use this technique? Let me know in the comments below!
Resources for this project:
See all materials


Comments
Join the conversation
-
I loved this project so much that I adapted it for use on the front of two large cherry wood drawers - then I placed both drawers under my bed for storage and to make my bed look gorgeous! Thank you so much for sharing this!!

-
Beautiful! Along with a small porch table I'll try this on my large outdoor planter. I store them in a garden shed every winter so they should hold up well.


Frequently asked questions
Have a question about this project?
Very cute.
I love it. Brilliant. I have been wanting to do something like this for a long time. But my table would be indoors. I saw you put a flower vase and a cup of tea on it. I was wondering if things sit steady or if they wobble. I saw this same element done on a side table in a furniture store. They wanted a fortune for it.
Why all the work to clean and sand the table? It doesn't seem necessary since you're "roughing" up the surface anyway. But the table turned out great! Very pretty!