


Super Simple DIY Farmhouse Style Bench
Do you have a space in your home that needs more seating? An entryway? A living room? A porch? I’m guessing that’s probably the case for all of us. Couches, benches and chairs can all be quite expensive. Well, I have a solution for you: A simple, inexpensive, beautiful and fully customizable bench.
This DIY farmhouse style bench took me about an hour to make and it cost me $30. Check out the simple step-by-step instructions below and then if you’re looking for other farmhouse style decor for your home, check out this $5 DIY Blanket Ladder.
Materials List
1 – 2×10 pine board
4 18″ hairpin legs
Stainable Wood Filler
Stain – Your choice of color
Polycrylic Spray
Orbital Sander or Sandpaper
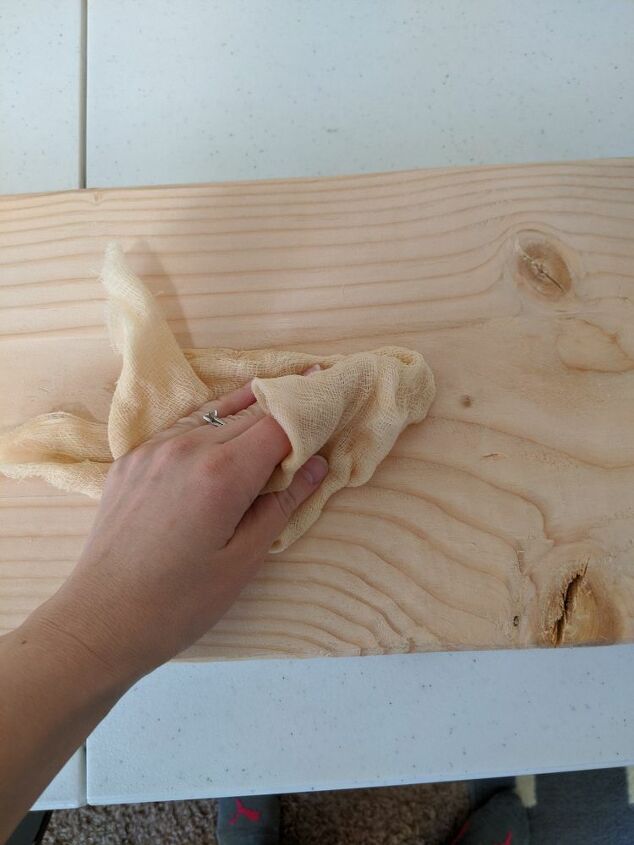
Tack Cloth
Drill
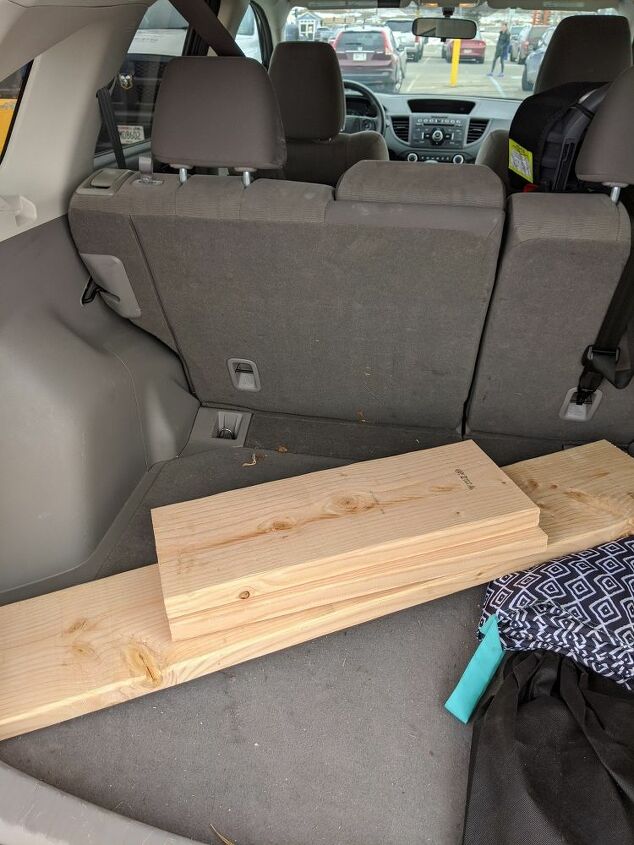
Many stores, such as Home Depot and Lowe’s, will do this for you free of charge. Otherwise you can use a table saw to cut it.
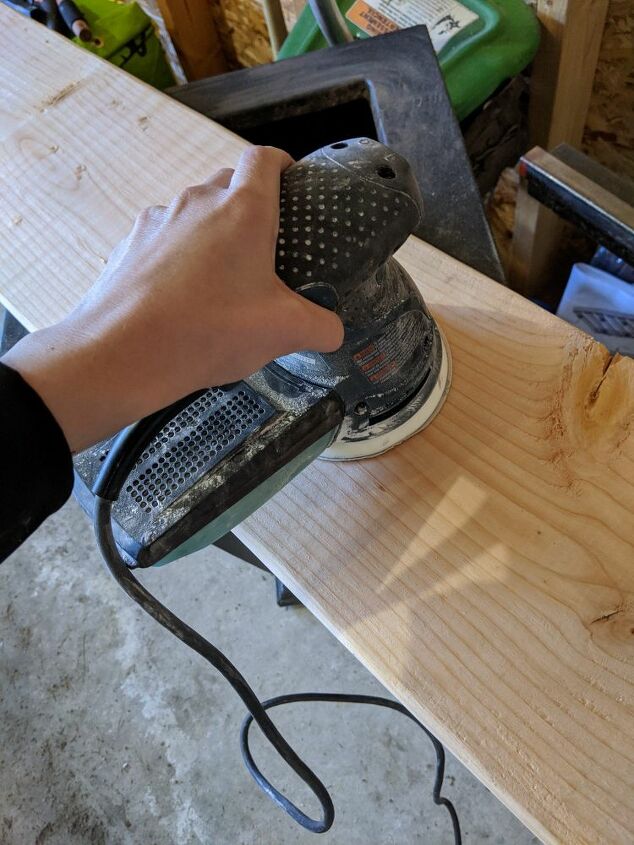
This is important so that no one gets a sliver when they sit down on your bench.
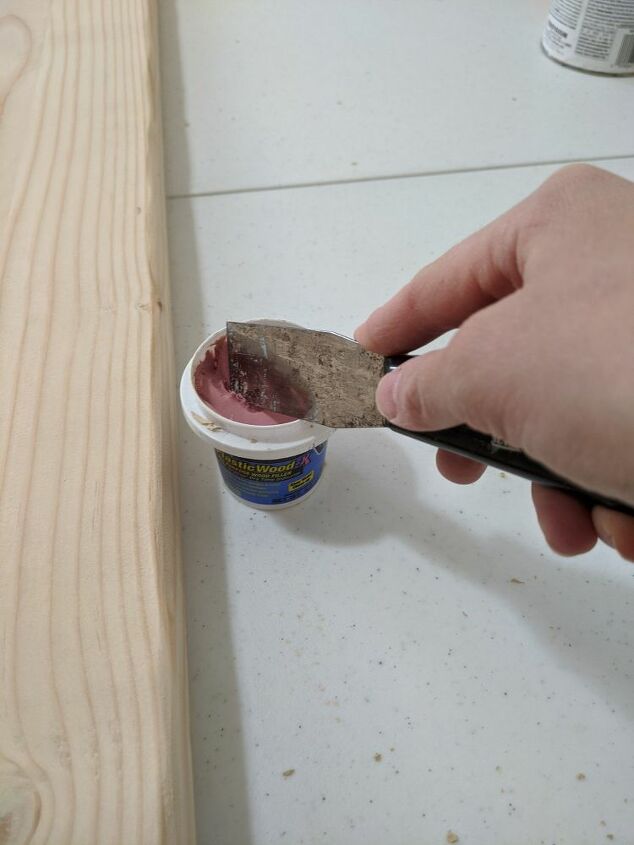
It’s important to make sure that you purchase STAINABLE wood filler. Use a putty knife to push the wood filler into the holes, overfilling them just slightly. Wait for the wood filler to completely dry.
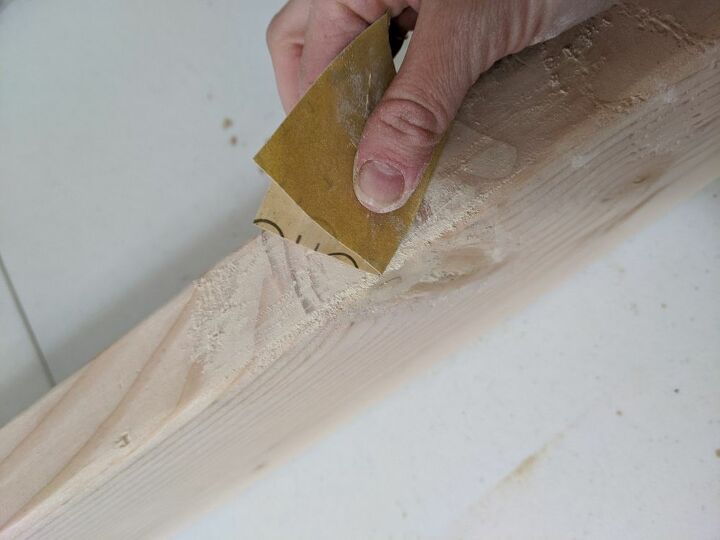
You want to create a perfectly smooth surface for your bench.
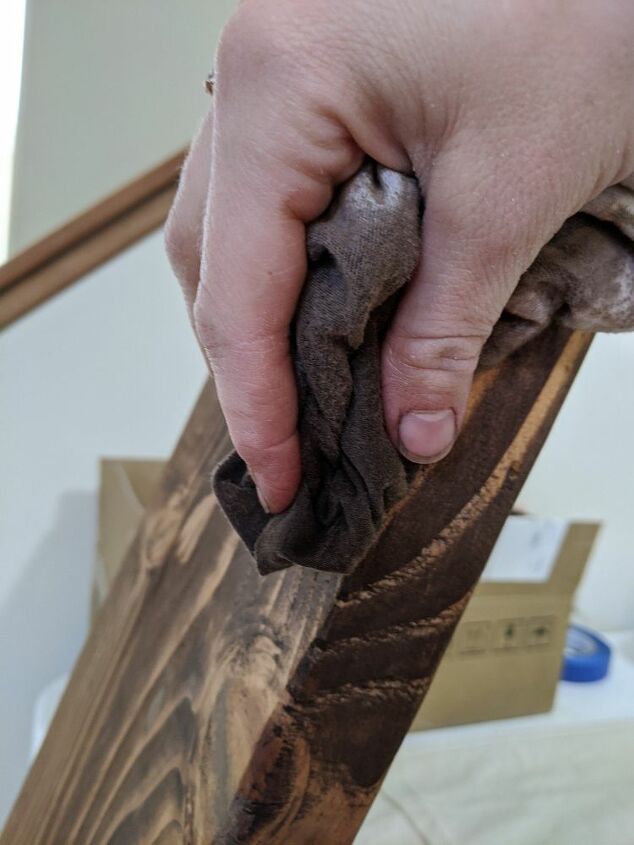
I chose to use Minwax Special Walnut Wood Stain. To stain it, I simply dipped a rag in the stain and spread the stain over the board as evenly as possible. Allow the stain to fully dry.
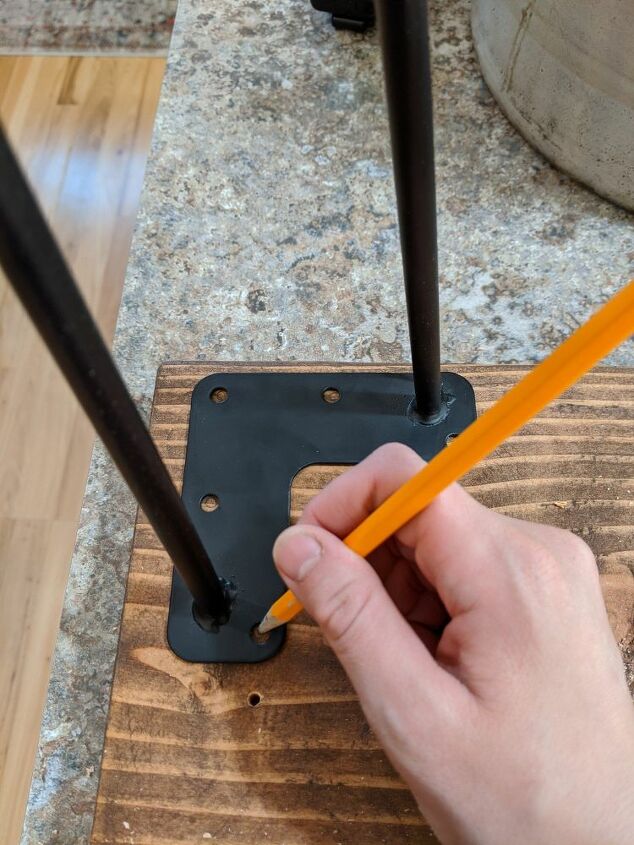
First mark the holes with a pencil.
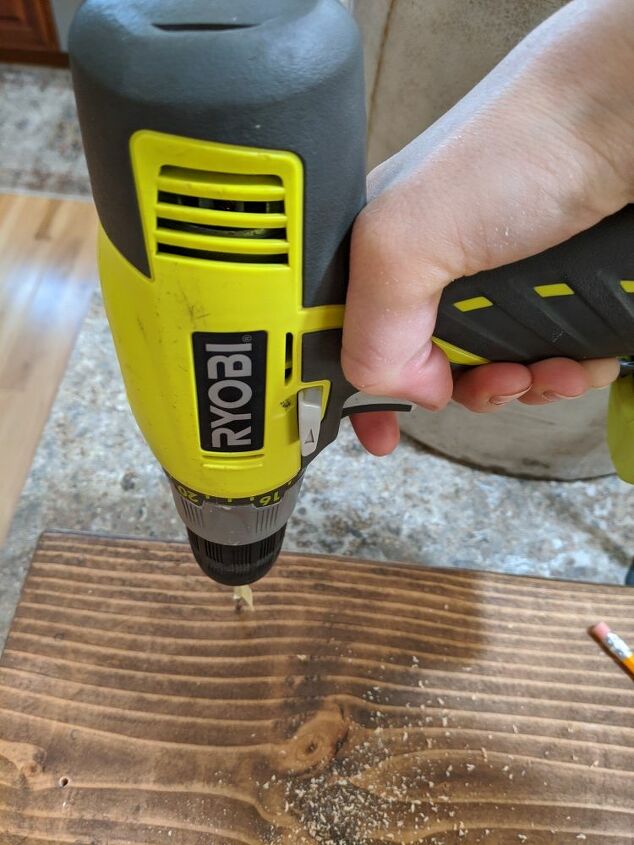
Then drill the holes for the screws.

Then attach the legs by putting in the screws.
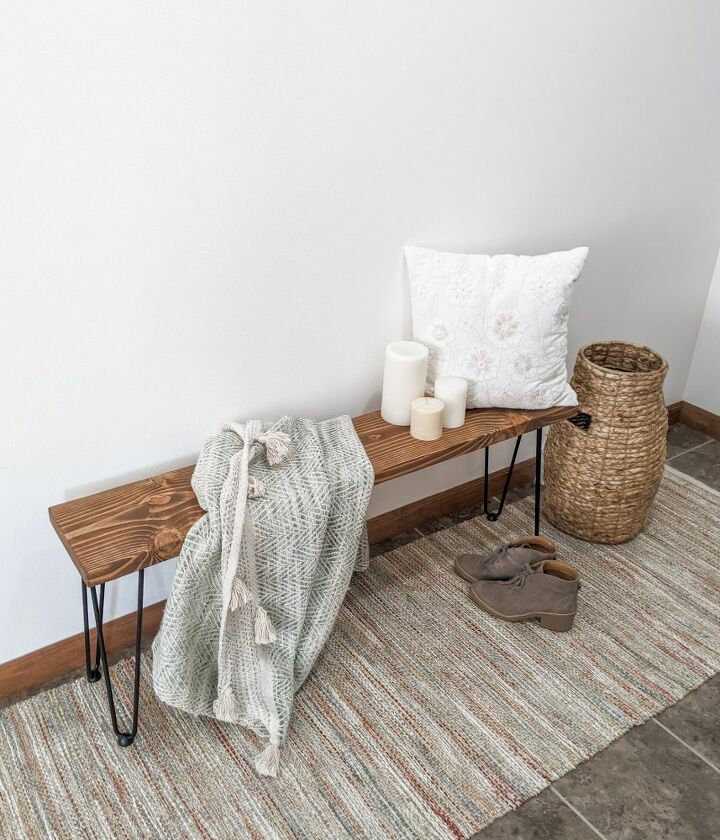
Now you’ll have a gorgeous bench to put anywhere in your home! Plus, it was inexpensive and easy to make so you can feel good about it every time you look at it.
Looking for more farmhouse style decor for your home? Check out this Rustic Farmhouse Style Coat Rack!
Resources for this project:
See all materials


Comments
Join the conversation
-
This project I love! Simple with a great out come.
-
Lovely 😻


Frequently asked questions
Have a question about this project?
Gorgeous idea! Definitely something I would like to try, however, is the bench strong enough to sit on or is it mainly decorative?
It only took an hour? Start to finish?