


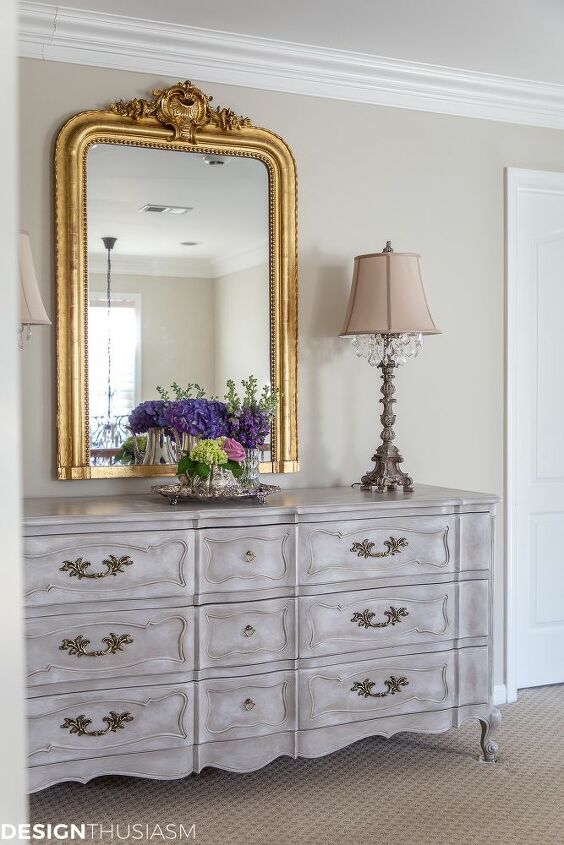
Vintage French Painted Dresser
Want to update an antique dresser for a modern French look? Check out this DIY makeover of a vintage french painted dresser for our upstairs hallway.
They all thought I was crazy.
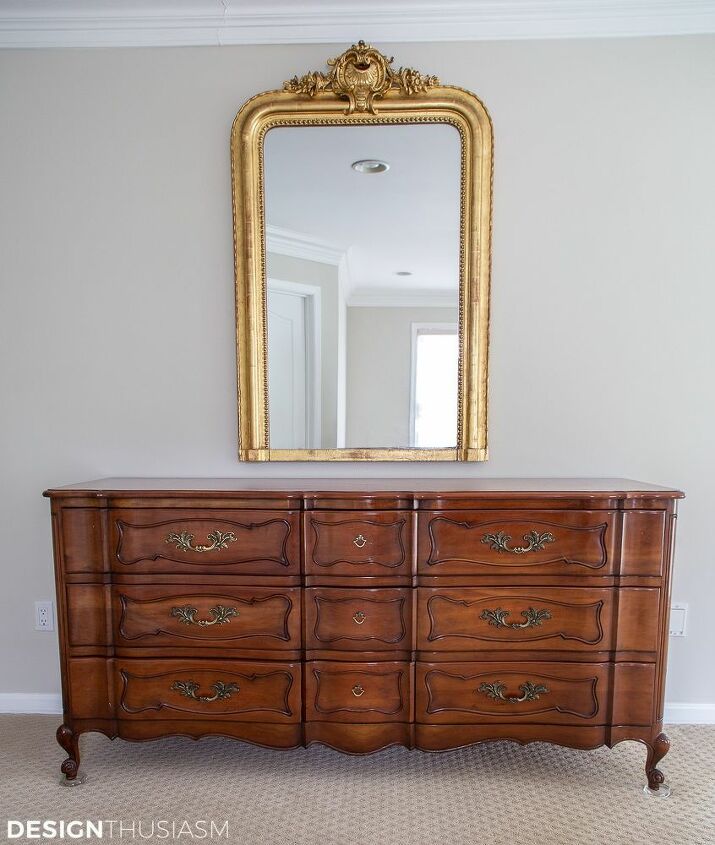
When I told everyone I wanted to keep my mother’s large dark wood dresser from the bedroom set she and my dad bought when they got married, that’s the reaction I got.
"Where are you going to put that??"
I think they all envisioned a doily filled room with afghan blankets and cut velvet upholstery. Of course, to be fair, perhaps they envisioned that because that’s what it was surrounded by in my parents’ house.
But I had other plans.
From the beginning, I had a vision and I was very aware that no one in my orbit could see it. Even my sister-in-law, who has very good taste and a sense for these things, just couldn’t see past how the dresser looked in my parents’ home.
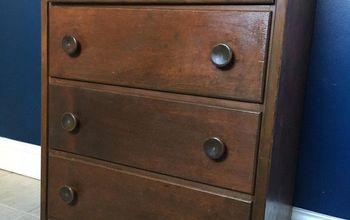
Now, I know there are those of you who will be horrified at the thought of taking a paint brush to a vintage cherry mahogany dresser. To be sure, the wood is gorgeous and the sheen quite lush. But there was zero chance of me keeping it that way. It would have gone the route of much of the furniture, either donated or even tossed when no one would take it. (I promise you, it’s heartbreakingly difficult to get rid of some things you would be amazed no one would take for free.)
So I spared the dresser and had it moved to my home. We have a large upstairs hallway and that’s where it sat for 6 months, waiting to be tended to. It looked rather obtrusive, even though there was plenty of room for it, further convincing me of why I wanted it painted.
And finally, I found the time.
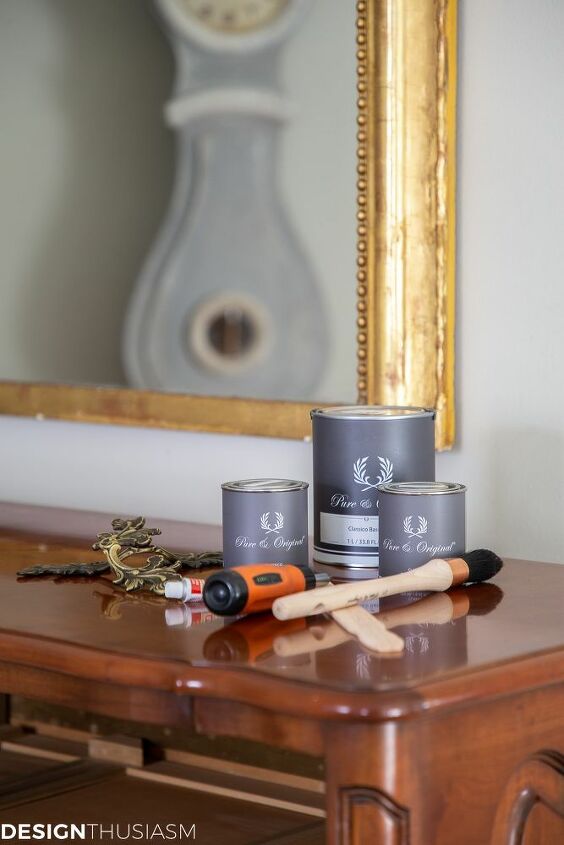
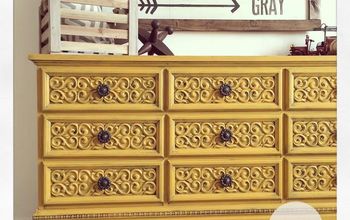
The first thing I did was wipe down the piece to make sure it was free of dirt and debris. Then I took off those lovely ornate pulls, revealing the shiny brass that was still visible on the under side. I intended to keep these and re-use them again, so I shined up the fronts, taking care to leave lots of dark patina in the recesses.
Next came the paint.
I’ve only attempted one other furniture painting project, but I was encouraged by the results since I loved the paint quality so much. That was a tiny painted table and I was delighted by the outcome. I chose 3 colors to layer for depth. The texture of the paint I worked with is just wonderful, providing a velvet powdery, matte finish when all is dry. It’s easy to work with because of its rich consistency and the vibrant color selection is exceptionally broad.
(Please see the original post for details on the paint.)
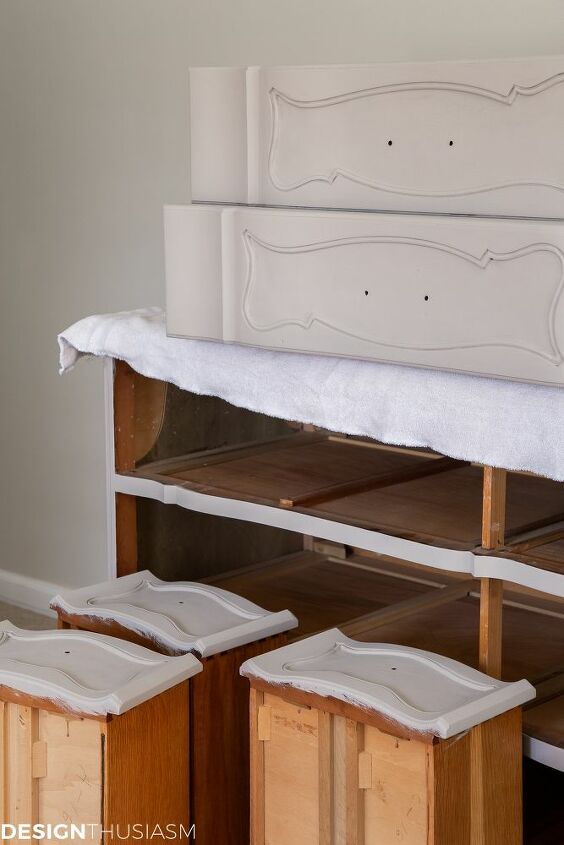
For the base layer I used a Soft Taupe. I painted on 2 flat coats for complete coverage and the color looked so pretty in our hallway space that I actually considered leaving it that way. This would be a perfectly good option for a more modern look, but I wanted the depth of a color mix that a vintage piece deserved.
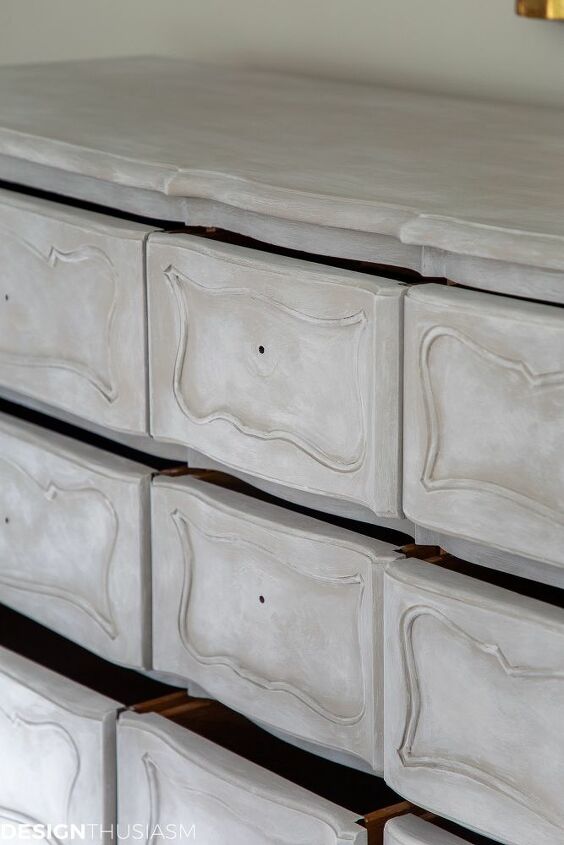
For my second layer I chose a lighter cream and this is the point where it gets a little tricky. You kind of have to find 'your voice' when painting in layers and it took me a little bit to get into the groove. I’d say it took me exactly one full drawer front to get it right, but the beauty of layering paint is you can simply paint over your mistakes.
Once I found my technique I just followed it all the way through and ultimately went back and painted the first drawer over, adding another layer of the flat base color first.
I used mostly a wash of the second color, thinning the paint with water and then rubbing some off after application with a soft cloth. I then went back in with a little dry brush after the wash.
It’s truly like a dance and I was using both hands, taking care to apply enough paint to make a difference, but not so much to appear blotchy. My goal was to achieve a soft effect, with enough layering for interest but to evoke a natural aged-over-time look.
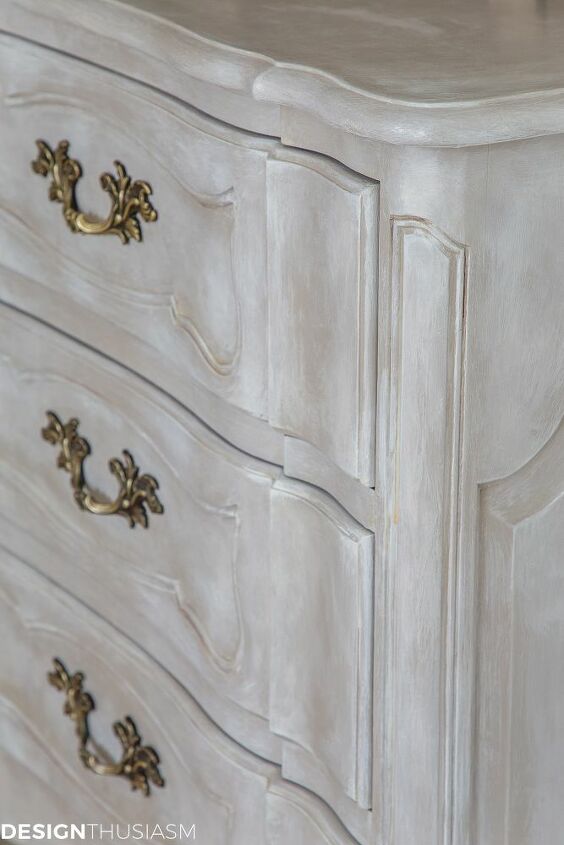
The overall impression I was after was a timeworn white. The third color I added is a milk white and I used this top layer very sparingly. Instead of brushing it on all over the piece, I used it to tease out the highlights, so abundant in a piece rife with sinewy curves. Again I used a combination of wash and dry brush and mostly followed the lines of the furniture.
For details on the final glaze and wax finish, as well as to see the final piece in our upstairs hallway, please visit the original post, linked below.
You might also like my Chalk Painted Petite Table.


Comments
Join the conversation
-
It looks beautiful however, I would do the mirror in Silver.
-
The original piece was beautiful; I love wooden furniture in its natural look. However, you made this piece look absolutely STUNNING! I can imagine the French bureaucracy being jealous over this piece. Great job!


Frequently asked questions
Have a question about this project?
It is lovely!!! Will you be redoing your mirror also??
are you a writer, by any chance?
It turned out beautiful! but you never explained how you prepared it for paint. Did you use any products to "degloss it", did you sand it down a little?