


How to Give Tired Old Pine Doors a FaceLift

by
Adele Kurtz
4 Materials
$20
10 Hours
Easy
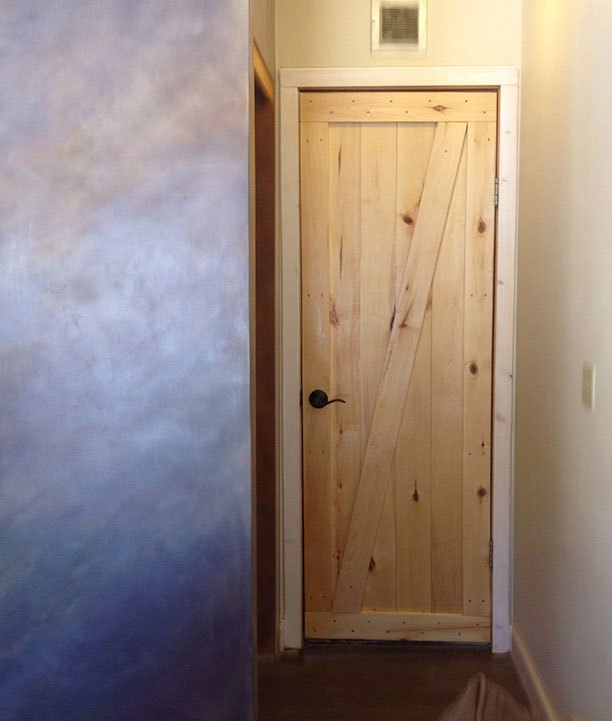
Our mountain home is filled with lots of knotty pine doors, trim and panelling. My hubby loves our casual outdoorsy lifestyle, and a look that reflects it. He'd be fine if we let it all age gracefully.
I want a more contemporary clean look, a palette of color with extra depth and light.
We need to find a happy middle playing ground.
Little by little I am transforming the place as you can see from my posts.
Rule # 1: Country Chic should never be an excuse to be sloppy.
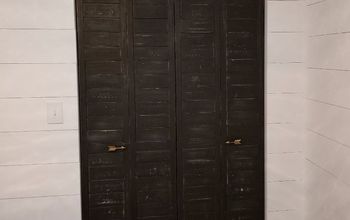
25 years of grime needs to be stripped off & face-lifted.
BTW: These were built custom for the house 25 years ago, and have aged, for the most part, nicely, with golden hues that accentuate the grain and natural patterns. If replaced, the doors would cost about $350 each from Home Depot. And they'd look too stark in new "common wood." That's why we decided it would be better to keep our old doors and trim and give them a facelift.
Experience has proven it well worth the time. 
I have a post where I gave my windows a facelift.
Today's task is the doors. I have 5 that need attention. They will average 2 hours apiece.
Here's what I learned in the process.
WORK IN PROCESS: Pickling stain vs natural
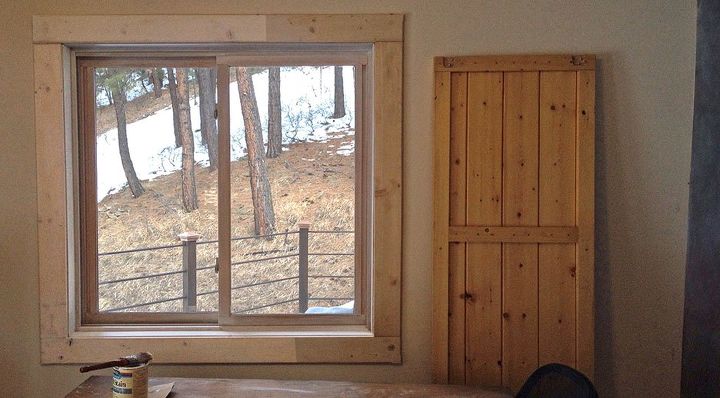
Here's where we are starting:
The windows are being stripped and pickled. Walls are being painted to creamy white and an accent wall.
Doors and trim in poor shape need help.
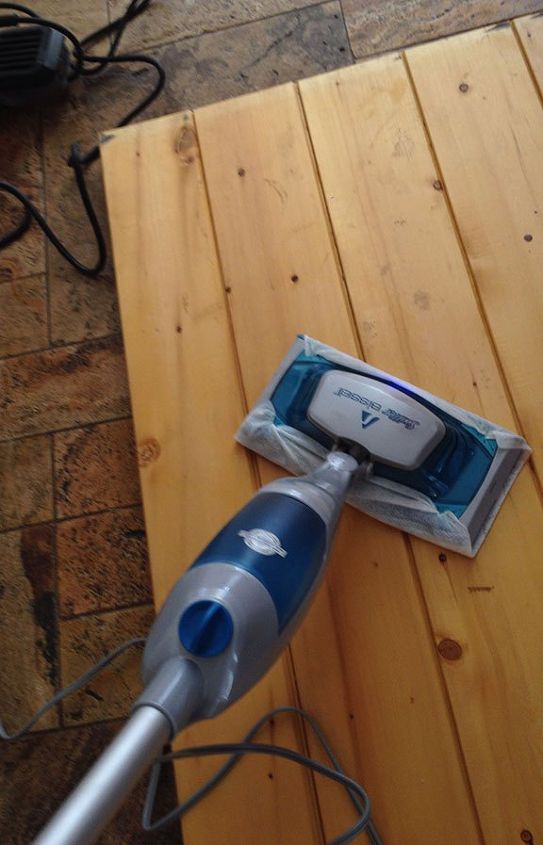
CLEAN: Some doors and trim will be removed for cleaning, some will stay. You can use a steam cleaner to speed cleaning process.
In my window post I used the recommended TSP with other household cleaners and mechanical measures. I don't like harsh chemicals and what they do to my skin and lungs -- and mood. (I get very crabby after a couple hours, do you?) So I have switched to steam, which I love much better and I feel much better afterwards.
STEAM MOP COMPARISON:
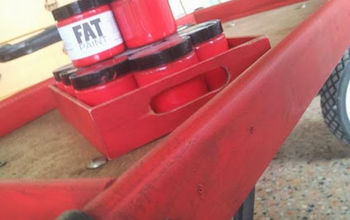
In this picture I am using the basic Bissell Steam Mop ($49). OK
I must admit I liked the performance of Shark's Pocket Mop ($59) better, it produced more steam volume, but it broke after a few dozen uses. Bissell's Powerfresh is higher rated and pricier ($89). Lots of folks love it.
In the end I found out I could do better.
I chose another from Amazon that has speeded up my work tremendously. It has all sorts of attachments for more versatile steam cleaning -- inside and outside of my home.
We're still just dating, but so far I will admit I feel that I am falling in love with this one and will do a separate post later.
Below is a preview of my new-found love:
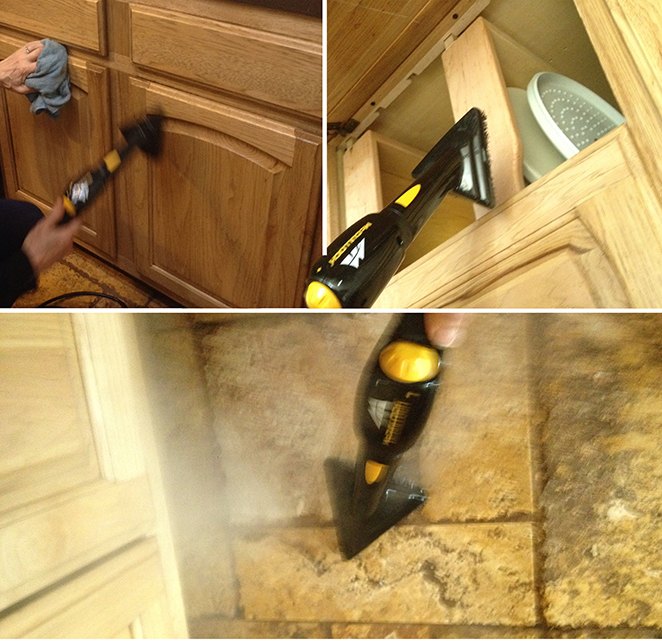
The McCulloch Steam System does it all!
SPOILER ALERT: This is the STEAM CLEANER I just bought to replace the Bissell and Shark. I am using it to deep clean my cabinets and floors and am VERY VERY pleased so far.  Happy
Happy  happy fun fun...
Happy happy fun fun... I started on my next project: cabinets and floors and they are looking as good as new very quickly!
Alas, not all goes so well with the current project. See below for more.
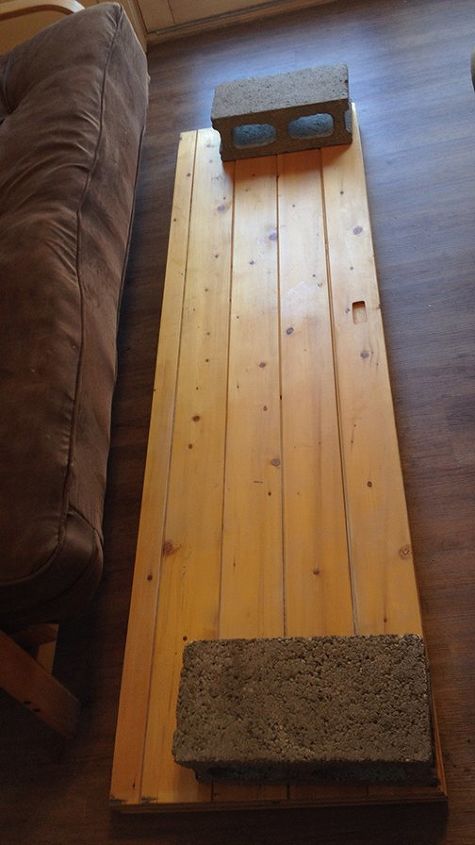
WARP FLATTENING: Two closet doors were warped and banged against one another. You can reduce warpage by flattening: use heavy objects on corners first day; then flip and use extra weight in middle. The steaming helps speed the process. First day shows a little progress. I am expecting improvement, not perfection, after three days, enough to hang without banging.
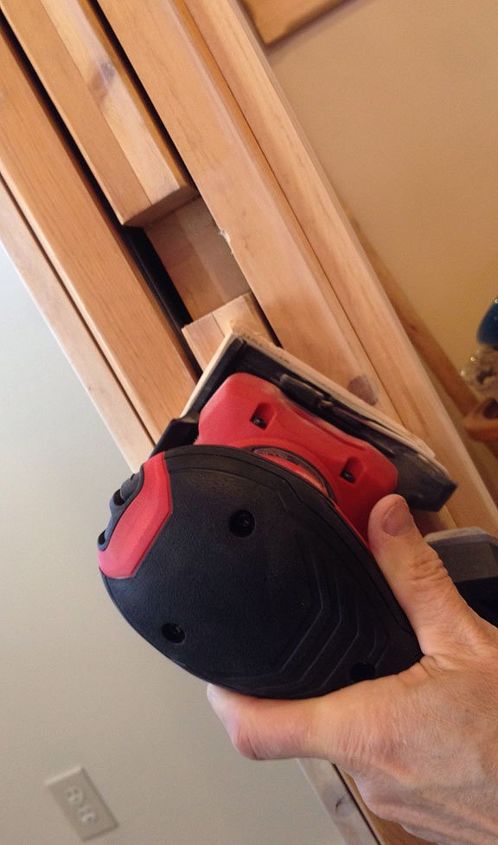
SAND: I used to hate sanding, but now I really don't mind. Now that I have this palm sander with a somewhat-useful dust collector attachment. 220 grit makes short work of this stage.
FYI: I borrowed one from my contractor, and loved his. So I went with this Milwaukee one because it is known as a "powerhouse" in the construction industry. There are only 7 reviews on Amazon, two old ones dissed the clamp/clip, but I found no trouble with it. And the one I borrowed had been well-used professionally for many years.
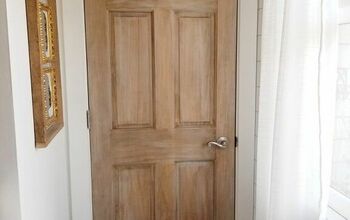
TIP: I do not want too much variation in the wood by stripping it all, and I am keeping the same natural tone. So I stay light on the touch, just enough to spruce it all up. I do not need to remove ALL the old coatings, or to get every nail scratch the dog put in.
If you DO NOT go TOO DEEP, Wood WILL blend.

I use a natural pine stain over all. It will only go into the areas that need it.
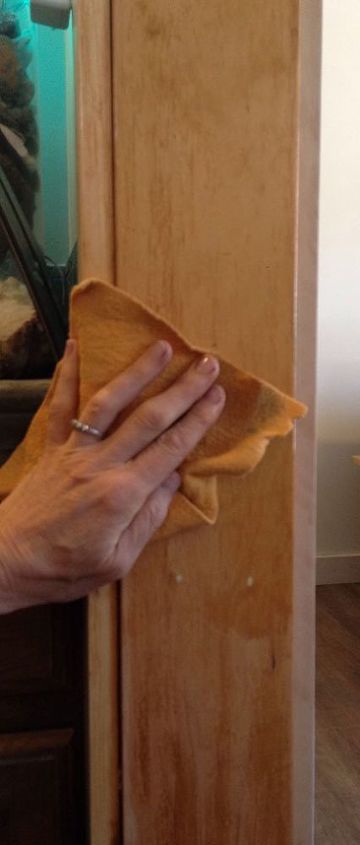
Here is how nicely the wood trim is blending with a little stain.
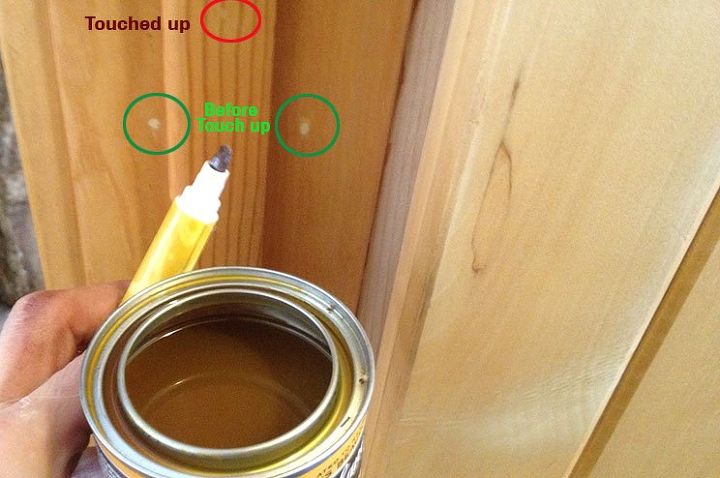
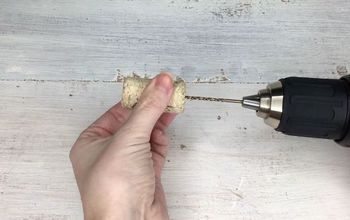
TOUCH UP: The old wood filler does not age with the wood. So you eventually have white acne scars wherever nail holes were filled. The wood filler also does not take stain well.
So I take an old magic marker and dip it into a custom stain and blot it into the hole. You need to look closely at the red circle to see the retouched hole.
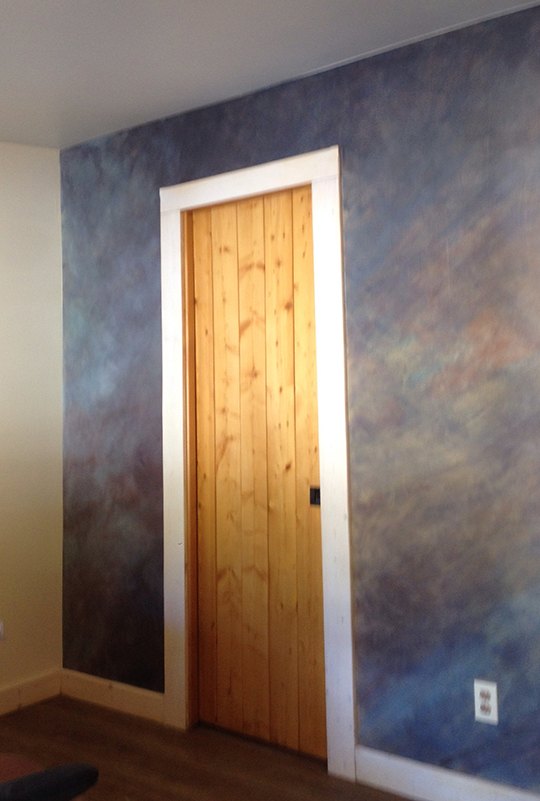
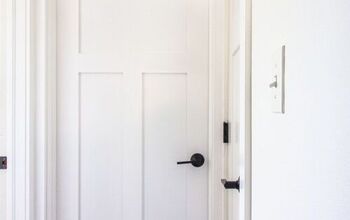
POLY-COAT. The last step is to coat with a WATER-BASED Polyurethane over all. Needs to be milky white when it goes on or else it will yellow.
This is particularly important since I used a white pickling stain on the trim and base moldings, as shown in the first picture window. (The glare in this night-time lighting makes it look more opaque than it actually is, see pic below for truer softness.)
I love how the refreshed natural pine pops freshly now.
I chose to make the accent wall in a mixed variation of metallics and color, purple dominant -- I may show this process in a separate post.
Resources for this project:
See all materials


Any price and availability information displayed on [relevant Amazon Site(s), as applicable] at the time of purchase will apply to the purchase of this product.
Hometalk may collect a small share of sales from the links on this page.More info
Comments
Join the conversation
2 of 3 comments
-
Okay I'm feeling a bit like a stalker at this point. I have now 'followed' you and have been checking out several of your older posts. I am learning a lot, for which I thank you. That purple accent wall is wow, btw! I love how the door looks so clean and fresh, too.
-
Aw thanks for stalking. You've inspired me to add the post about the wall now. I made a dazzling artwork to drop onto it too, Lisa!


Frequently asked questions
Have a question about this project?