


DIY Wall Mount Guitar Hooks

My husband is an avid musician and has a massive guitar collection. A lot of his musical instruments are in storage since he only plays them here and there, but he has a few favorites that he plays on a regular basis. We recently freshened up his office with a good purge and some paint, and found the cases for his favourite guitars to be super big and bulky and they take up a ton of space in his small 12'x12' man cave/office. I was researching storage solutions for musical instruments and found some great wall hooks, but boy are they expensive! My favourite way to save money is to just DIY!!! I'm by no means a carpenter or skilled in a workshop, (so mind my novice instructions!) but I'm creative and love a challenge!
So, here's how I managed to make some pretty cool guitar wall hooks for super cheap!!
Supplies I used:
1) Heavy duty screws & anchors
2) Heavy duty utility wall hooks. Be sure they are the ones covered in a soft material.
3) Solid Wood - My pieces were 5.25" long, .75" thick, 1" wide.
Be mindful of the thickness of your wood versus the length of the screw on your utility hook. If the screw if longer than the thickness of the wood, it will go into your wall.
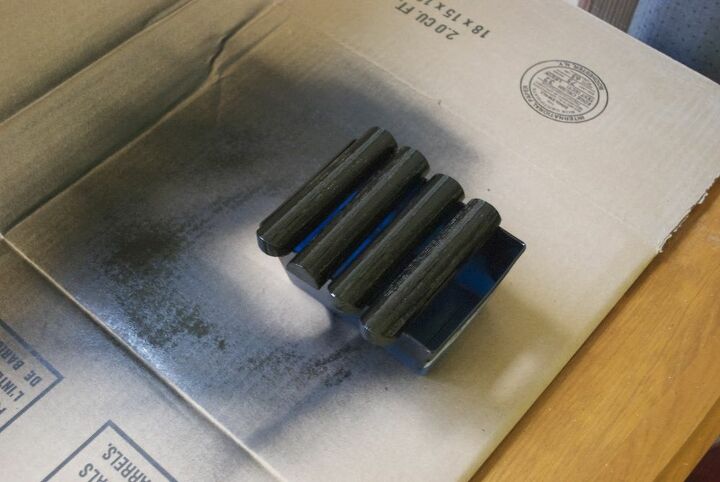
I always rummage through my workshop to see what I have on hand before purchasing anything new. It saves money, and I'm all about recycling. I ended up finding these random oak bullnose caps used for stair nosing. Why I had these is beyond me, but they were the perfect size so I used them! You can use anything you have laying around, just be sure it's quality wood to avoid it splitting when you drill holes.
4) Paint - I used black but you can use whatever colour you like. Use the same colour as your wall paint if you want them to blend in.
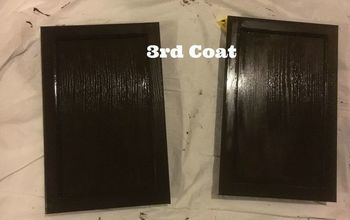
First step, Be sure your pieces of wood are smooth by giving them a quick sand with a fine grit sandpaper. Then paint them the colour of your choice. I gave my pieces of wood a good coat of black spray paint.
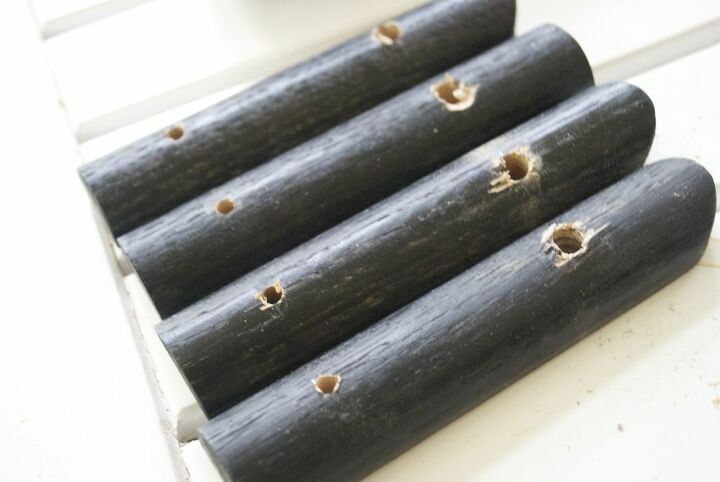
Once dry, I drilled some pilot holes. The small ones are for the screw to attach it to the wall, and the large hole is for the utility hook. I just used my power drill, but a drill press would have made cleaner holes I'm sure. I lightly sanded the holes to smooth them out.
Lesson learned... drill holes first, and then paint.
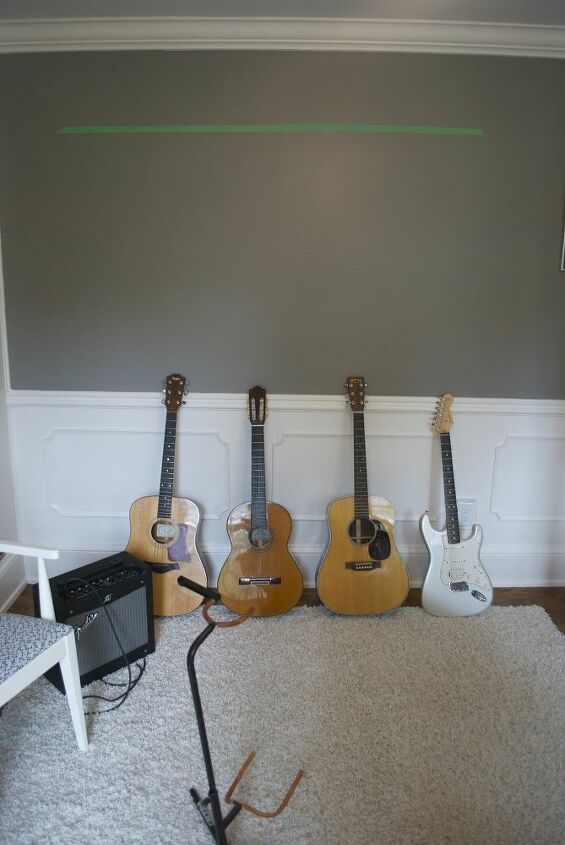
Next, I measured out where I wanted to hang the hooks. I used a level to map out a straight line on the wall, and lined it with painters tape. I then marked where I wanted the hooks. I spaced them 18" apart.
I screwed the utility hook into the piece of wood. Then to get them on the wall, I drilled a pilot hole in the wall, hammered in my anchor, and screwed the piece in place.
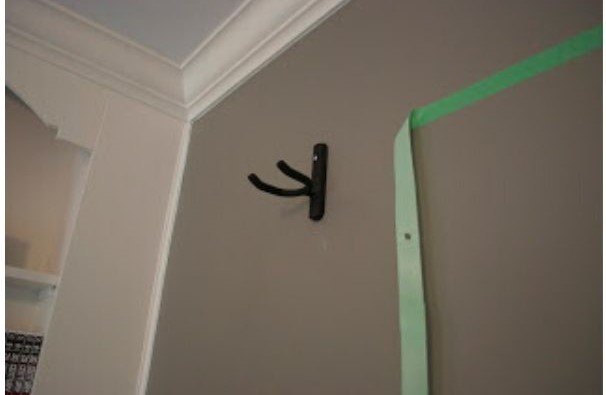
Make sure that the wall hook that you get has adequate padding – an alternate step is to buy vinyl tubing from Home Depot and slide it on the hook – then cut to size. On some more expensive guitars it might be with the extra care for additional protection/padding.
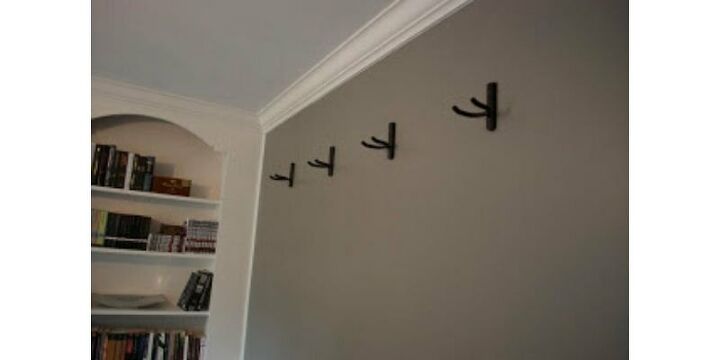
All done! Time to hang the guitars!
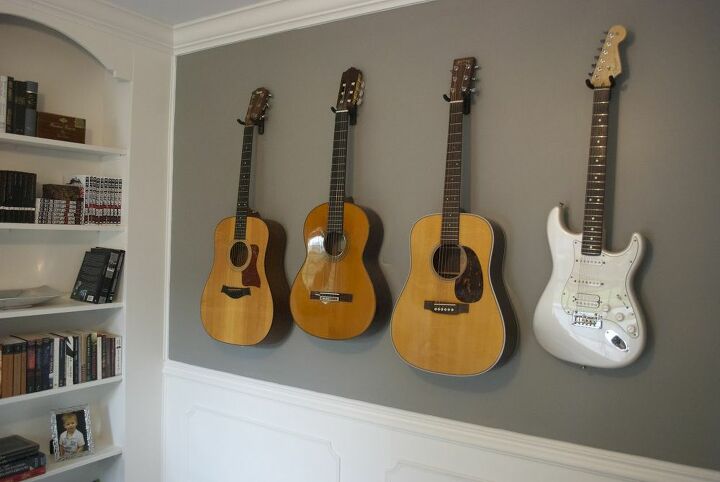
I love how they turned out and can't beat the price tag!
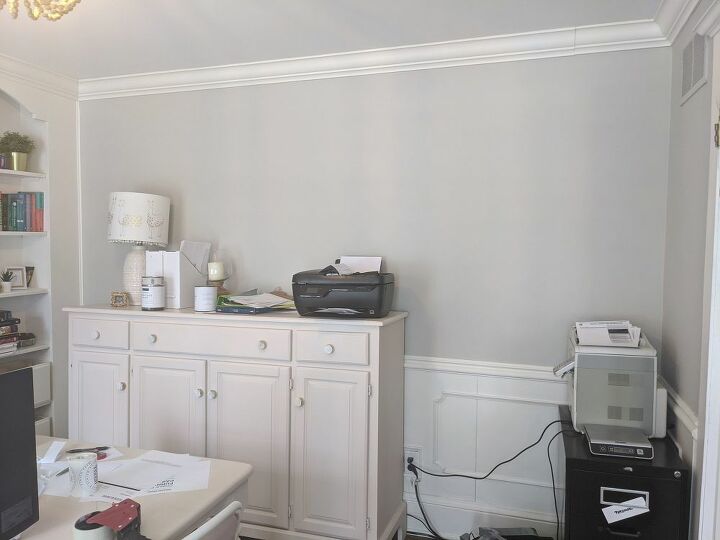
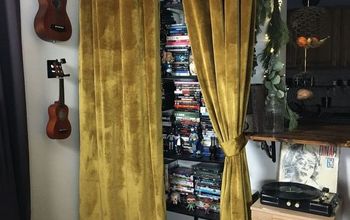
Here is the before picture. We took out the bulky storage cabinet and gave the walls a fresh coat of Elephant Skin by Behr.
Hung up the guitars and look how awesome it turned out!


Comments
Join the conversation
-
really cool!
-
Yes,I’m going to do this! My husband was wonderful musician and singer for 50+ years and I have all his guitars now. They should be on the wall but wasn’t sure of the best way to do that till I saw your wonderful idea! Thank you so much for the wonderful idea! It’ll be perfect with all his memorabilia we collected over 40+ years we were married! Thank you!


Frequently asked questions
Have a question about this project?