


Transform Old Flat Cabinet Doors !
by
Kay
6 Materials
$200
7 Days
Medium
About 20 years ago, with little money but a love for doing things myself, my kitchen was desperate for a remodel. Of course the most expensive part of a kitchen remodel is replacing the cabinets. And mine are custom made of hardwood, not the cheap crap particle-board and laminate junk they sell nowdays. So, in an effort to profoundly change the look of them without buying new ones, I added wooden trim and medallions to the door and drawer fronts to imply a look of dimensional, carved wood doors. When I did this I did not know that 20 years later I would want to post this project on a computer website called Hometalk , hence no 'in-process' photos. BUT, the bathroom cabinet doors and drawers are identical to the kitchen ones, except they remain untouched to this day, so I've included photos of those for the 'Before' phase. If time were not an issue right now I would have done my technique on one of the doors on the bathroom cabinet, but time and my local weather do not permit! I do whatever I can of my projects outside.
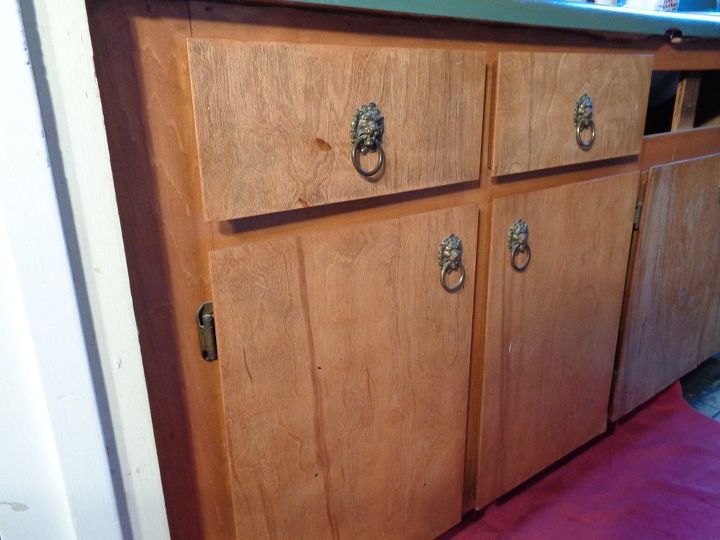
What my cabinets looked like before the redo.
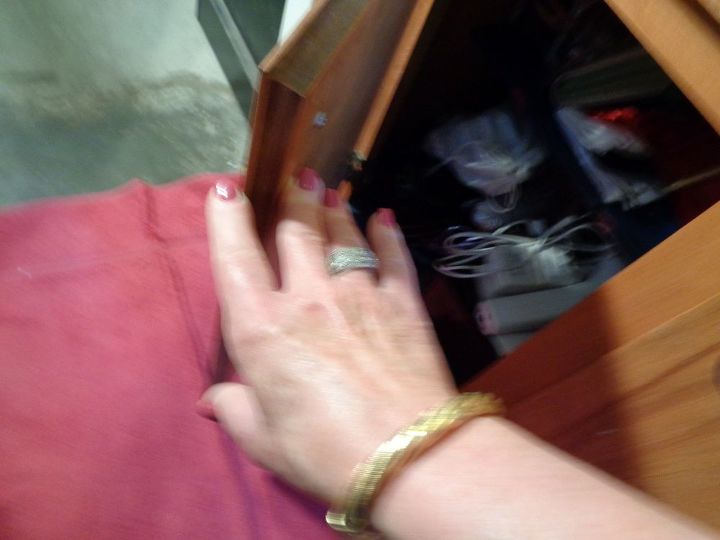
This shows the door thickness.
1. I removed all the doors and drawers from cabinets, uppers and lowers.
2. I took all outside and set up a big old door on top of 2 sawhorses. The perfect, large workbench!
3. I removed all the hinges first.
4. Used a 'then' $30 electric sander with medium grit paper to knock the clear coat off all surfaces, inside, outside and all the edges too. Of course I did the edges by hand, as they are curved.
5. Removed all sawdust.
6. I attached the wooden center medallions first, as it was easier to perfectly center them on a totally flat surface. TIP: with pencil, lightly draw an x from corner to corner on front of each door. Use a metal straight-edge or a good metal yardstick for this step. Then, draw an x on the back of your wood medallion also. The center of each x will be your center to work with. Match up the 2 centers, and pencil around the medallion onto the door front.
7. Apply a very light layer of Carpenters Glue (NO regular white elmers, it is NOT as good when working with wood) to the back of medallion and to the door front where you've penciled in the shape. Wait and let the glue get a littly tacky (1 minute or so, depending on the weather).
8. Place medallion on door front and lightly clamp it down. Not too tight or all the glue will seep out ! You just want to hold it in place while you do the next step!
9. Use tiny brads, 1/2 - 3/4 " long, and a hammer to attach the medallion. Use the thickness of your door and the thickness of your medallion to determine the length you should use. You don't want anything poking through to the inside of your door! This is tedious and detail-oriented work, and there is no rushing through it. If you want fast and easy this is not the project for you. I would say to use 4 brads per medallion. You MUST use a countersink on these brads, for obvious reasons!
10. I used 2 different trim moldings on the doors. A very small one for between the medallion and the edge of the door, and a much more substantial one for the outer edge of door. Do all your measuring first and if you add the tiny 'inner' molding then distance it properly from the edge of the door. Make sure these trim placements will be proportionate to the door size.
11. 'Back in the day' I did not own a beautiful $300 chop saw like I do now, so I had to go old-school on almost everything I did. I owned a small $5 wooden miter-box which I used with a hack-saw to miter all the trim!
12. I highly recommend you to cut each trim piece as you go. Do not just measure and start cutting unless you want to waste a lot of trim! All the straight trim pieces are attached using the same method as the medallion (minus the 'x's to determine center), Steps 7-9. ALWAYS use a carpenters' level for each individual trim piece placement. You do not want visable wonkiness!
13. Go back and remove any dried on glue seepage with a razor.
14. Double-check every single brad and make sure they are all counter-sunk.
15. So now, turn your OCD switch to high and get your small pot of Spackle and start filling every single nail hole with it, on the trim and the medallions. Do this with you index finger. Pack the spackle into the hole, overfilling very slightly. Then dampen index finger with damp paper towel and smooth over the top of the hole. Gently. If you use too much pressure you will pull the spackle out of the hole, and it will show up after painting as a dimple in the wood. IMPORTANT: do NOT use caulk. do NOT use wood filler. Those 2 products are waaay to hard to get nice results with on this project. Only use a good fresh pot of Spackle.
16. Now, look at all your crappy trim corners ! To perfect the miters, start spackling them. You'll get the hang of it! Use the same method as described in Step 15, except when spackling the corners, use a credit card or id card instead of your finger. Same as if you were spackling a nail hole in your wall.
17. Now check along the length of each trim piece, where the wood meets the door. Any place where you see a gap, you must spackle! If you don't, the gaps become uber-obvious when you paint the doors.
18. Now, walk away...Go get a cup of coffee and call your best friend to complain about how tired you are. Do this for about 2 hours to allow all glue and spackle to be dry. Me, personally, After I glued and nailed everything to the doors and drawers, I let everything dry overnight. I would strongly advise this. Then the next day after spackling everything I let everything dry overnight again.
19. Now, brush paint everything. Give it 2 coats, no primer necessary, your first coat of paint acts as a primer on cabinets in the same way that it does when you're painting walls. A roller is not advisable for the fronts.
20. Let the 2nd coat of paint dry overnight, NO exceptions !
21. I antiqued mine the next day with a honey maple stain. Why? Because I was going for an Old European look/style in my kitchen. An advantage of going 'rustic' with it is that perfection is not necessary! So that worked well for me back then! I brushed the stain over the whole door front, then removed with my husband's favorite t-shirt. It was a nice old and soft one. I'm pretty sure I must have been mad at him at the time! A lot of stain embeds into all the cracks, crevices and corners of the trim etc on the door fronts. That's what you want, the darkened edges and corners. If you aren't going rustic with it, skip this step.
22. Again, let the stain dry overnight. No exceptions.
23. Now, use a fresh tack cloth to remove every microbe/particle/dust from the surfaces.
24. Now, brush on your clear coat. I used a Satin Polyurethene. Not the water-based Polyacrylic, remember the finish on cabinet doors must hold up to scrubbing and de-greasers. For that reason, the oil-based Poly will be the most durable. SATIN finish, always, for DIY'ers. Because a gloss finish will show-up each and every imperfection you have, as if you've spotlighted all your mistakes. The Satin finish has a subtle sheen that is very scrubbable.
25. I remember doing 3 clear coats on my doors/drawers, just for insurance. 2 coats would probably have been sufficient, but I wasn't taking any chances. And 20 years later the finish is still exactly the same as it was 20 years ago. It held up perfectly.
26. Let clear coat DRY OVERNIGHT between each coat!!!!!!! I don't care what it says on the can re: drying time!!!!

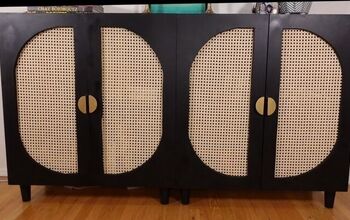
Clearly I should have cleaned the cabinets and mopped the bricks before taking these photos, but the maid is off all week....
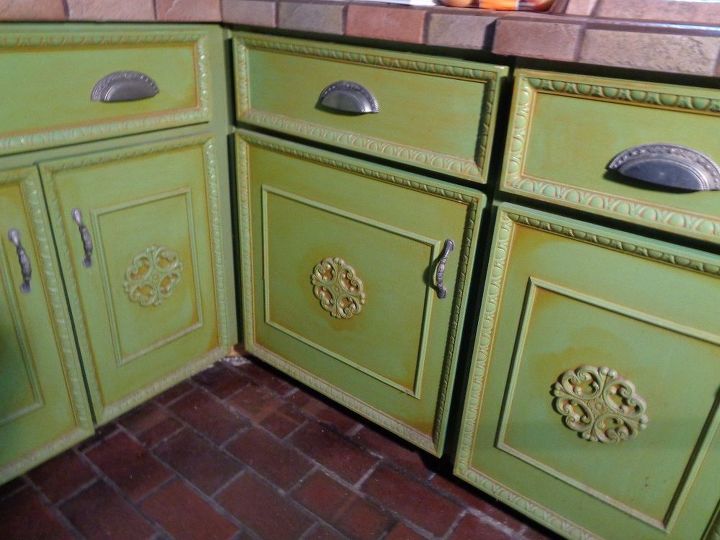
The paint was a celery green color (green with yellow undertones). The stain was a light honey maple shade I believe.
Notice how I had forgotten to 'antique' the edges? On every last door and drawer! It's very obvious, but I really didn't even notice that until about a week after I'd re-installed them. By then, I was so sick of my cabinet work I didn't even care anymore. It just be that way sometimes...
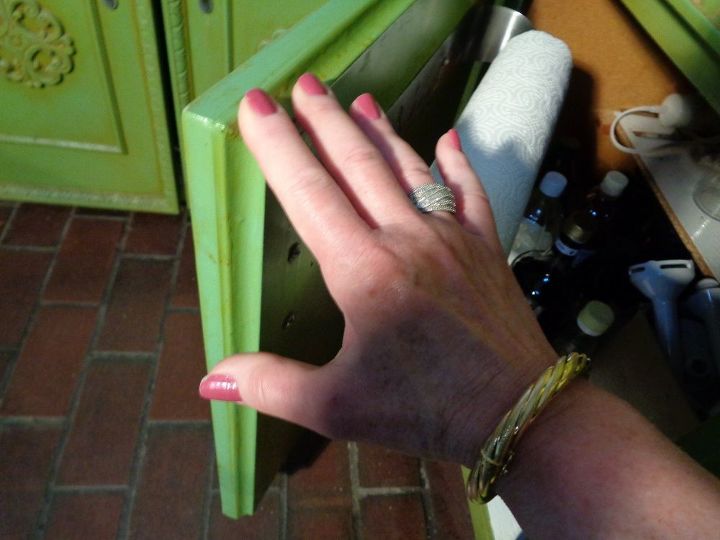
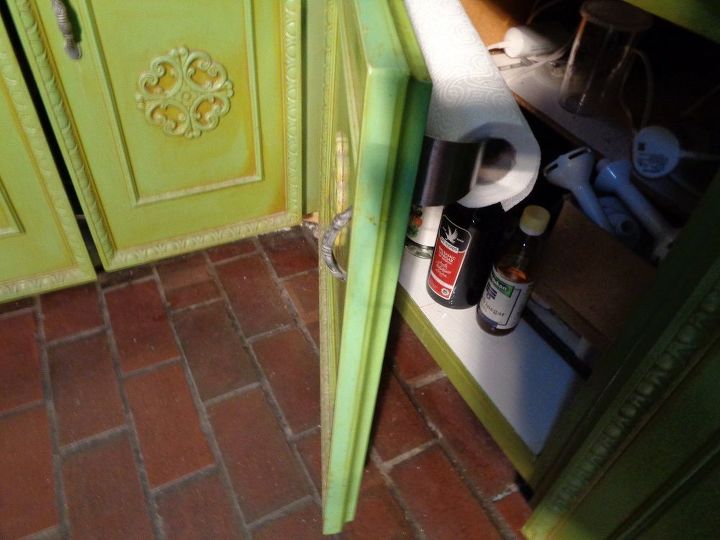
Here you can see the 'edge' of where the trim molding meets the front of the door. See how thick and substantial it makes the doors look? They feel the same way when you open and close them, and the origional hinges that I re-installed after clear-coats have held up perfectly to the little bit of extra weight. Oh, Remind me never to take a close-up of my nose! It appears that the closer the camera gets the bigger things look. I have to go now, this has officially become a book ! I can't help myself, I love to talk all things DIY...


Any price and availability information displayed on [relevant Amazon Site(s), as applicable] at the time of purchase will apply to the purchase of this product.
Hometalk may collect a small share of sales from the links on this page.More info
Comments
Join the conversation
2 of 27 comments
-
I have never liked my cabinets. I have tried painted them but they have always been missing something. Now I know what to try!
-
good luck! If you follow my instructions you will have a beautiful and unique result!


Frequently asked questions
Have a question about this project?
What color paint did you use.
I love this!!! I love that you did it yourself, I love the way you wrote the description. You seem so authentic
Where did you purchase the medallions?