


How to Build a Rustic Trestle Farmhouse Table - DIY
by
Logan cooley
$125
3 Days
Medium
I started out woodworking so I could build some furniture items for the house. I watched lots of YouTube videos and purchased woodworking books with step by step plans. As my hobby progressed I was buying more and more tools. I took up more space in the garage and then eventually part of the basement. Somewhere while growing my tool collection and growing my woodshops footprint, my wife suggested so politely that I start selling my work. She pointed out that my hobby has become very very expensive. I built my first farmhouse table for our dining room, and decided to use it as a show piece to try and sell farm tables. I kept learning about furniture making and also the best way for me to sell some of my work. I will be showing you how to build one of the tables that now graces a customer’s dining room!
https://youtu.be/N_7bSWv3hOY
PLEASE WATCH MY YOUTUBE VIDEO ON THIS BUILD FOR MORE INSTRUCTION! I would appreciate it if you could like and subscribe to my channel. If your feeling crazy even leave me a comment on my YouTube video as well! Thanks and enjoy!
https://youtu.be/N_7bSWv3hOY
The first step for any this and any project is to know what size table you plan on building. This table happens to be 72 inches long(6feet), 36 inches wide, and 31 inches tall. The customer wanted a trestle style farmhouse table that was all stained! Make sure you sand all the pieces for the table base or plane them before attaching them. I use a planer, but a lot of sanding with work too!
I first do all of the cutting. This can be done with a miter saw, circular saw, or even a hand saw. I would want to have a miter saw for this project. A good 10 Inch miter saw can be purchased new for a little over 100.00. The wood used for this exact table is 1-8 foot 4x4, around 4-2x4’s, 9-2x6’s or 3-2x6’s and 6-2x8’s. Now lets get cutting. Grab the 4x4 and cut two pieces at 27 inches each. Then cut a few 2x6’s and make 4 pieces that are 27 inches long as well. Lastly to get the x shape on each side of the trestle leg cut 8 mitered pieces at a 45-degree angle. Each mitered piece should be approximately 13 inches long and these will come from the 2x4’s. For the center stretcher piece that connects both trestle bases cut a piece of 2x6 at 48 inches long. This will leave some overhang on each end of the table so chairs can be used if needed, at the ends of the table. Lastly cut the pieces for the table top down to 7 feet long for a 6-foot table. This way once the table top is glued together and dried you can cut the ends of to get a perfect 6-foot table with straight ends.
Now let’s take this pile of wood and turn it into a table. First center up those 27-inch pieces of 2x6 on the top and bottom of the vertically standing 4x4’s. Screw through the top of each 2x6 with approximately 3 screws in a triangle pattern down into the 4x4’s. The 4x4 attached with the 2x6 pieces should now look similar to an H turned sideways. Next take the 48 inch 2x6 and connect the two 4x4 leg bases uses dowels, screws, or whatever method you choose. Then attach the 8 miter pieces to the legs as pictured. Secure them down with glue and screws. Side note, add glue to all the joints to make them a bit stronger!! Lastly lets get the table top going. Glue the now 7-foot boards together side by side. You can just use glue, use dowels, biscuits, pocket holes, or any method you prefer. I just use glue. Make sure you have plenty of clamps that are at least as long as the width of the table. Also it is much easier to keep the table flat by joining the table top pieces in sections. After the glue dries on the table top overnight, take a straightedge and lay it across the table to make a straight line to push your circular saw against to cut the ends straight and down to your desired length of table. Lastly sand the table top for a long boring amount of time. Make sure you wear a dust mask to keep you lungs sawdust free. Then stain the table top and bottom any color you like. I used espresso by Minwax. Then let that dry overnight and apply a few layers of polyurethane just to the top to give your table top some shine and protection. Sand with 320 grit sandpaper in-between coats.
The final rewarding step of the project is setting the table top on the base you have built. Countersink two screws for each side of the base of the table. Do this from the underside of the 2x6 pieces that touches the table. This is a total of 4 screws.
That’s it, you have a beautiful table that can grace your dining room for years to come. Now go out and make this or anything. Just get into woodworking, you will get addicted! Next time I will post some more step by step pictures. I hope you enjoyed this thanks!

Bases all attached, bench and table. Details for the table in this article!
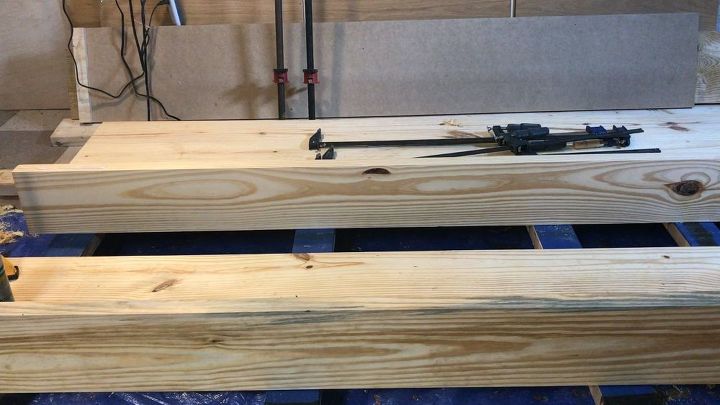
Table top glued up in sections
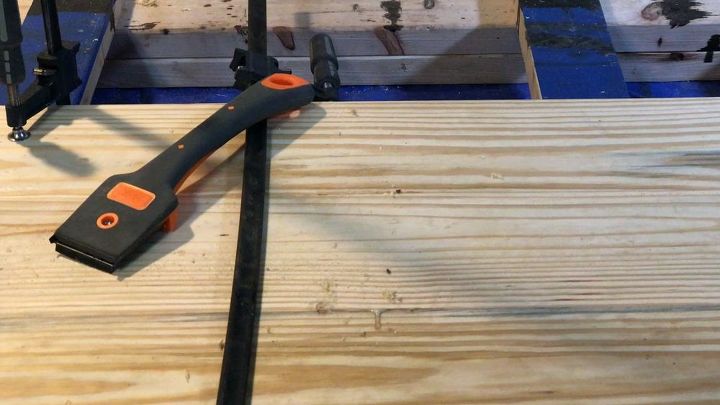
Make sure to scrape the glue off after its dried for approximately two hours, when its still tacky.
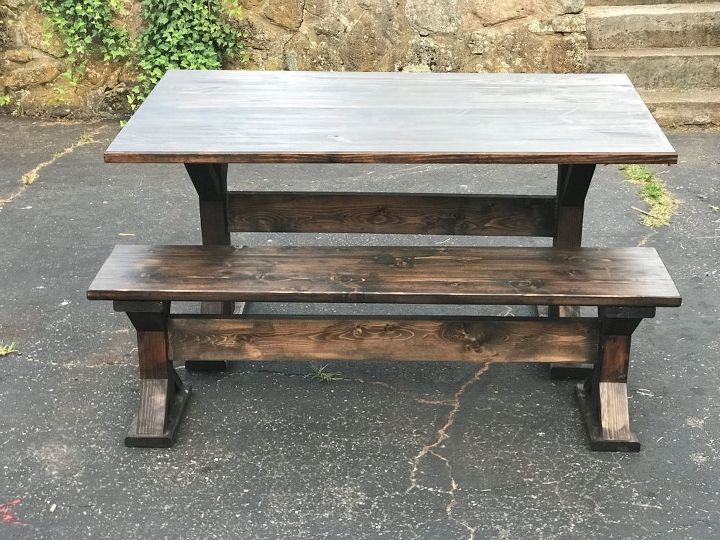
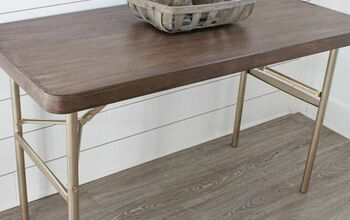
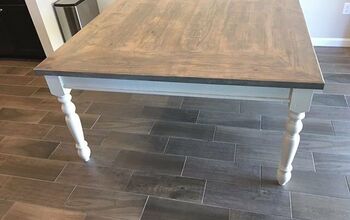
Finished product in my badly sealed driveway!
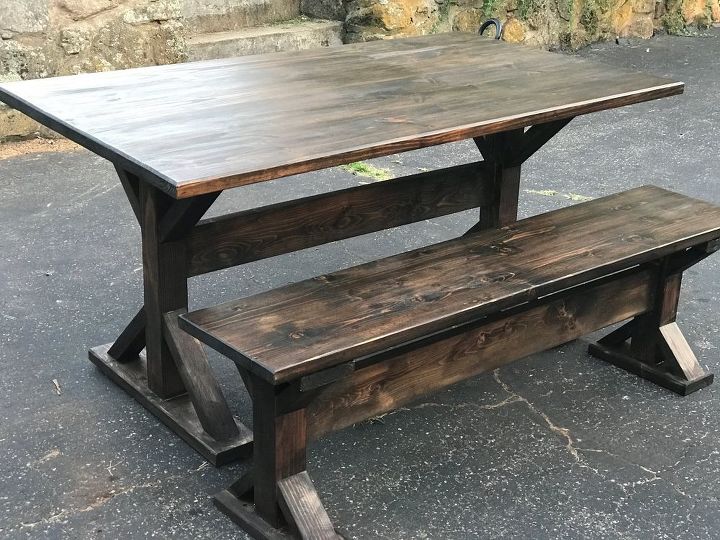
Another view of the finished table!
{
"id": "4061351",
"alt": "",
"title": "",
"video_link": "https://www.youtube.com/embed/N_7bSWv3hOY",
"youtube_video_id": "N_7bSWv3hOY"
}
{
"width": 634,
"height": 357,
"showRelated": true
}


Frequently asked questions
Have a question about this project?