


How to Make a Cute Q-tip Christmas Tree in 5 Easy Steps
Welcome to a festive DIY tutorial where I'll guide you through creating mini Christmas trees using everyday items like tin foil, Q-tips, and a microfiber mitt. These cute decorations are not only easy to make but also add a touch of holiday magic to any space.
So, let's dive right into making some Q-tip Christmas trees!
This post was transcribed by a member of the Hometalk editorial team from the original HometalkTV episode.
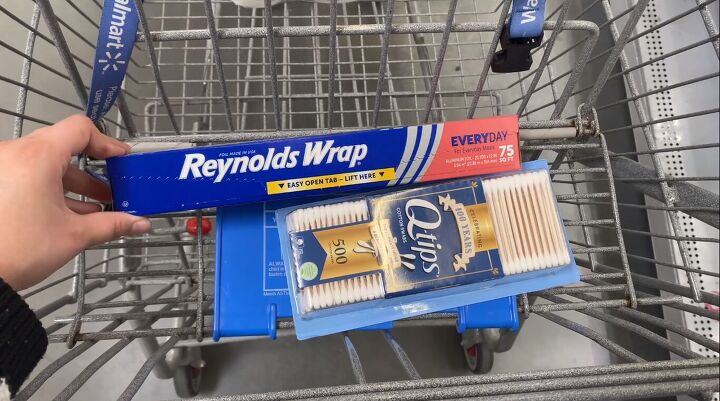
Tools and materials
Hometalk may receive a small affiliate commission from purchases made via Amazon links in this article but at no cost to you.
How to make a Q-tip Christmas tree
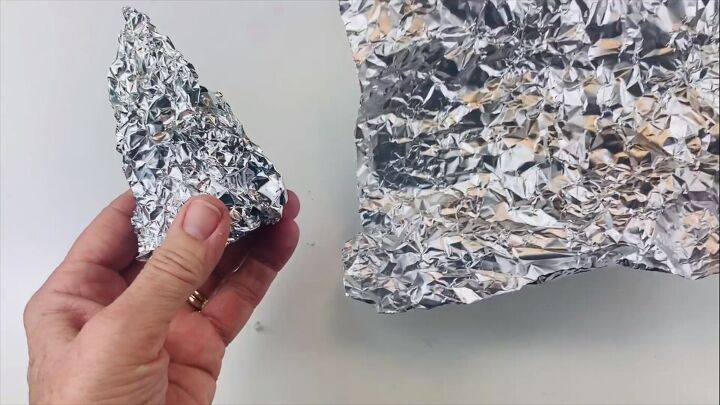
1. Make a cone out of tin foil
The first thing you do is take a piece of foil, which can be any size you like. I have already scrunched it up so it's a little bit crumpled looking. We're going to make it into something that resembles a Christmas tree.
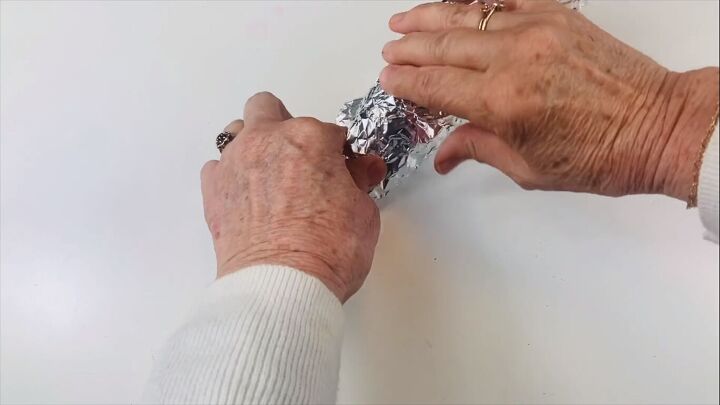
Then, taking the other piece, I'm going to wrap it around.
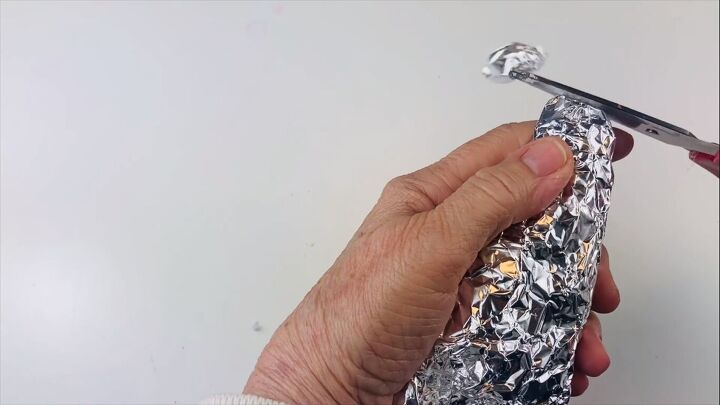
2. Cut the top and bottom
Cut off the top and the excess on the bottom
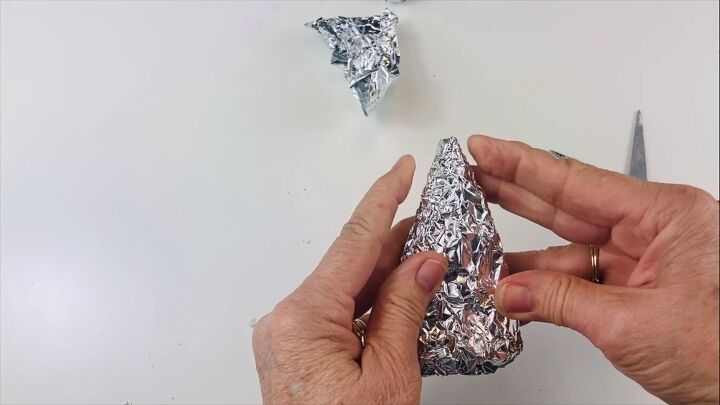
So, you're making a cone shape.
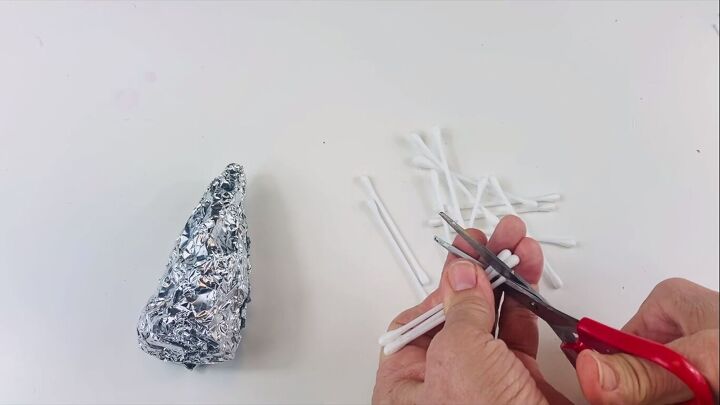
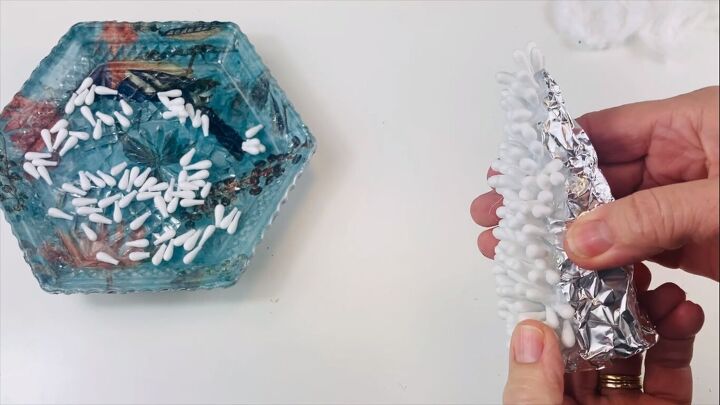
3. Cut off the tops of Q-tips
Now, taking some scissors, I'm going to cut the tops off these Q-tips.
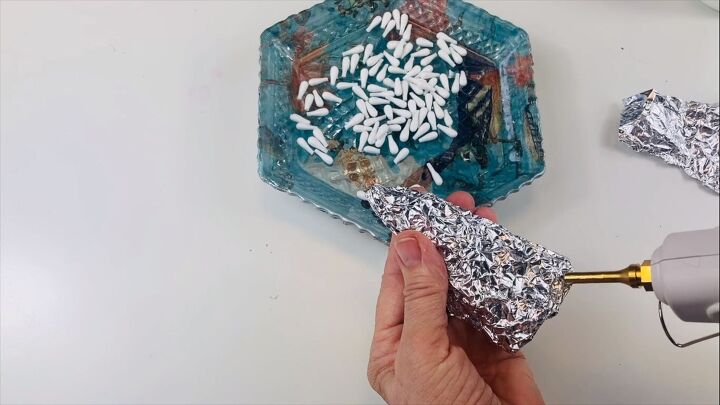
4. Glue the Q-tips to the tree
Now, using a hot glue gun, I'm going to apply some glue to the bottom of the tree and start to stick these little tips in place.
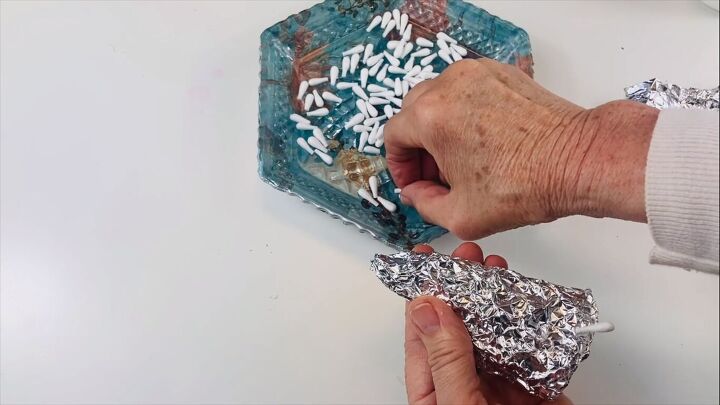
The glue sets up really fast. You could use a tacky glue or a gel. I have tried that, but it takes a while for that to dry. So the Q-tips kind of slid off. So I found this was the best way to do it.
5. Add cotton wool to the back
Now, you can carry on going all the way around, but I intend to just show one side of these.
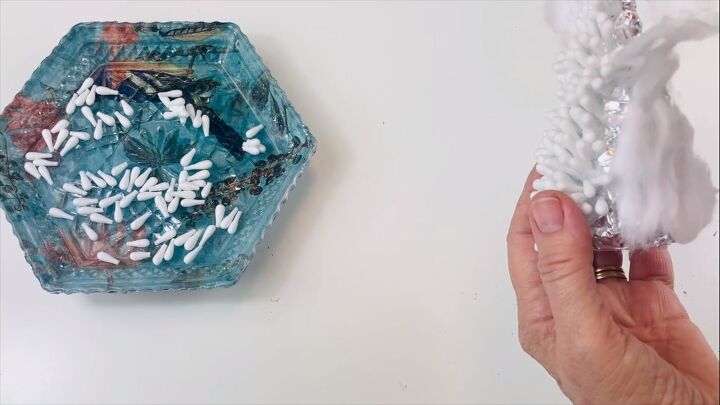
My plan now is to put some more hot glue down and use cotton wool to fill in the back so that if any of it is seen, it looks a little bit snowy, too.
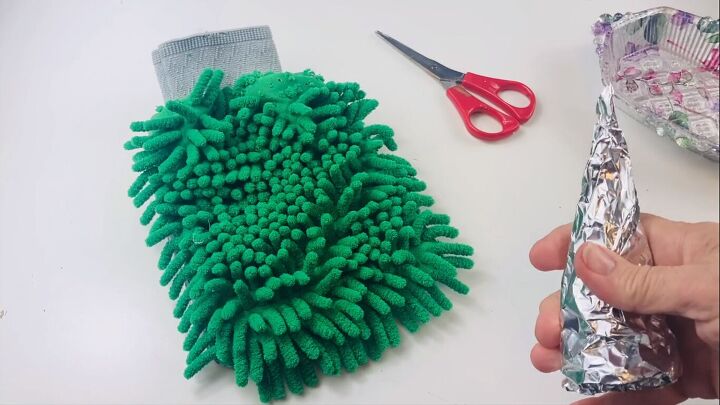
Bonus: microfiber mitt Christmas tree
I've made my cone exactly as I did before, and now I'm going to cut all these bits off this mitten. I got this in the dollar store. They come in different colors. I like this green one, though.
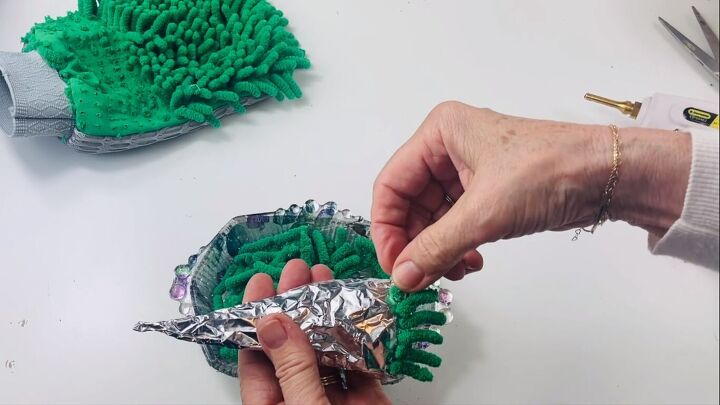
Glue the microfiber tufts to the cone
Using my hot glue again, apply some glue to the foil and start adding these little green tufts. Keep going all the way up.
Q-tip Christmas trees
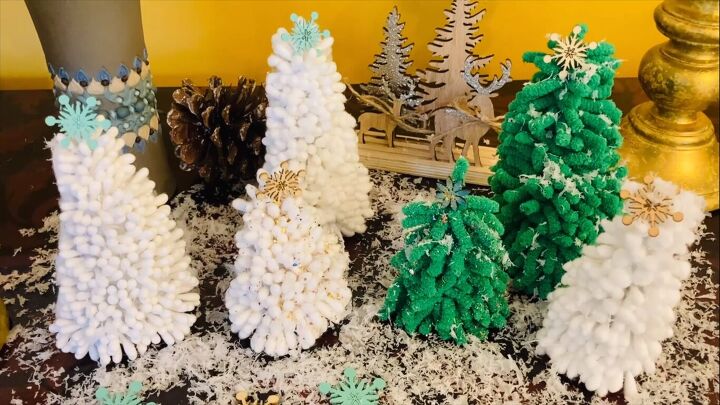
Here are my finished Q-tip Christmas trees, plus a couple of microfiber mitt Christmas trees. I put some little stars on the top and surrounded them with snow. I think they look really effective and I'm very happy with them.
I hope you've enjoyed this video and you are inspired to have a go. Let me know your thoughts in the comments below.
DIY Christmas Decorations

Comments
Join the conversation
-
Hi and sorry for continuing the "negative comment" conversation posts... I'm not understanding what is "negative" about any of the posts listed here unless some were removed. The author and designer invited "thoughts" and isn't that what was people posted. One person critiqued the cost of items the designer purchased to create a DIY. That's not negative, but more of an observation, opinion and perhaps a little sarcasm. I don't believe anyone has been disrespectful to the creator and I truly hope they are even more inspired with some of the ideas noted above for future projects. However, if there were anything negative that were removed, then I would agree with the other posts and it should be ok to voice opinions, suggestions and even critiques to help build a creative mind. Lastly, to the person who might be hesitant to post their DIYs, I hope you are encouraged to post your creativity. It could inspire others and it could give others like myself ideas for the home or gifts. This post is for $free.99 😊.
-
Loved the idea! It's great when others share their ideas with people who share their crafting ideas with the rest of those who are interested. Thank you for sharing your ideas and your positive comments. Happy Holidays!


Frequently asked questions
Have a question about this project?