


14 Cute DIY Cone Christmas Trees to Craft For the Holidays

Today, we're exploring our collection of DIY cone Christmas tree projects. Cone Christmas tree decor has exploded in the past few years, due to its minimalist lines, versatility for matching your holiday decorations, and simplicity to craft.
Here, we're showing you the easiest, most creative, and most impressive ways to create your own DIY cone Christmas trees. From elegant crystal ice fillers to rustic pine cone bracts, each DIY idea offers a unique way to make your own tree decor.
Dive into these step-by-step tutorials and discover how to craft your own cone Christmas trees. Which one catches your eye?
For even more ideas, see Hometalk's ultimate guide to DIY Christmas decor here.
DIY cone Christmas tree ideas
- 1. Foam ruffle cone Christmas tree
- 2. Glass bead cone Christmas tree
- 3. Burlap cone Christmas tree
- 4. Ribbon cone Christmas tree
- 5. Ribbon fringe cone Christmas tree
- 6. Coffee filter cone Christmas tree
- 7. Plastic spoon cone Christmas tree
- 8. Paper bag cone Christmas tree
- 9. Yarn cone Christmas tree
- 10. Sea glass cone Christmas tree
- 11. Pine cone bract cone Christmas tree
- 12. Crystal ice filler cone Christmas tree
- 13. Yarn swirl cone Christmas tree
- 14. More DIY cone Christmas trees
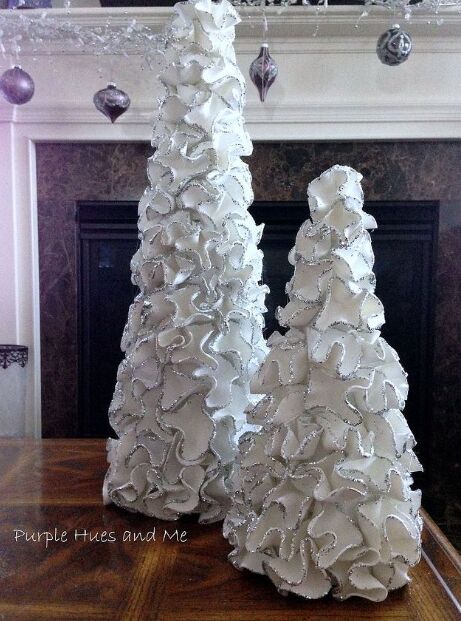
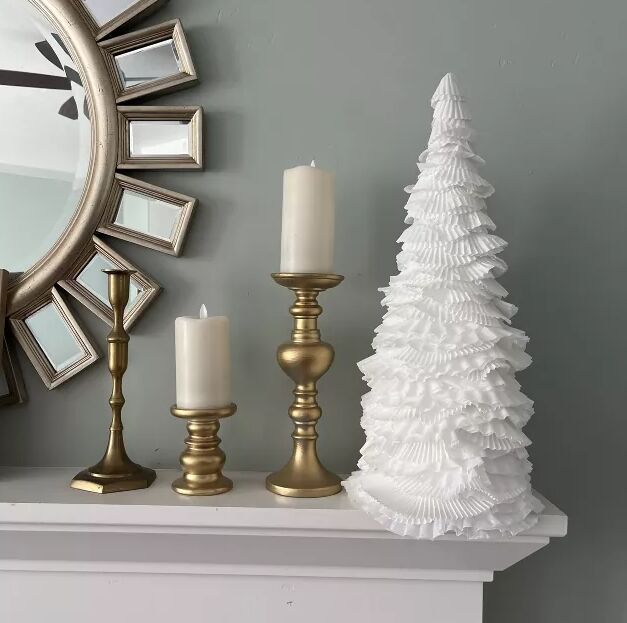
1. Foam ruffle cone Christmas tree
First, this DIY project by Gail@Purple Hues and Me involves creating decorative Christmas tree cones using foam sheets and glitter. The process includes making a cone from poster board, cutting circles from foam sheets, ironing them to create ruffles, applying glue and glitter, and then attaching the ruffles to the cone using hot glue.
The result is an elegantly designed tree that can be used for Christmas decorations or as décor for weddings and parties. The project produces two sizes of trees, with the tallest measuring 24 inches and the smaller one at 15 inches.
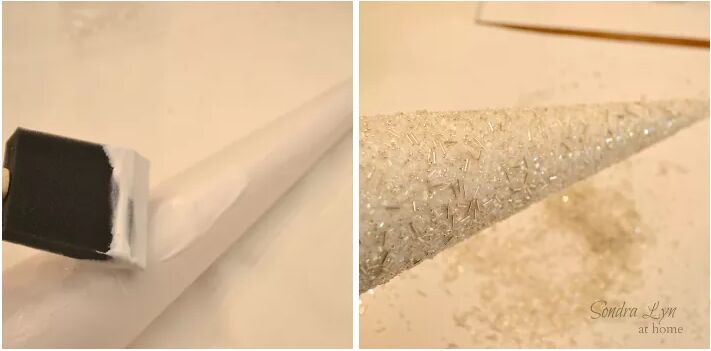
2. Glass bead cone Christmas tree
This project by Sondra Lyn at Home involves creating DIY glass beaded trees inspired by a catalog photo. You'll need poster board, Mod Podge, scissors, a pencil, string, and about a pound of glass beads in various types.
Apply the beads to the poster board cones using Mod Podge, starting with the tops and letting them dry before doing the bottoms. The result is a set of sparkling, custom-colored trees perfect for Christmas decorations.
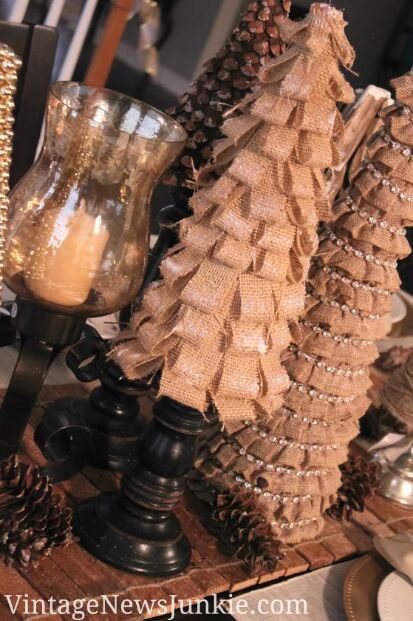
3. Burlap cone Christmas tree
Candace @ Vintage News Junkie creates DIY burlap Christmas trees using a "loopy" technique. The process includes cutting loops in burlap strips, attaching them to a cone covered in paper, and adding sparkle with glitter Mod Podge. The result is a festive and sparkly burlap tree.

4. Ribbon cone Christmas tree
Next, Nikki Wills shares how to make DIY ribbon Christmas trees for holiday decor. It's a simple DIY that requires paper (cardstock or poster board), a low-temperature hot glue gun, and various types of ribbon.
The process includes cutting and gluing ribbon loops onto paper cones to form the trees. Varying the shapes and sizes of the trees adds visual interest. The finishing touches include adding red velvet bows as toppers.
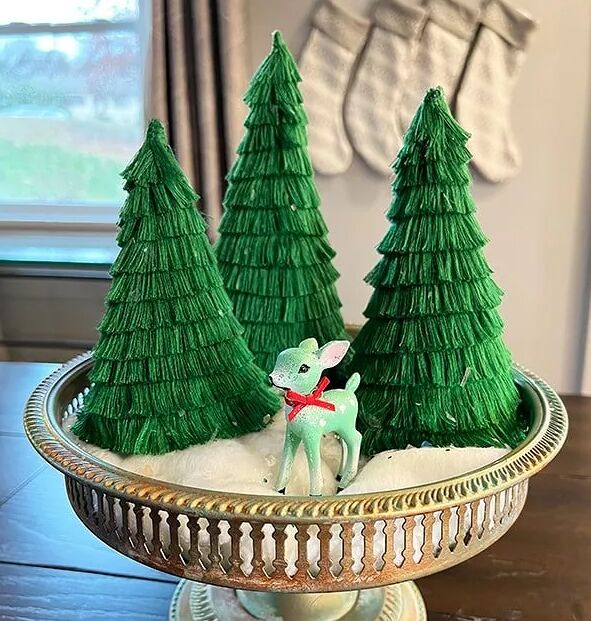
5. Ribbon fringe cone Christmas tree
Speaking of ribbon, this project by Craftidly | Dawn Stewart guides you in making festive fringe ribbon trees for holiday decor.
Using poster board or lightweight cardboard, create cones as the base. Cut circles and glue them together, adjusting the height as desired. Wrap 1-inch fringe ribbon around the cone, securing with hot glue. Layer the fringe for a textured look. Use a comb to fluff up the fringe for a finished appearance.
This quick and easy DIY adds a charming touch to your holiday-tiered tray or centerpiece.
6. Coffee filter cone Christmas tree
This crafty project by All Within the Home offers an affordable way to create elegant coffee filter Christmas trees. Using white poster board (around $1), coffee filters, and cupcake liners, you can make charming coffee filter Christmas trees.
The process involves shaping the poster board into cones, layering and taping the filters and liners to create texture, and ensuring the tape is covered. It's a cost-effective DIY that allows you to stretch your budget while adding a festive touch to your decor, perfect for events or holiday gatherings.
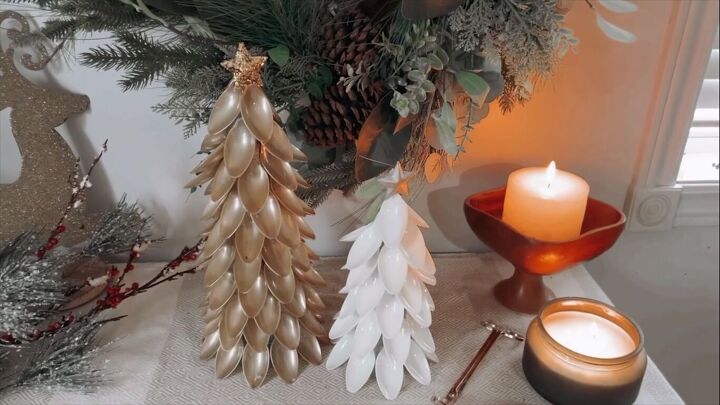
7. Plastic spoon cone Christmas tree
This budget-friendly and creative holiday decor idea from Holly Grace involves making festive Christmas trees using gold plastic spoons.
The process involves cutting the spoon handles, gluing them onto a styrofoam cone in layers, adding a star as the tree topper, and finishing with a final layer of spoons. The total cost for this project is under $10.

8. Paper bag cone Christmas tree
This DIY project by Dayna demonstrates how to create a rustic Christmas tree using recycled materials from a grocery shopping trip. Instead of buying a craft cone, you can easily make one from a cereal box and a paper bag.
The tutorial provides step-by-step instructions using scissors, a cereal box, paper bags, hot glue, and a hot glue gun. The finished tree is approximately 13 inches tall and 6 inches in diameter, suitable for display on a bookshelf or dinner table. It's an eco-friendly craft with a charming, rustic appearance.
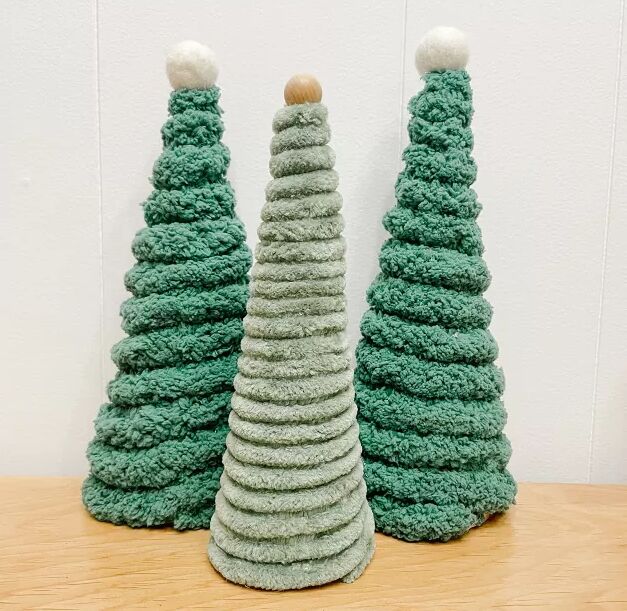
9. Yarn cone Christmas tree
Next, this yarn Christmas tree project by Sew Bright Creations | Jackie involves creating cozy winter-themed trees using cereal or similar boxes, making it a simple craft suitable for kids.
The process includes rolling and shaping the box into a tall, narrow cone, securing it with tape, and then covering it with thick yarn using hot glue. Jackie used specific types of yarn and added embellishments like felted and wooden balls to the top.
The finished trees can be displayed individually or as part of a festive decoration setup.
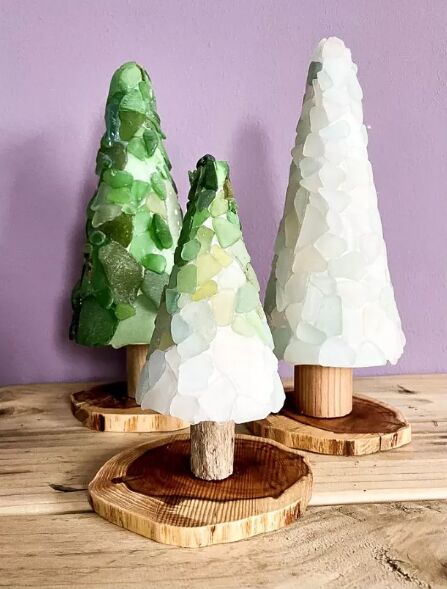
10. Sea glass cone Christmas tree
This project by Vickymcreations guides you through creating sea glass Christmas trees, perfect for displaying your sea glass collection. The tutorial provides options for different variations, including solid colors or an ombre effect.
The materials needed include polystyrene cones, sea glass, a hot glue gun, wood slices for the base, and a trunk made from a curtain pole, broom handle, or thick wood branch.
The process involves applying sea glass with glue, preparing the base and trunk, and assembling the finished tree. The result is a unique and beautiful addition to your holiday decor.
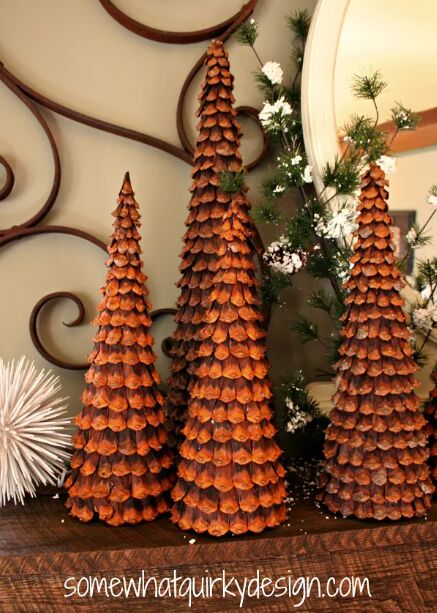
11. Pine cone bract cone Christmas tree
This next project by Somewhat Quirky involves creating wreaths using pine cone bracts, the "leaves" of the cones, by removing them in bulk. However, what caught our eye was how she made pine cone bract Christmas trees using the same technique! These are so creative and look very effective,

12. Crystal ice filler cone Christmas tree
This DIY project by Gail@Purple Hues and Me involves creating a glamorous holiday decor piece by bedazzling a paper mache cone tree with crystal ice fillers. The process includes painting the cone white, applying silicone along the bottom, and pressing individual pieces of crystal fillers into it.
The crystals interlock with each other for a secure fit. The cone is gradually filled with crystals, and the silicone needs 24 hours to dry. The finished tree is described as gleaming with enchanting beauty and reflects light in a captivating way. It sparkles and shines from every angle, adding a touch of glamour to your holiday decor.
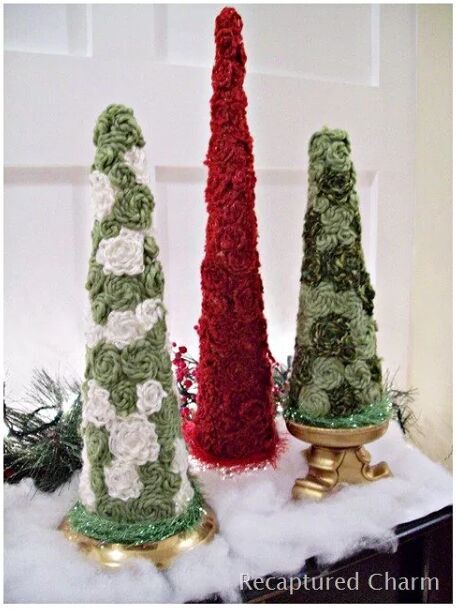
13. Yarn swirl cone Christmas tree
Recaptured Charm also has a project that involves making holiday yarn trees, but this time using various colors and textures of yarn. It's a straightforward craft that doesn't require a hot glue gun, so this is a great craft for kids as well.
Simply choose Christmas-themed yarn in different sizes, wind it around a cone shape with white glue, and add decorations like lights or stars. You can customize the trees with your preferred colors and easily store them after use.
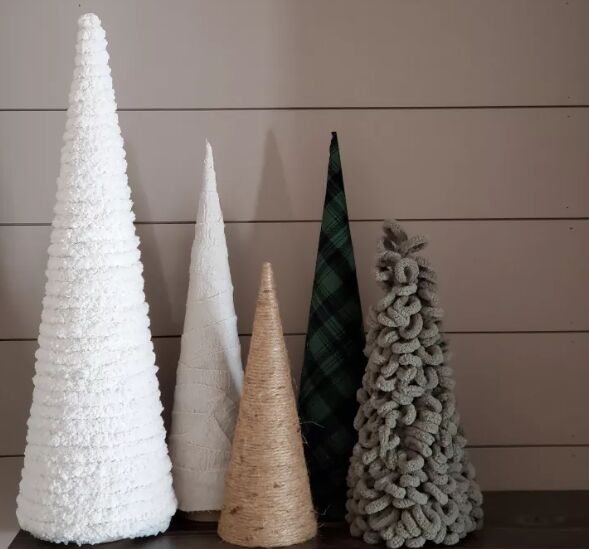
14. More DIY cone Christmas trees
Finally, Staci Marie shows us several options for making winter-themed Christmas trees using paper cones and various materials like yarn, fabric, and twine. Staci shares five different tree designs, each utilizing a different material. Remember to use the appropriate glue for each material.
DIY cone Christmas trees
These DIY ideas cover a wide range of decor styles and crafting abilities. What do you think of these DIY cone Christmas trees? Let us know in the comments below.
To make your own cone Christmas trees, see our recommended craft resources below. Hometalk may receive a small affiliate commission from purchases made via Amazon links in this article but at no cost to you.
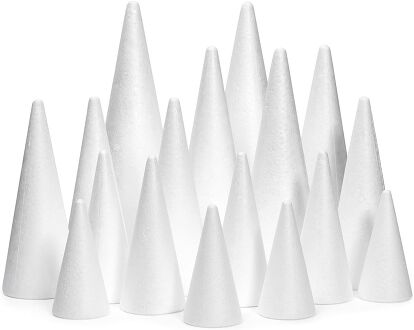
18 Pack Foam Cones for Crafts, 5 Assorted Sizes
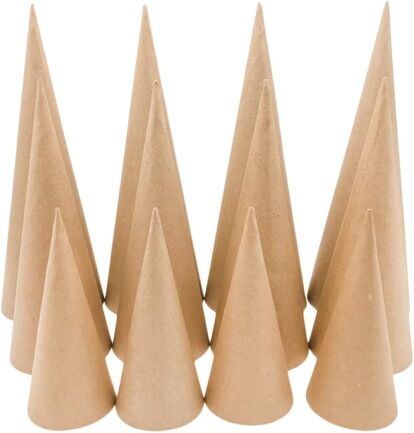
Paper Mache Craft Cones Variety Pack, 3 Sizes


Frequently asked questions
Have a question about this project?