


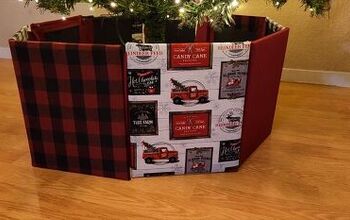
How to Craft a Gorgeous DIY Tree Collar From Cardboard for Christmas
I had this packaging box, right on the brink of being trashed, when a bright idea struck – it could make the perfect DIY tree collar for Christmas!
Let's dive into a simple and budget-friendly holiday craft, showing you step-by-step how to make a DIY tree collar from cardboard.
Who knew a cardboard box could be the star of your holiday decor?
This post was transcribed by a member of the Hometalk editorial team from the original HometalkTV episode.
Tools and Materials:
- Cardboard box
- Small cup
- Scissors
- Thick jute twine
- Hot glue gun
Hometalk may receive a small affiliate commission from purchases made via Amazon links in this article but at no cost to you.
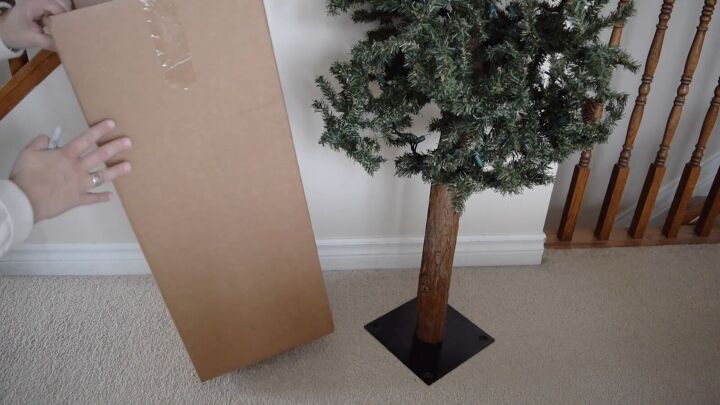
1. Measure and Prep the Box
First things first, measure and cut the cardboard box to the height you want for your tree.
This is the foundation for your DIY Christmas tree collar, so make sure you get the size right.
Cut the box to size.
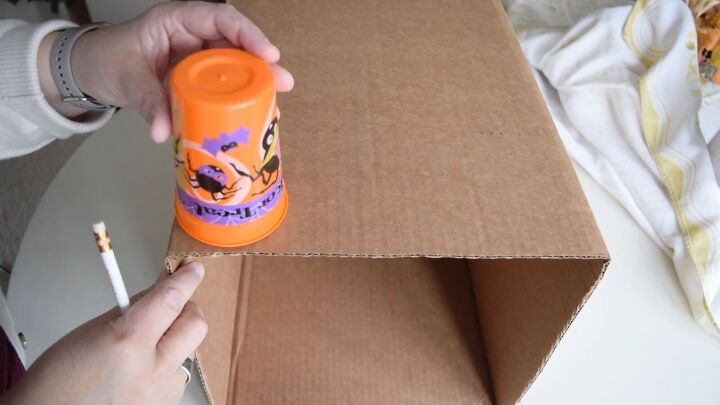
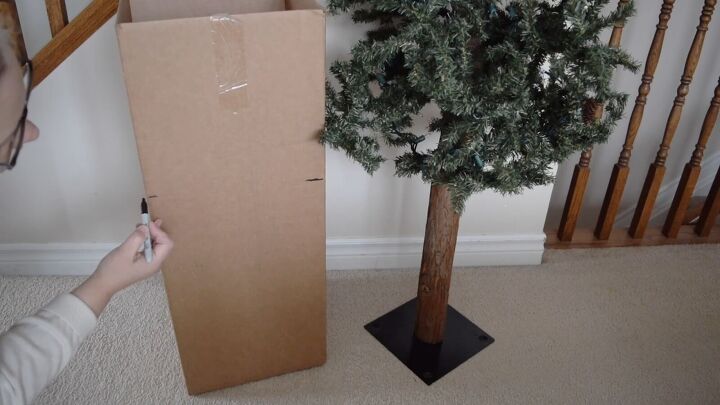
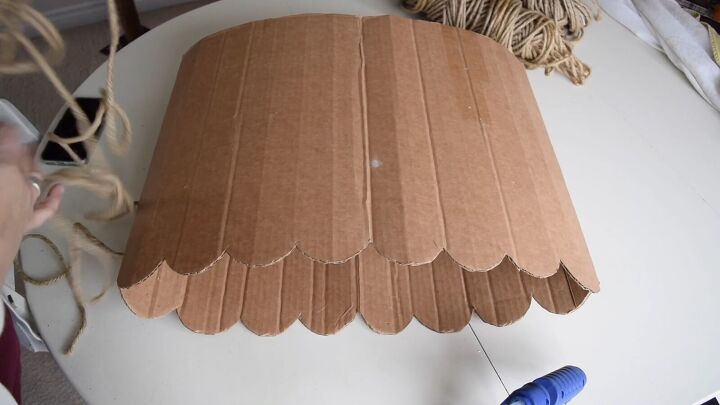
2. Create Scallops for a Decorative Top
Let's spruce up the top of the box.
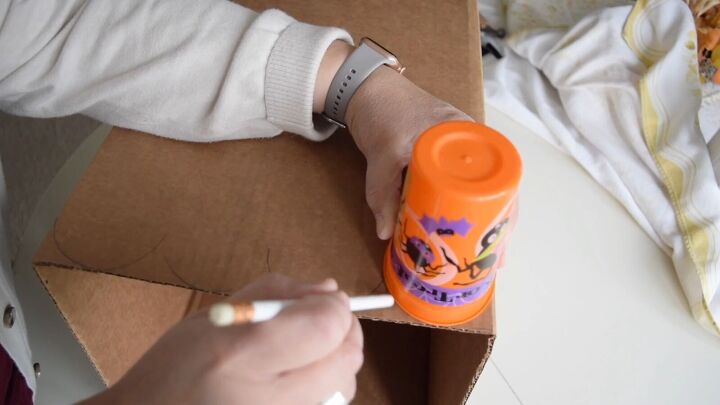
Grab a small cup, make circles on one side of the box, and cut around them.
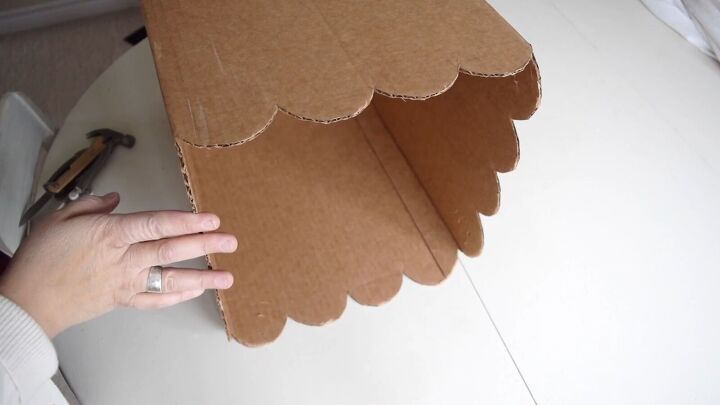
This adds a decorative scalloped edge to your homemade tree collar.
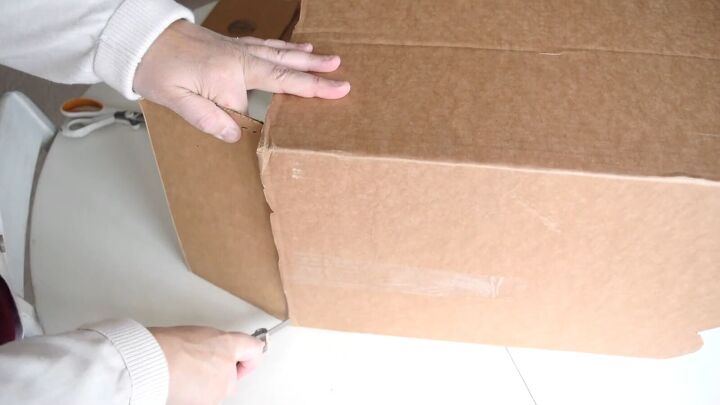
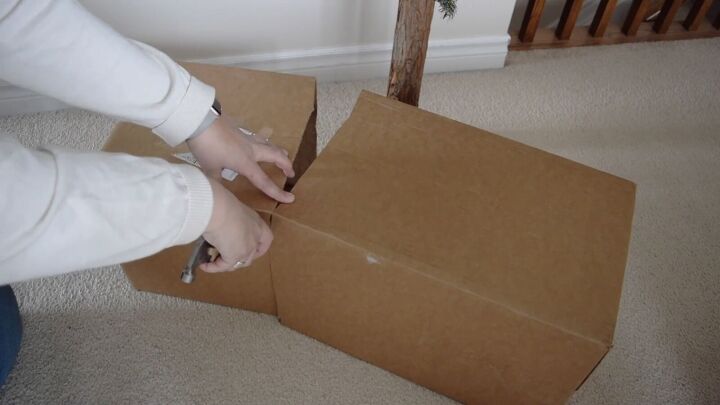
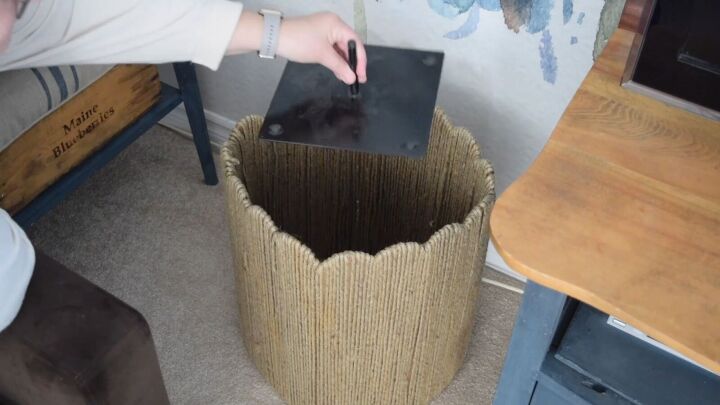
3. Trim Those Bottom Flaps
Open up the bottom of the box and snip off those four flaps. It's a small step, but it gives your DIY cardboard Christmas tree collar a polished finish.
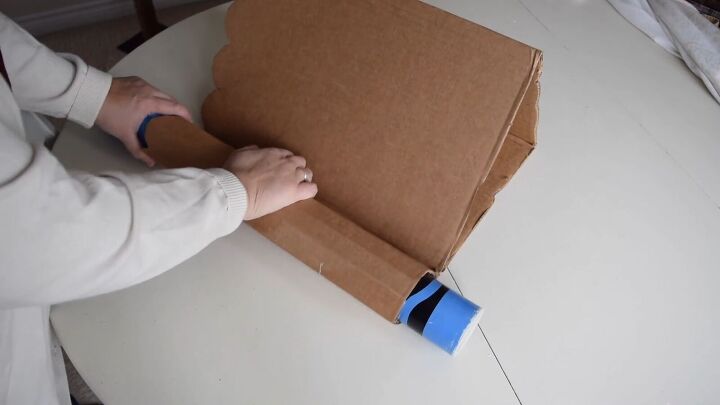
4. Shape It Up
Give your tree collar a rounded shape by rolling it around a tube. I had a large crayon tube that I used.
This technique creates folds in the cardboard, making it easier to manipulate into a circle.
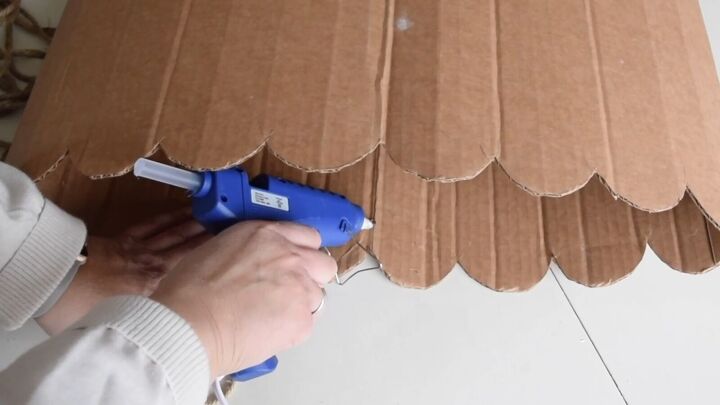
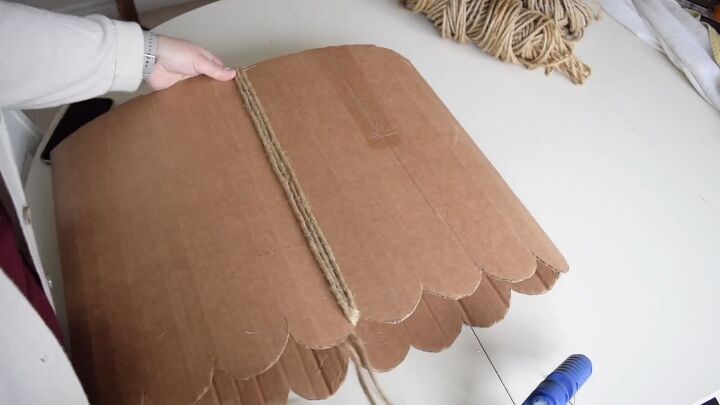
5. Wrap It with Jute Twine
Now comes the fun part! Adding a rustic touch to your DIY cardboard Christmas tree collar.
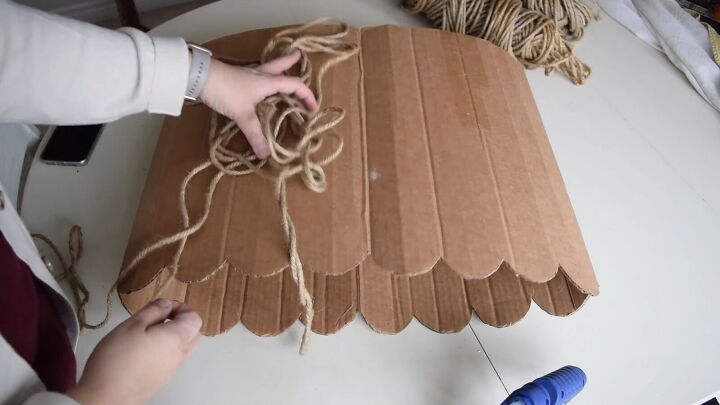
Add a dab of hot glue to the inner side of the cardboard collar and stick one end of the rope down.
Now, start wrapping.
Wrap the twine around the box until it's completely covered. For added stability, use a bit of hot glue on the top of each scallop to secure the twine in place.
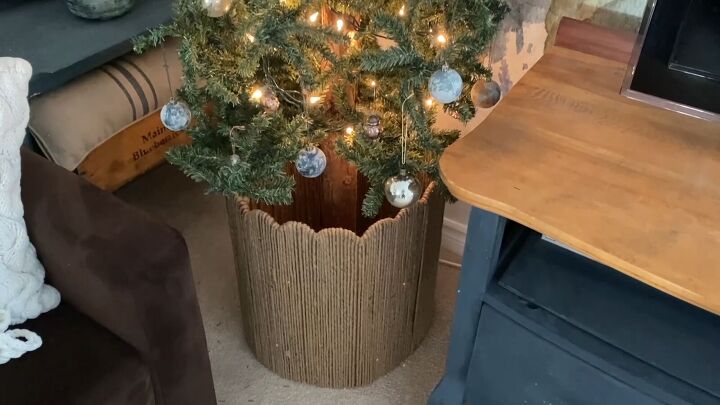
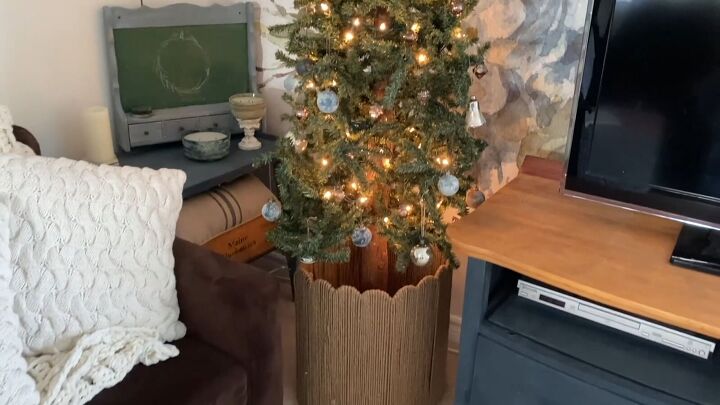
6. Place the Collar and Pop the Tree In
Position your finished tree collar around the base of your tree. Place the tree stand inside and add your Christmas tree. It's a straightforward and affordable way to jazz up your holiday decor.
More Christmas Tree Crafts
DIY Tree Collar From Cardboard Tutorial
Ta-da! You've just whipped up a fabulous DIY cardboard Christmas tree collar, giving your holiday decorations a personal twist.
Hope this little guide sparks your creativity. Share your thoughts and crafty tales in the comments – I'd love to hear them!


Frequently asked questions
Have a question about this project?