


How to Make a Cute Plastic Spoon Christmas Tree in 5 Steps

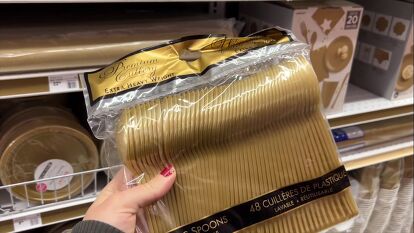
I love anything Christmas tree DIY and when I saw these gold spoons at my local party store, I knew they would make a beautiful DIY plastic spoon Christmas tree.
In this tutorial, I'll guide you step-by-step through the process of transforming simple plastic spoons into a festive Christmas tree centerpiece. This project is not only fun and creative, but also budget-friendly. So, let's dive in and bring a touch of holiday magic into your decor!
This post was transcribed by a member of the Hometalk editorial team from the original HometalkTV episode.
Tools and materials
- Plastic spoons (also available on Amazon, see below)
- Wire cutters
- Hot glue gun
- Styrofoam cone
- Metal star
- Barbecue skewer
- Mod Podge
- Paintbrush
- Gold glitter
Amscan Gold Premium Heavy Weight Plastic Spoons, Pack of 48
Hometalk may receive a small affiliate commission from purchases made via Amazon links in this article but at no cost to you.
How to make a plastic spoon Christmas tree
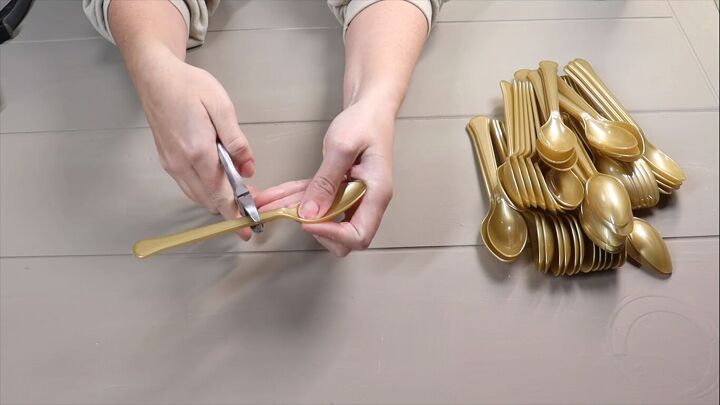
1. Cut the plastic spoons
I begin by taking my spoons and I'm going to take a pair of wire cutters and I'm just going to cut them at the handle.
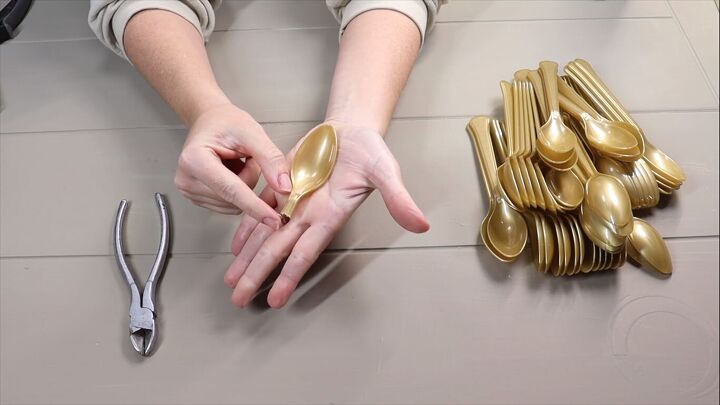
You don't want to cut it directly at the base of the spoon. You want to leave about just a half an inch of the handle.
I'm going to continue cutting all the spoons until I've cut the entire package. For my Christmas tree, I actually used two packages of 48 spoons.
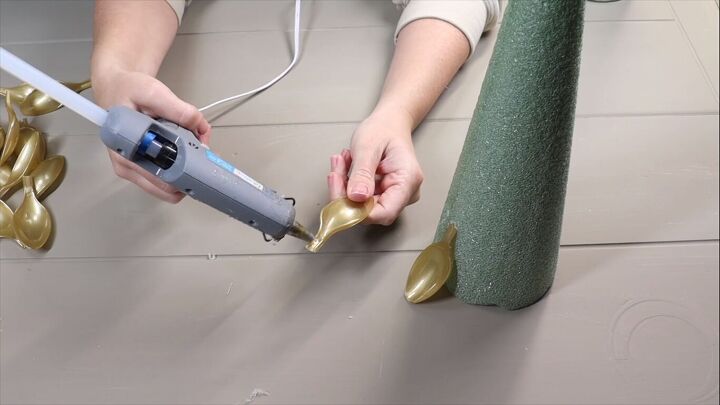
2. Glue the spoon ends to a styrofoam cone
Then I'm going to come in with this styrofoam cone, which is about nine inches in height. I'm going to begin at the base of the cone hot gluing on my plastic spoons. I want the plastic spoon just to very lightly touch the base of the table.
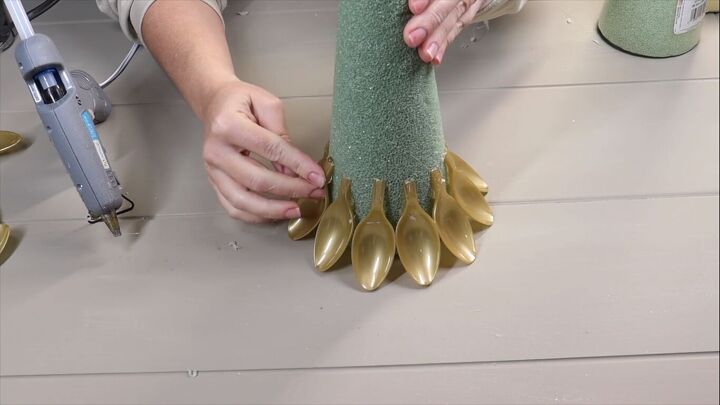
I'm going to start with the first layer of plastic spoons working all the way around until I get to where I started.
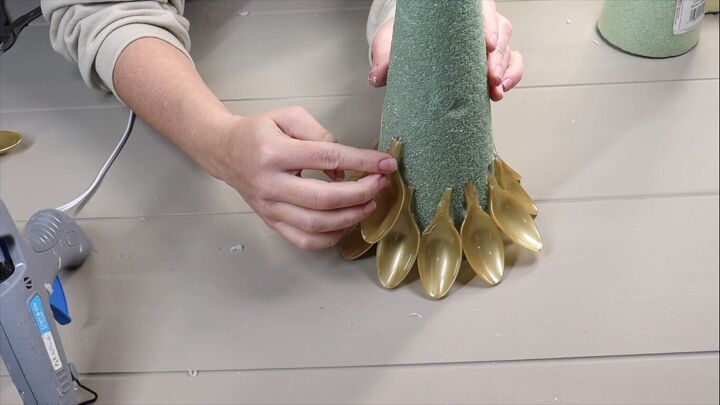
3. Add more layers
Once I have my first layer done, I can come in and do another layer over top, this time placing the spoons in between two spoons of the bottom layer.
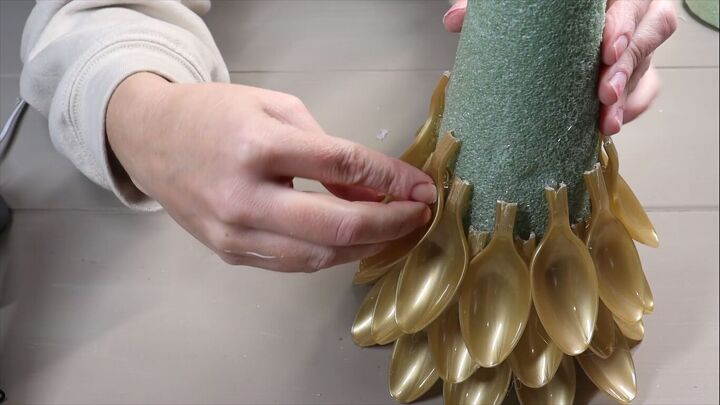
So we're staggering the spoons going around completing our second layer and then we're stopping at just about our last layer of spoons.

4. Add the tree topper
For my tree topper, I'm going to use this little metal star and I'm going to hot glue it to a barbecue skewer. Then I'm going to come in with some matte Mod Podge and I'm going to paint this star and then I'm going to sprinkle on some gold glitter over top just to give it a fun shiny embellishment.
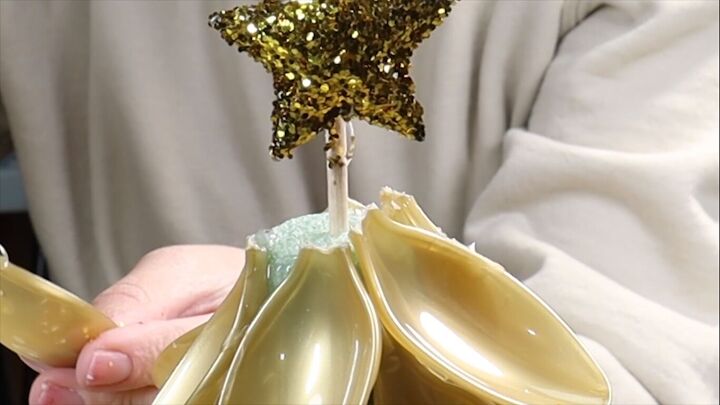
Then I'm going to stick the barbecue skewer down into the styrofoam cone.
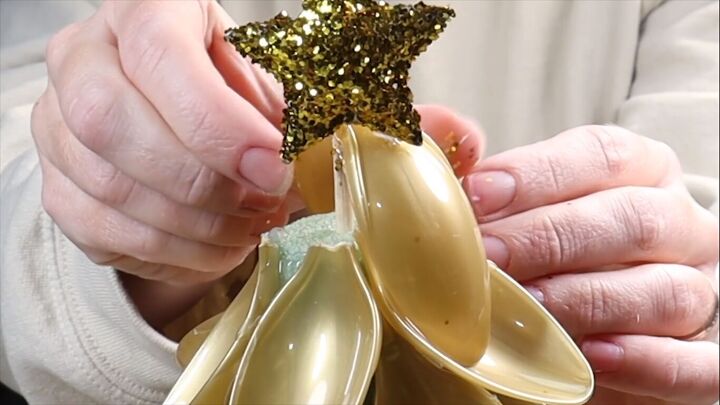
5. Add the final layer of spoons
I'm going to finish my last layer of spoons, tucking them up underneath the star.
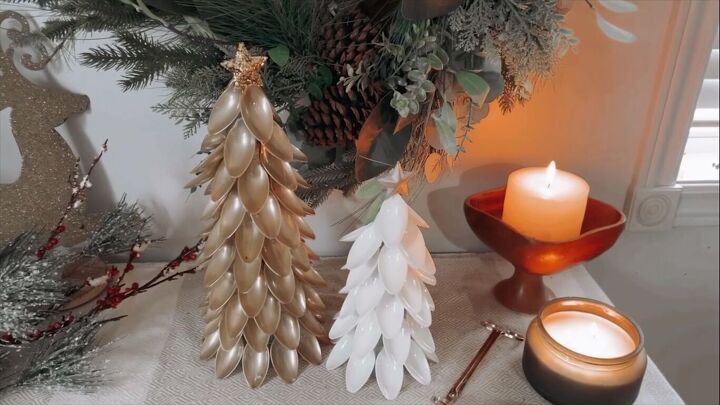
Plastic spoon Christmas tree
This is my finished plastic spoon Christmas tree! What do you think? Let me know in the comments.
You can see here that I did another tree with cream spoons just a little bit smaller. I cut my cone in half just to give me that nice staggered decor look.
DIY Christmas Decorations
This DIY is so easy and all of this cost me under $10. I really hope that this project has inspired you to get creative and make your own plastic spoon Christmas tree. Experiment with colors, different colors of plastic spoons and really have fun with this one.


Frequently asked questions
Have a question about this project?