


How to Make a Cardboard Christmas Tree With Wrapping Paper Tubes

Looking for a fun craft for all those leftover cardboard tubes? Today, I'm going to show you how to make a cardboard Christmas tree. This is a simple DIY project and the result is really adorable. Keep reading and watching to learn more!
This post was transcribed by a member of the Hometalk editorial team from the original HometalkTV episode.
Tools and materials
- Cardboard tubes (from wrapping paper, paper towels, and toilet paper)
- Stanley knife
- Fabric
- Burlap
- Scissors
- Hot glue gun
- Paint stir sticks
- Mini decorations
Hometalk may receive a small affiliate commission from purchases made via Amazon links in this article but at no cost to you.
How to make a cardboard Christmas tree
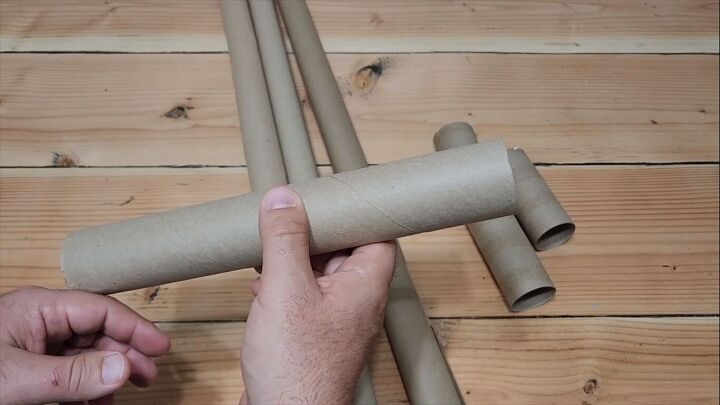
1. Cut the cardboard tubes
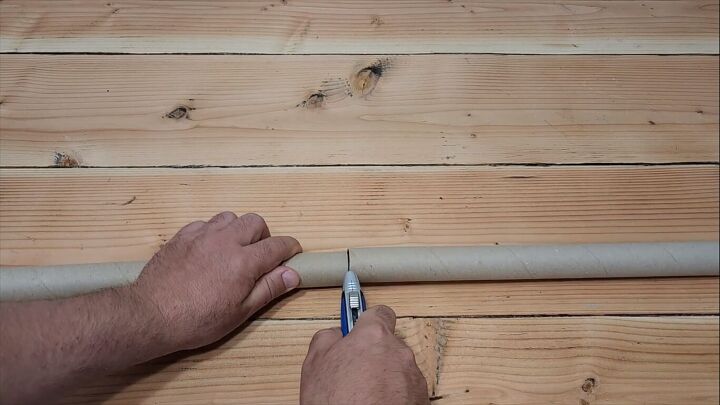
We're going to start with some of that old cardboard tubing you get from wrapping gifts. We can also use paper towel holders and some toilet roll holders. Take that long wrapping paper tube and cut it in half, but not exactly in half.
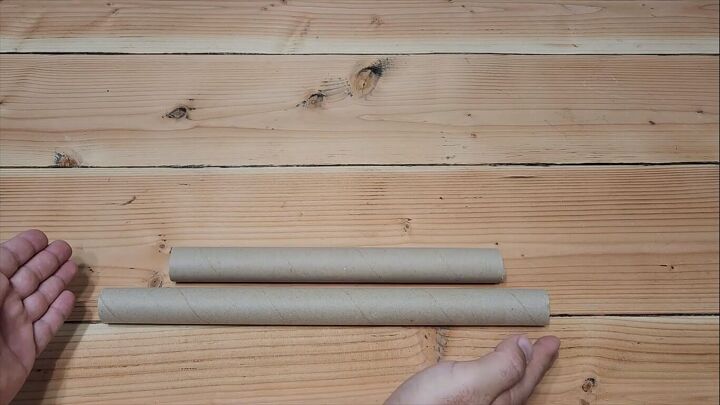
One piece needs to be a little bit bigger than the other.
Here's our paper towel holder. This fits perfectly right here, number three position. Now you can grab a longer tube, offset it on the inside a little bit, mark your finger, and cut that tube also.
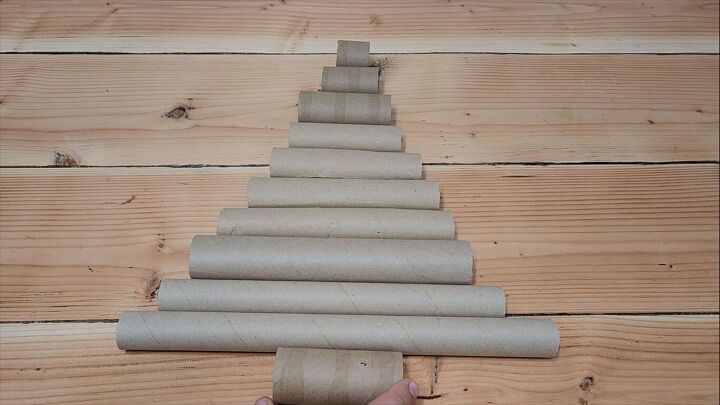
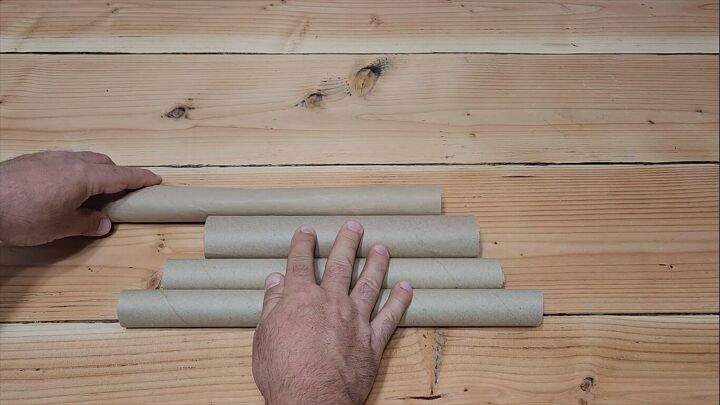
Just keep cutting tubes until we go all the way up to the top of our tree. Once we get all of those cut, let's put the trunk on.
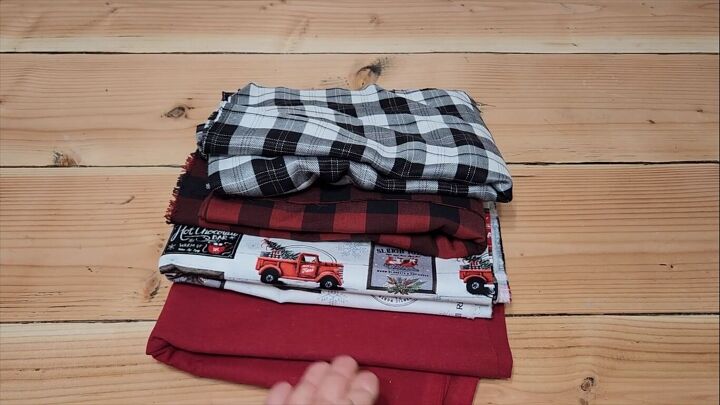
2. Cover the cardboard tubes in fabric
Next, we're going to grab some Christmassy fabric.
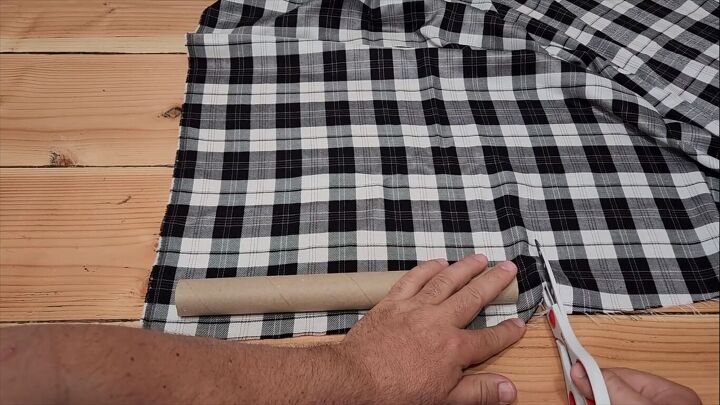
Take that first layer of cardboard, place it on the fabric, and offset it a little bit because we need to tuck it in. This fabric's going to roll over the tube. We need enough to make sure that we have it to glue down. Cut out your piece.
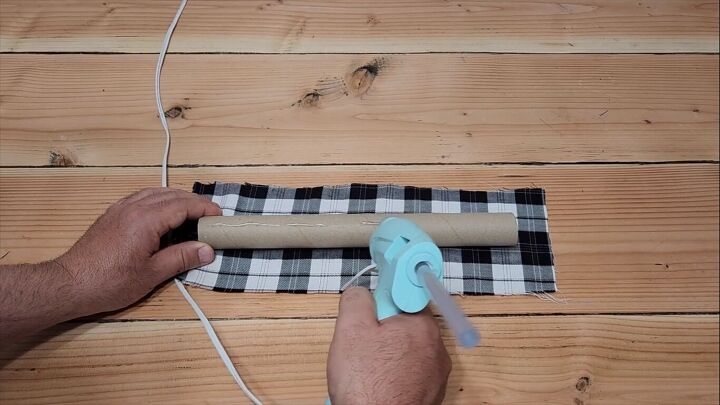
Once you get that cut out, run a bead of hot glue down the cardboard tube. Once you get that on there, roll the tube right into place.
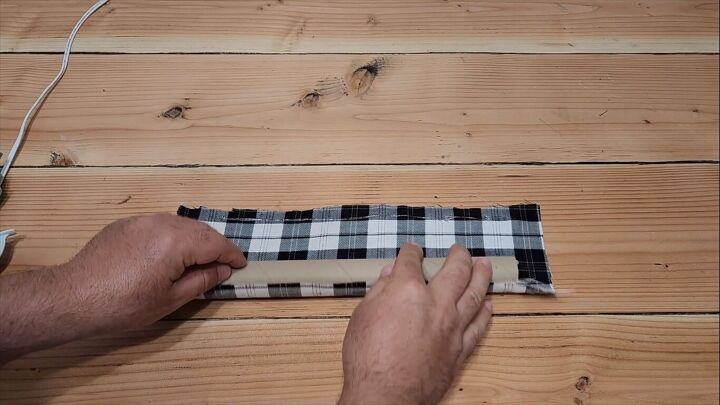
Run the glue across the top of the fabric, then roll the tube, wrapping it in fabric. Hold for about 10 to 15 seconds, and it's going to adhere.
Put a couple of beads of glue inside the tubes and tuck the ends of the fabric in.
3. Glue the tubes together
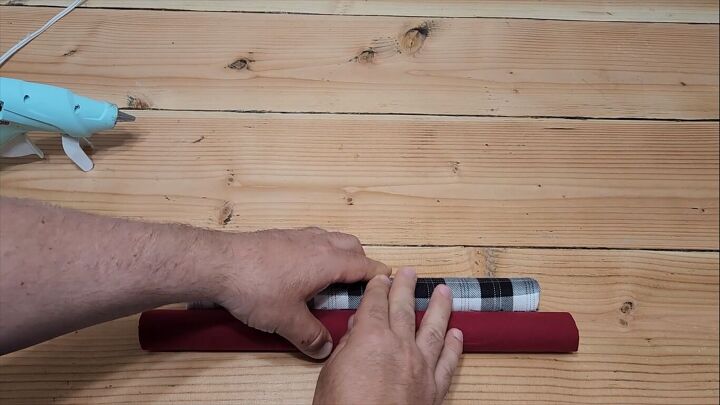
Now two tubes that are covered in the fabric, run a bead of glue right across the seam, and put these two tubes together. And again, just like any hot glue, hold it for 10 to 15 seconds.
I also used some burlap in there to intermingle, make it look good and stand out. Last but not least, add the trunk.
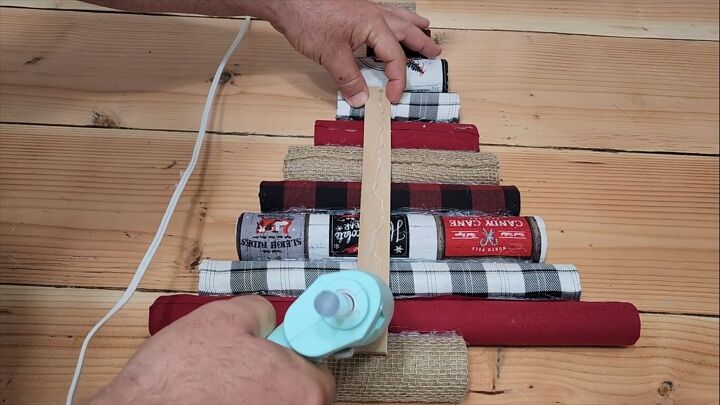
4. Glue a paint stir stick to the back for support
The only issue we have is this is really not strong enough just having fabric glued to each other. So let's grab a paint stir stick, put some glue on the back side, turn it over, and press it onto the fabric. That's going to give it some stiffness.
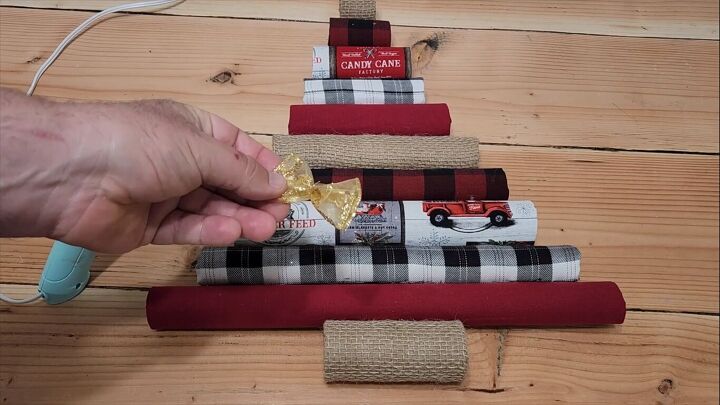
5. Decorate
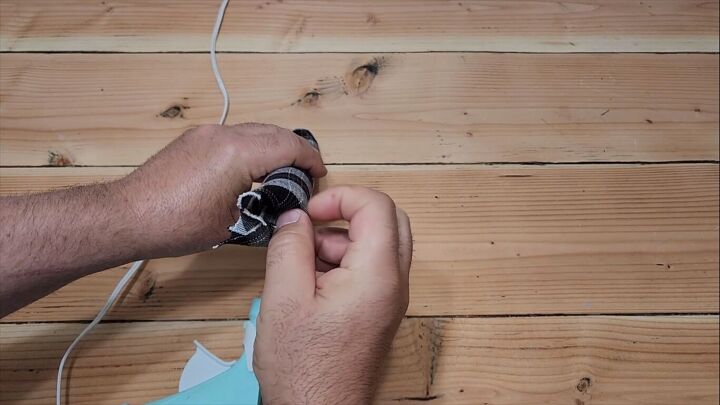
It's time to decorate. I grabbed a little bow that I made, put some hot glue on it, and put it onto my Christmas tree. You can add whatever you like.
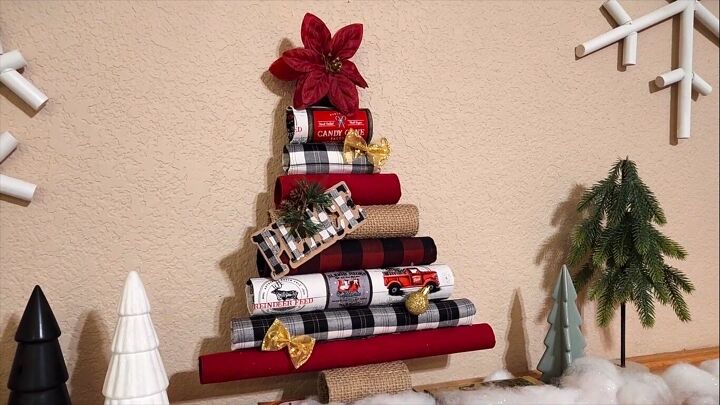
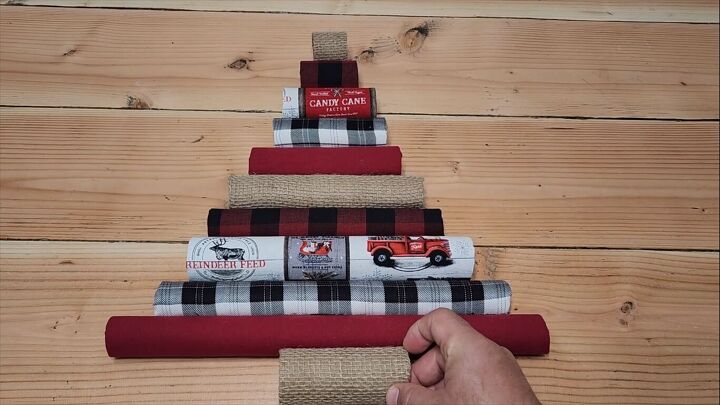
Cardboard Christmas tree
Isn't that just beautiful sitting on top of your mantel with everything all decorated? I hope this inspired you to build your own upcycled Christmas tree.
What do you think of this simple cardboard Christmas tree? Let me know in the comments below.
DIY Christmas Decorations
Comments
Join the conversation
-
This is super cute!! I’m gonna do this! Thank you for sharing!
-
I love all of your posts ♥️


Frequently asked questions
Have a question about this project?