


How to Build a DIY Picture Ledge in a Few Simple Steps
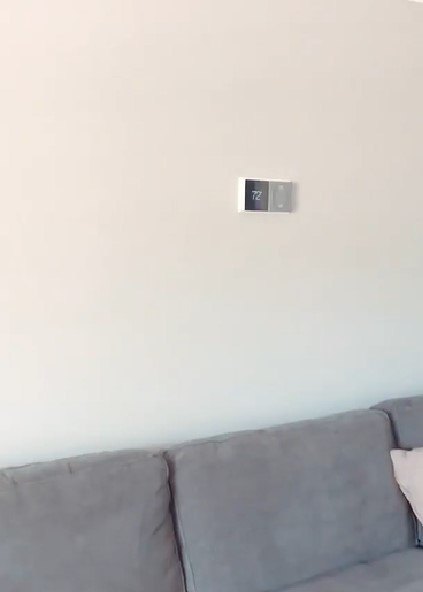
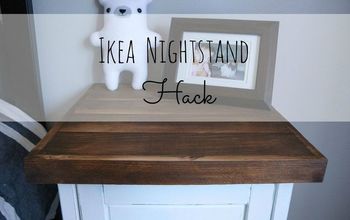
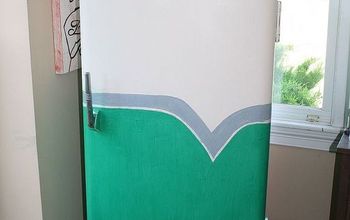
I’m going to show you how I created a fantastic DIY picture ledge that not only adds charm to my space but also cleverly conceals that pesky thermostat.
Let's dive into this step-by-step tutorial about how to build a picture ledge. It only takes a few steps.
Tools and materials
- 1x4, 1x3, and 1x2 boards (cut to your desired length)
- Wood stain (color of your choice)
- Nails, screws, and wood glue
- Sandpaper (medium and fine grit)
- Measuring tape
- Level
- Saw (for cutting boards)
- Paintbrushes or cloth (for applying stain)
- Drill or screwdriver
Steps
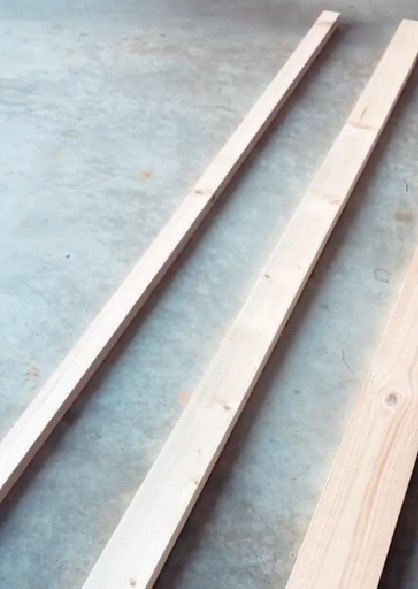
1. Plan and measure
Plan out the dimensions of your picture ledge. Measure the space where you intend to install it. This project is super customizable, so adjust the lengths of your 1x4, 1x3, and 1x2 boards accordingly.

2. Cut and sand the boards
Using a saw, cut your 1x4, 1x3, and 1x2 boards to the determined lengths. If you're unsure about measurements, remember that you can always cut longer boards down to size.
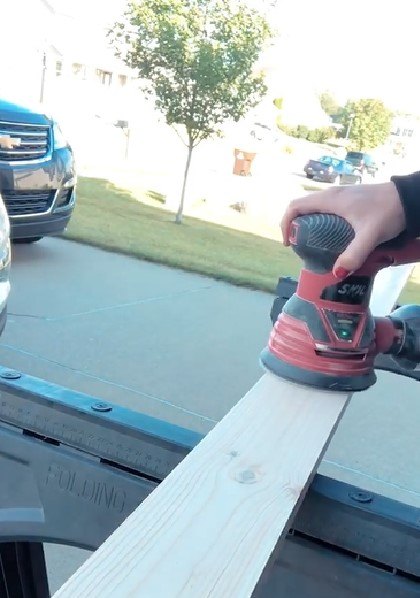
Sand the cut edges and surfaces of the boards with medium-grit sandpaper. This will ensure a smooth finish once stained.
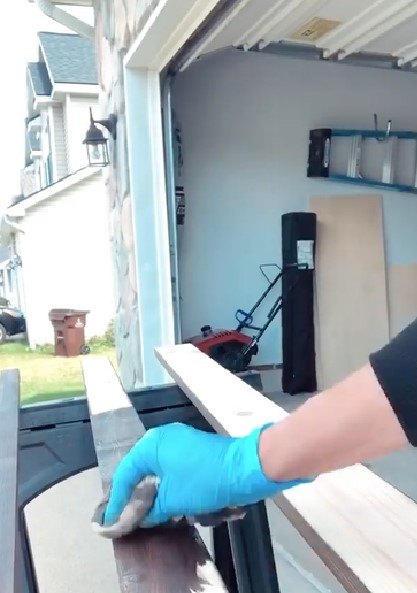
3. Apply wood stain
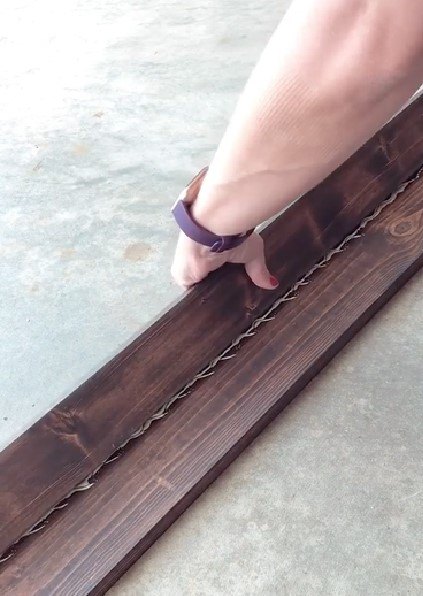
Choose a wood stain color that complements your decor. Using a paintbrush or cloth, apply the stain to the boards.
Remember to follow the manufacturer's instructions for drying time between coats if you desire a deeper color. Let the stain dry completely before moving on to the next step.
4. Assemble the picture ledge
Lay out your boards on a flat surface to plan their arrangement. The 1x4 will be the main shelf, the 1x3 will serve as the front lip, and the 1x2 will be used as a support piece at the back.
Apply wood glue to the edge of the 1x2 board and attach it to the back underside of the 1x4 board. This will give your ledge stability.

Secure the pieces together using screws or nails for extra durability. Make sure the screws or nails are driven from the 1x4 into the 1x2.
5. Hang the picture ledge
Position the assembled ledge on the wall where you want it. Use a level to ensure it's straight. If you're attaching the ledge to drywall, consider using wall anchors for extra support.
Secure the ledge to the wall using screws, nails, or wall anchors, depending on your wall type.
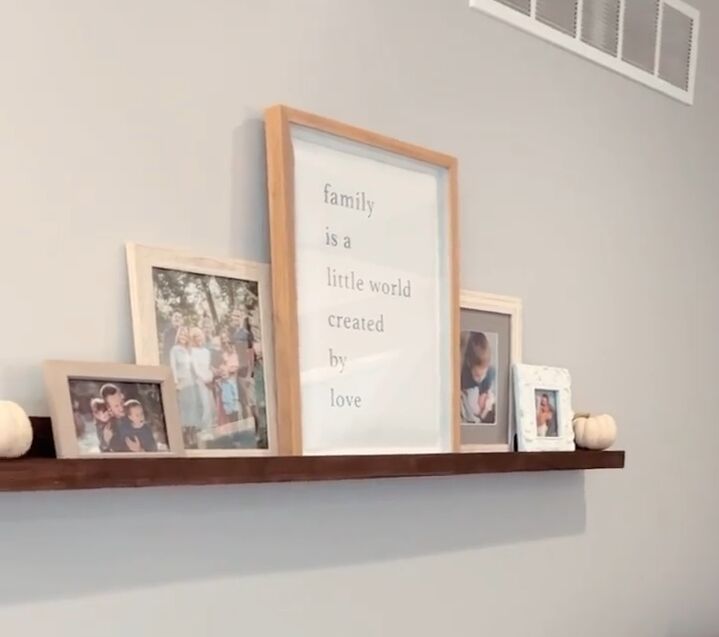
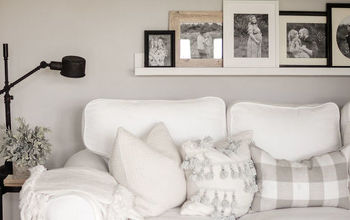
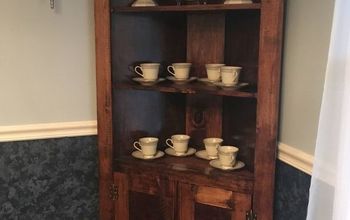
DIY picture ledge
You've just created a stylish and functional DIY picture ledge that adds character to your space. I hope you enjoyed this DIY tutorial. If you have any questions or want to share your own creations, feel free to leave a comment below.
Follow @midmimomdiy on Instagram for more DIY ideas.


Frequently asked questions
Have a question about this project?