


How to Build a DIY Thin Shelf For Behind Your Couch

I can’t wait to show you guys how I made this shelf behind the couch. Finding the right furniture to fit into tight spaces can be a challenge, but with a little creativity and some DIY skills, you can build a custom behind-the-couch shelf that not only maximizes space but also adds a stylish touch to your living room.
In this step-by-step tutorial, I'll guide you through the process of building a behind-the-couch shelf using simple materials and tools. Let's get started!
Best behind sofa table!
Tools and materials
- Two pine boards
- Oscillating tool
- Sandpaper (medium and fine grit)
- Colonial maple wood stain by Minwax
- Clear semi-gloss finish
- Three L brackets
- Screws
- Brad nailer
- Screwdriver
- Measuring tape
- Pencil
- Safety glasses and ear protection
How to build a behind-couch shelf
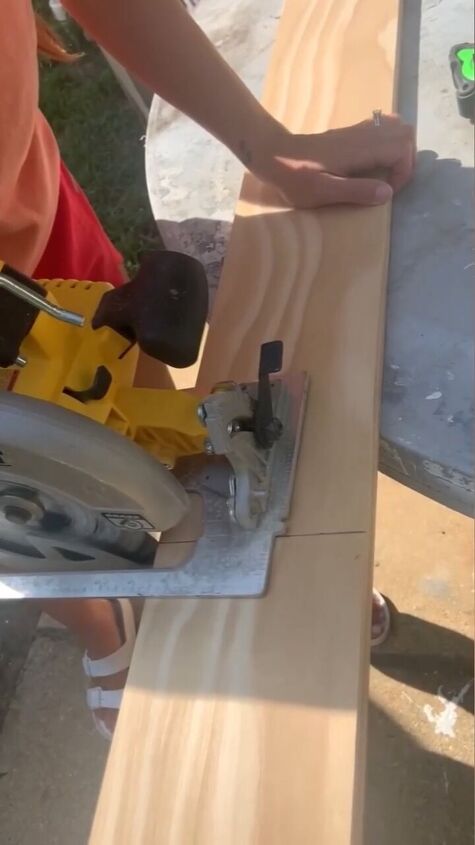
Step 1: Measure and Cut the Pine Boards
Begin by measuring the space behind your couch to determine the appropriate size for your shelf. Using a measuring tape and pencil, mark the dimensions on the pine boards. Carefully cut the boards to size using a saw.
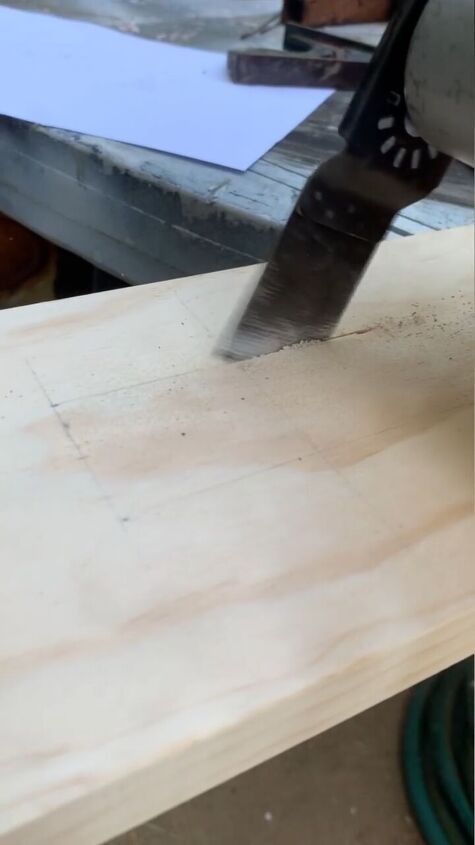
Step 2: Create Plug Openings
With the oscillating tool, cut out two squares on one of the boards to serve as openings for plugs. Ensure the size is suitable for your specific needs. Take safety precautions by wearing safety glasses and ear protection during this step.
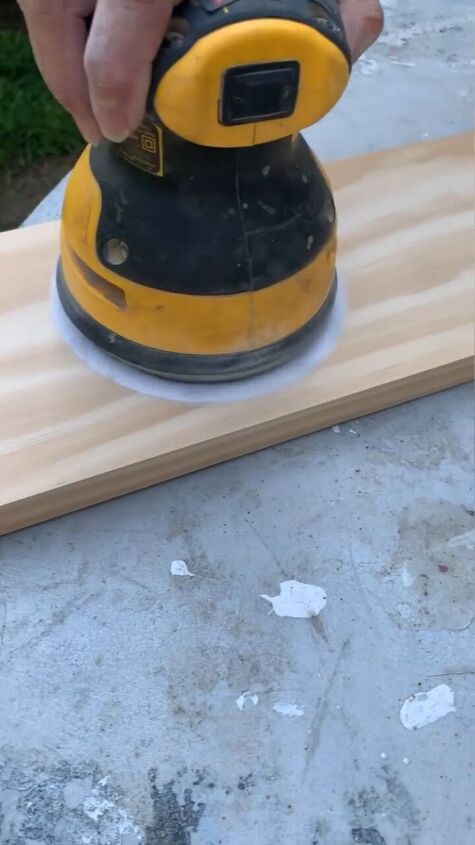
Step 3: Sand the Boards
Smooth out any rough edges or surfaces on the pine boards using medium and fine grit sandpaper. This step ensures a polished and splinter-free finish for your shelf.
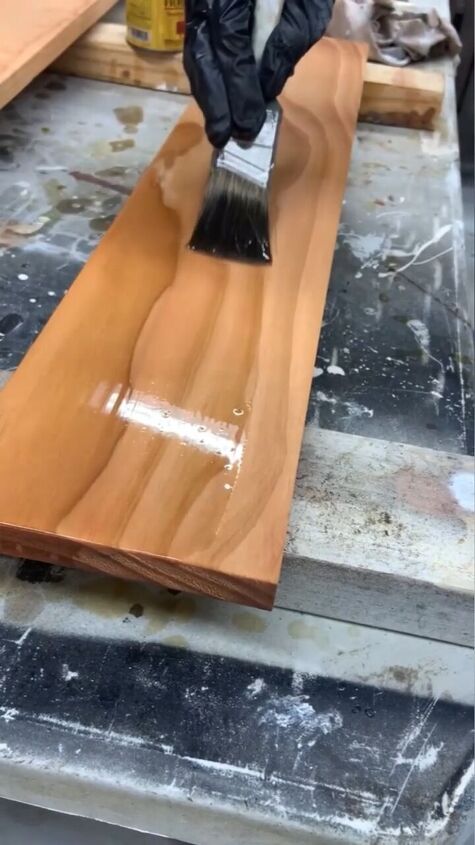
Step 4: Stain and Finish
Apply some maple wood stain to both boards, following the manufacturer's instructions. Once the stain is dry, add a clear semi-gloss finish to protect and enhance the wood. Allow sufficient drying time between coats.
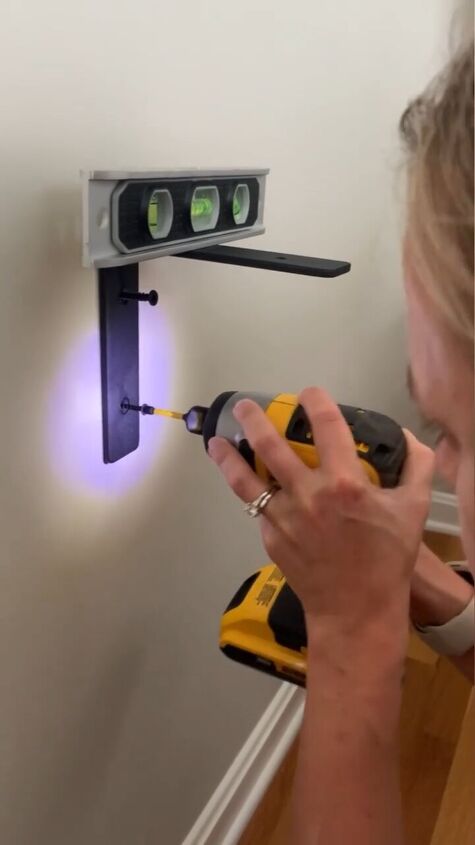
Step 5: Install L Brackets
Position three L brackets on the wall where you intend to place the shelf. Use a screwdriver and screws to securely attach the brackets to the wall. Ensure they are level and evenly spaced.
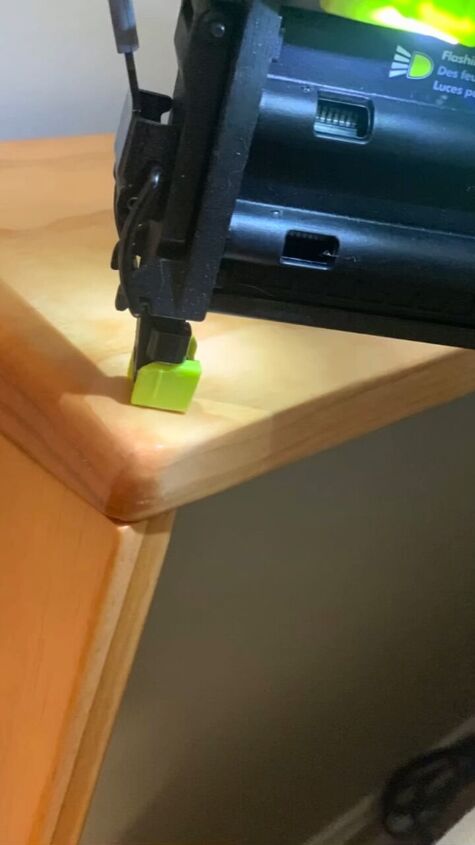
Step 6: Attach the Shelf
Place the stained and finished boards on top of the L brackets. Using a brad nailer, secure a faux leg to the bottom of the shelf for added support. Then, screw the shelf into the L brackets to ensure stability.
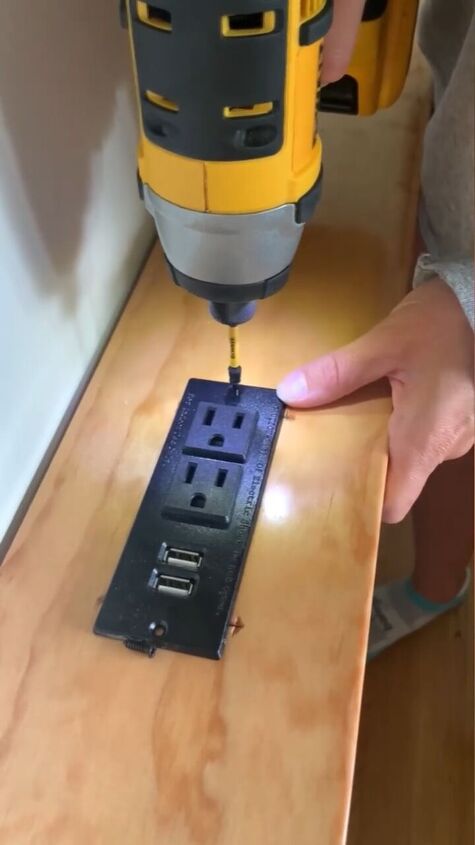
Step 7: Secure the Plugs
Screw the plug covers into the pre-cut openings, making sure they fit snugly. This step not only adds a functional element to your shelf but also conceals the plug points in a neat and organized manner.
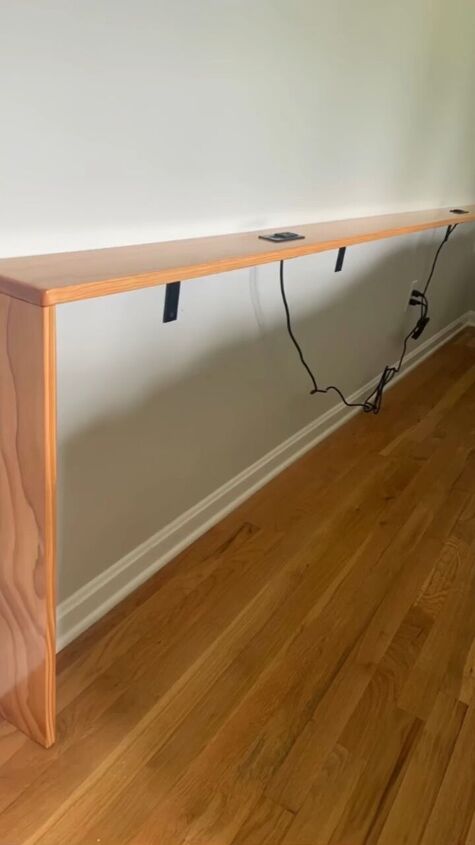
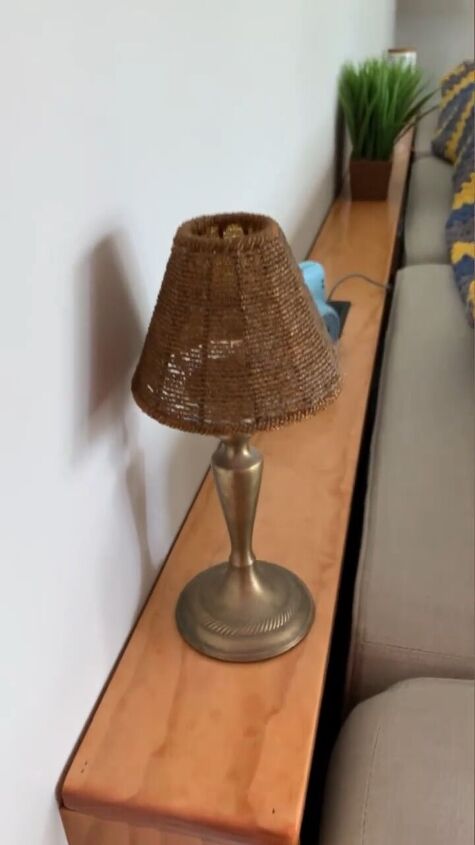
DIY behind-the-couch shelf
Congratulations! You've successfully built a stylish and functional behind-the-couch shelf that fits seamlessly into your living space. This DIY project not only provides extra storage but also adds a personal touch to your home decor.
For more shelf-behind couch ideas experiment with different wood stains or finishes to match your interior style, and enjoy the satisfaction of creating a custom piece that enhances both form and function in your home.
Leave me a comment and let me know how your shelf-behind couch DIY came out.
Follow @well_shetried on Instagram for more DIY ideas.
Comments
Join the conversation
-
Nice and useful idea!
-
I can see banging head on stuff.


Frequently asked questions
Have a question about this project?