


How to Do a Sleek & Chic Nightstand Makeover in 7 Simple Steps
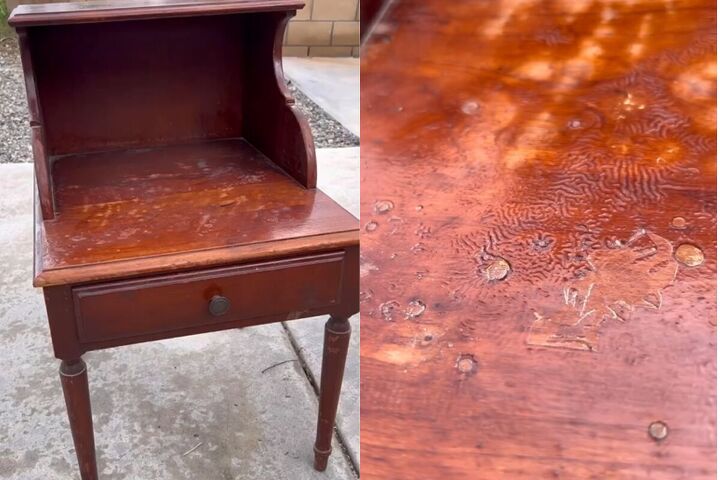
Today, I'm thrilled to share with you the step-by-step process of how I transformed an old piece of furniture into a sleek and polished masterpiece. Join me as I walk you through each stage of this nightstand makeover, along with the products I used. Let's get started!
Tools and materials
- Carbide scraper
- Sandpaper (180-grit) and sander
- Simple Green (or similar cleaner) and cloth
- Paint spray tool
- Putty knife or similar tool for filling in
- Caulk (for caulking seams)
- Screwdriver or appropriate tool for installing hardware
- Zinsser 123 primer (or your preferred brand)
- Spackle
- Jet Black One Hour Enamel by Wise Owl Paint (or your preferred brand and color)
- New hardware (I purchased mine from Amazon)
Steps
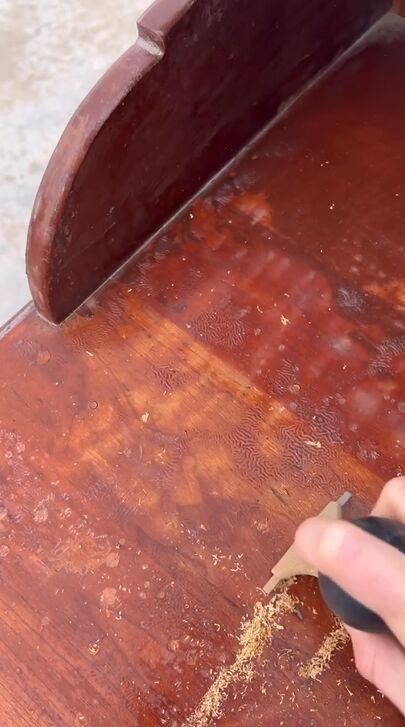
1. Smooth out imperfections
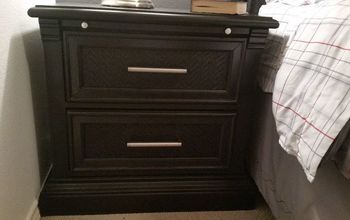
To begin, I noticed some bumps and bubbles on the furniture surface that needed attention. I decided to tackle them first by using a carbide scraper. Carefully, I scraped away the imperfections, ensuring a smooth and even base for the upcoming steps.
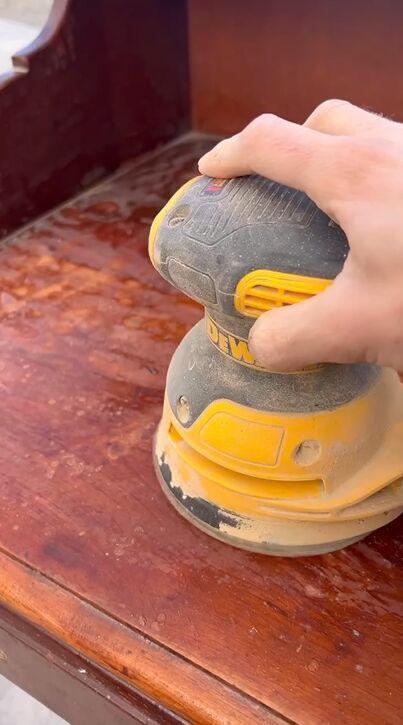
2. Sand
Next, I grabbed some 180-grit sandpaper and went to work. I sanded the entire surface of the furniture, ensuring a smooth finish. Sanding helps to remove any remaining rough spots and prepares the surface for the next stages of the transformation.
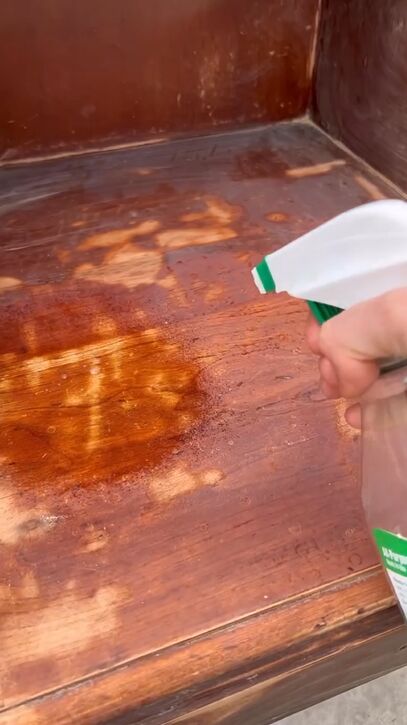
3. Clean and prep
To ensure a clean and well-prepared surface, I used Simple Green, a powerful cleaner. I applied Simple Green to the furniture, scrubbed gently, and then rinsed off any residue thoroughly. This step is crucial as it removes dirt, dust, and any remaining cleaning agents that might interfere with the final result.
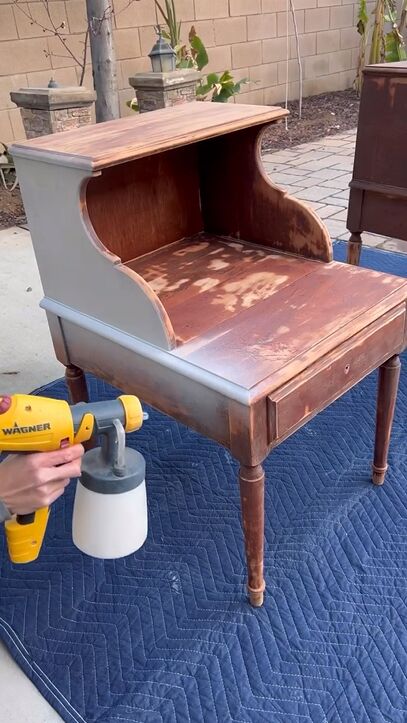
4. Prime
To provide a solid foundation for the paint and enhance its adhesion, I primed the furniture with Zinsser 123 primer. Using a spray tool, I applied an even coat of the primer to the entire surface, allowing it to dry according to the manufacturer's instructions. This step helps to create a smooth and durable finish.
5. Fill in and caulk
To achieve a seamless look, I filled in any areas that needed attention with spackle. I applied the spackle to fill in holes, dents, or imperfections. Additionally, I caulked the seams to create clean and polished lines, then wiped away the excess residue.
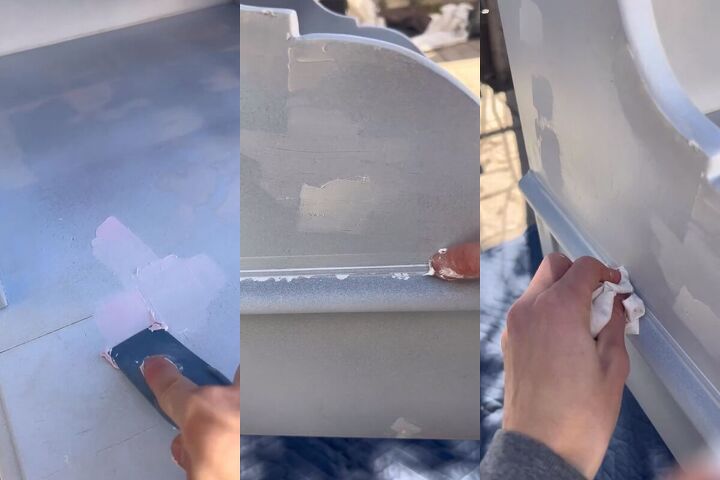
Once the spackle and caulk were applied, I allowed them to dry completely before sanding down those areas once more.

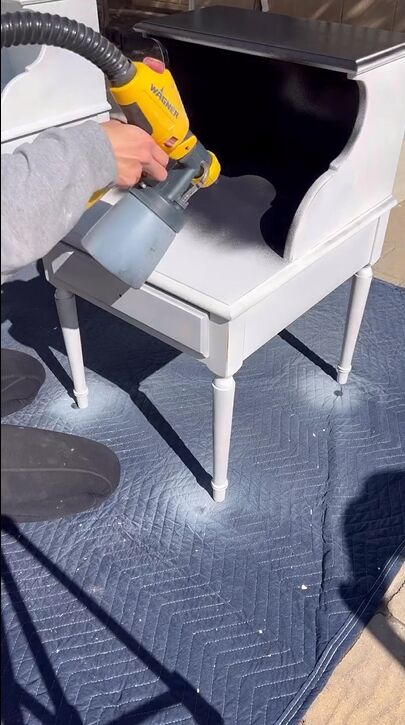
6. Paint
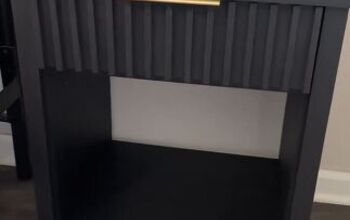
Now, it's time for the exciting part—painting! I chose Jet Black One Hour Enamel by Wise Owl Paint for a sleek and modern finish. Using a spray tool, I applied an even coat of paint to the entire nightstand surface. Take care to cover it thoroughly and ensure a smooth application. Allow the paint to dry completely before moving on to the final step.
7. Add new hardware
To complete the transformation, I added new hardware to the furniture. I found some stylish and suitable options on Amazon. Whether knobs, pulls, or hinges, installing the hardware gives the furniture its final touch, adding a touch of personality and functionality.
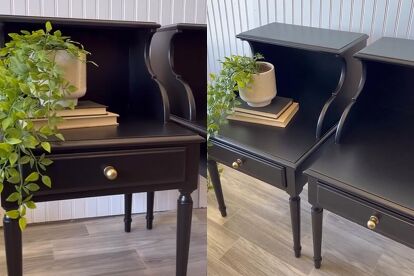
Nightstand makeover before and after


DIY nightstand makeover tutorial
Feel free to adapt the brands and products based on your personal preferences and availability. Now, step back and admire the stunning results of your hard work and creativity.
What do you think of this nightstand makeover? I can't believe the difference. The new nightstands look so chic and modern. Let me know your thoughts in the comments and Happy DIY-ing!
Comments
Join the conversation
-
I couldn’t see the finished product.
-
I didn’t see the final picture.


Frequently asked questions
Have a question about this project?