


How to Update Bathtub Surround: Easy Vinyl Plank Makeover

Wondering how to update your bathtub surround? I have a budget-friendly way to give your bath a fresh new look!
Whether you're aiming for a complete bathroom upgrade or just a subtle refresh this DIY bathtub makeover will breathe new life into your space.
This post was transcribed by a member of the Hometalk editorial team from the original HometalkTV episode.
Before we dive into the steps, here's what you'll need:
Tools and Materials
- Luxury vinyl plank pieces
- Flexible base shoe molding
- Construction adhesive
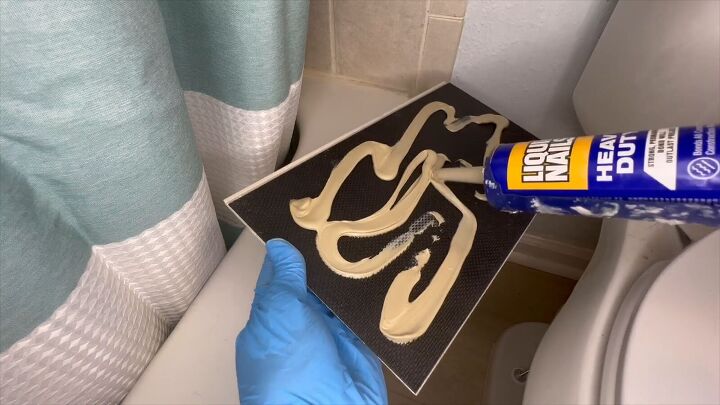
- Liquid nails
- Measuring tape
- Tape
- Scissors

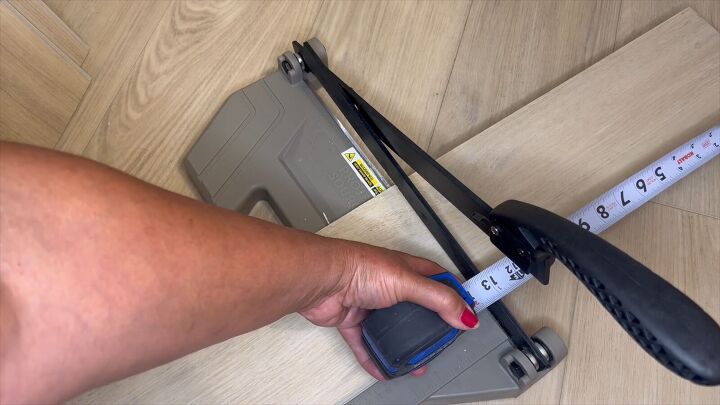
1. Cut Vinyl Planks
Start by measuring the height of your bathtub, to determine the correct size to cut your vinyl planks.
Next gather your luxury vinyl plank pieces, ideal for their water-resistant properties. These vinyl planks are a great choice for bathtub makeovers as they combine functionality and aesthetics seamlessly.
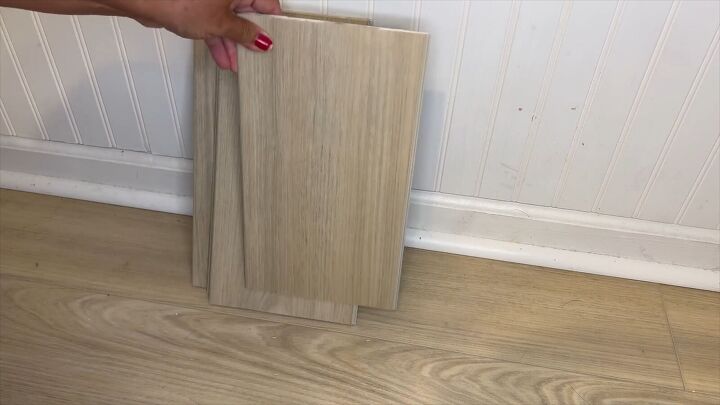
Cut your vinyl plank pieces to size, ensuring they fit snugly around the bathtub.
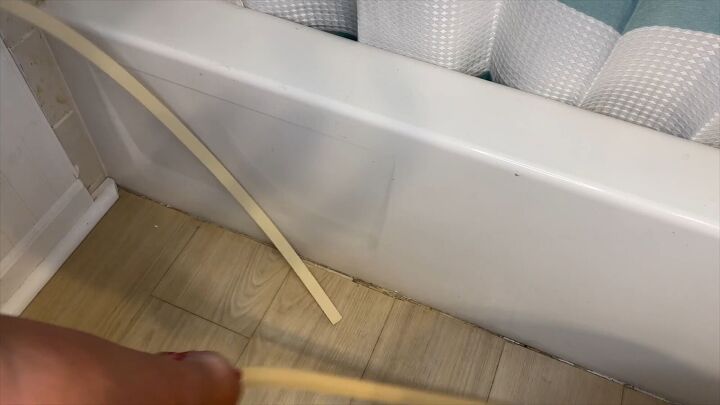
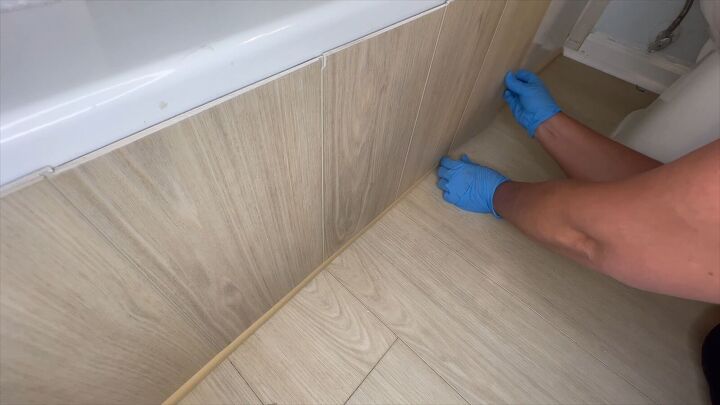
2. Replace Quarter Round
Remove the existing quarter round. We will replace it with flexible base shoe molding. You can easily find this waterproof, polyurethane molding on Amazon.
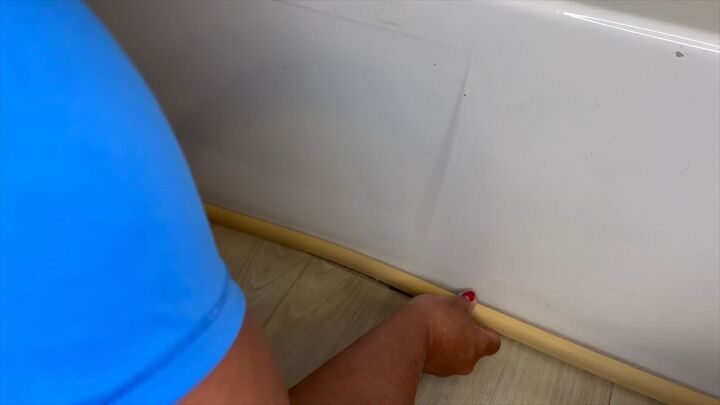
Using construction adhesive, place the bottom piece of shoe molding in position. This adhesive ensures a strong and durable bond, ideal for areas prone to moisture, making your bathtub surround update last.
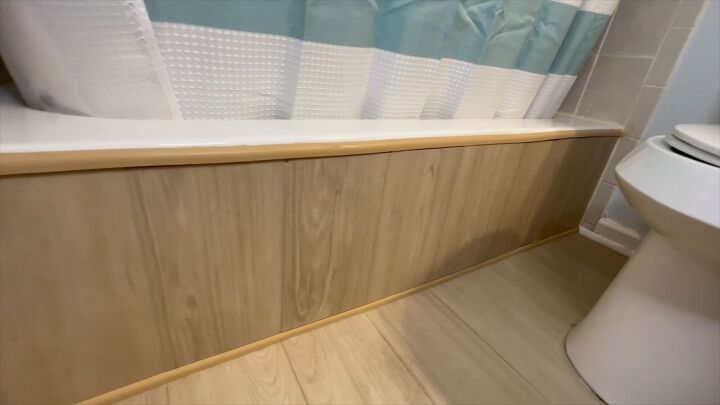
3. Install Luxury Vinyl Plank
With the base molding secure, begin adding your luxury vinyl plank pieces.
Apply liberal amounts of liquid nails behind each vinyl plank piece.
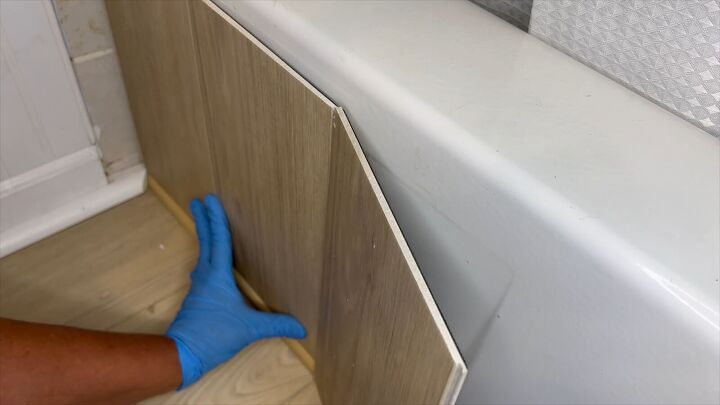
Utilize their click-and-lock system for seamless connections.
Gently attach the planks one by one, working your way across the bathtub.
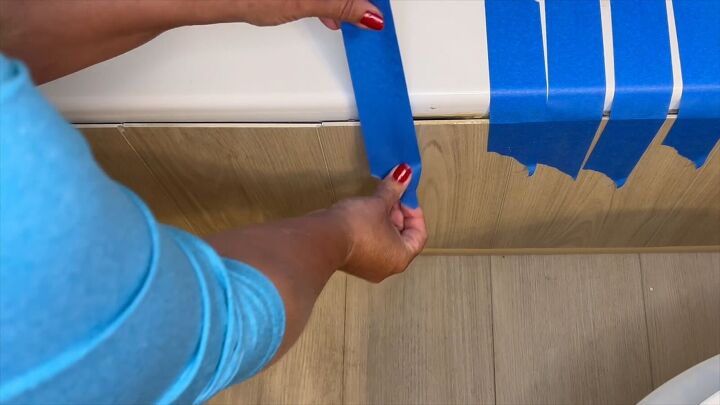
You might see that a few of the vinyl planks don't fit perfectly against the tub right now. But don't worry, you can fix this easily. Just use some tape to gently push the planks against the top of the tub. This will make sure the planks stick flat and secure.

4. Install the Upper Molding
The next morning, remove the tape. Measure and cut the top piece of shoe molding and adhere it using construction adhesive.
More Bathtub Makeovers
How to Update a Bathtub Without Replacing it
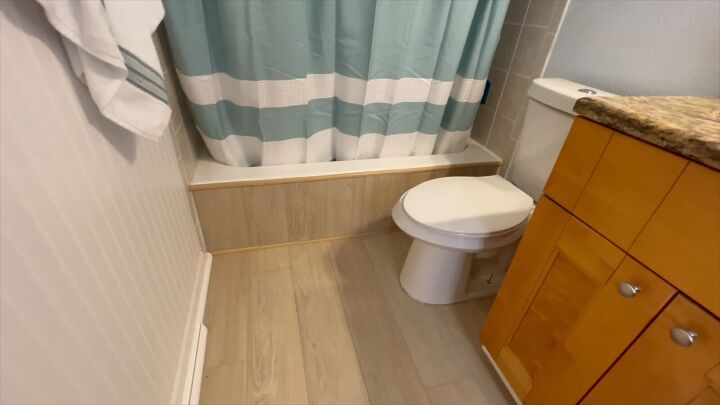
This DIY bathtub makeover showcases how small changes can yield impressive results. With just $25 and 2 days' dedication, I achieved this gorgeous updated bathtub.
Ready to transform your space? Start your own creative journey today and enjoy the rewards of a refreshed bathroom. Share your thoughts and experiences in the comments below – I'd love to hear about your stunning bathroom upgrades!
Comments
Join the conversation
-
I did this project but with flooring tiles. My husband got a 1"x 12" board @ Lowes and placed the tiles on the board (cut to bathtub size) and used wooden wedges to secure to each side near walls! It looks very custom. Remember to line up the patterns in the tiles!
-
No thank you.


Frequently asked questions
Have a question about this project?