


Pottery Barn Desk Makeover
Do you have outdated furniture that’s in good condition, but you’re not happy with how it looks anymore? Why not give it a little makeover! Updating your furniture can be so easy. You’ll be in awe at this Pottery Barn desk makeover. See how we took this from a thrift store find to a beautiful piece in our home.
Who else loves hunting for their next treasure to fix up from the thrift store?
Usually we happen upon the greatest finds when we’re not really looking for anything specific. This happened to be one of those occasions!
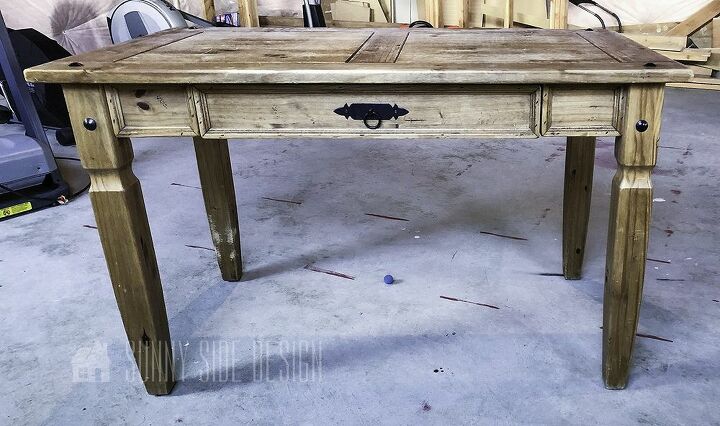
We’d recently moved into our first home and I came across this Pottery Barn desk for $20! There was no way I was letting it out of my sight! I quickly paid for it and brought it home to use as my craft table.
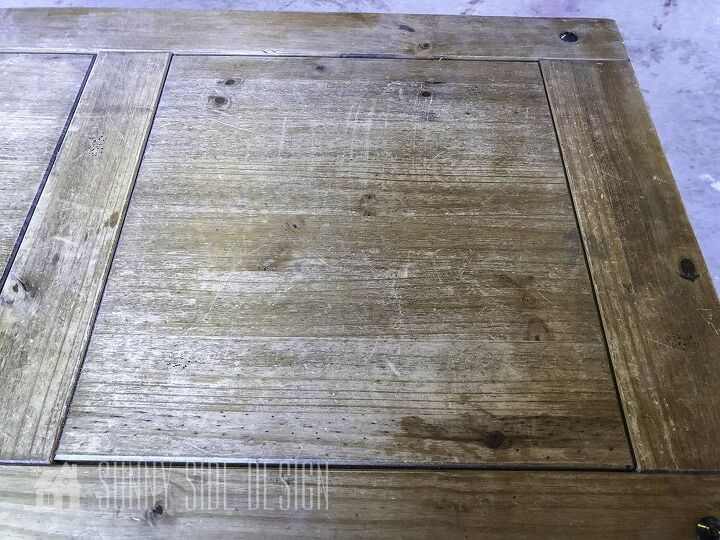
I used it just the way it was for many years. The wood had many scratches and gouges in it, especially on the desk top and around the legs.
That didn’t bother me. I’d snatched this sturdy name brand piece for such a great deal! Using it as a craft table I wasn’t too worried about getting glue or other materials on the wood in it’s current condition.
Within a year of moving into our new home, we finally had a room dedicated as an office/craft room! This was such a dream come true for me! Finally a space to store all of my craft supplies.
Once the room was finished I decided it was high time to give this Pottery Barn desk a makeover!
The first step to getting this desk into better shape required a light sanding to remove all of the scratches and gouges. Using a palm sander it didn’t take much time at all.
The desk makeover color scheme was chosen to mimic my sewing station in the craft room. The sewing station is made from white storage units as the base and a black counter top.
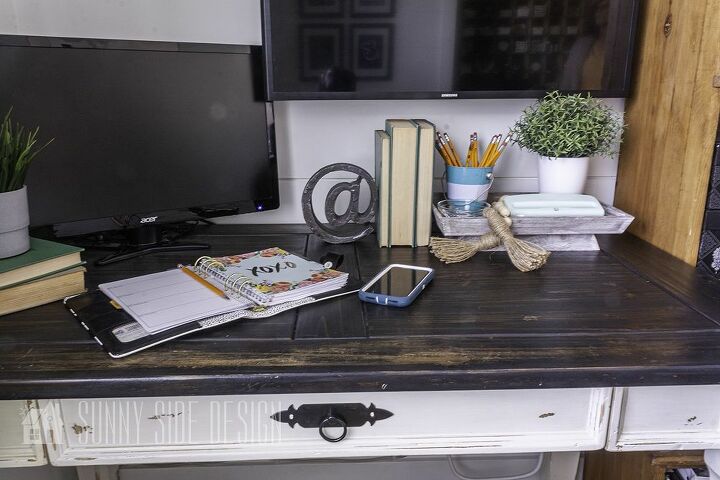
The wood grain on this desk is really beautiful and I wanted to keep that visible in the finished makeover. For that reason, I chose to use Minwax Ebony stain rather than a black paint.
(A tour of this room is coming soon. Be sure to visit our site and subscribe to our newsletter so you never miss any of our projects!)
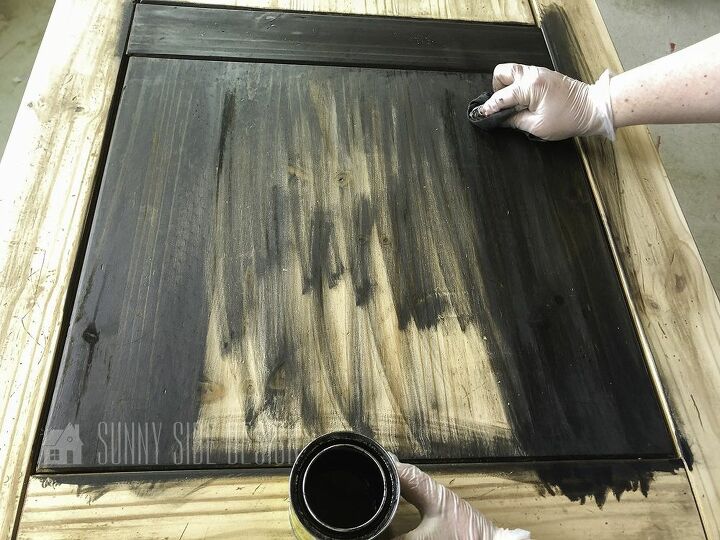
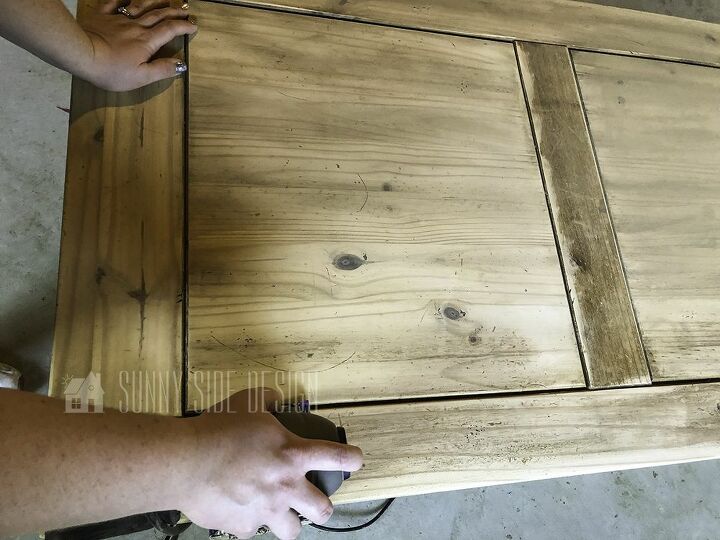
Applying stain is really simple to do. The surface needs to be free from any top coat or varnish to allow the stain to penetrate the wood.
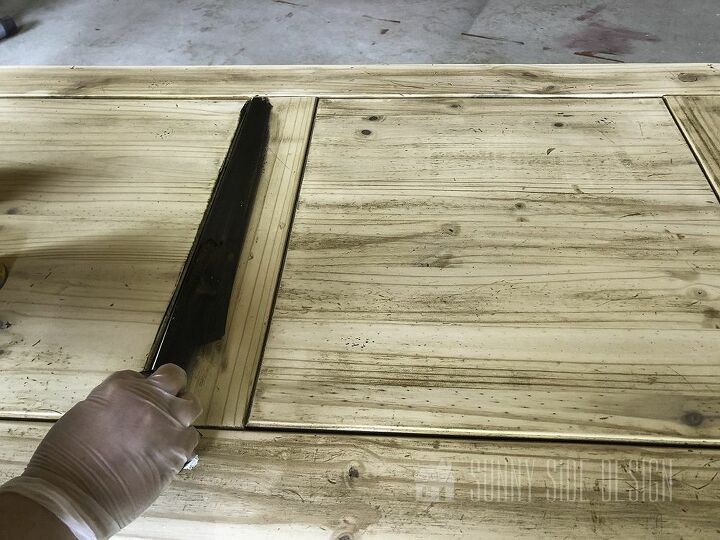
Once the top had been sanded and the dust wiped off with a tack cloth, the Ebony stain was applied using a scrap of cotton fabric. There were a couple areas where the grain ran the opposite direction on this piece, make sure to apply the stain in the same direction as the wood grain.
Be sure to follow the directions on your specific brand of stain. Generally the stain is left to soak into the wood for a given amount of time and then the excess is wiped away.
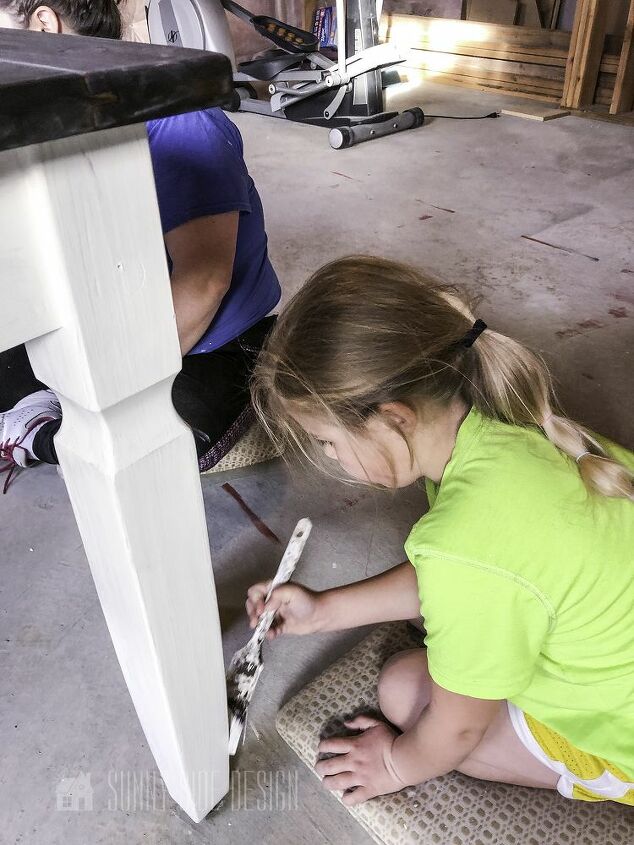
After the stain had been applied to the desk top, we applied a coat of chalk paint to the apron and legs. This is such a simple step. Again, just be sure to apply the paint in the direction of the wood grain.
Whenever this Little Miss hears the word “paint” she always wants to be part of the process! She’s our little prodigy, it makes me so happy that she’s already developing an interest in the same things as us! It’s fun to have her by our side as we work together.
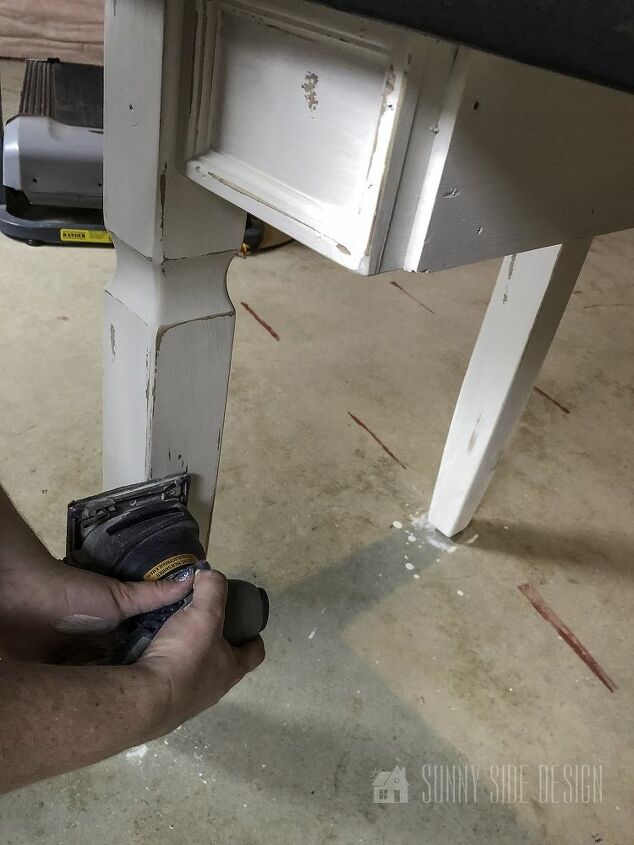
Once the paint had fully cured, I again took the palm sander to the desk and distressed the edges.
I love all things that look weathered, worn and old! Distressing the painted areas was just what this desk makeover needed!
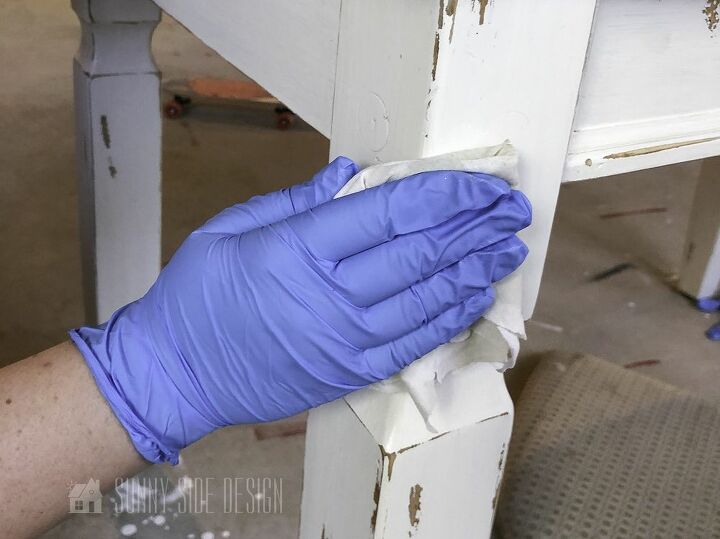
Lastly the entire desk makeover needs a top coat. We applied 3 coats of Wipe-On Poly by Minwax to the entire desk, the top, legs, and apron. The Poly was applied using a scrap of cotton fabric.
A light sanding with a fine steel wool pad was completed in-between the 1st and 2nd coat. This helps ensure a nice smooth surface, while applying 3 coats gives it the protection it needs as a desk top work space.
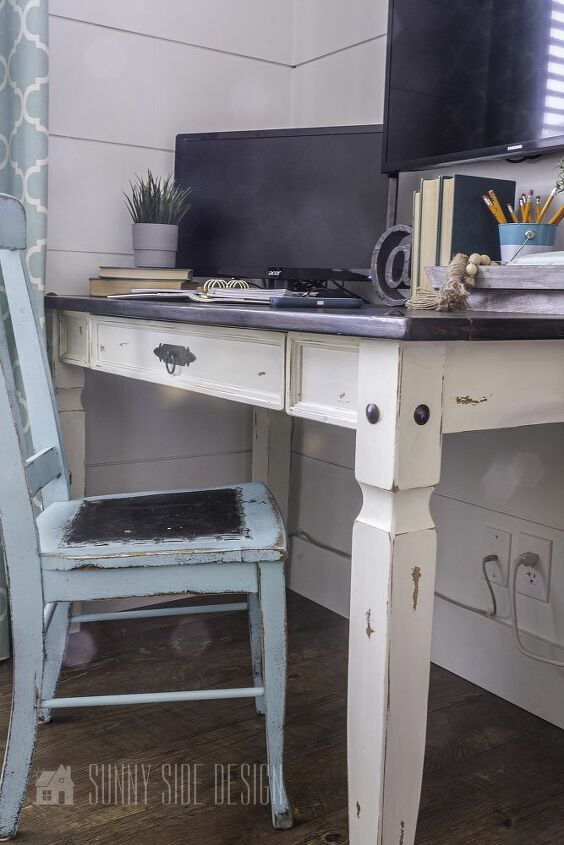
I love the way this desk makeover turned out! It fits in perfectly with the rest of the office space! (I can't wait to give you a tour.)
Thanks for stopping by! We hope you’ve been inspired to give some of your dated furniture a little makeover.
For more decorating ideas on a budget please go to our website.
As always here at Sunny Side Design, we hope to bring your home to the sunny side of the street.


Comments
Join the conversation
-
GREAT JOB!!!!!
-
I dearly love what you did. It's easy to see why you like it so much. I have the exact same desk. I have had it for at least 20 years, purchased from Pier 1. This year I decided to put a bit of music in every room. You and I have different tastes, which is good for this world. Because my office is more my room than the rest of the house, this is what I did with it!


Frequently asked questions
Have a question about this project?
Gorgeous 😍😍😍😍. Love. It!!