


Not Just Another Average Furniture Painting
With all that’s going on in the world we all need to do our part and stay home to protect those more vulnerable and staying at home for 2+ weeks is going to present its own challenges for all of us.
Rather than watching TV all day, why not teach your family how to play chess, or even teach yourself! Which is what my husband has promised to teach me, if I could provide a chess board with what we have in the house.
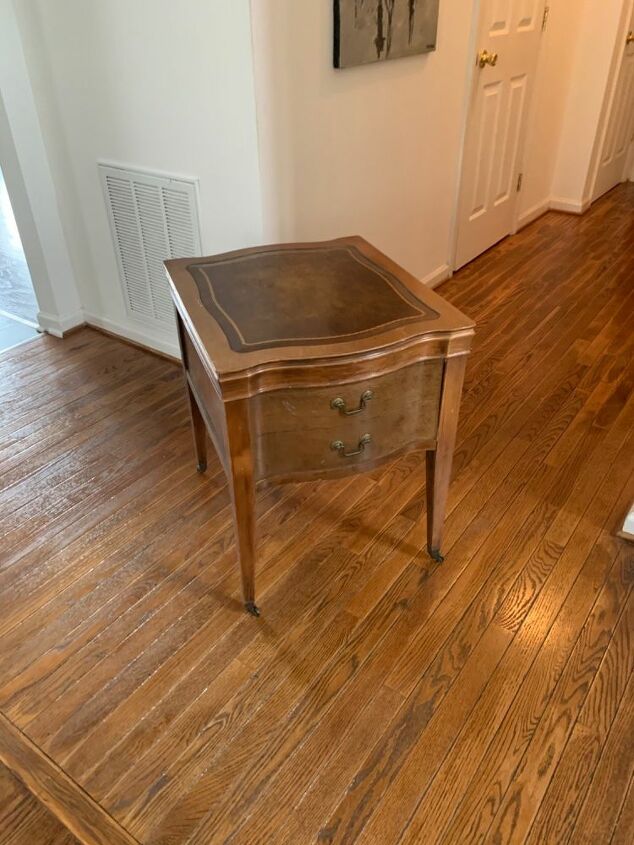
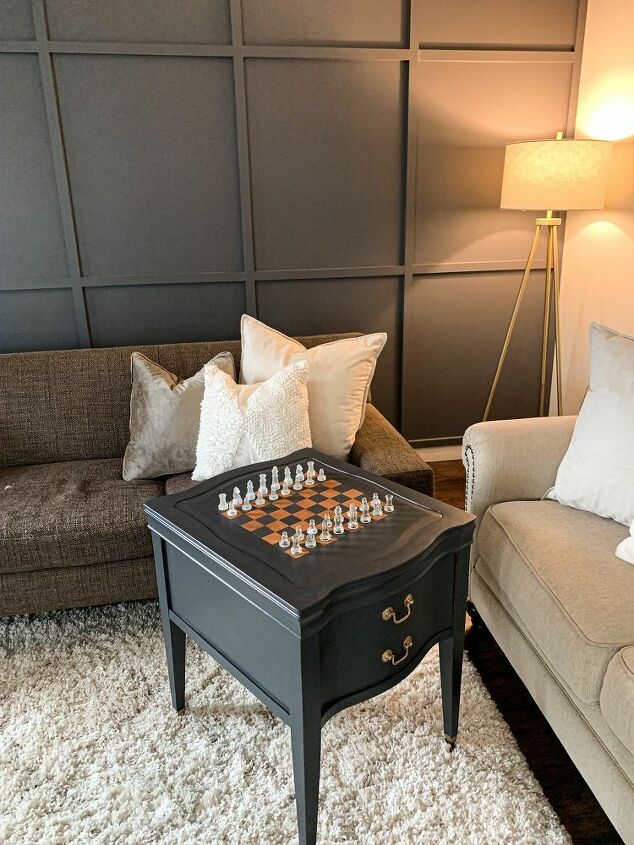
Well, I went down into the basement with every intention of using an old plywood board, but then I found THE HOLY GRAIL. An amazing nightstand from 1892 that’s been battered, and definitely had mice nesting in the drawer before we rescued it about a year ago. Any table can be used for this, even better if it has a drawer to store your pieces when not in use.
First things first, you’re going to need to give your piece a good clean even if it doesn’t look dirty. Soap and water is usually enough, but if your piece has been in storage and has some surface mold like mine did you can spray it with vinegar first and let it sit to kill any mold, then do the soap and water wipe down. I removed the drawer also and cleaned the whole piece inside and out.
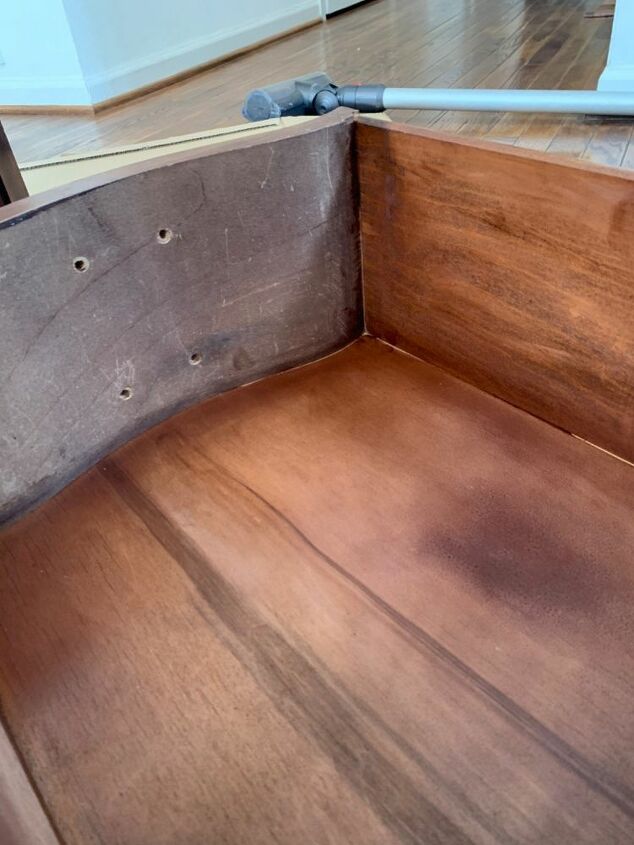
I started with the drawer since it was able to be fully removed from the nightstand. I removed the hardware and sanded the front of the drawer down to remove the lacquer then stained the inside to make it look fresh. As you can see, this little step makes all the difference. The stain in drawer is Special Walnut by MinWax.
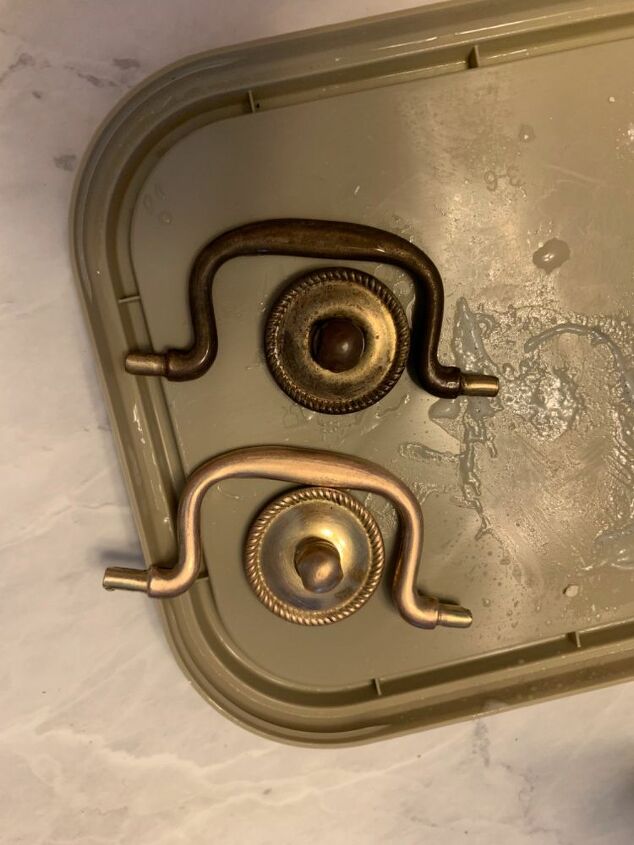
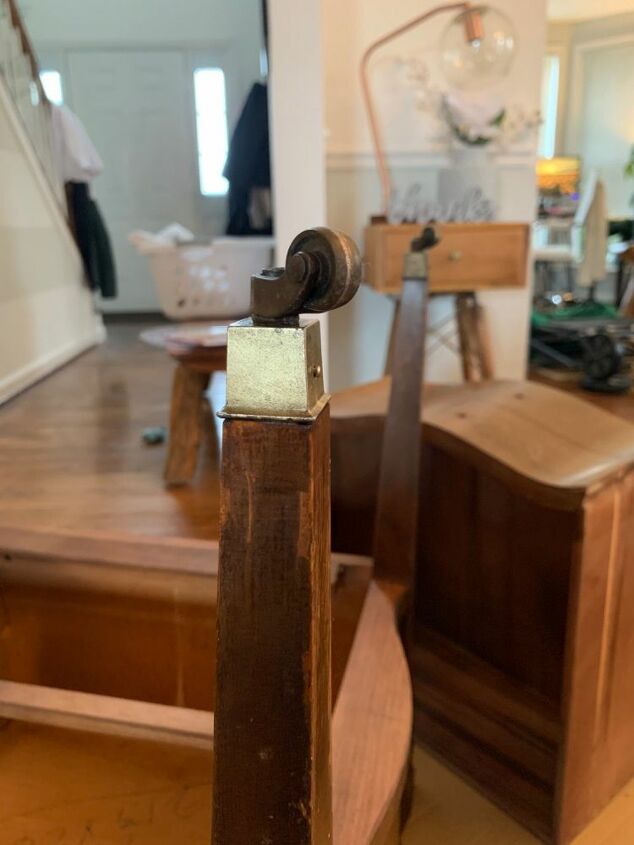
After I removed the hardware, I let it soak for 10 minutes in white vinegar, coca cola is good for this step too, but I didn’t have any on hand. Then I rinsed them off, and scrubbed Brasso on them with a soft bristle brush until the tarnish was removed, and polished with a microfiber. I’d like to replace the hardware with something modern but you know...social distancing! I also cleaned the metal pieces on the bottom of the legs with some brasso using the bristle brush then microfiber method.
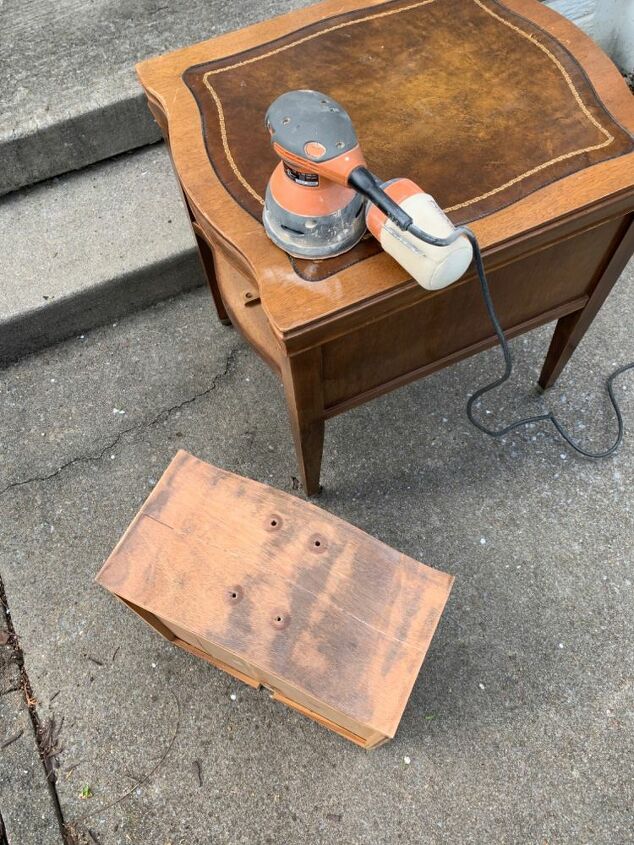
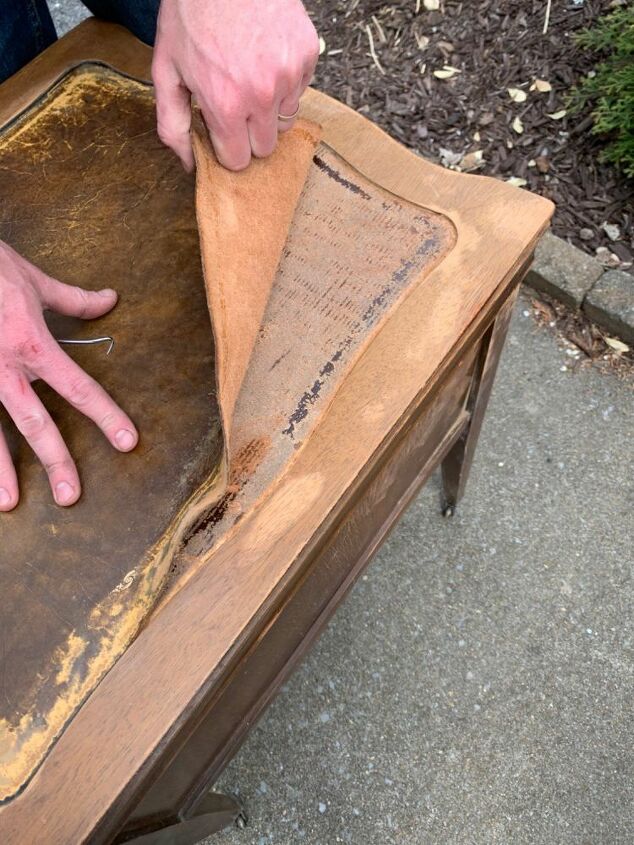
When I started sanding the nightstand I noticed that the top, even though incredibly hard and stiff, appeared to be a leather panel. It took hubby’s strength to pull that sucker off there, so if you are working with an old piece then watch out for that! Though I’ve only come across this style once before, small leather looking cracks will be a hint even though it’s top coated. Make sure the wood is free of any adhesive or lacquer before the next steps.
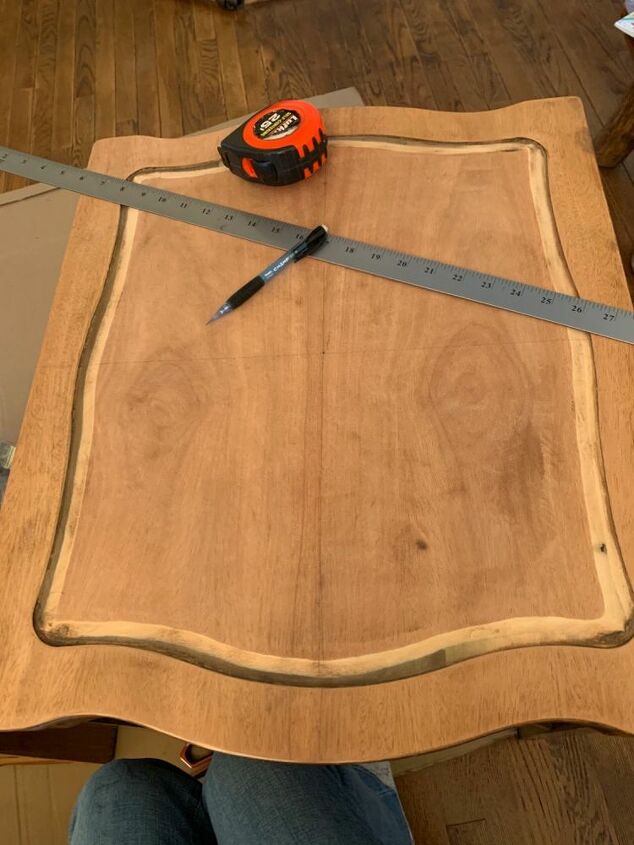
When it comes time to draw your chess board on, I can tell you it’s a pain but totally worth the “measure twice” saying. (Mark everything out lightly with a pencil). First you need to find the central point of the top. I used my sewing ruler which was incredibly useful.
The table you do this on will determine what size chess board you can have. This table is actually rectangular so I could only have 12” of board with 1 1/2” squares as a chess board is 8x8 squares.
This step simply requires a lot of patience and measuring. Getting it squared up and center is the most important thing in this project, so take your time.
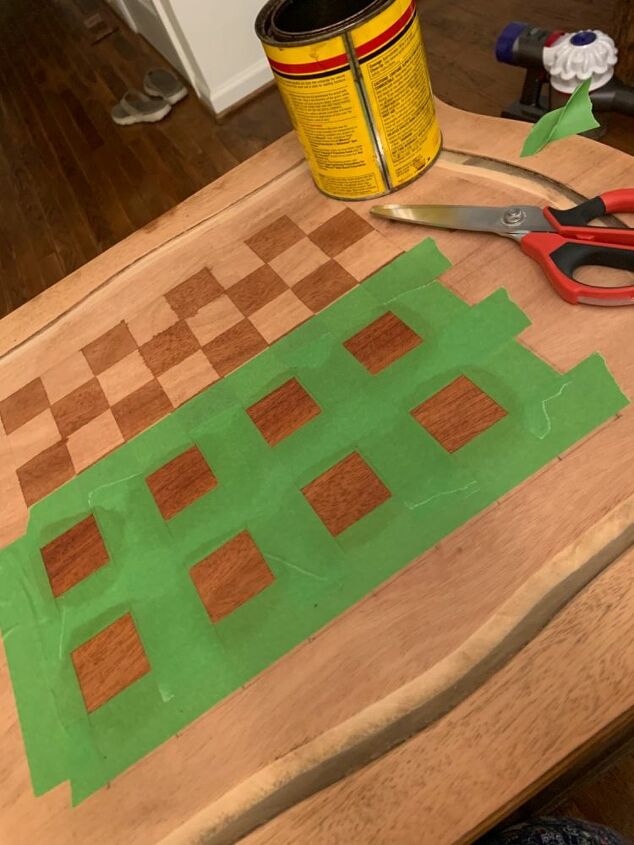
Once I had everything marked out I figured starting with stain is best as you can always paint over any stain oopsies but you can’t stain over paint, Even with taping everything you can’t stop wood bleeding in the grain. The stain color is Golden Oak by MinWax
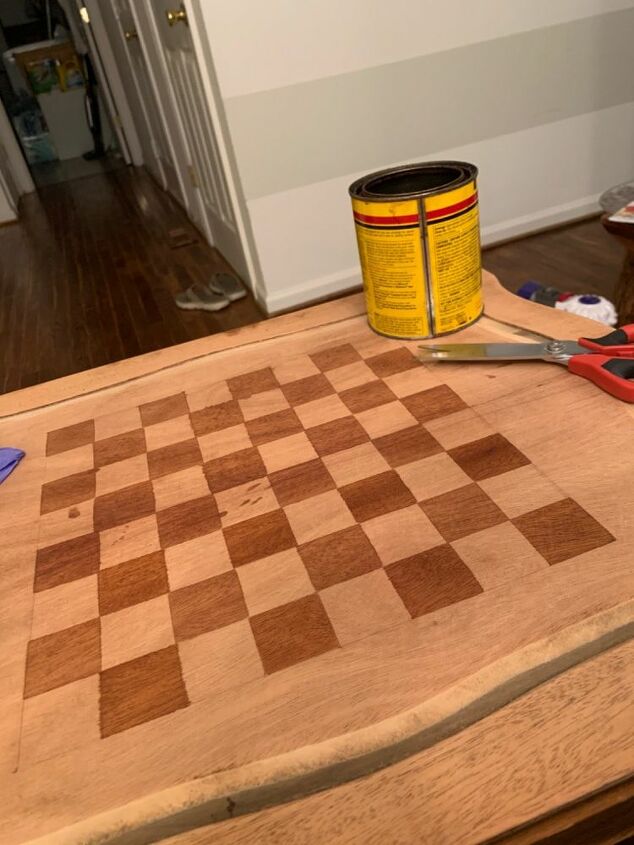
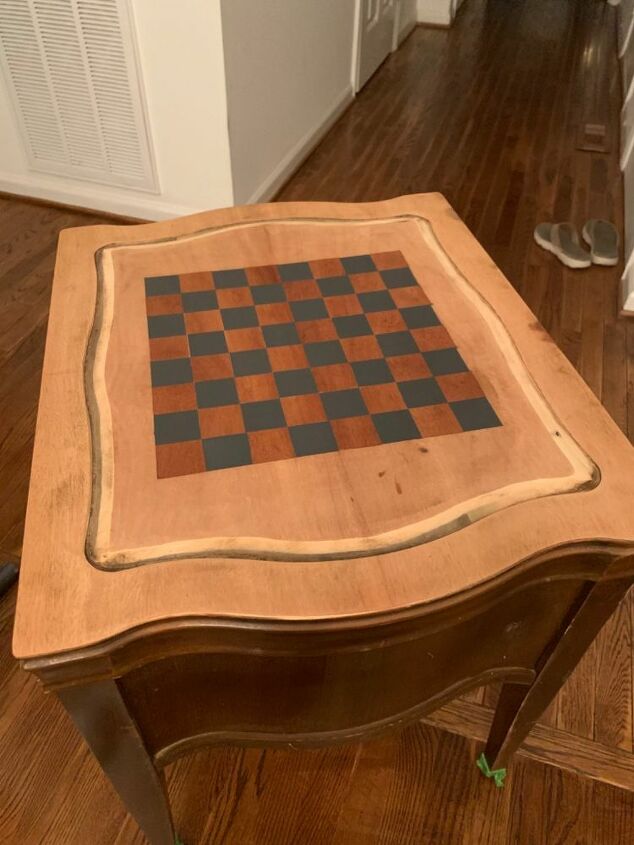
I got everything stained and as you can see it’s a little messy as expected and the edges are rough but that’s why we paint after stain!
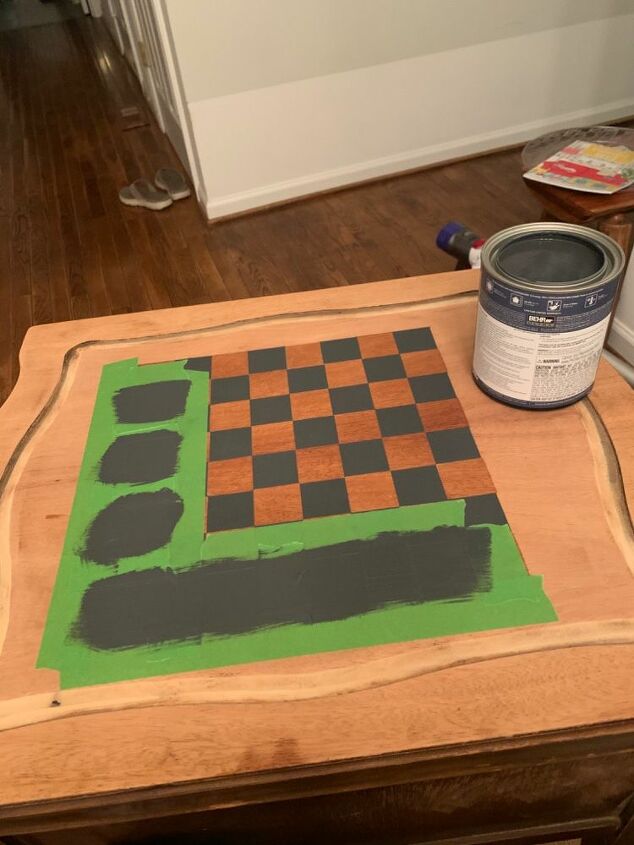
I went ahead and added all of the paint in the same way by taping off a few at a time. The paint actually dried so quickly I was able to tape over it for the next section in only a few minutes. I would normally not recommend that, and it completely depends on the paint you use! Also be careful peeling tape off when you’ve put it on top of fresh dried paint.
Once your chess board is complete you can start painting the rest of the piece. I started with the drawer front and worked my way up to the table top.
I taped off the chess board edges, getting creative with the tape to make sure the corners were also covered. Note that the tape should sit perfectly on all edges so you don’t end up with a gap.

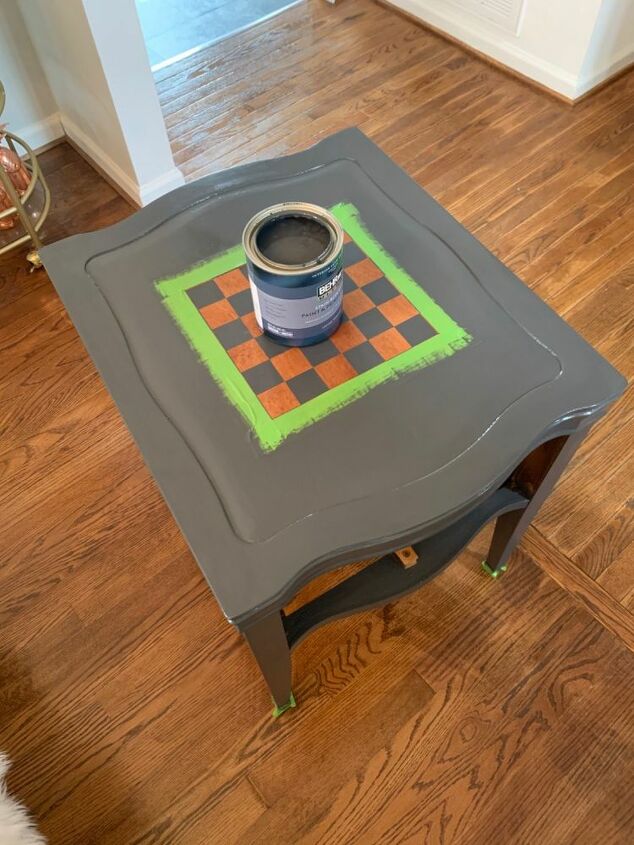
I did another coat of paint on the whole piece EXCEPT that I did not do another coat on the board. If you can help it, be sure to use a good quality thick paint so that the checkers don’t need another coat, otherwise you’d have to tape it all off again for a second coat and risk misaligning the squares or you’d have longer drying times between squares if you do two coats before moving on and taping the next ones. Not a big deal but can be avoided.
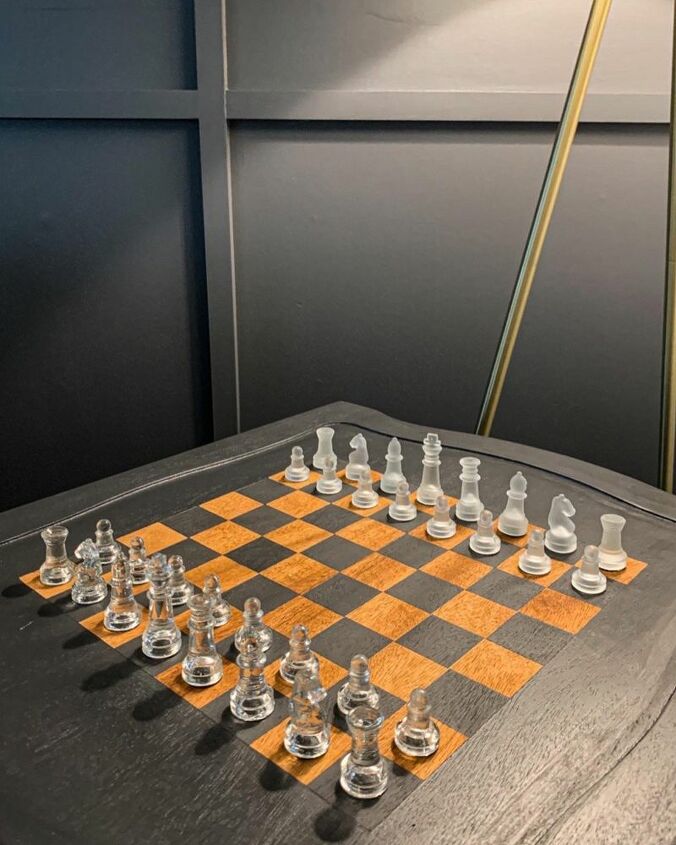
And that’s it! For the pieces you can use your imagination for whatever you have in the house. Painted pebbles, wine corks, nuts and bolts... endless! What do you think? Will you be pulling your family away from the tv for some old fashioned games? Maybe you’ve got other ideas for an upcycle to keep everyone entertained?
Resources for this project:
See all materials


Comments
Join the conversation
-
I like the paint and stain combo.
-
You did an amazing job! It looks beautiful!😄


Frequently asked questions
Have a question about this project?