


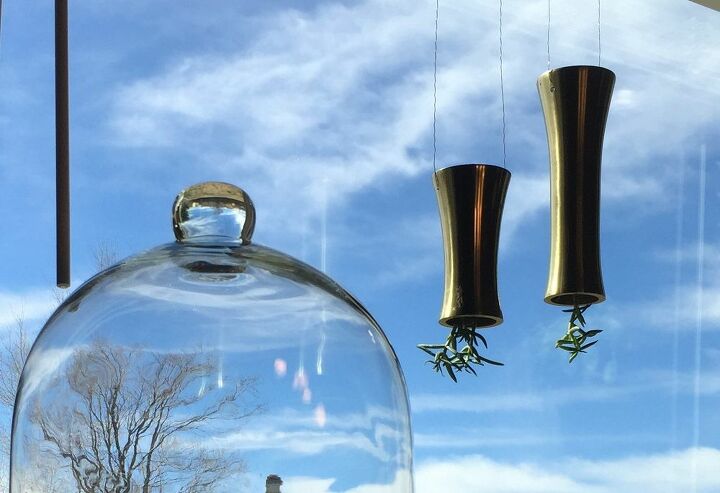
Upside Down Planters

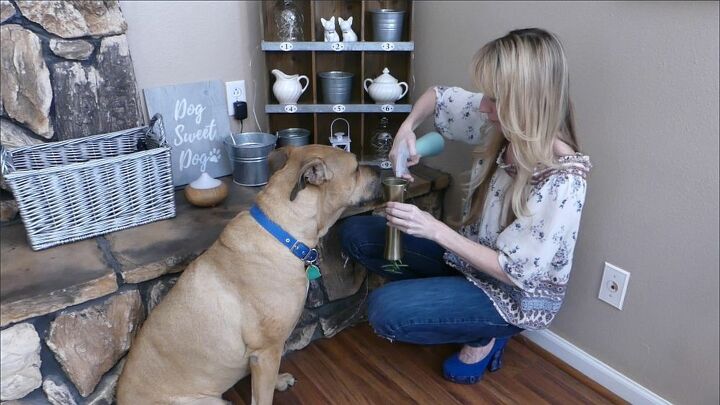
Incorporating plants into your home décor is a hot trend this year. And we aren’t talking about a simple potted plant on a side table! These upside down planters are eye-catching, unexpected, and conversation starters and you can put one together in just minutes.
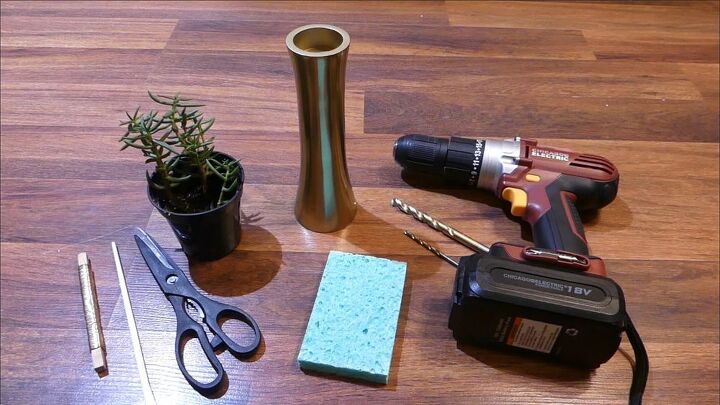
You’ll need:
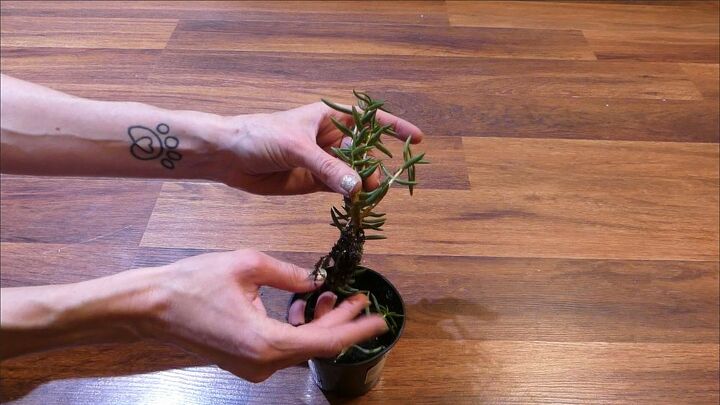
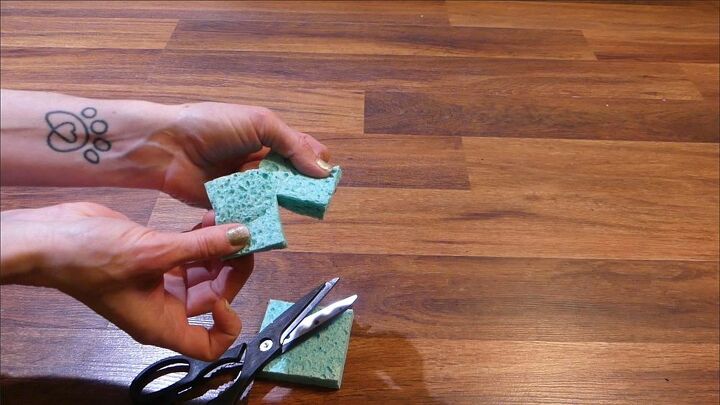
A metal tealight candle holder, a succulent or cactus with a thin stem, a sponge, scissors, a chopstick or other long implement, wire, a drill, a smaller pilot hole metal bit, and a larger 3/8” metal bit.
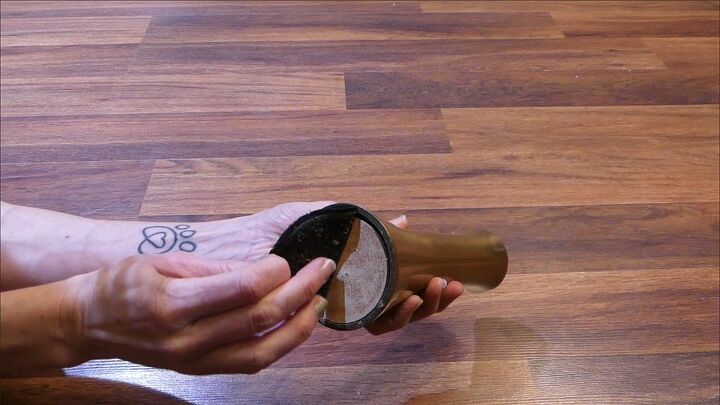
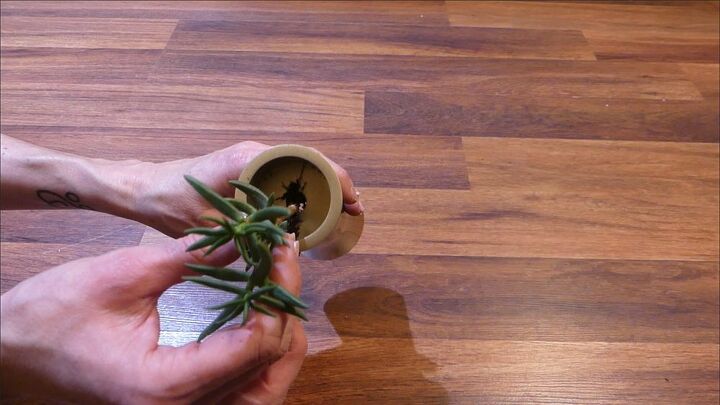
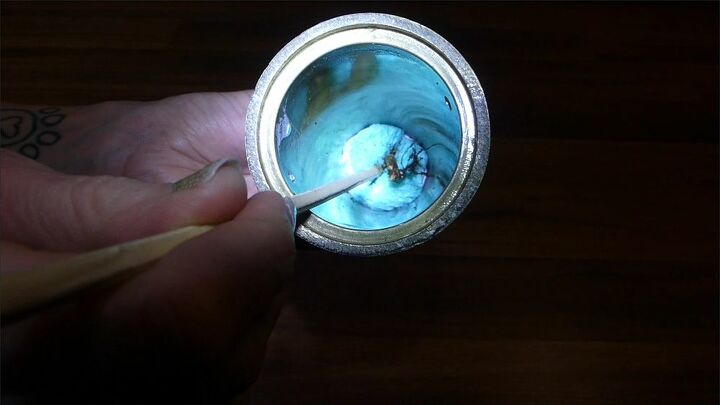
First, remove the bottom surface of the candle holder. Mine has a piece of felt and a circle of cardboard. The inside is hollow.
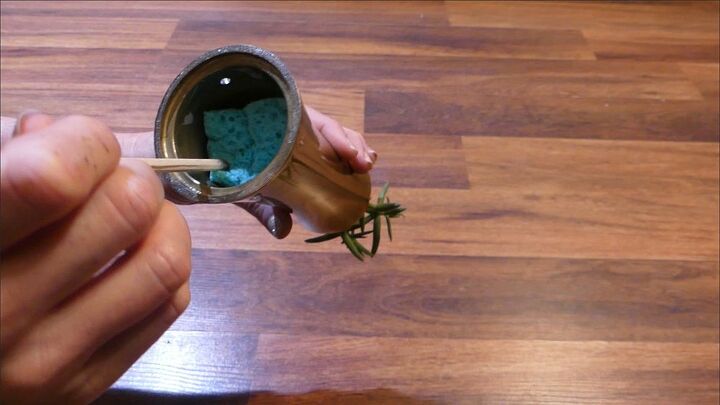
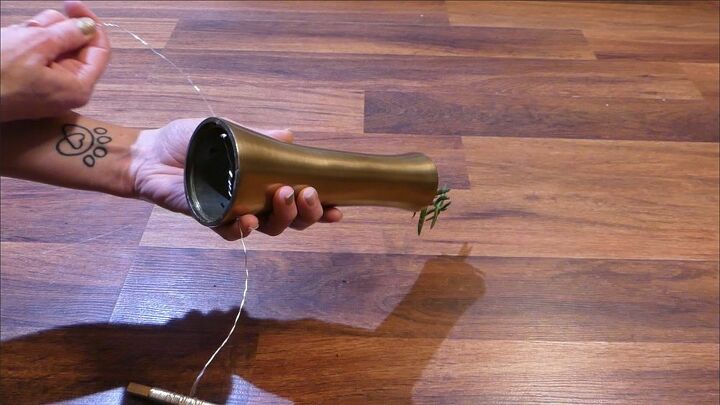
Use the smaller drill bit to make two hanging holes near the bottom of the candle holder. Then use the larger bit to make a hole in the center of the top.
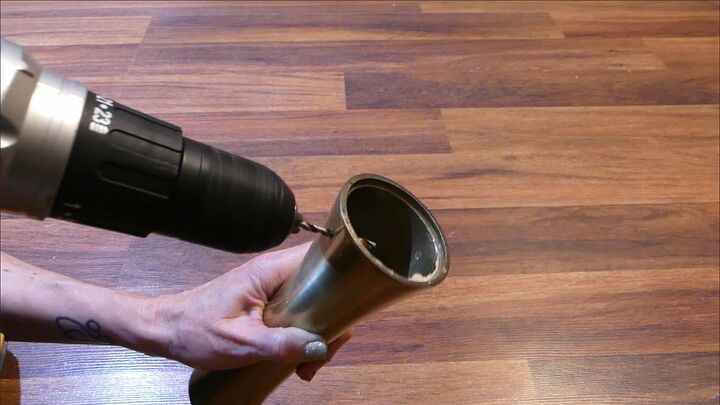
Then use the larger bit to make a hole in the center of the top.


Watch the easy-to-follow video tutorial here:
Resources for this project:
See all materials


Comments
Join the conversation
-
Awesome!!! THX!
I'm even going to try this with a n orchid!
-
Great project. Make sure you use a new sponge. Old ones might have bacteria in them, This will kill your plants.


Frequently asked questions
Have a question about this project?