


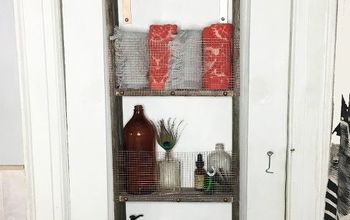
Easy DIY Blanket Ladder
I never throw away cut-offs and wood scraps! They have a special place in my small backyard, where they often prove to be little treasure troves of pain, especially when feet find them. But they are treasures nonetheless; throw-away scraps are perfect for odd jobs, and their size and shape largely dictate what you can do with them; which is how this storage ladder came into the world.
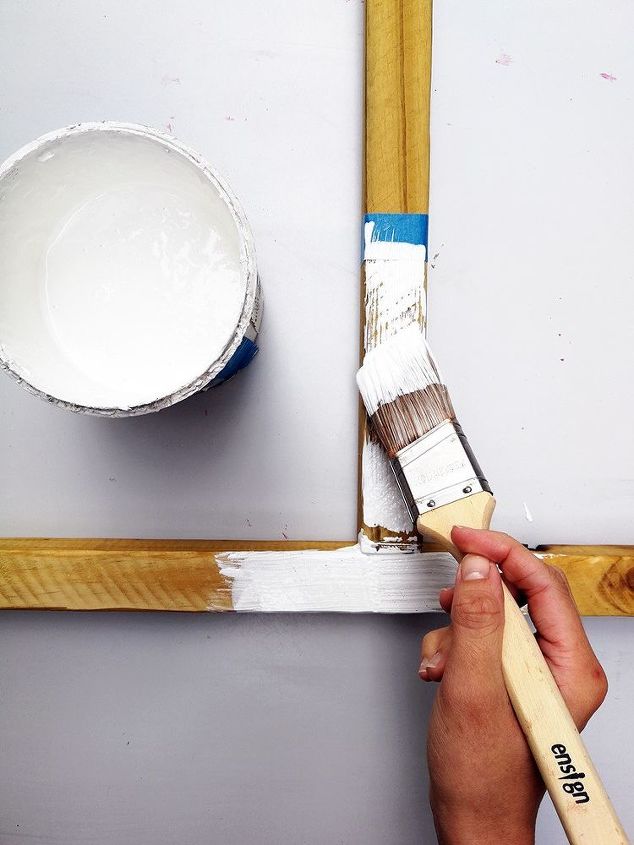
This ladder is not the most original DIY, but it is practical and pretty. Initially, I left it unpainted, but when I saw this West Elm version, I was convinced white paint had to be part of my ladder.
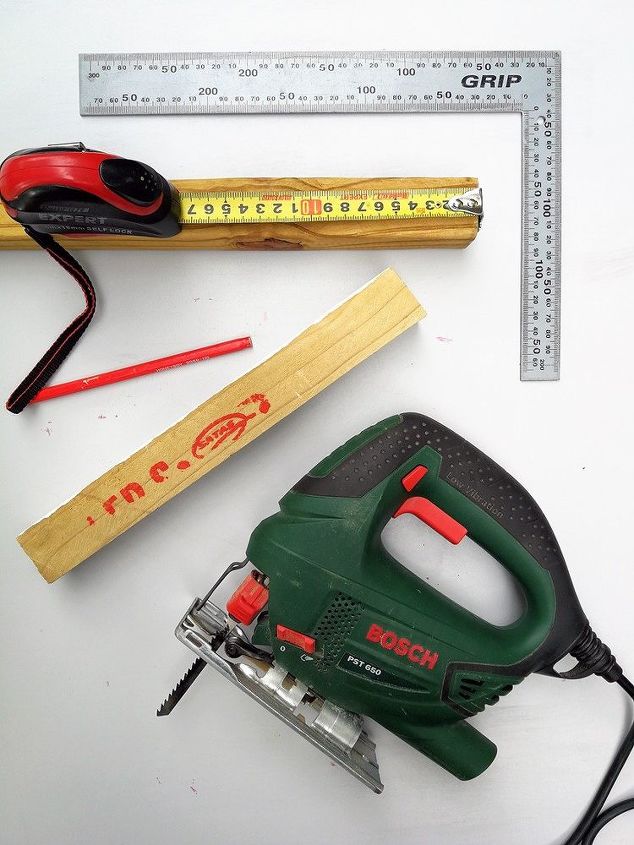
STEP 1:
Measure and cut battens to 2x 1.5m pieces for the legs and 4x 0.5m pieces for the rungs.
See why you should use a carpenter's square!
STEP 2:
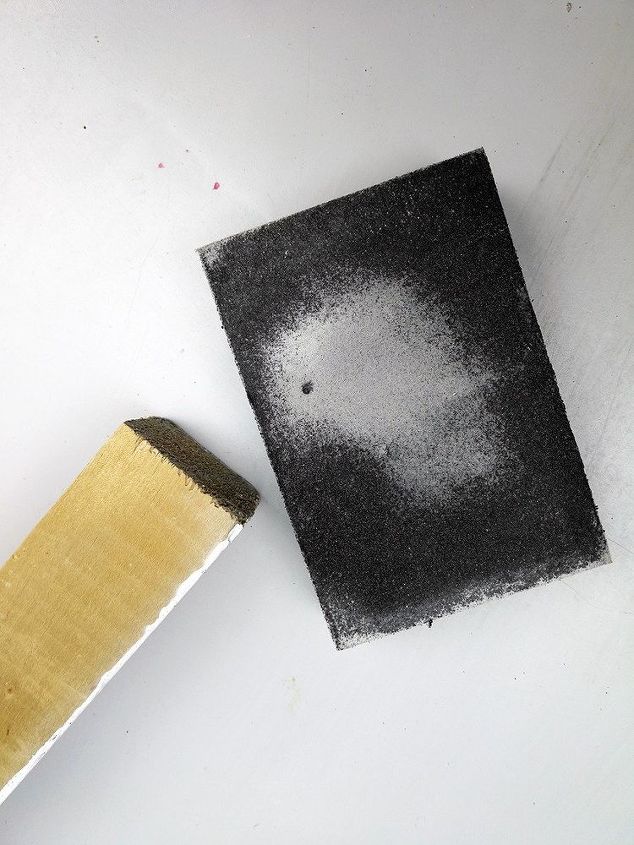
Sand down the pieces to the desired smoothness. I only sanded the edges, because I wanted a rougher texture.
STEP 3:
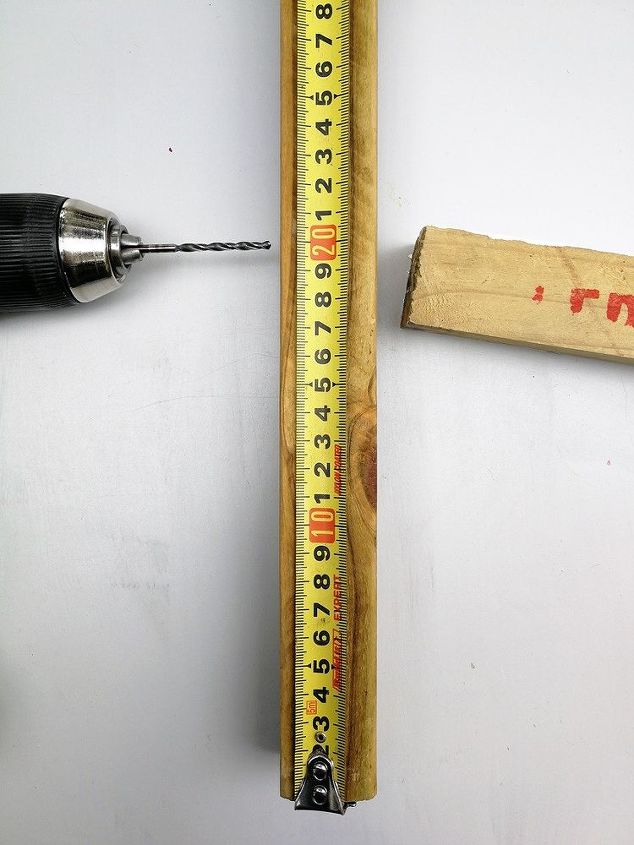
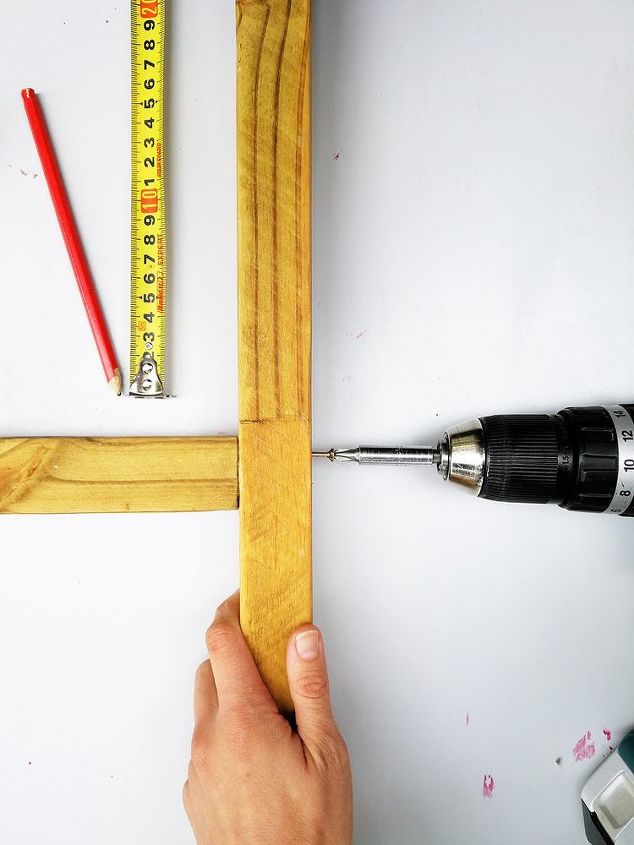
Mark the positions of the rungs on the sides of the legs: I spaced mine 300mm apart. Remember that the rung will sit in the middle of the measurement. Drill two pilot holes for each rung, one a little higher than the other. This will prevent the wood from splitting and will ensure a stronger hold.
STEP 4:
Put a drop of cold glue on the edges of a rung, wait a few seconds, and press it against the inside of the leg where you drilled the pilot holes. Move the wood against each other until you feel the hold securing. Use your carpenter's square to ensure a 90-degree angle.
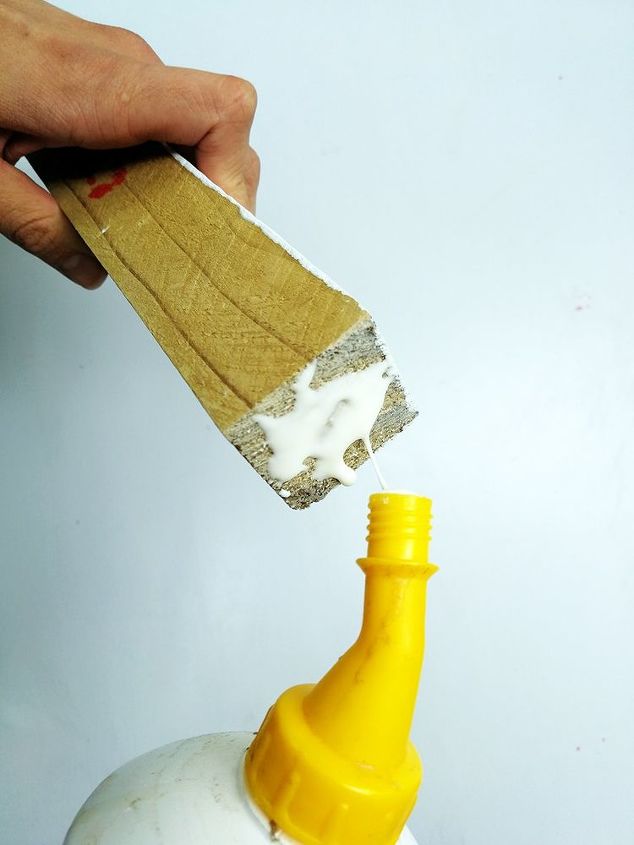
STEP 5:
Fix the two screws in place for each rung and then allow the cold glue to dry.
Repeat steps 5 and 6 for each rung until your ladder is complete.
STEP 6:
Click through to the rest of the blog post here to see how I finished the ladder!
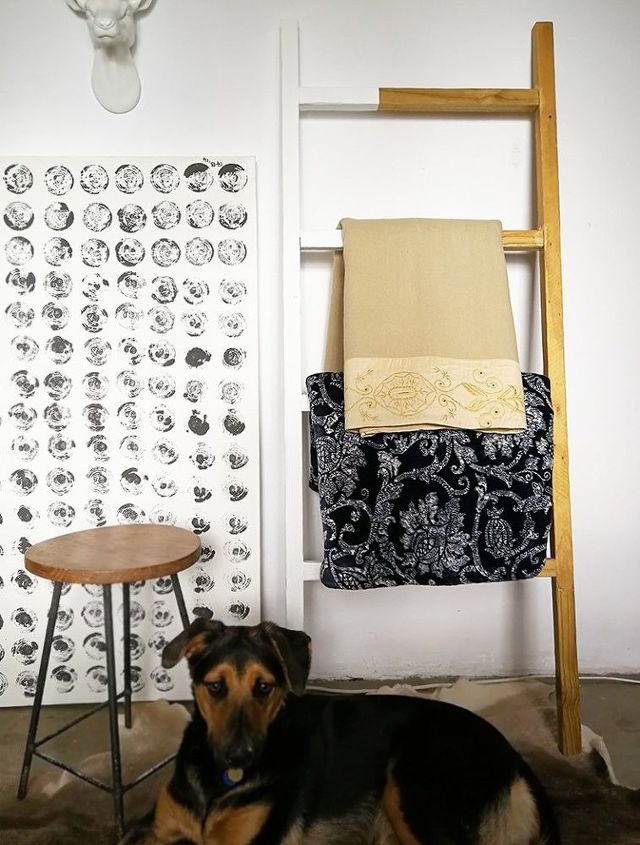
Congratulations! You are now the owner of a self-made Nordic-style ladder ready to hang your towels or blankets! Well done!
Happy DIY-ing!


Frequently asked questions
Have a question about this project?