


How to Easily Build a DIY Mini Bookshelf Using Chair Rail

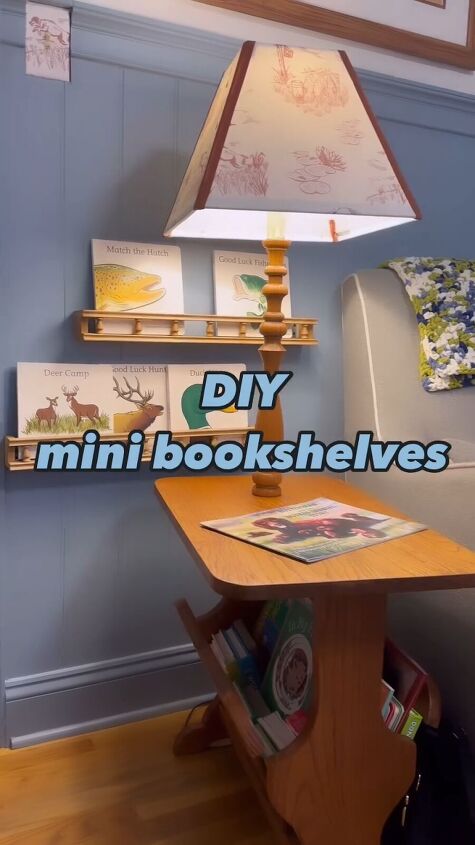
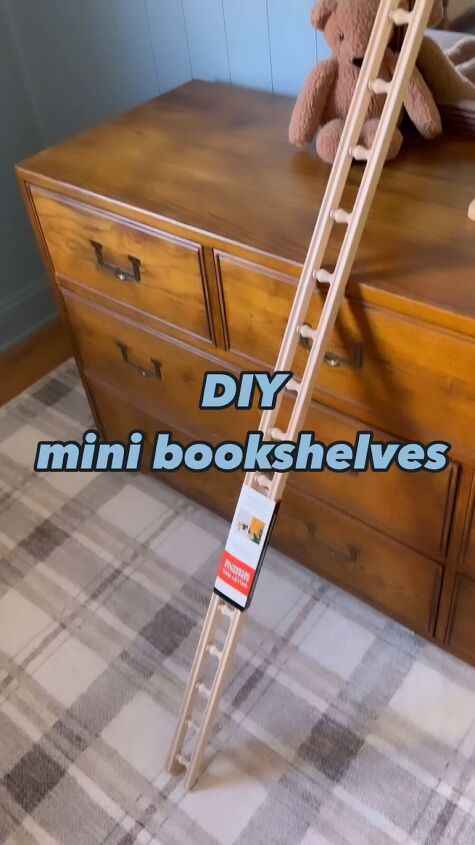
Let's turn this 4-foot chair rail into a DIY mini bookshelf. I wanted a way to display books and create a reading nook in the nursery.
These mini bookshelves fit board books perfectly! Let me show you how to make a mini bookshelf for a baby’s room or any space in your home.
Table of contents
Tools and materials:
- 4-foot chair rail (I found mine at Home Depot)
- Scrap wood for side and bottom pieces
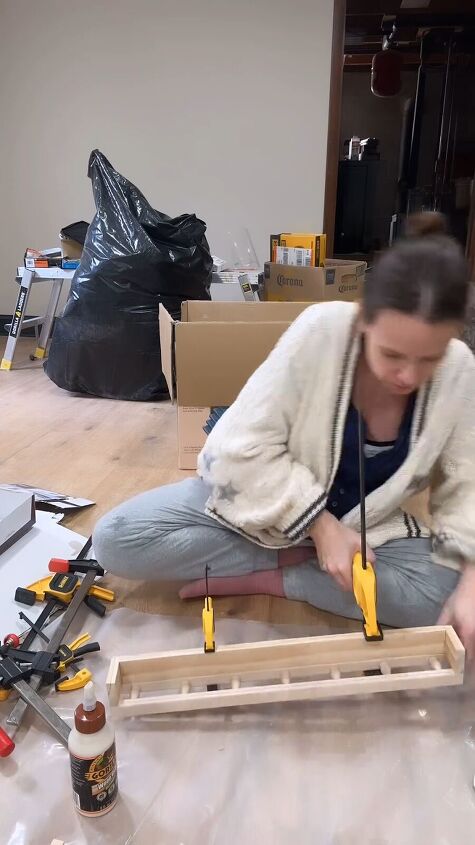
- Gorilla wood glue
- Clamps
- Golden oak wood stain
- Paintbrush or rag for staining
- Clean rags
- Sandpaper (220-grit)
- Denatured alcohol
- Two L brackets
- Screws
- Drill
- Screwdriver
- Brad nailer
- Books
Step 1: Cutting the chair rail
Using a saw, I carefully cut the 4-foot chair rail in half to create two equal-sized pieces. I measured and marked the midpoint before cutting to ensure accuracy.
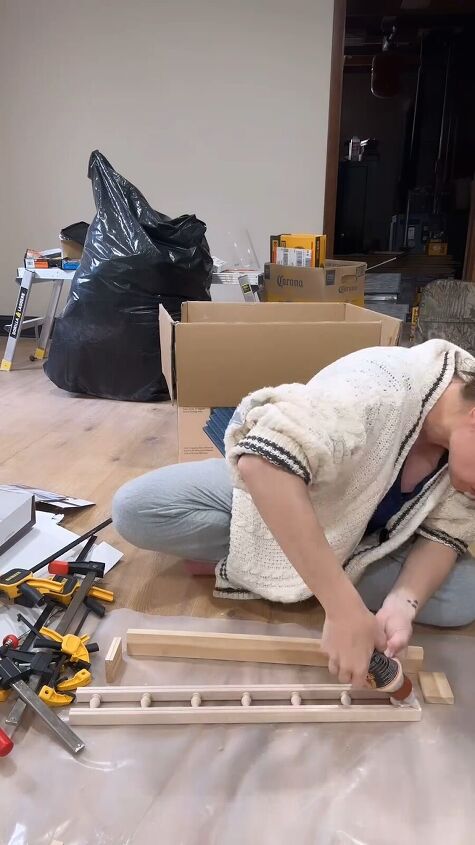
Step 2: Adding side and bottom pieces
I cut scrap wood pieces to match the length of the chair rail halves to create the shelf and some pieces for the sides.


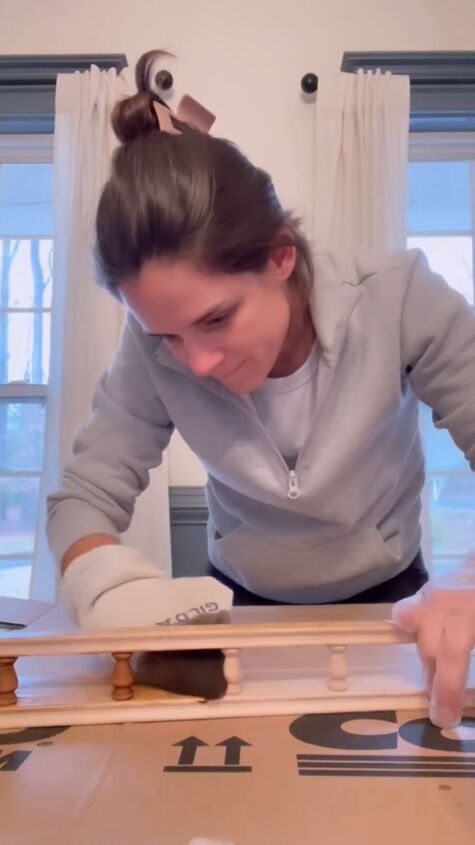
Step 3: Preparing and staining the wood
Since I was pregnant, I didn’t want to handle the stain. Once the glue dried, my friend removed the clamps and sanded the surfaces of the mini bookshelves with 220-grit sandpaper to smooth out any rough edges or imperfections and wiped away any dust with a clean cloth and denatured alcohol.

Step 4: Mounting the shelves


Step 5: Attaching the shelves
I placed the mini bookshelves onto the L brackets, ensuring they were aligned properly. I then drilled pilot holes in the bottom of the shelves where they would attach to the brackets and secured the shelves to the brackets using screws and a screwdriver.
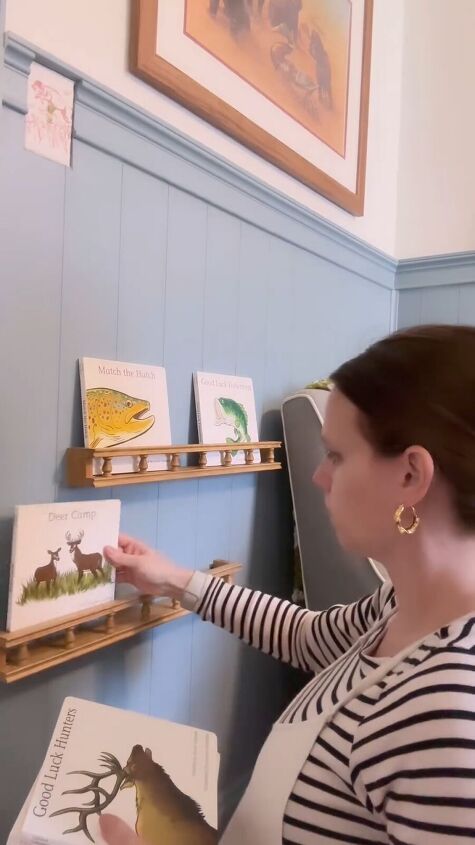

DIY mini bookshelf
These mini bookshelves were so easy to make! Just this little bit of wood allows me to arrange books creatively to showcase our collection and add visual interest to the space. Let me know what you think of this project in the comments!
Follow @well_shetried on Instagram for more DIY ideas.


Frequently asked questions
Have a question about this project?