


Easy Cornice Tutorial Using Foam Board
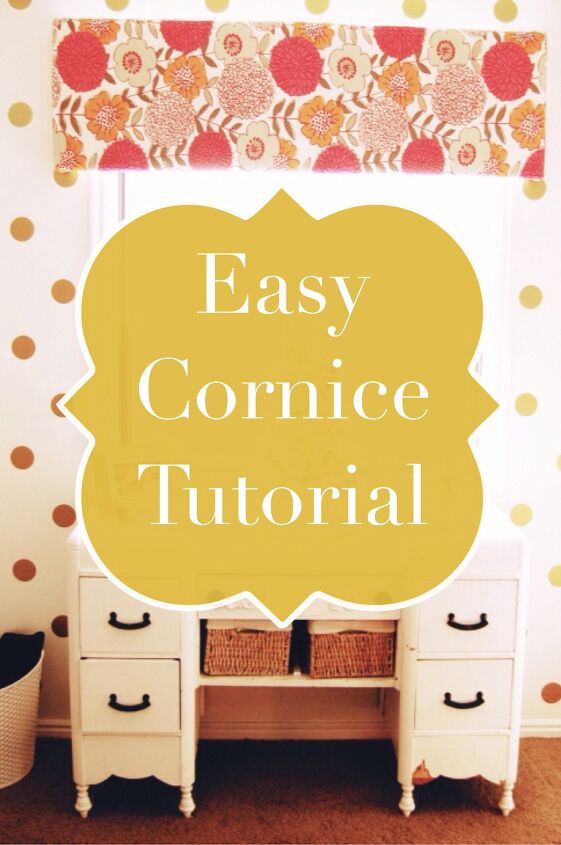
This is such an easy way to make a cornice by following my cornice tutorial using foam board! It is very lightweight and no sewing is involved. (Our fabric ran a little short so we had to sew two edges on ours) But if you cut your fabric correctly you should not have a problem at all.
You can see the entire room reveal here
Materials:
– Foam insulation board from your local hardware store 3/4″ thick to 1″ thick
– duct tape (we used silver to match the back of the foam insulation)
– a curtain rod
– hot glue
– straight pins
– fabric
– quilting batting
Directions:
Measure your window with a 3-4 inch overhang on each side.
Then determine the height from top of cornice to bottom as you desire.
The cornices in the kids rooms were about 2 feet in height and the cornice in the basement room reveal was only 1 foot in height.
If you have a blind in the window you probably want to make your foam cornice a little larger to cover all the hardware.
Tip- the higher you hang the cornice the larger the room feels.
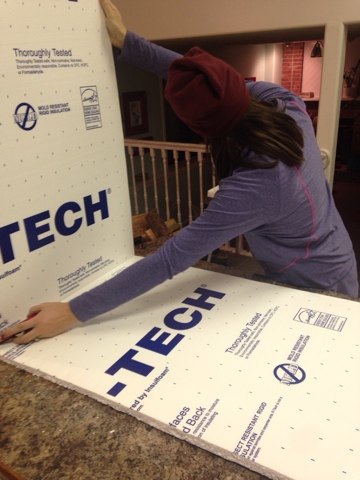
How to cut the foam board for your valance
Use your measurements to cut the foam insulation to your measurements.
We used a box cutter with short sawing motions.
And get ready for lots of little foam beads.
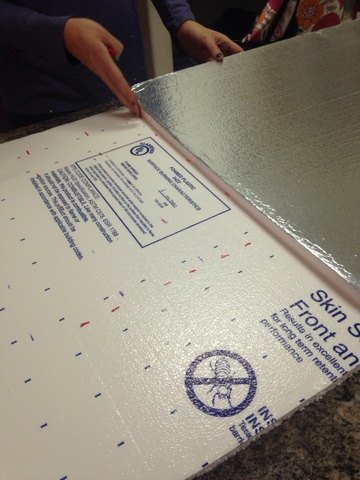
Now cut the side pieces. These should be the depth of your curtain rod. Not any deeper or it won’t be able to hang on the curtain rod brackets.
The best way to get the right measurement is to place the main piece of foam board you just cut on a flat surface. Place your curtain rod on top with the brackets facing up.
Grab a piece of the foam board and place perpendicular on the short side.
Make a mark just below the edge of the curtain rod edge.
Cut off the excess.
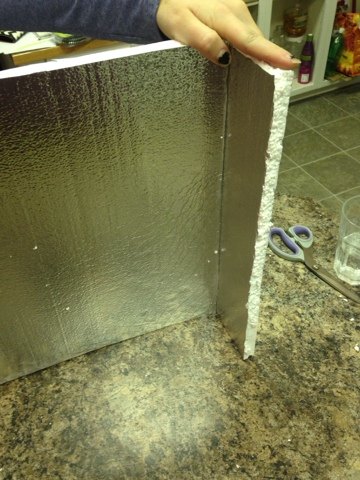
Duct taping your foam board cornice
Grab your duct tape and (with help) tape the short side pieces to the long board both inside and on the outer edge for stability.
Repeat on the other side.
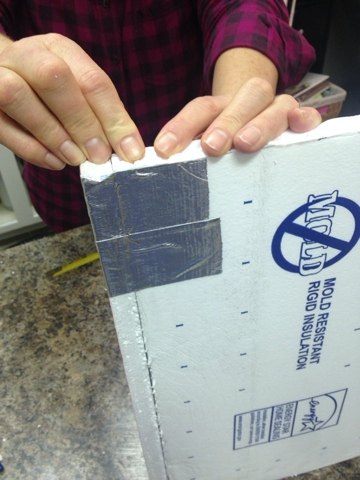
You now have the base of your cornice.
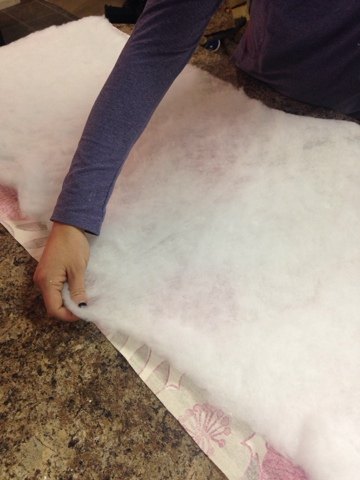
Adding the batting to the foam board
Now it time to cut the batting. Place foam board down so that the short ends are holding it up.
Lay batting down and cut to size leaving about 2 inch overhang of the batting to allow the edges of the cornice to be padded as well.
Once that is the correct size proceed to cut your fabric to size. Make sure you will have extra to pull over all the edges.
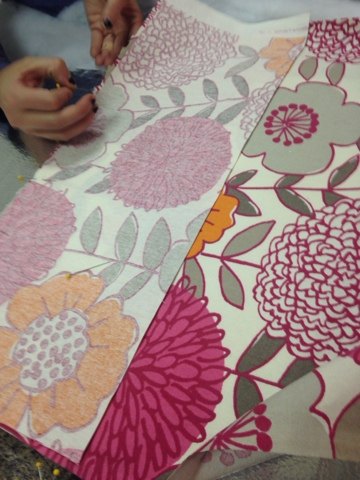
Fabric for the foam board cornice
Lay the fabric on your work surface, pretty side down, then layer the batting and then the foam board.
Our fabric wasn’t long enough so we had to sew extra pieces of fabric to each side to make it long enough.
The seams hit the edges perfectly.
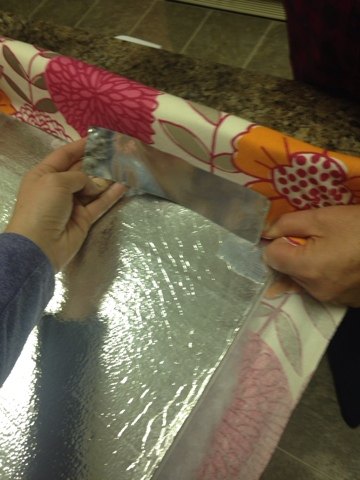
Grab your duct tape again and start on the short sides.
Pull fabric over and tape all edges down.
Go to the other 3 sides and repeat.
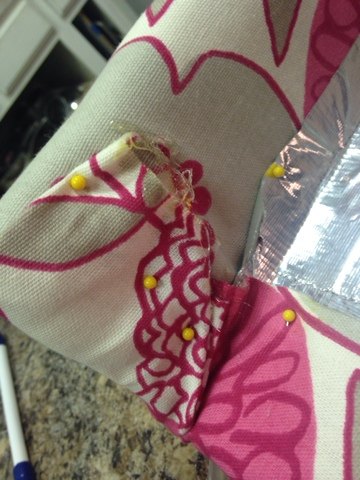
To add stability we used straight pins every so often.
For the corners we folded them in and pinned them as well.
Attaching the curtain rod
Hot glue all along top edge to attach the curtain rod.
It holds it perfectly because it is so light weight.
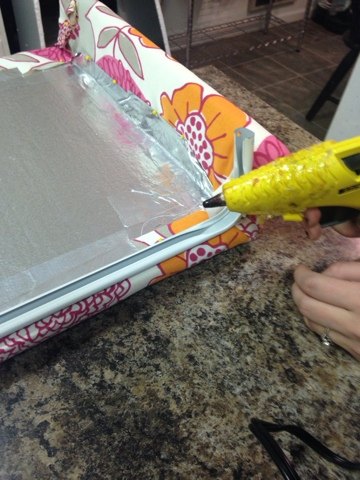
You can see the curtain rod is attached and it is ready to be hung!

Ta Da you are done!
Hanging the foam board cornice
Now all you have to do is hang it. The curtain rods come with simple hardware and it works great!
We are not perfectionists, we use our hands, fingers, and or arm lengths to measure things if no tape measure is handy.
In fact when we hung the one in my basement I said “my side measures 4 fingers from the edge of the window” Madeline said “mine measures 4 loosely” ok good enough!” Haha
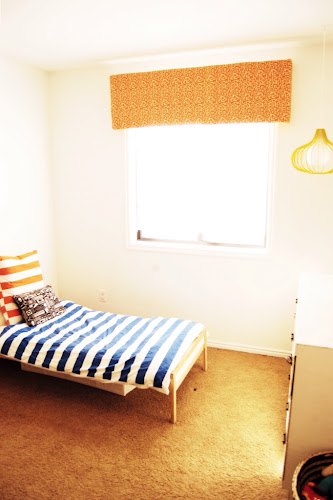
Here is the Orange one we made for the boys room.
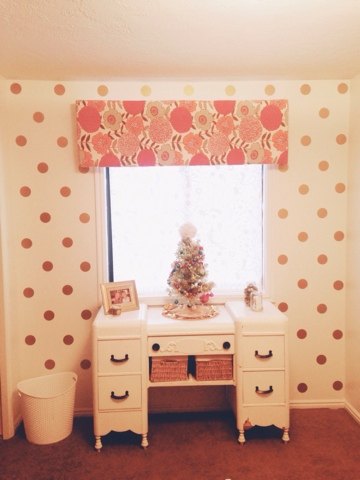
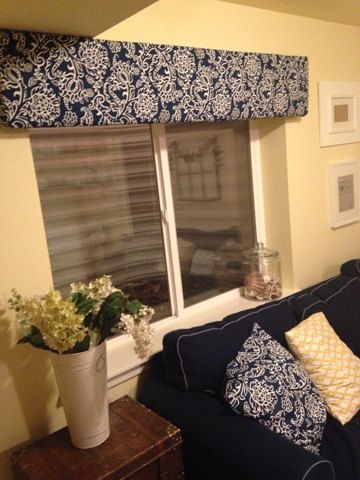
Here is the one in my basement.
This is one is shorter because the ceiling is lower.
More window treatment posts you will enjoy
Links are live on my blog.
Faux roman shade using no hardware
Easy roman shade using an old Ikea shade
Budget Land of Nod girls bedroom
Bamboo shades that I love
Shop

Comments
Join the conversation
-
I tried just this a few years ago. I can say it has held up well. I hope that someone who want to make this follows your directions. Great Info.


Frequently asked questions
Have a question about this project?