


Open the Door to Style: Incredible Door Hacks You Won't Believe

If you've ever found yourself dreaming of transforming those drab and outdated doors into stunning focal points, then you're in for a treat. Today I'll unveil three exciting projects that will turn your doors from eyesores to eye-catching masterpieces, all without breaking the bank.
From giving a hall closet door a much-needed makeover to breathing new life into your plain old closet doors, I've got you covered.
I'll guide you through each project step by step, providing handy tips and tricks along the way. Say goodbye to dull and hello to delightful as we delve into the world of door hacks.
This post was transcribed by a member of the Hometalk editorial team from the original HometalkTV episode.
Watch till the end of the video for a bonus bi-fold door makeover!
Get ready to unlock the door to creativity and style, all while keeping your wallet happy.
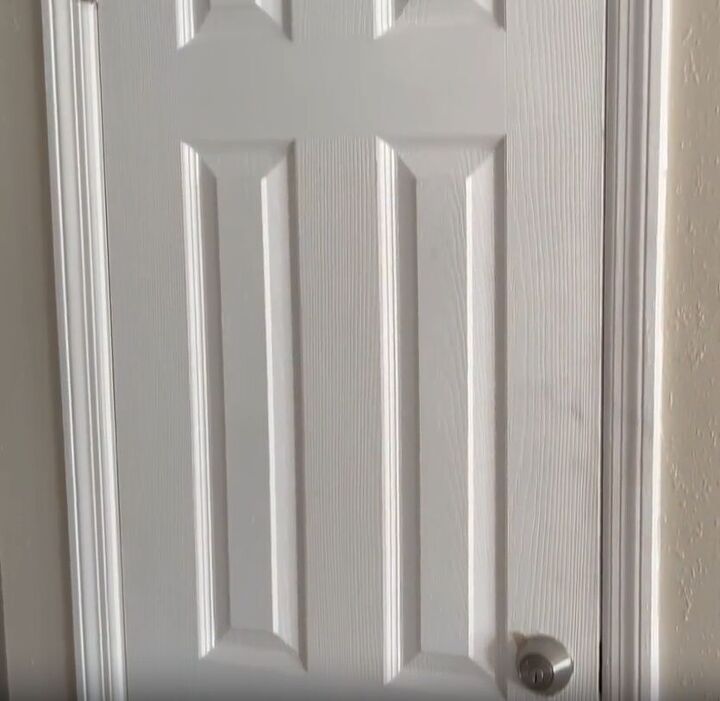
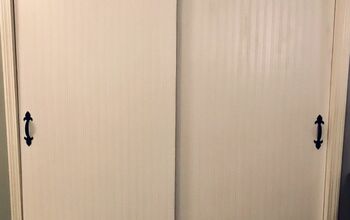
Hall Closet Door Makeover
Tools and Materials:
- Screwdriver
- Table saw
- Sander or sandpaper
- Pin nailer
- Paintbrush or paint sprayer
- Caulking gun
- Hollow core door
- One-by-twos (amount depending on door size)
- Construction adhesive
- Nails
- Beadboard or other desired material for door panels
- Paint
- Caulk
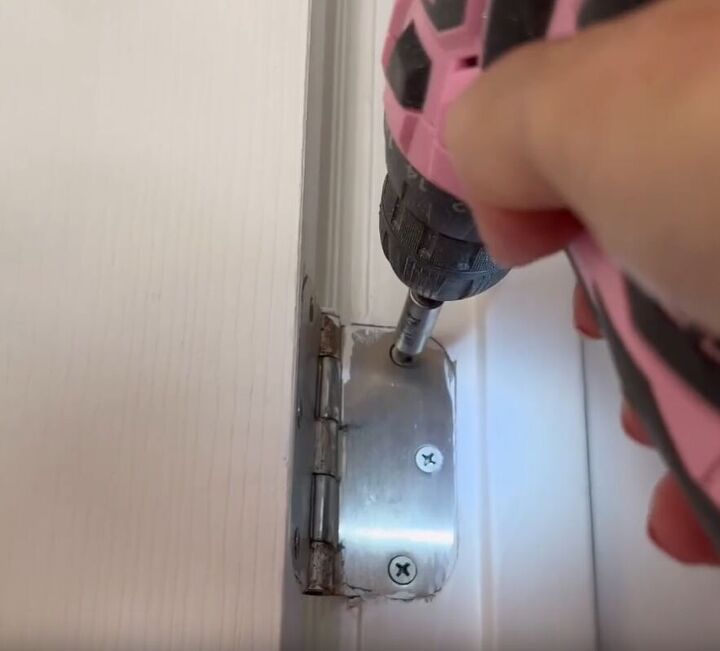
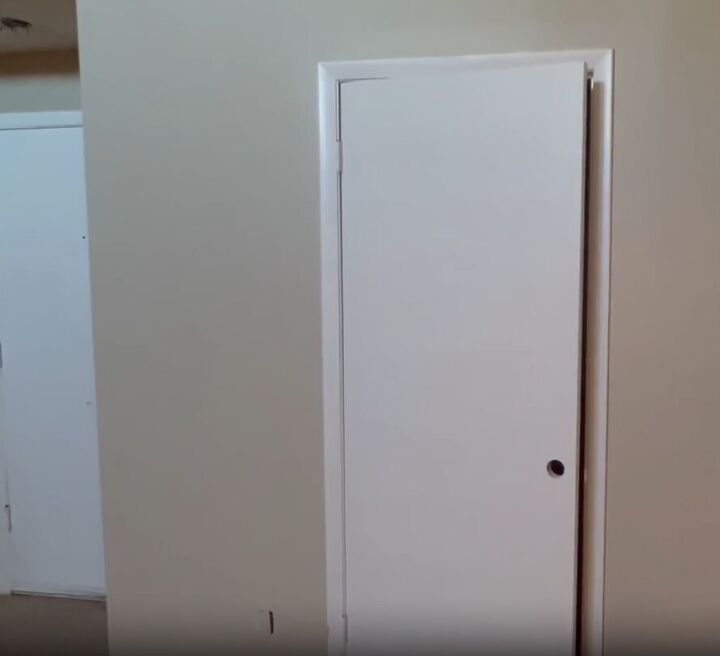
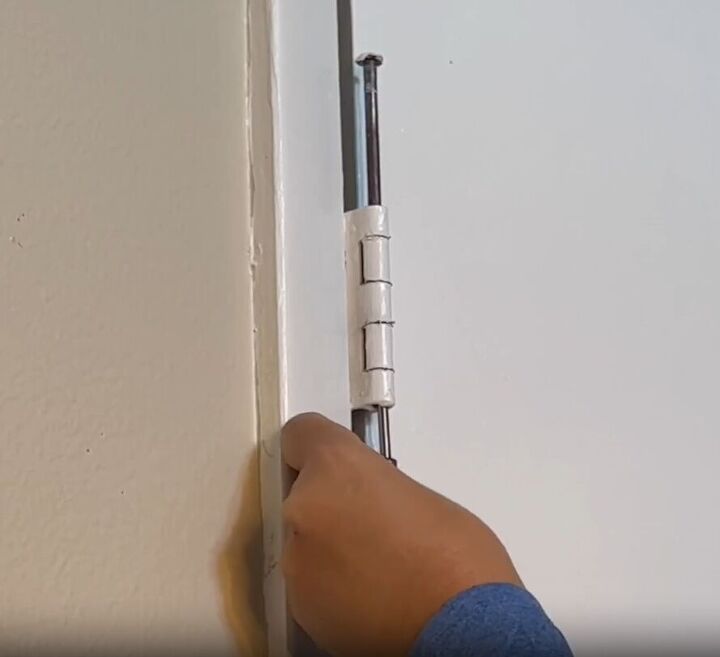
1. Removing Door Hardware
Begin by removing the door from the hinges and taking off all the door lock hardware.
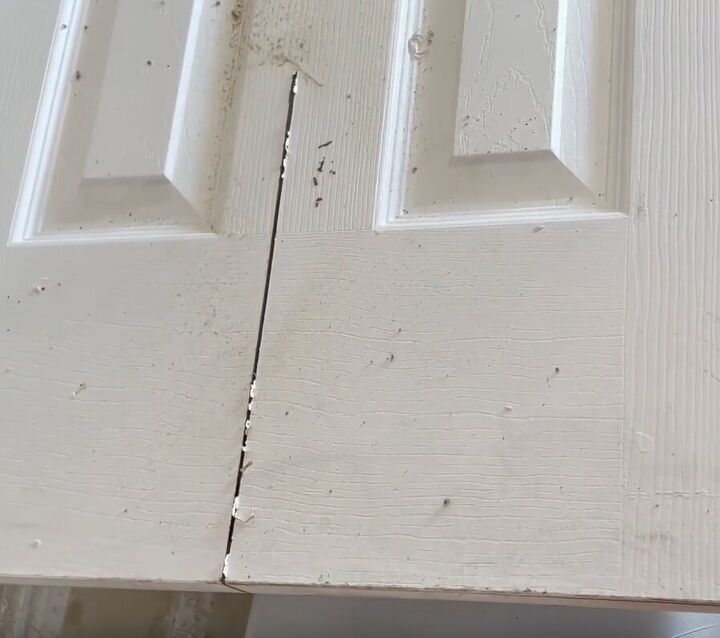
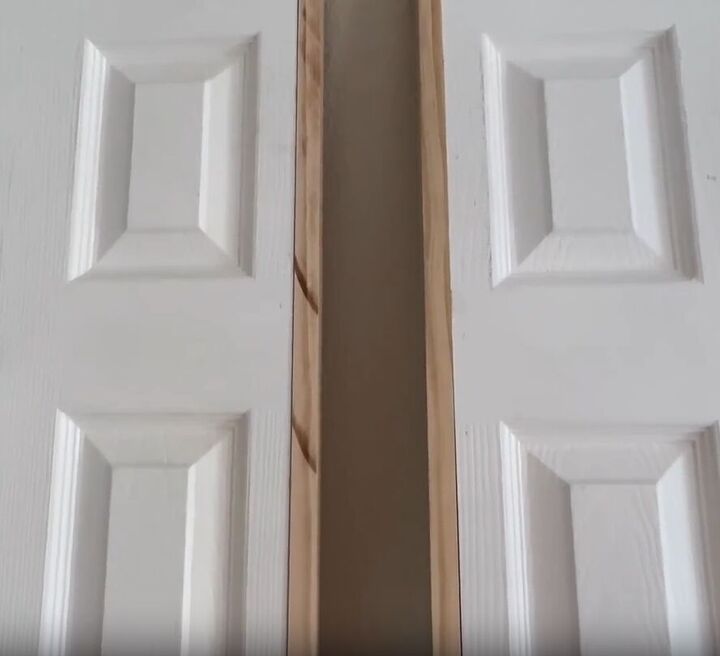
2. Cutting the Door
Proceed to cut the door in half with a table saw. Afterward, sand down the rough edges left by the table saw.
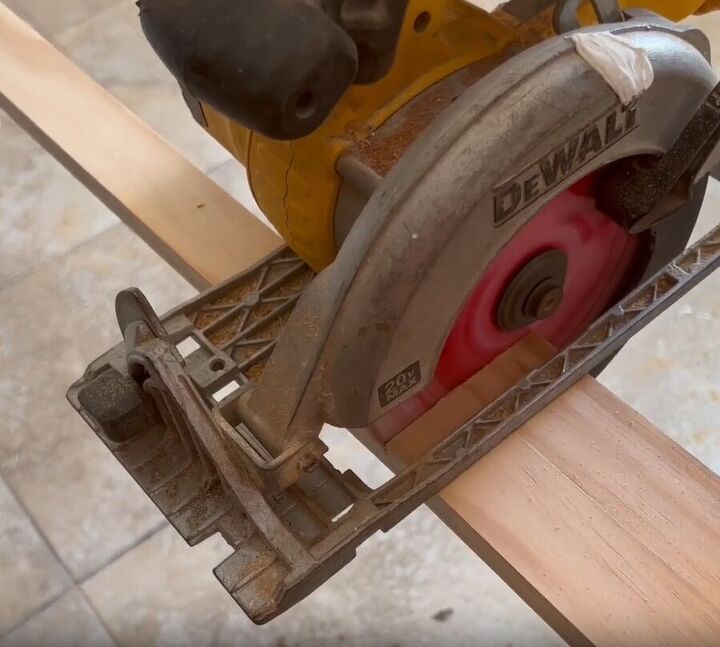
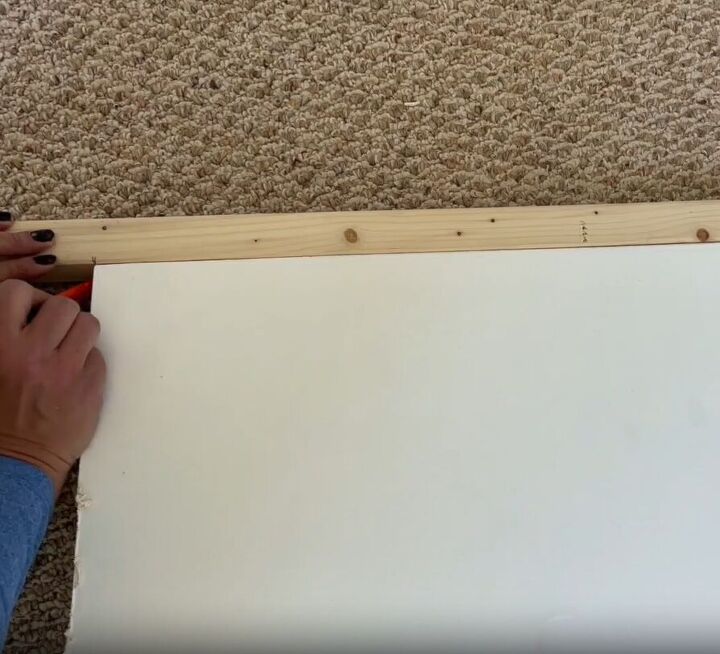
3. Attaching One-by-Twos
Measure and cut one-by-twos to match the height of the door.
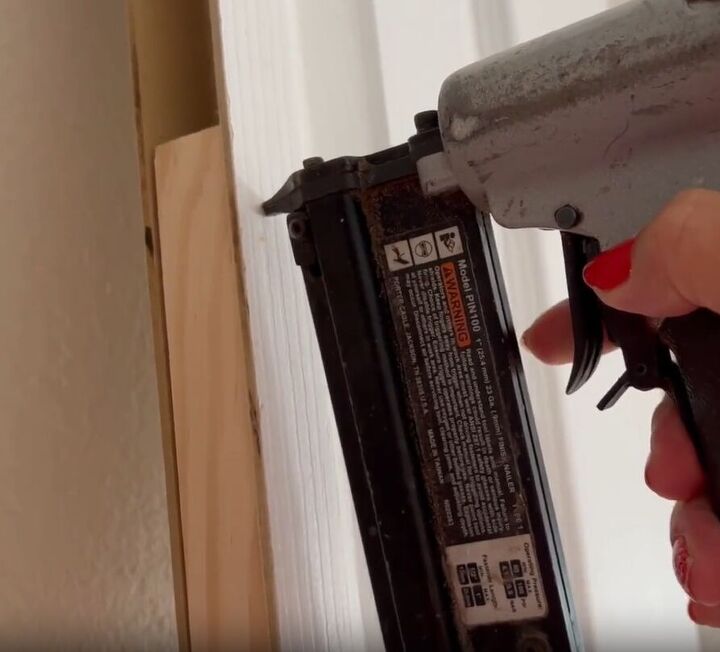
Use a pin-nailer to attach them to the inside of the door.
Use construction adhesive and additional nails to secure the one-by-twos along the edge of the door halves.
You now have two doors.
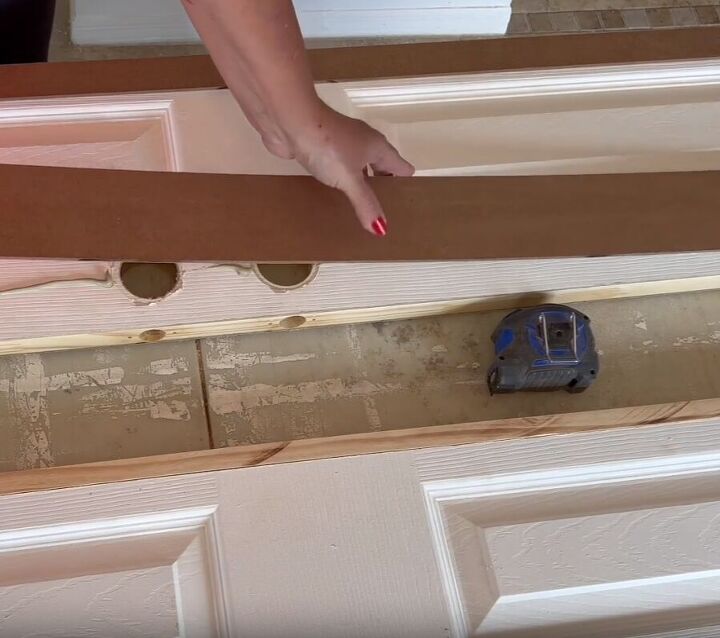
4. Installing Beadboard
I had leftover beadboard, so I decided to line the door edges using the smooth side of the board.
To secure the beadboard in place, I applied construction adhesive along the edges of the door and used the pin-nailer for extra strength.
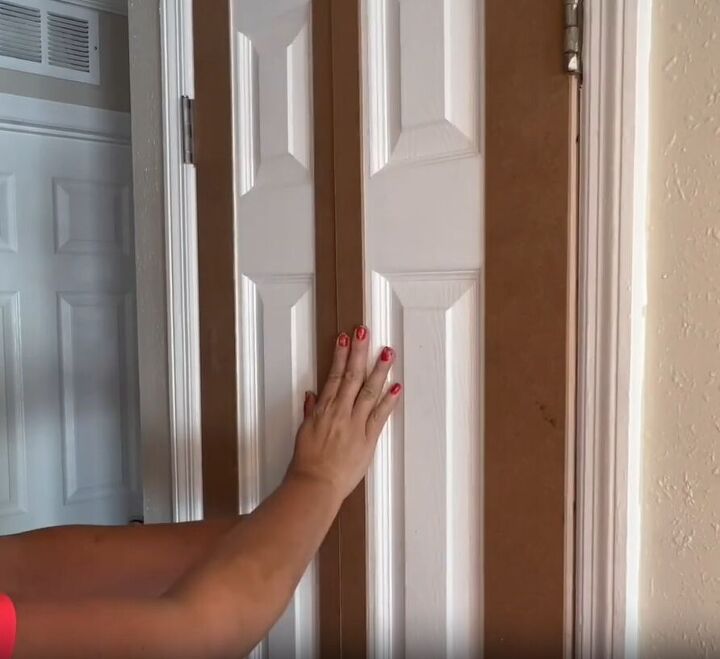
5. Hanging the Door
Hang the door back in place and carefully assess the overall appearance and fit.
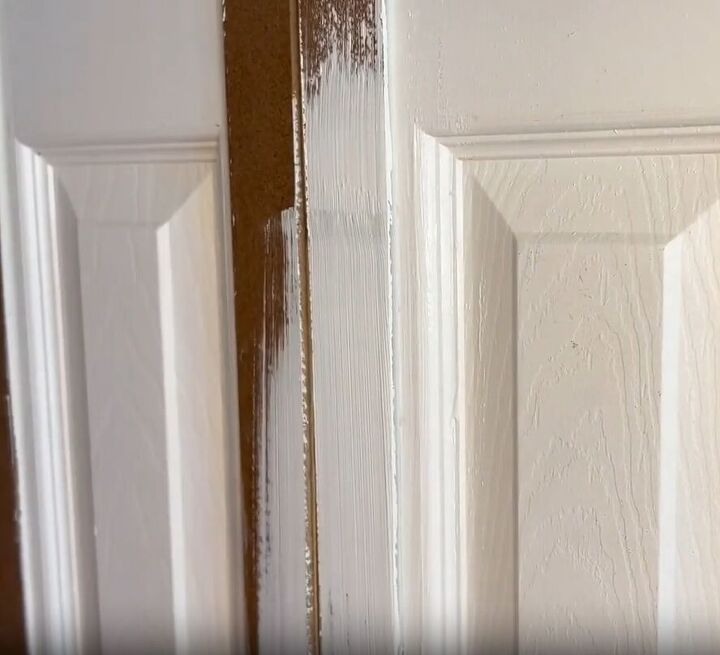
6. Painting
Apply several coats of paint to achieve a uniform look. Also, apply caulk between the trim pieces and the door itself for a seamless finish.
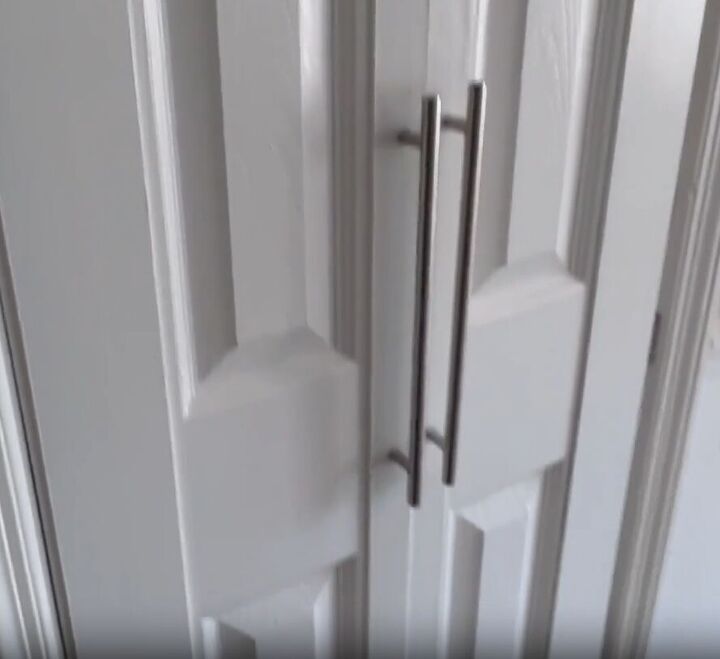
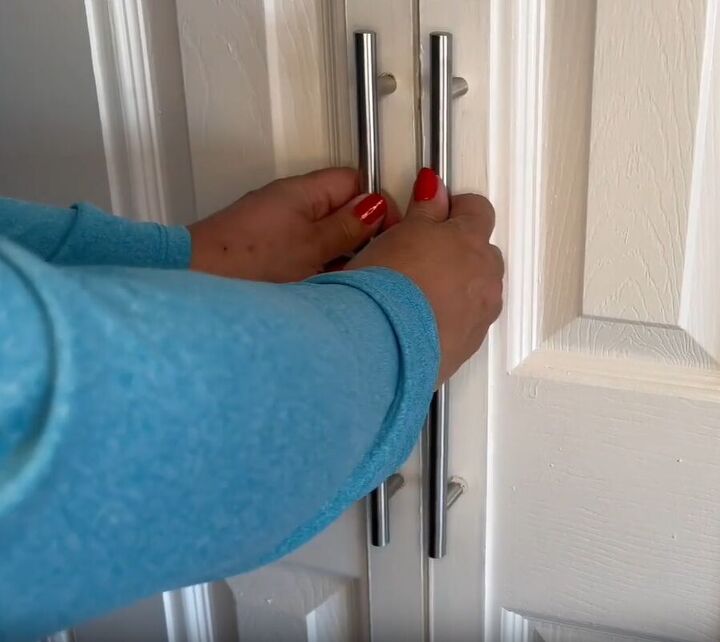
7. Adding Handles
Attach long handles to the door for improved functionality.
Consider applying this project to pantry doors or linen closet doors for similarly impressive results.
DIY Closet Door Makeover
Tools and Materials:
- Screwdriver
- Spray paint
- Paint primer
- Painter's tape
- Plastic tarp or drop cloth
- Glass cleaner
- Sandpaper
- Closet door
- Black spray paint, primer, and paint all-in-one
- Frosted paint spray (for desired effect)
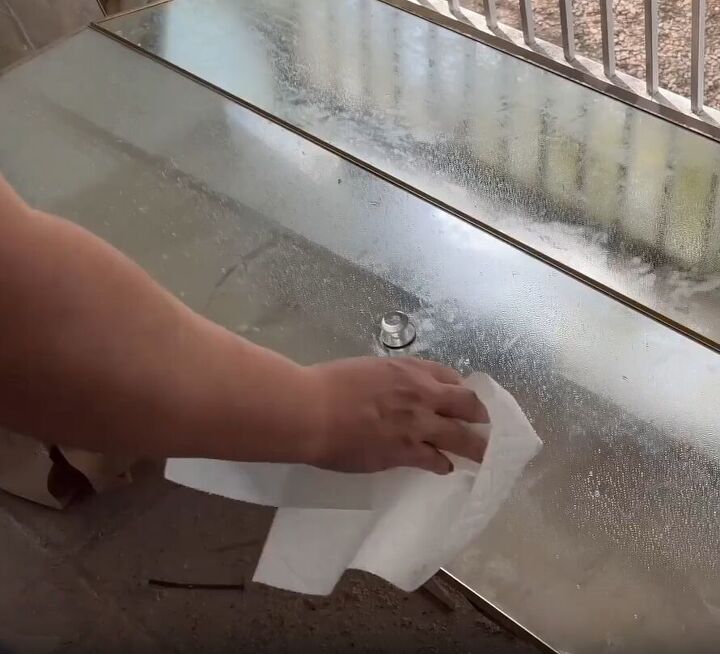
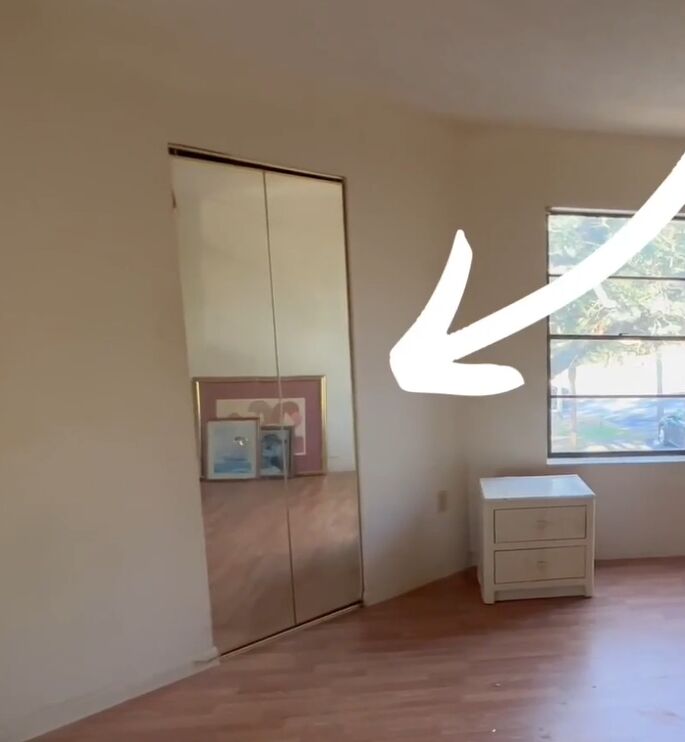
1. Removing the Door and Cleaning the Mirrored Surface
Start by removing the closet door from its hinges and taking it outside for the makeover.
Thoroughly clean the mirrored surface of the door by wiping it multiple times to ensure a pristine starting point.
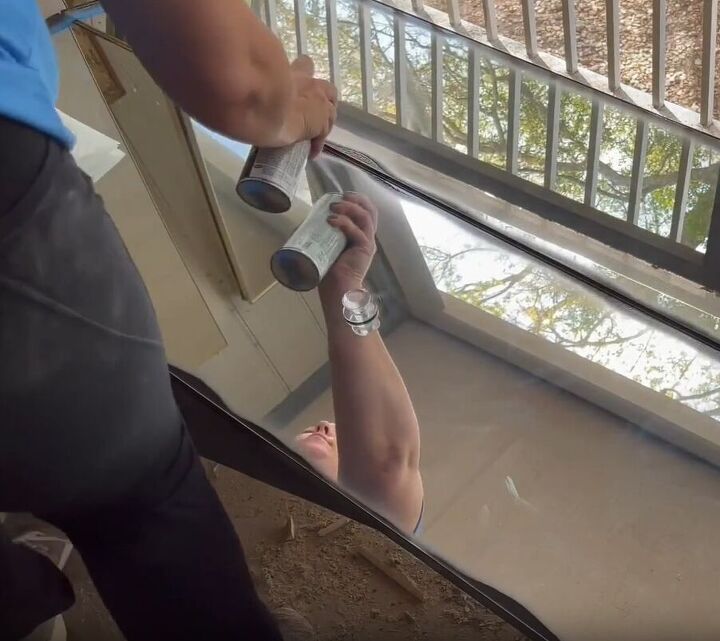
2. Applying Black Spray Paint
I sprayed black spray paint (primer and paint all in one) along the outside of the door to cover up the existing gold sections.
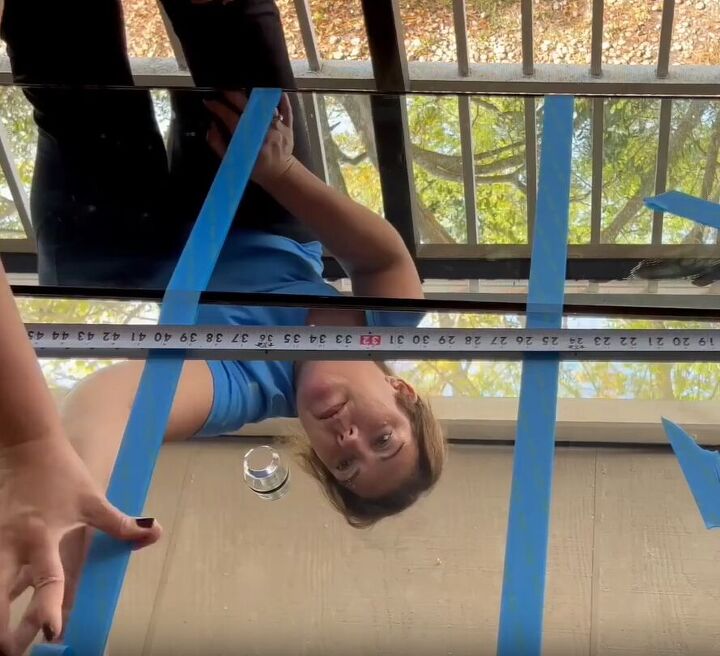
3. Dividing the Surface with Tape
Use tape to divide the door's surface into sections. This step helps control overspray and ensures clean and defined lines.
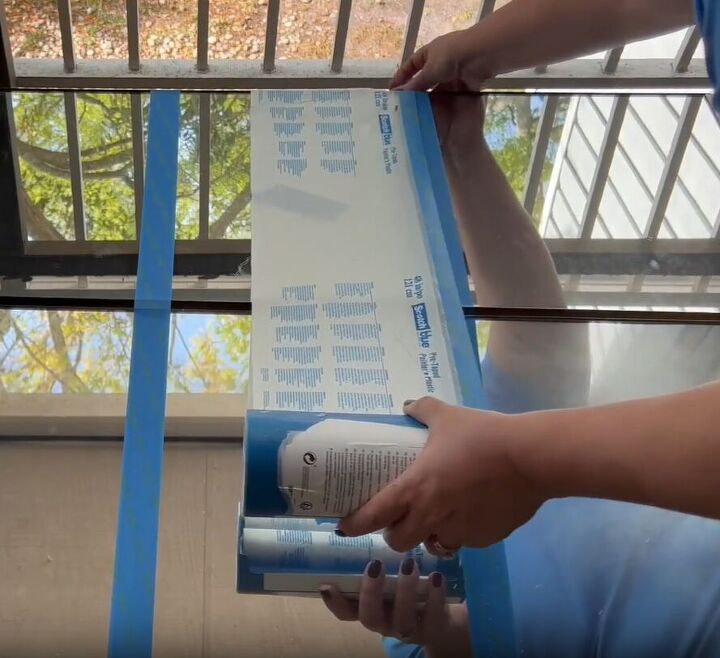
4. Enhancing Coverage with Tape and Tarp
Employ tape with an attached piece of plasticky tarp to improve coverage and prevent overspray from going beyond the intended paint strips. This combination provides better protection and control during the painting process.
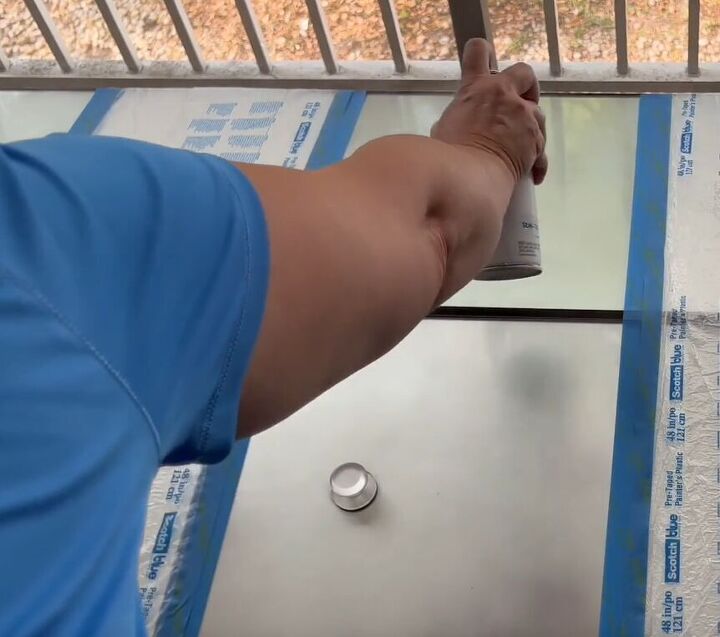
5. Applying Frosted Paint Spray
Use a frosted paint spray for the desired effect. Apply it evenly within the designated sections, following the instructions on the paint can.
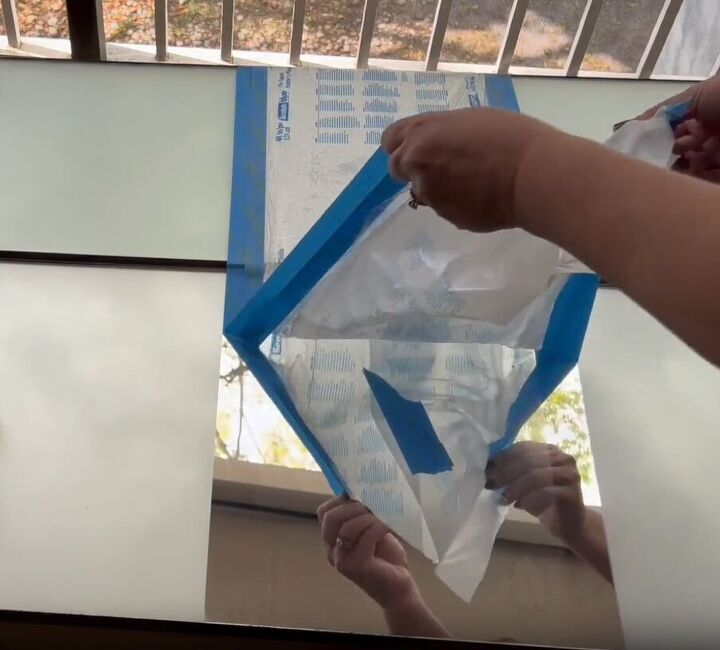
6. Peeling off the Tape
Allow the paint to dry completely. Then, enjoy the satisfying moment of peeling off the tape to reveal crisp lines and a transformed, modern-looking door.
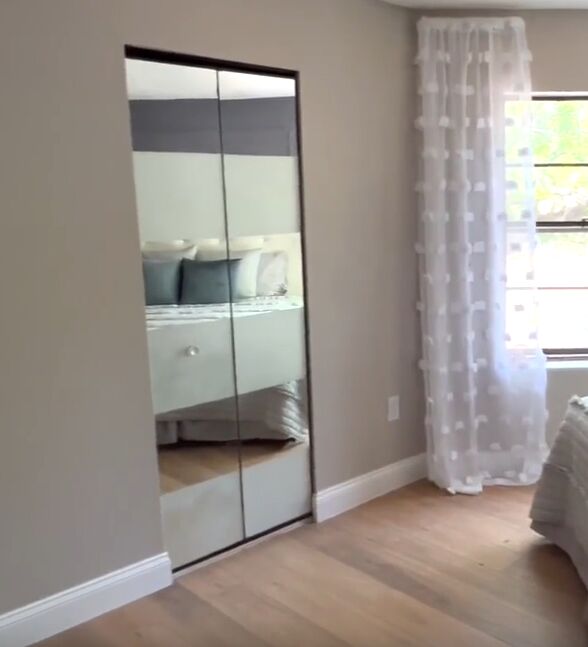
Hang the newly painted doors back up and appreciate their beauty as they add a modern touch to the room.
Cheap Barn Door DIY
Tools and Materials:
- Screwdriver
- Sandable wood filler
- Putty knife
- Drill
- Liquid nails
- Nail gun
- Caulking gun
- Sandpaper
- Door with hinges and doorknob removed
- Two-by-twos (amount depending on door size)
- One-by-fours (for decorative elements)
- Wood screws (for attaching decorative elements)
- Paint
- Barn door track hardware
1. Removing Old Hardware
Begin by removing the hinge pins from the door and moving the door into your workspace. Get rid of the old door hinges and doorknob.
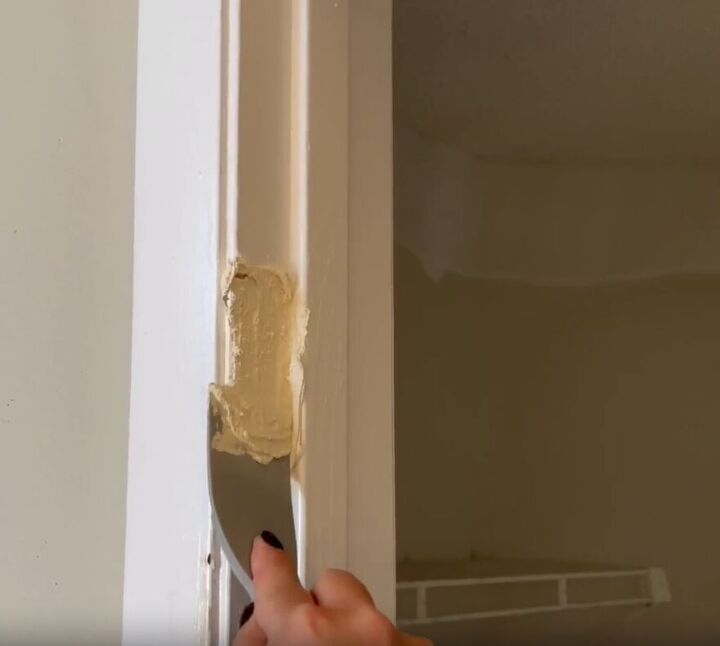
2. Filling Gaps with Wood Filler
Fill in any gaps in the door using sandable wood filler. Ensure a smooth and even application.
3. Repairing the Doorknob Hole
For the large hole left by the doorknob, use a clever trick. Stuff a bit of paper towel into the hole and cover it with putty. This technique provides a solid and seamless surface.
4. Adding Length with Two-by-Twos
Measure and cut two-by-twos to the desired length. Affix them to the top and bottom of the door to add the necessary length.
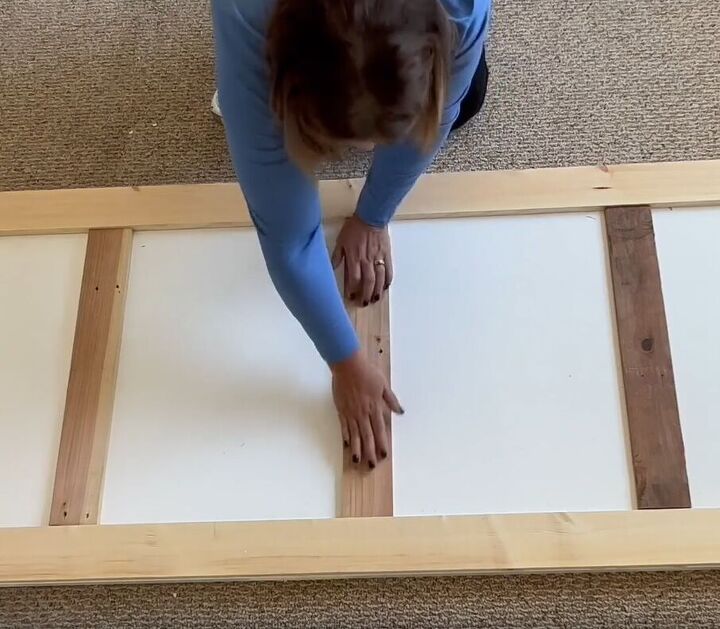
5. Working on Decorative Elements
Start working on the decorative part of the door. Measure the length of the door and make the necessary cut on one-by-fours. Attach the wood to the door using liquid nails. Once everything is in place, secure it further using a nail gun.
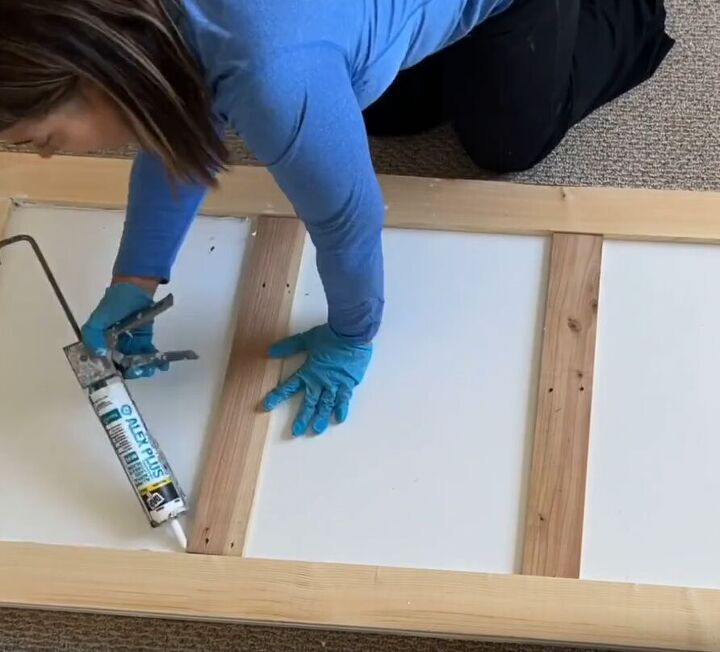
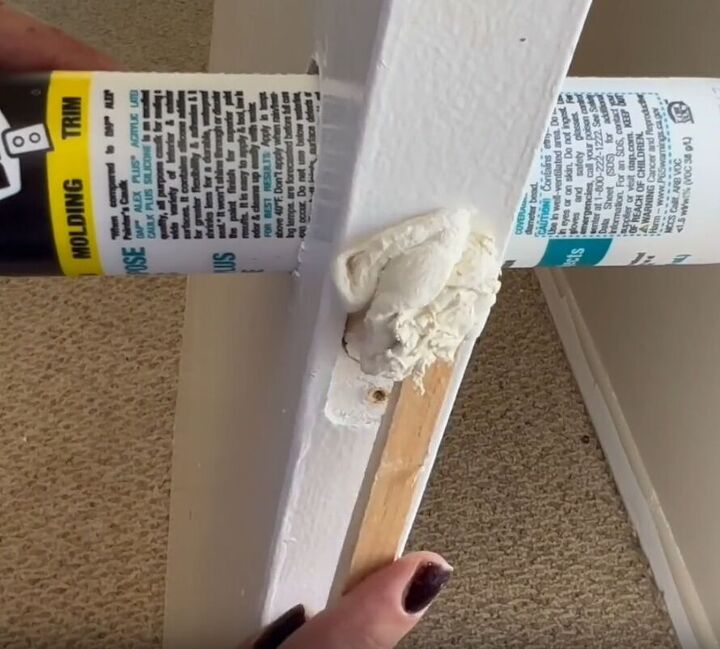
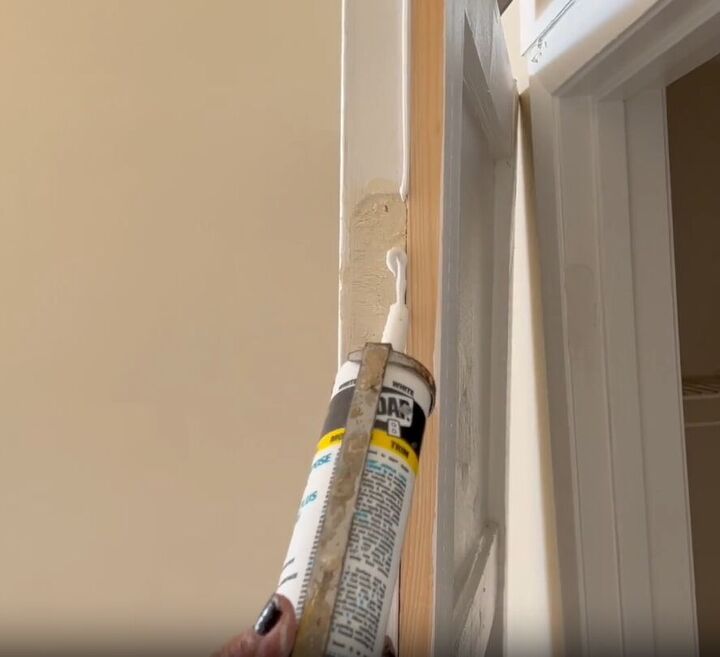
6. Smoothing and Caulking
Apply a line of caulking along the base of the wood panels and use your finger to gently run over it, ensuring a smooth finish. This step helps seal any gaps and creates a polished look.
7. Sanding the Frame
Once the putty on the door edge is dry, use sandpaper to smooth the door frame and caulk any gaps between the original door and decorative wood panels.
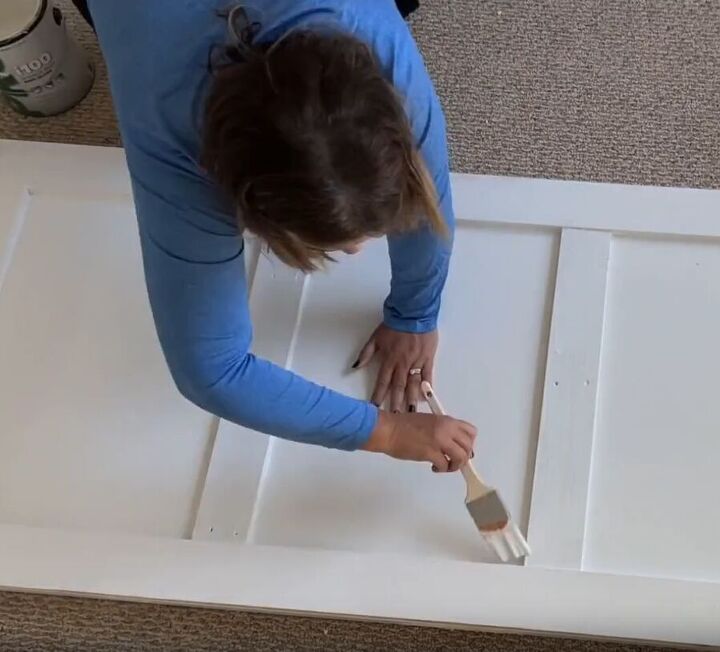
8. Paint the door
Proceed to paint your DIY barn door.
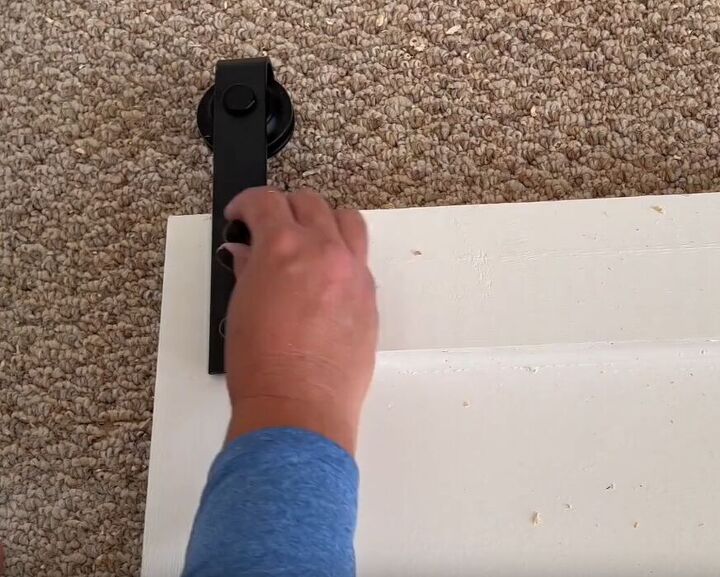
9. Attaching Barn Door Hardware
Attach the barn door hardware according to the manufacturer's instructions. Ensure proper installation and stability.
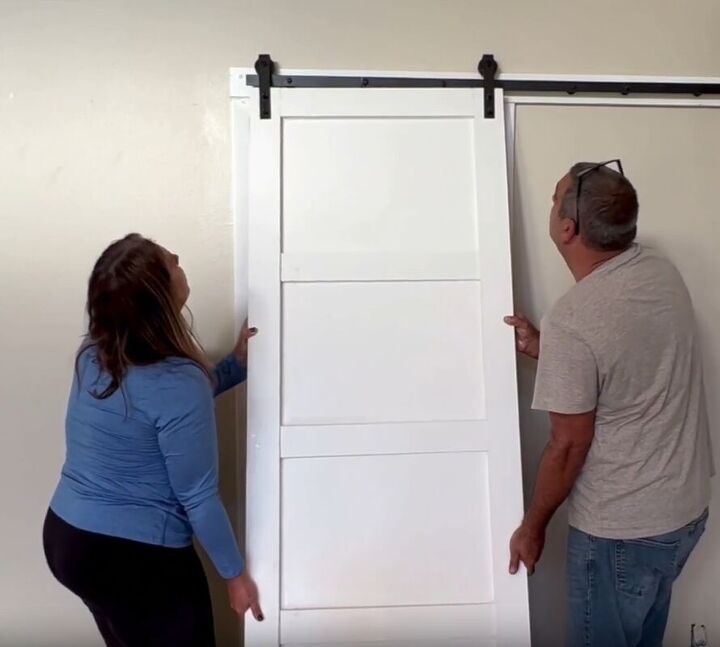
10. Hanging the Repurposed Door
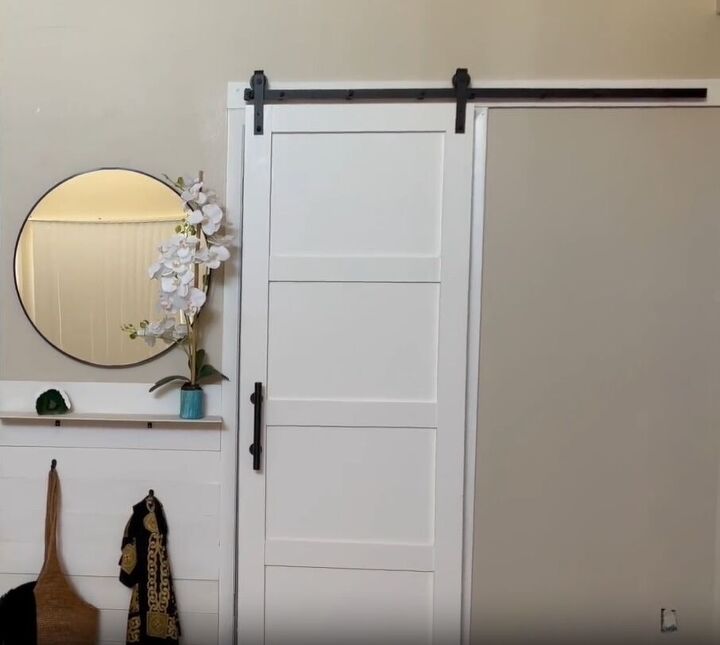
Hang the completed barn door in its desired location. Admire the transformation and the cost-effective result achieved with minimal expenses.
Another Clever Door Hack
Upcycled Doors Tutorial
And there you have it, folks! We hope you enjoyed exploring these fantastic Door Hacks with us. Now it's your turn to take these ideas and make them your own. Remember, your doors are like blank canvases just waiting to be transformed into something extraordinary.
Whether you choose to give your hall closet door a chic makeover, revamp your plain old closet doors, or embark on a barn door DIY adventure, we can't wait to see what you create. Don't forget to share your incredible results with us in the comments below!


Frequently asked questions
Have a question about this project?