


How to Easily Repair Hairline Cracks in Wood Doors With Wood Putty

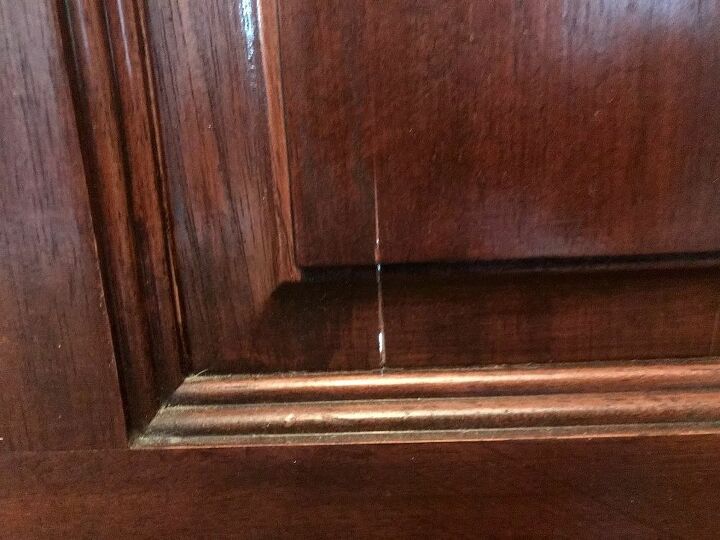
The day after we moved into our current house, I noticed streaks of sunlight sneaking through the front door. Not around the front door. But literally through the front door. About a dozen hairline cracks in the wood door, about 1-2 inches long in the wood. Sigh.....
Cracks in a door compromise the integrity of the door and allow cold air inside the house. And those drafts result in less cozy, energy-efficient home and higher energy bills. BOOOOOO!!!!
Luckily, these hairline cracks are easily fixable with wood putty or filler. And here I'll show you how to fill those cracks in under 15 minutes! (Link to full tutorial at the end of this post).
First, set up your work area by placing a towel or rag under and around your door to protect your floors. Trust me, you don’t want to try to clean dried wood putty out of carpet or up off wood floors!
Next, clean the door, including any groves with a dust cloth. Or, if the door is especially dirty, wash it with a mixture of gentle dish soap and dry with a soft cloth. Otherwise you risk getting residual dust and dirt mixed in with wood filler! Yuck!
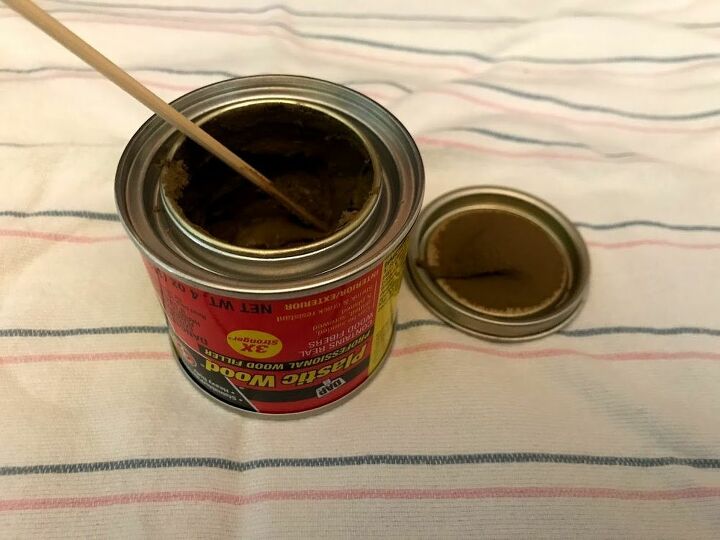
I need to back up for a second. Note that while hairline cracks can be fixed with both wood PUTTY or wood FILLER, I chose putty. What are the main differences between the two?
- Wood putty remains flexible (i.e. non-hardening) and cannot be sanded, while wood filler dries hard and can be sanded;
- Wood putty is applied after paint and finish, while wood fillers are applied before paint or finish (sometimes over primed wood).
Wood putty was the best choice for me since I don’t plan to sand or re-stain my door. It’s easy to use, quick and permanent.
Since wood putty is applied after paint and finish, it comes in a variety of colors. Pick the one that blends in best with your door’s wood.
Therefore, you MUST first test a small amount of wood putty on an inconspicuous area of the door! Test a spot and let it dry to ensure the putty matches your door's current stain color.
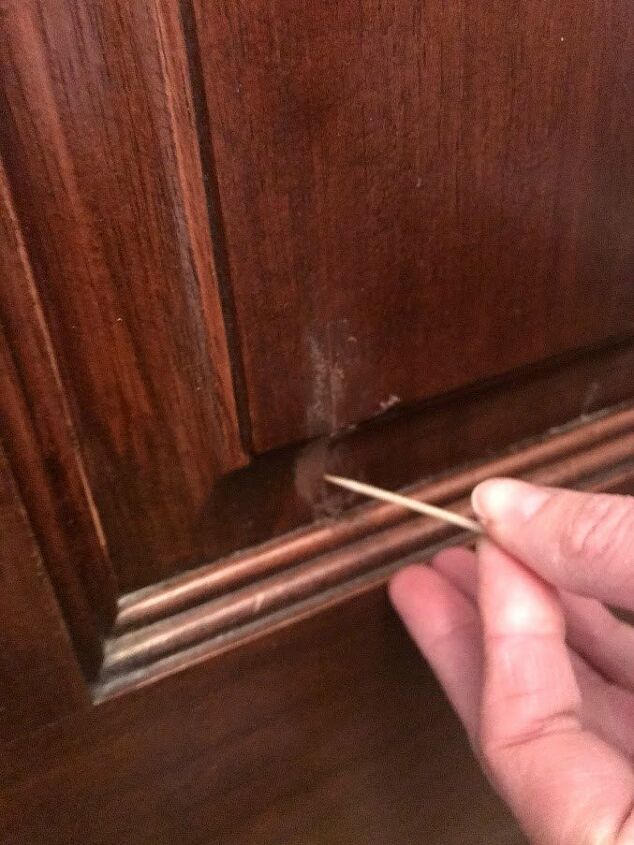
Using either a craft stick or your finger, apply the wood putty along the hairline crack. If you have sensitive skin, you might want to apply using gloves.
Then using a toothpick, push the wood putty deeper into the crack. Keep filling using a toothpick until the putty comes out the top of the crack.
Using a damp cleaning cloth or rag, wipe the door to remove the excess putty around the crack.
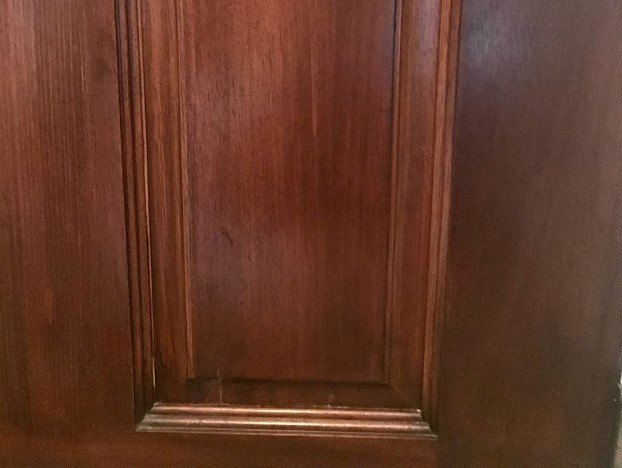
DONE! Hairline cracks in your wood door are filled! How easy was that?
No longer do I have hairline cracks in a wood door. No longer do I see sunlight beaming literally through my door in the afternoon!
To see more pics and further details for this tutorial (and other DIY home improvement tutorials), be sure to click over to my blog!


Frequently asked questions
Have a question about this project?