


Best Way to Paint Wood Furniture (No Sanding, No Stripping or Sealing)

Now, I know when you hear no sanding, no stripping and no sealing when it comes to painting furniture it sounds to good to be true! I have refinished several wooden pieces of furniture in my home using various techniques, but this method I am about to share with you is by far my favorite because of the results it yields, as well as how durable the finish is.
Read below to find out how you can easily refinish a dated, tired piece of furniture and bring new life to it.

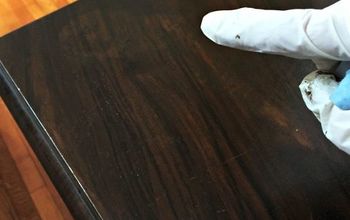
Here is the piece I’m going to be working on for this project. It’s a super heavy, solid wood bookshelf that I have had in my home for years. The dark black wood no longer fits the look I’m going for in this room. I thought about replacing it with something new, but the cost of doing so did not make sense, and anything in my price range was particle board furniture which I try to avoid as much as possible.
In the end I decided to keep this piece and give it a facelift.
I’m so glad that I did because it now fits the room perfectly and I didn’t have to spend any money as I already had all of the supplies I needed on hand!
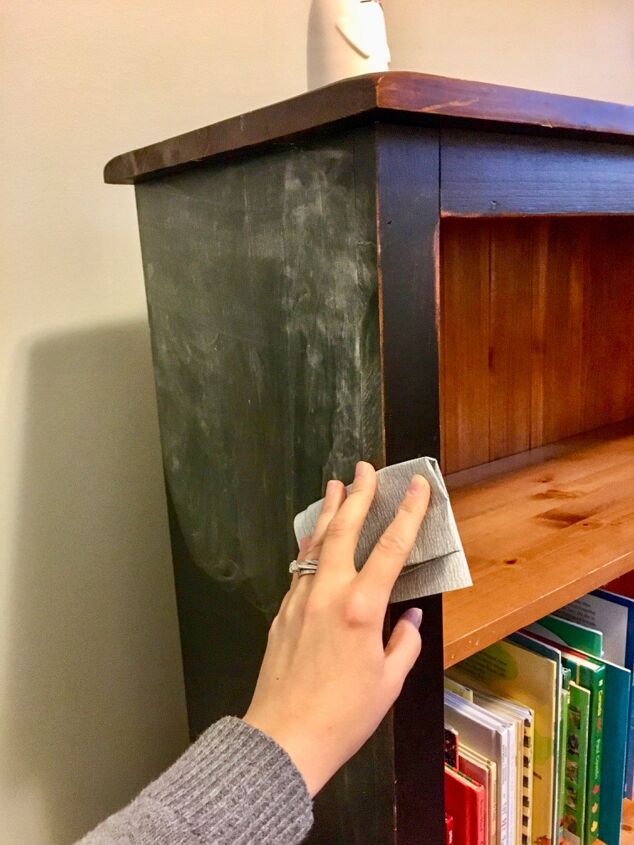
Now, I know that I mentioned no sanding, but all you really need to do here is a very light quick sand to scuff up the existing finish a little. What this does, is gives the primer something to bond too. If your piece doesn’t have a shiny finish you can skip this step. After your done the quick sanding, be sure to thoroughly clean the piece.
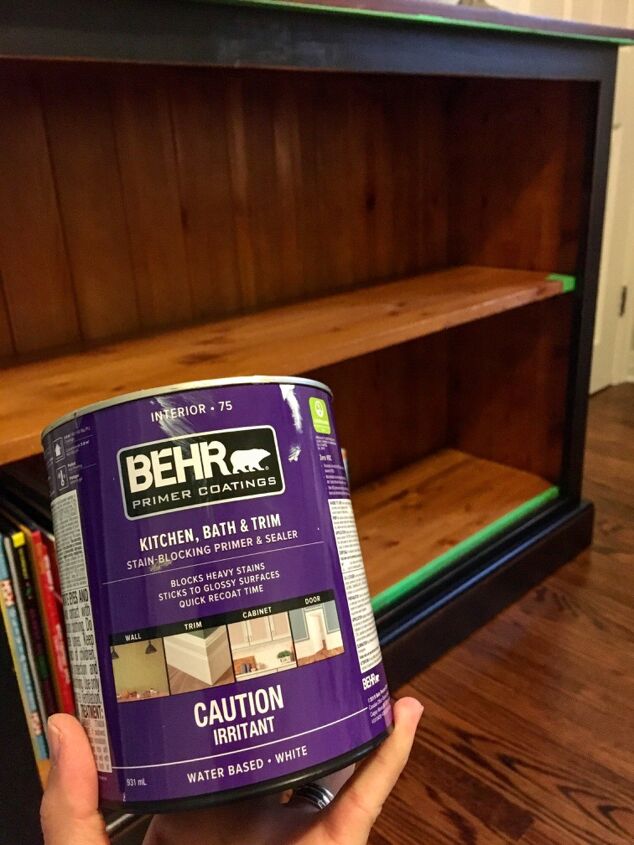
Next you want to give the wood a coat of primer. It is important to use a high quality stain blocking primer, especially if you are going from a dark to light colour. There is nothing worse than spending all of this time finishing a piece only to see the previous colour bleeding through a few weeks later.
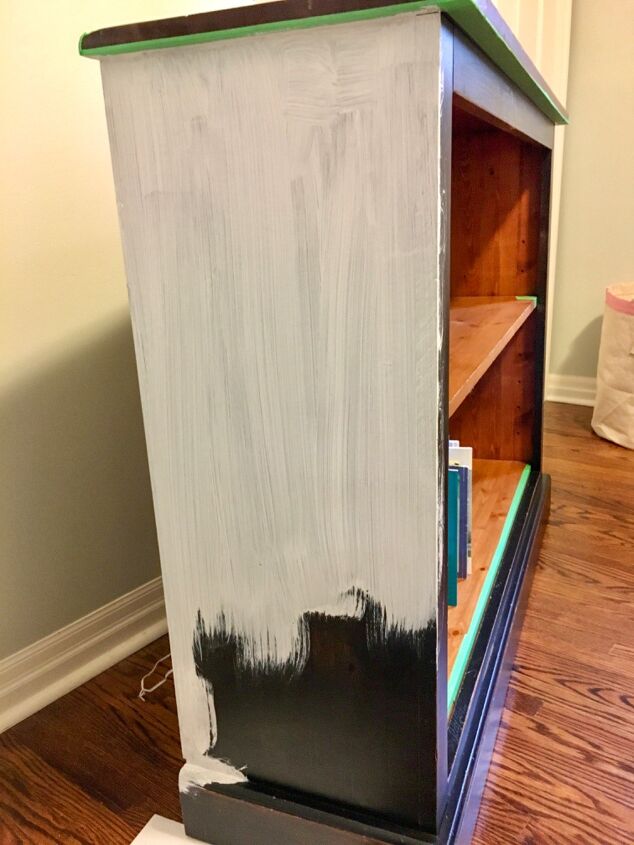
The primer is not going to look good when you are putting it on, but trust the process and keep going!
I decided to do two coats of primer since I was painting white over black. As you can see even after two coats of primer everything still looks blotchy, but that is ok as long as everything is coated.
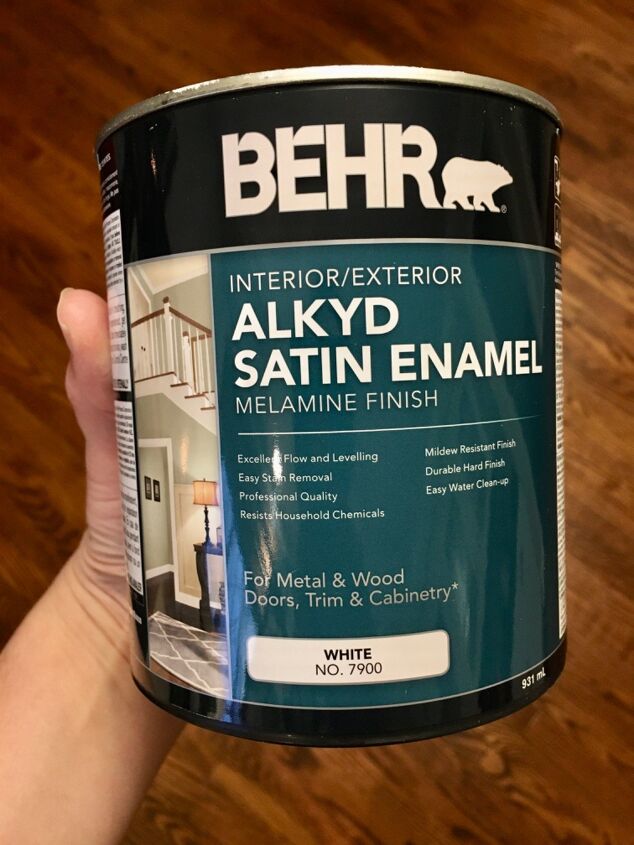
I like to let the primer dry for 24 hours and then go in with the paint. This is by far my favorite paint to use when refinishing furniture. Because it is an enamel finish it dries rock hard once it is cured. You will have no issues with peeling or chipping with this stuff!
I know chalk paint is super popular because of how easy it is to use, and if you are going for a more distressed look it’s great. However if you want something that is going to resist chipping and be super durable go with an Alkyd Enamel paint.
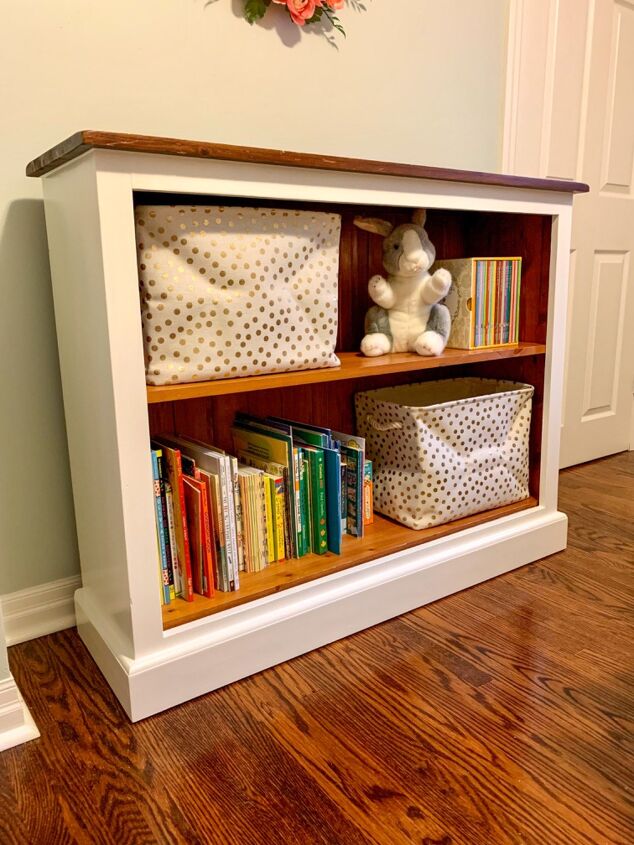
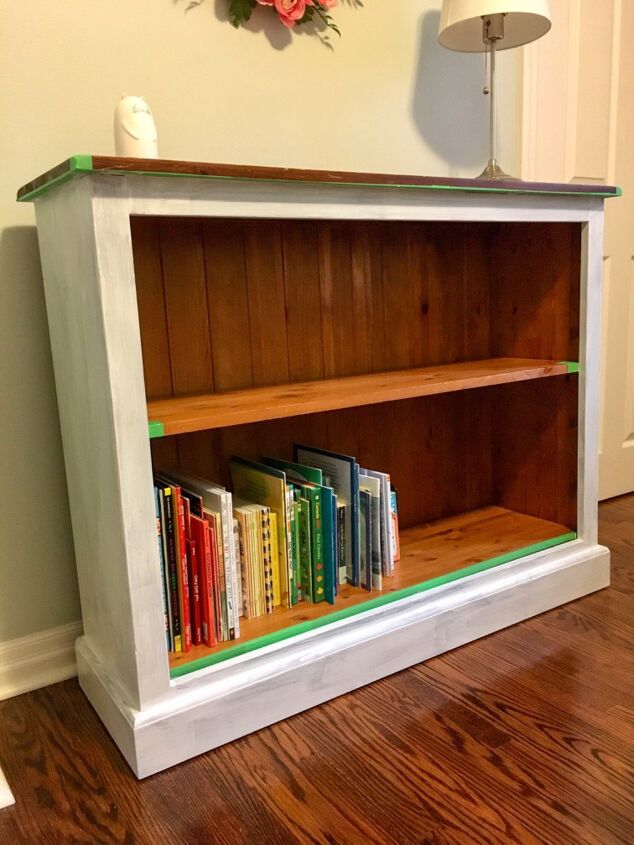
After two coats of paint the piece is done, and I love it so much! The Alkyd Enamel paint is very easy to work with and self levels, leaving behind a smooth durable finish. I’m so happy that I decided to refinish this piece instead of replacing it, because it fits the room perfectly now!
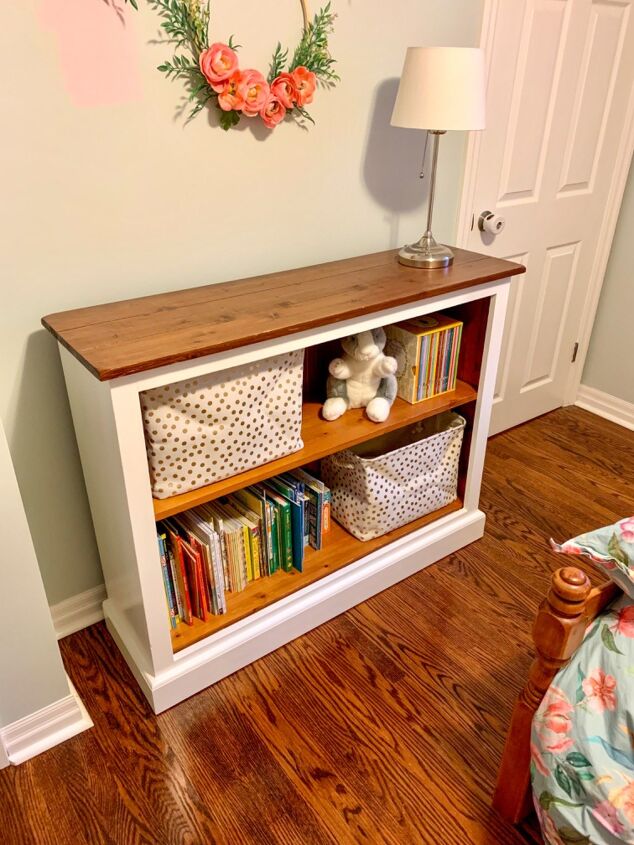
If you are wondering why I didn’t paint the entire piece white (which would have also looked beautiful) it’s because all of the other furniture in the room is that same wood tone, and I really wanted the bookshelf to tie in with that, not stick out. I also thought about how much wear and tear the piece would get with my daughter constantly pulling books in and out and putting her toys on top of it, and I decided it would be best to leave it wood. Although this paint is extremely durable I didn’t want to take my chances, and I wanted to avoid any additional work if possible. In the end I’m so happy with it and I can’t wait to finish painting the rest of the room now!


Frequently asked questions
Have a question about this project?