


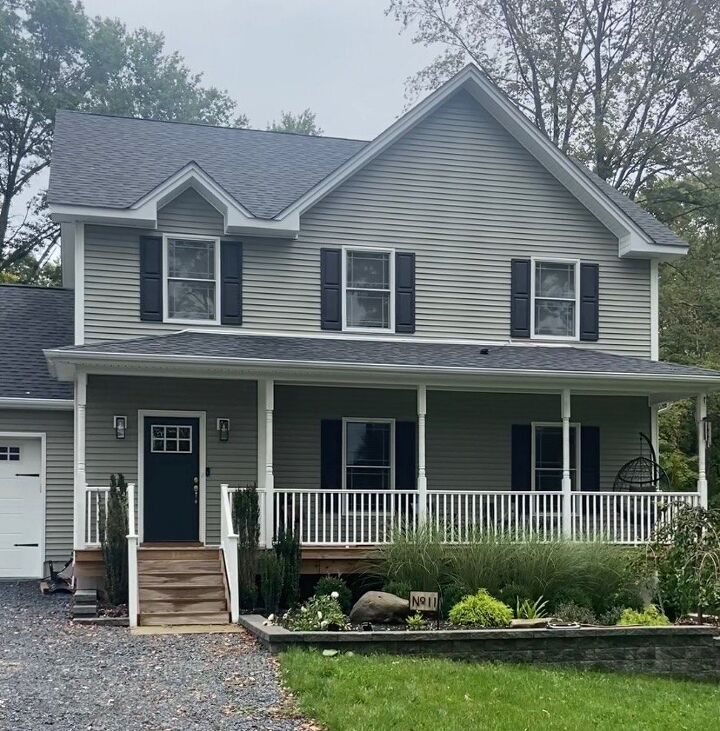
DIY Landscape Lighting the Easy Way

Kyle and I have been wanting landscape lighting for a while, but it can be so expensive! We tried cheaper solar lights but they weren’t nearly bright enough for what we wanted. I was so excited when I found these LED lights because they were bright, affordable, and easy to install - you literally just need to plug them in! Love me some cheap curb appeal.
What we used:
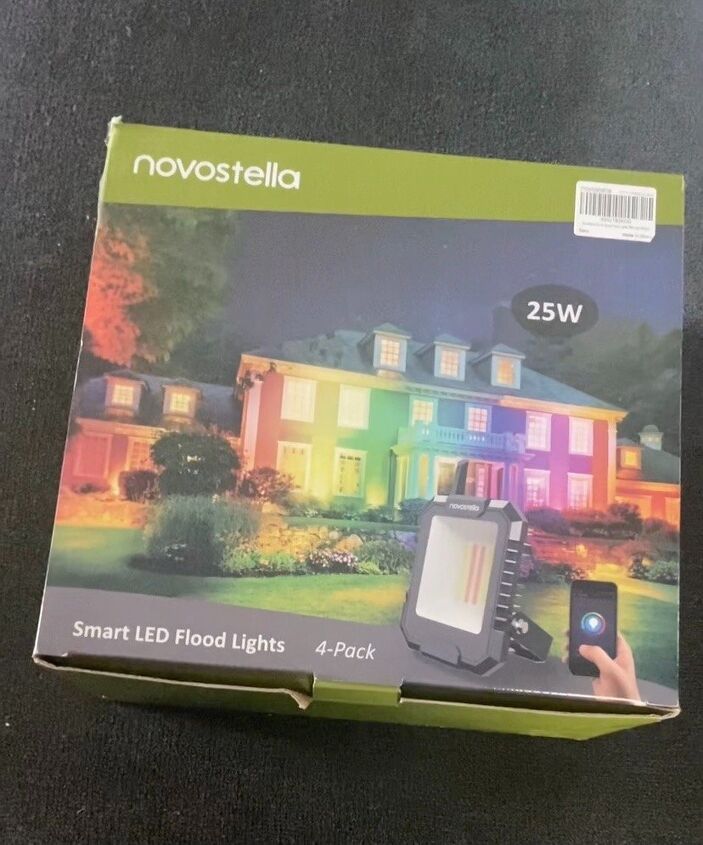
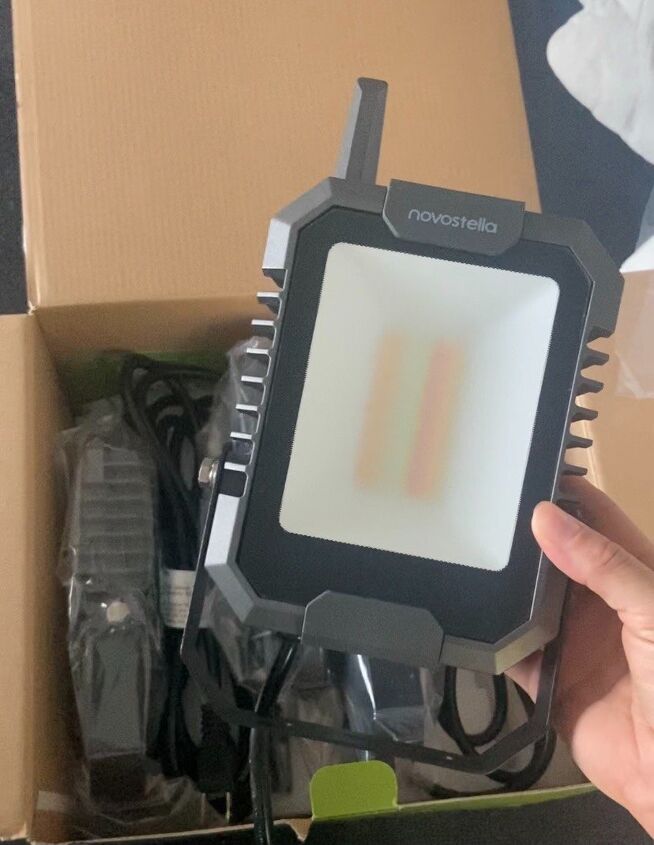
Novostella floor lights
Christmas light timer
Outdoor extension cords
Links to the exact products I used can be found here
Step 1: Decide on Light Placement
The nice thing about these lights is they are so easy to move around! I moved them a bunch of times before deciding I was happy with them.
The biggest thing to consider when deciding on placement:
What do you want to highlight?
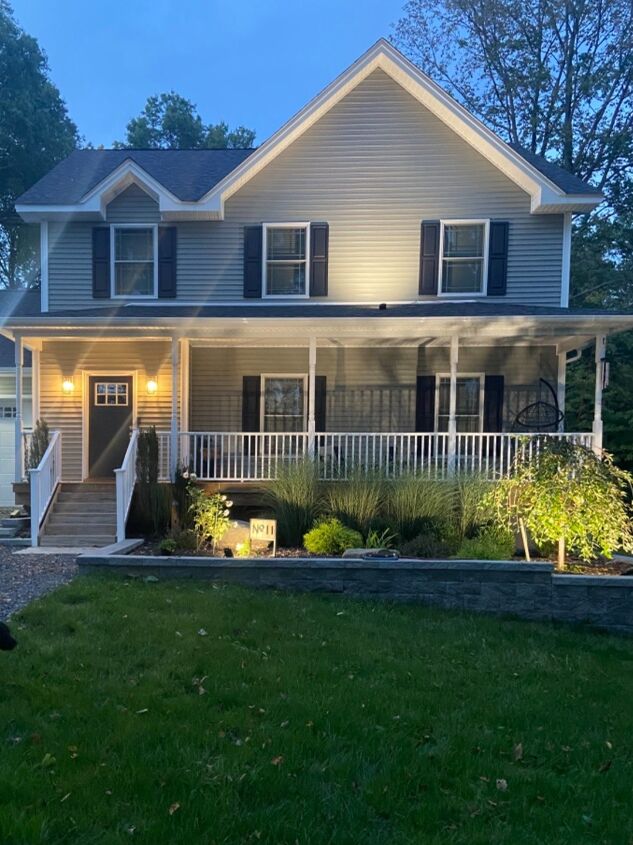
- Statement landscape items: We started by adding two lights around our weeping cherry tree. We opted to use TWO lights around the tree instead of one to really make it pop. You can also choose to light up a statement rock or fountain.
- House numbers: Next we added one in front of our address plaque so it's visible even in the dark.
- Areas of your home: We wanted to bring light up to the second floor of the house as well, so we added one light to the roof of our porch to help add dimension.
- Walkways/driveways: We didn't go with this option, but if you have a long walkway leading to your door, this may be another place you'd like to light up.
- Steps: Another option we didn't go with because we have enough light around to illuminate our stairs, but if you wanted to, you could add lights around your stairs to make them stand out.
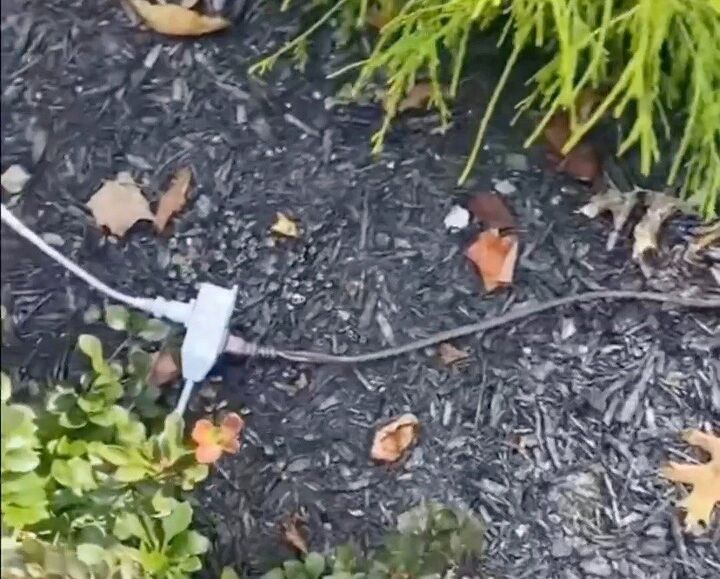
Step 2: Extension Cords
Next use extension cords to attach all of your lights together. Make sure you use outdoor grade extension cords. You may want to hold off on buying extension cords until you're happy with the placement of the lights, because the length needed will vary based on light placement.
Once you are happy with the placement you can bury the extension cords so they are hidden. To do this, we dug a small, shallow trench in our mulch and then covered them up. This was a "big impact" step because it gave the lights a more permanent feel (while still allowing them to be easily moved/adjusted).
Step 3: Add timer
We have our lights hooked up to a christmas light timer to keep things simple, but these lights can also be controlled from our phones, or Alexa, or Google home.
These lights are awesome because they are SO bright, and so much more affordable than any other option I’ve found. Added bonus that we didn’t want to deal with installing a transformer or running electrical wiring. They also can change colors and even sync to music (which were pumped about for the upcoming holidays). Could not be happier with these bad boys!!!


Frequently asked questions
Have a question about this project?
Does, the lighting system in which you used, give off a yellow or white light?
I have some trouble seeing. I think, this may be a solution for myself as well.
I have, a large home, which looks quite similar to your home, and I’ve never been happy, with my lighting choices. Thank you for the share!