


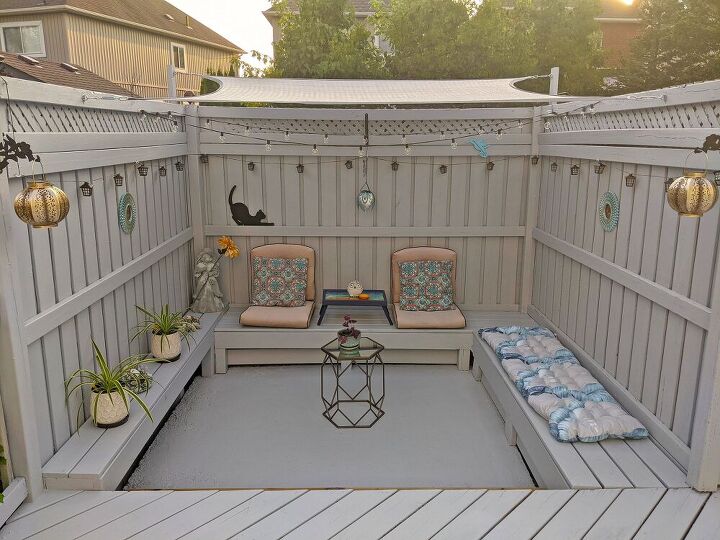
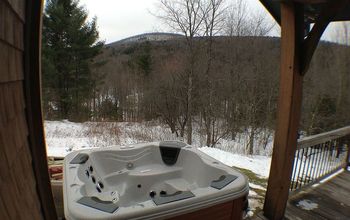
Hole From Former Hot Tub Becomes Sunken Lounge Space

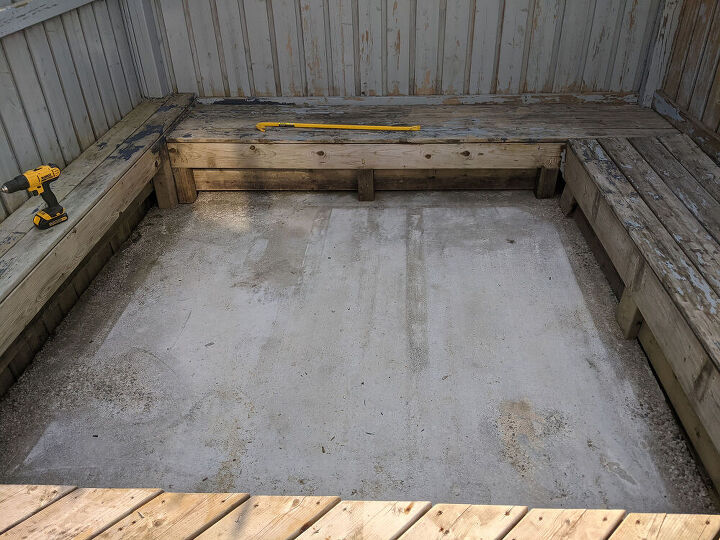
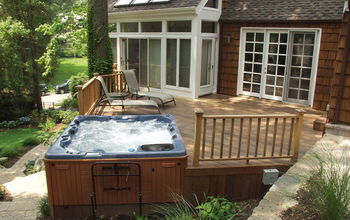
Last fall I made the tough decision to sell our hot tub. After it was removed, we were left with a big ugly hole in the deck! But I thought maybe this space could make a nice backyard lounge area?
The deck itself desperately needed to be refinished, but the giant hole really added to the ugly factor. This was also the view from our dining table, so every time we sat down for a meal it was all a little depressing for me. It needed to change! A new deck was out of the question financially, plus I had vining vegetable plants growing on the other sides of the fence, so I decided to convert the space into something functional.
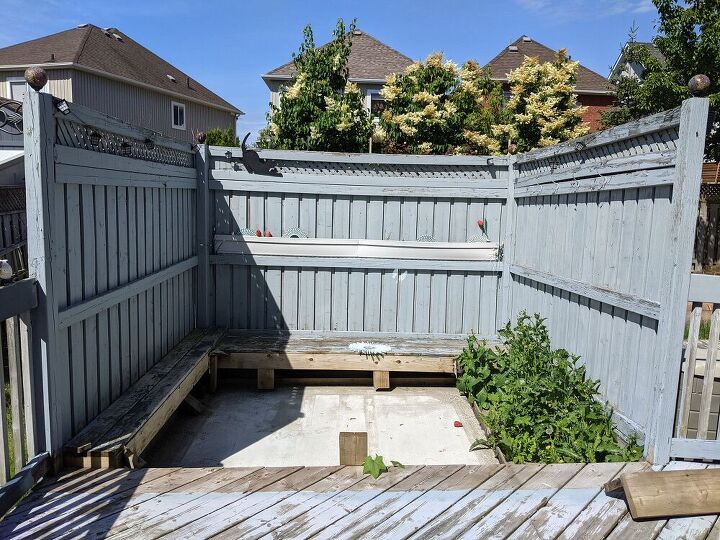
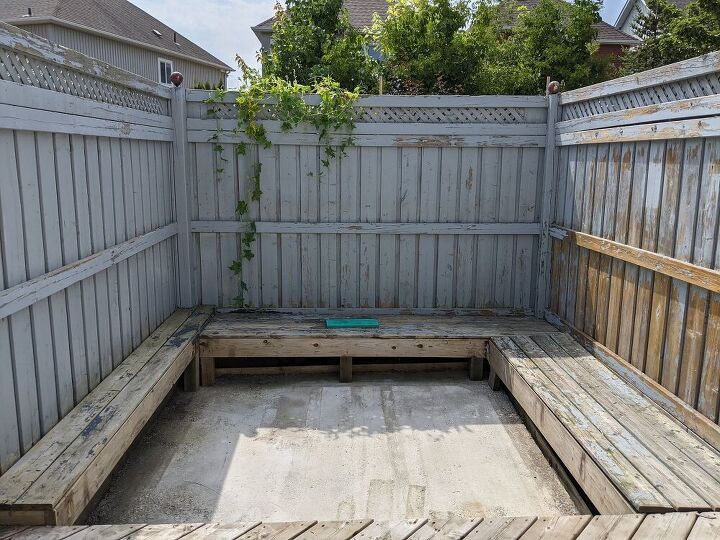
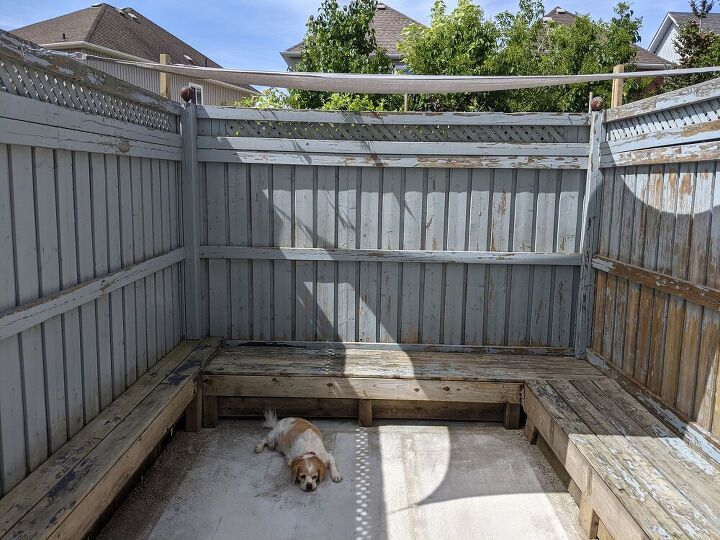
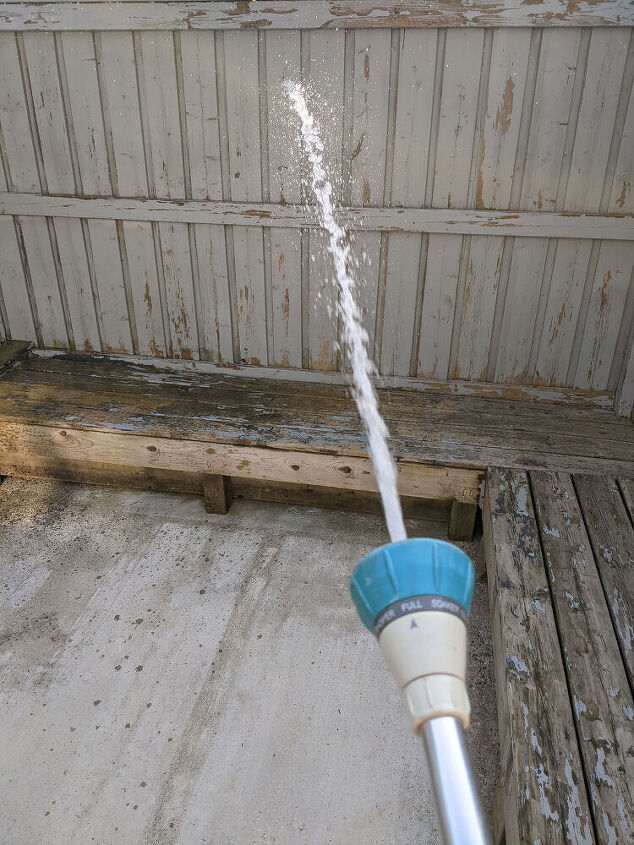
To the right of the cement pad (that the hot tub sat on) weeds grew in like crazy in the spring, so the first thing I did was pull the weeds (for the third time). I thought I could pressure wash the fencing to get the old paint off and seal the wood, for a natural look. But after several hours, I conceded defeat and realized this was not going to work! And now it looked worse than ever.

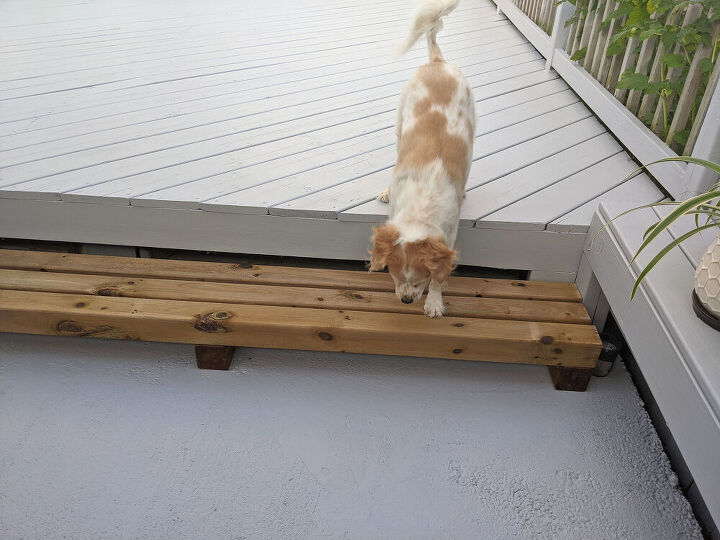
The walkway on the right had been removed to get the tub out. So I re-installed the framing, using the same wood and hanging brackets. This will also solve the weed issue. No sun or wind = no weeds.
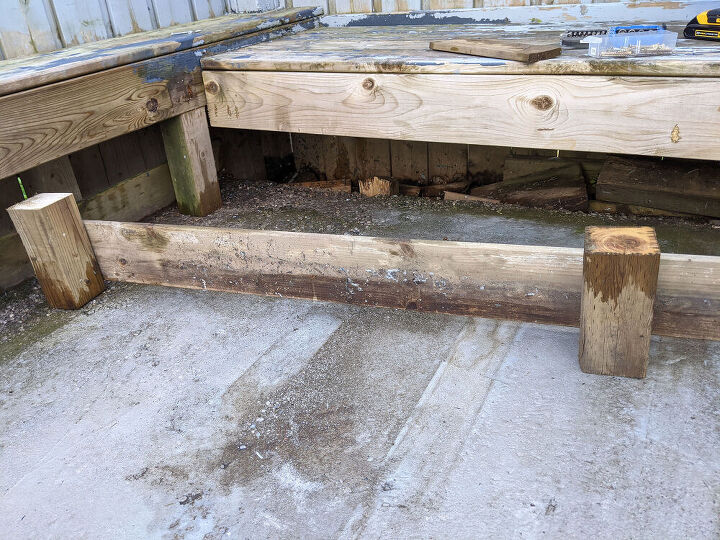
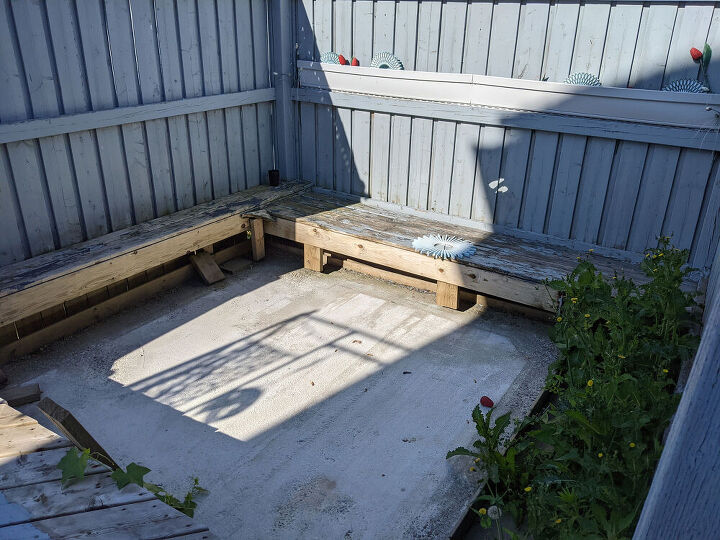
The footings on the walkway (which are now benches) were either no longer attached, or no longer touching the ground. I found two pieces of 4x4 under the deck and used those to create new footings. I also wanted to hide what was under the benches, so I found boards under the deck and attached them to the back of the new footings, kind of like a fence. Then I slid the fence under the benches and attached the footings to the bench by drilling pocket holes and screwing down into the footings.
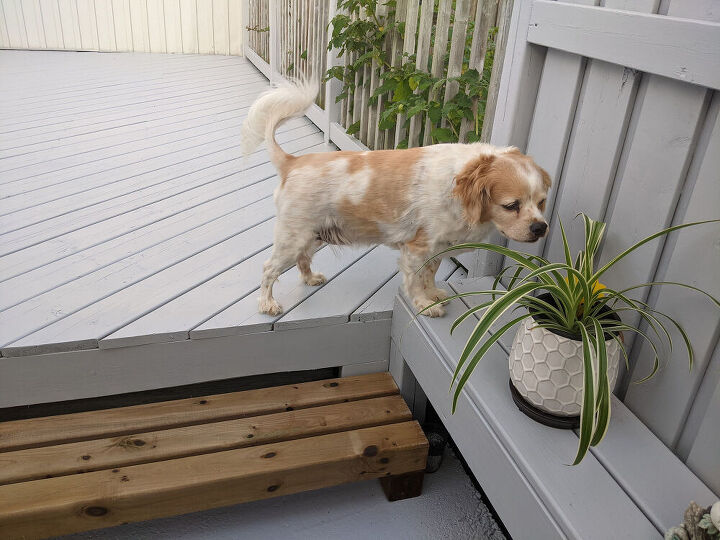
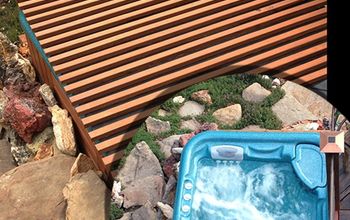
Our backyard had no shade whatsoever. I spend a lot of time tending to my veggies in the backyard, so shade was one of my main goals for our new lounge. I measured the fencing and ordered a sun shade sail from amazon. I also ordered the shade hardware kit, which made hanging it so much easier. I suck at tying knots so this was a worthwhile investment. I added two taller pieces of scrap wood on the back sides of the fencing, so the shade would be on an angle and prevent rain from pooling in it. I also bought two additional turnbuckles because I wanted it as tight as possible. And YES, finally shade!! This was very helpful as it was high 30s and low 40s (100 to 104 F) with humidity every day while I completed this project!
Next I scraped off as much old paint as I could, vacuumed everything with a shop vac and sprayed it one last time with the garden hose.
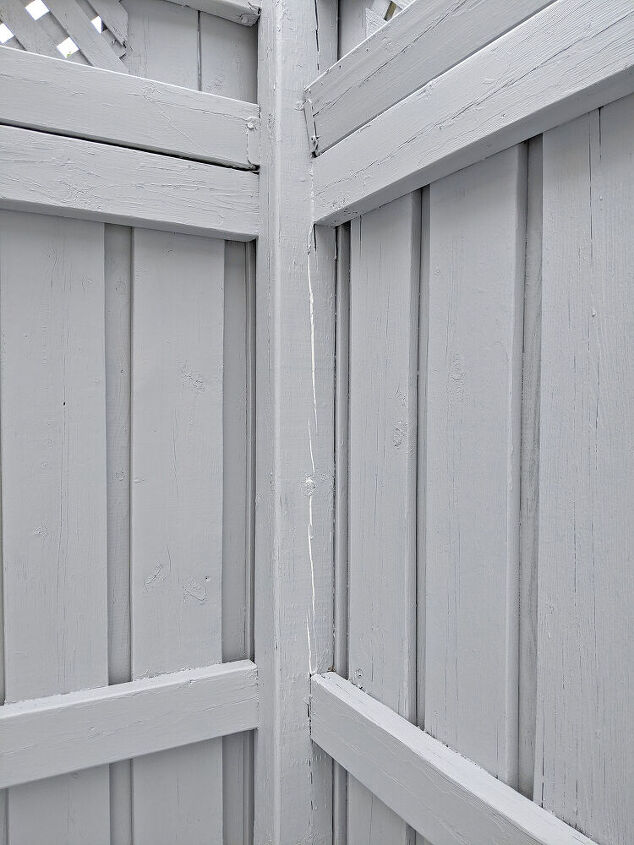
Once dry I painted the fencing and benches with porch & patio floor paint. I used a 3” brush as well as a little chip brush to get into tight areas.
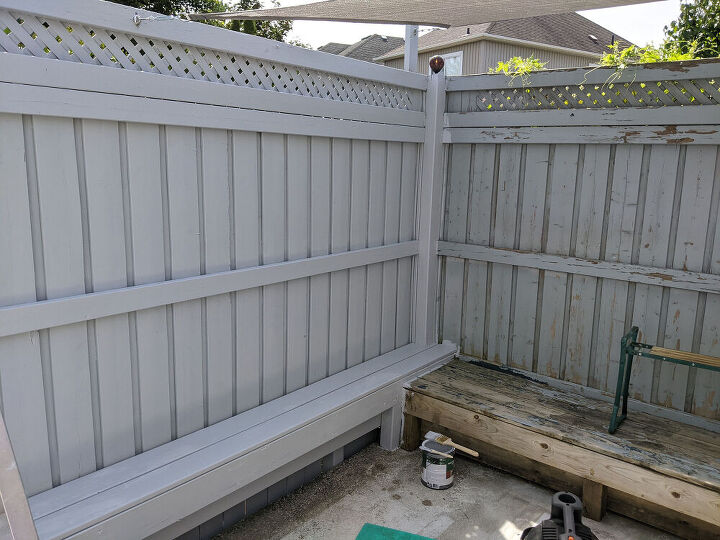
There were a few cracks in the fence posts that I caulked and painted over. Cracks are normal, even new posts have them. But I though this quick step would not only look better, but it should also help slow down the rotting process.
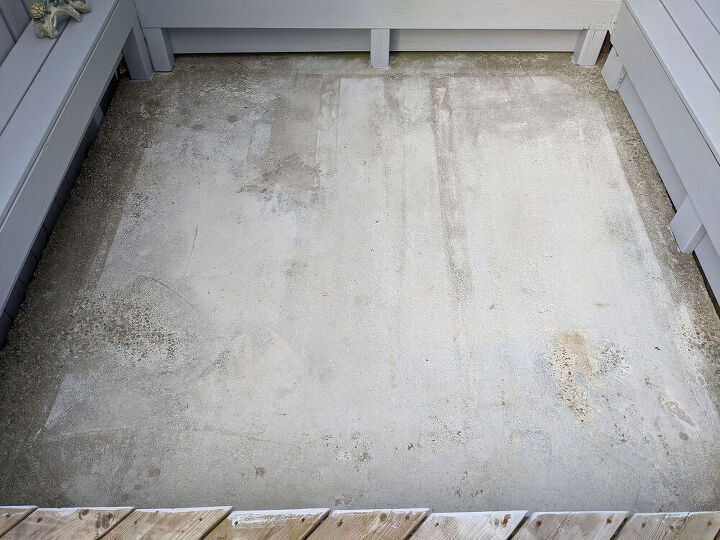
The cement pad (floor) looked really dingy. I pressure washed it, but it didn’t help. The paint I used said it was usable on cement, so I painted the floor too. Initially, I started to regret this decision because the cement was not smooth and I basically had to do the entire thing with a paint brush. The fact that it was 38 degrees that day really didn’t help! But in the end, I’m glad I did it.
The final step was to build a step. If you’re interested in how I did that in one hour using only three 4x4s check back soon. :)
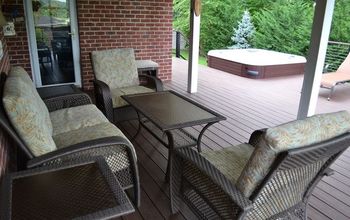
Then I hung my lights back up. I also ordered a few new ones. Then I added the cushions from our patio chairs and a few random things. And done!
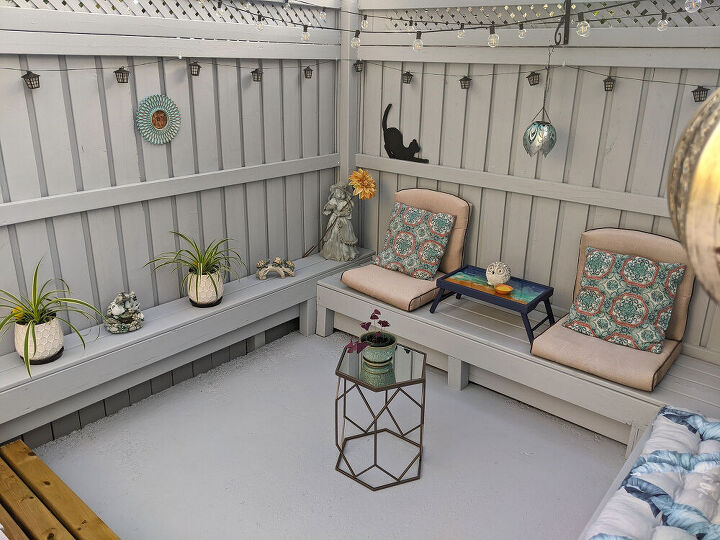
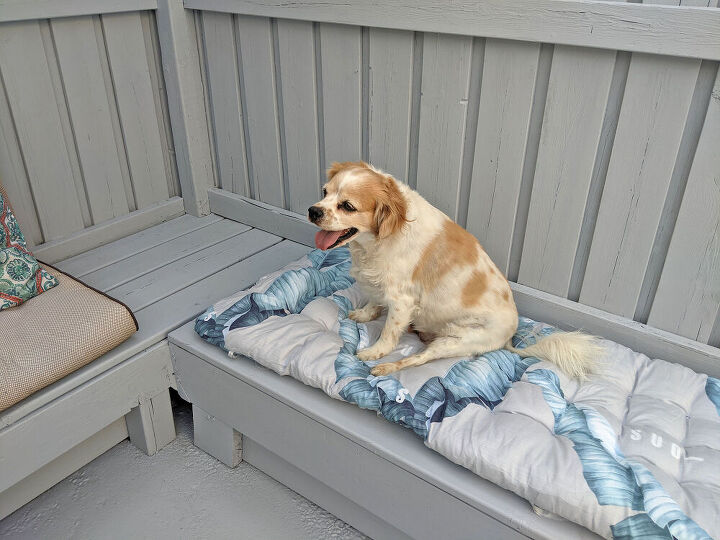
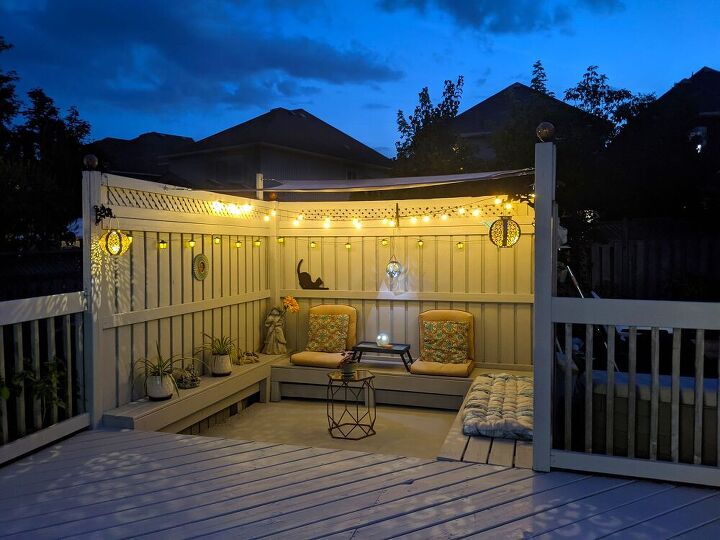
This project was a bit of a challenge for me, due to the extremely hot temperatures. EVERY. SINGLE. DAY. But I’m happy with the way it turned out. We now have a private, shaded spot to hang out in the backyard, or take an afternoon nap if the mood strikes.
I only spent about $200 on the shade, hardware, paint and lumber for the step, which I think is quite reasonable given that we now have a pretty functional space that we didn’t have before. And more importantly, we no longer have that hideous view from the dining table.

Resources for this project:
See all materials


Comments
Join the conversation
-
Wow, that looks awesome great and fantabulous. You now have expat room to entertain friends and family, take a nap definitely. I k ow I would. Read a book craft etc. Plus adults can relax and chat and the kids have enough area to play and chat and get into trouble. Lol. When the Temps start getting cooler you could install a curtain of you choice and put some type of heater in there to make it even cozier for those autumn evenings and maybe even I to November. I wonder if you could put those corrugated clear plastic pieces where the sail is and have a tyo we of temp roof for the colder times of the year to keep the heat in for entertaining. Christmas would be fun in there. Would be warm and Christmas decor. Well Halloween is coming up you could do a dry run and see how thar works. If you want. Lol. I just love it. Looks wonderful cozy for Amy time of the year.
-
You did an AMAZINGLY awesome job! Well done!!!!


Frequently asked questions
Have a question about this project?
Looks great! Maybe a stenciled concrete floor? Would look really awesome!
looks very inviting - i'd be out there all the time, reading a book, napping, etc. lol. A painted-on rug sounds great, as well as something to roast marshmallows over. P.S. love the little doggie - looks like she/he likes the space too! btw what kind of dog is it? looks like it's got some king charles cavalier in it. 🙂
Does it pool up with water when it rains?