


3 Easy Steps to a Stylish DIY Plastic Storage Bin Makeover

Are you tired of boring and dull plastic storage bins taking up valuable space in your home? Why settle for plain when you can transform them into stylish rolling storage baskets with this DIY plastic storage bin makeover!
This post was transcribed by a member of the Hometalk editorial team from the original HometalkTV episode.
With a few simple steps and some inexpensive materials, you can create a functional and fashionable storage solution that will not only save you space but also add a touch of personality to any room in your home. Say goodbye to cluttered floors and hello to your new rolling storage baskets!

1. Removing the Handles and Adding Wooden Strips
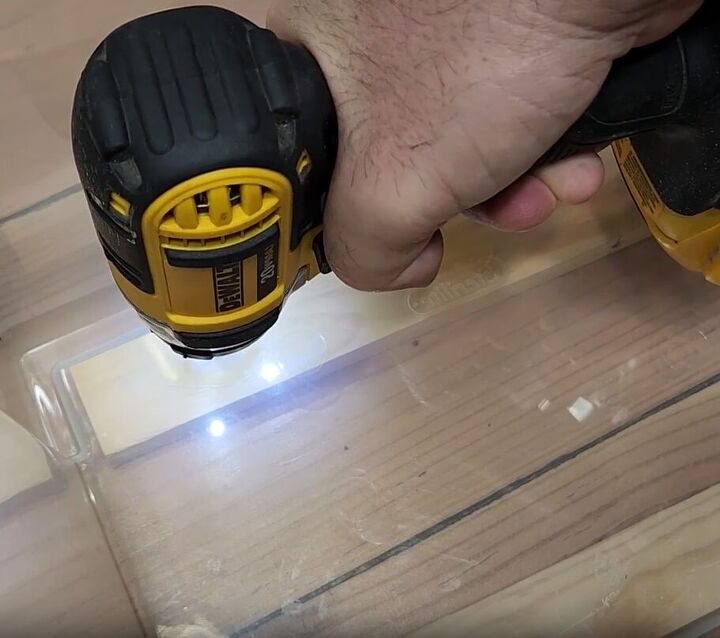
Start by removing the handles from both sides of a plastic bin. This will make it easier to attach the wooden strips that will serve as the base for the wheels.

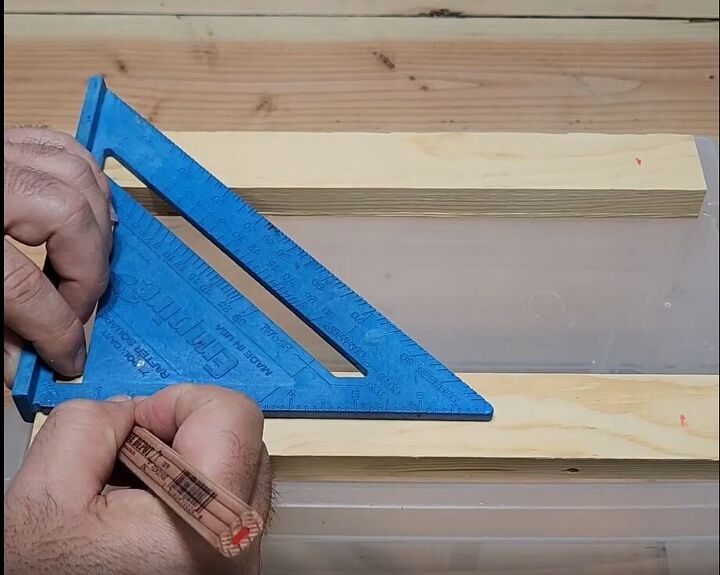
Next, flip the bin over and measure the length of the edges where you want to attach the two wooden strips. Use a pencil to mark the measurements and then use your saw to cut the strips to the appropriate size.
Once you have your wooden strips, use hot glue to attach them to the edge of the bin. Make sure they fit snugly inside the grooves so that they won't move around. Allow the glue to set and then flip the bin over.
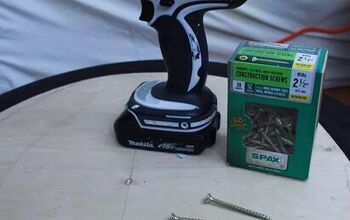
After flipping the bucket, take some small screws that are not too long, as we don't want them to stick out from the end of the wood.
Using a drill, make holes in each strip of wood, about two or three holes in each strip will be enough. Insert the screws into the holes and tighten them without overdoing it, these will hold the wooden strips in place.
Let's move to the next step in creating the homemade rolling basket.
2. Adding Caster Wheels
To make the DIY storage box mobile, we will attach caster wheels.
Measure and mark the four spots where the caster wheels will be installed to ensure proper placement. To do this, use a ruler or tape measure and mark one inch from each side of the wooden strips.
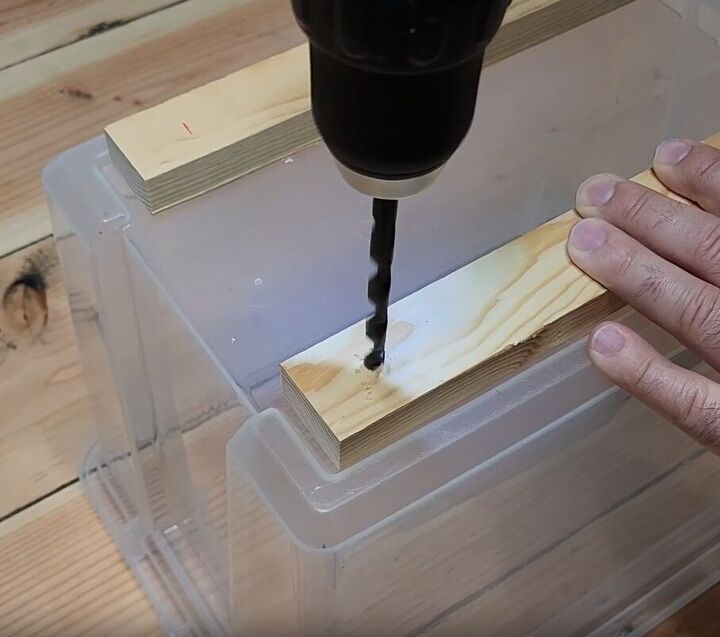
Now drill the holes.
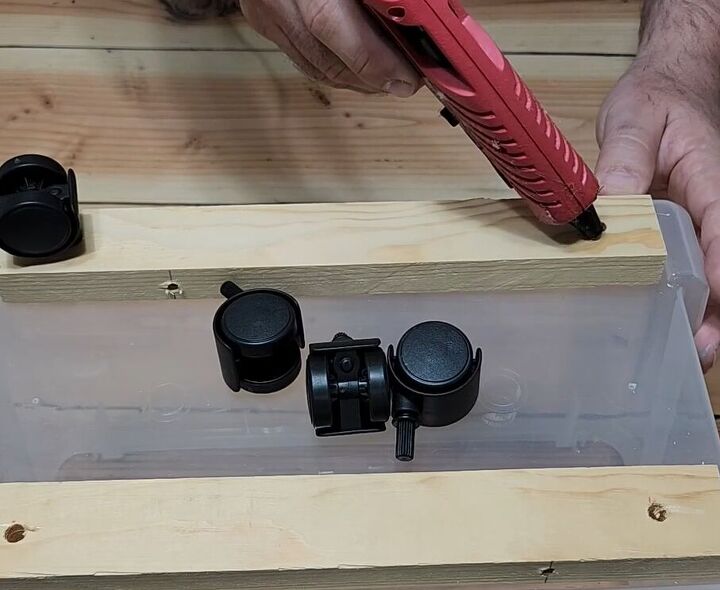
Once the holes are drilled, add some hot glue to each hole and carefully insert the caster wheels. The glue will keep them nice and secure. You can use any glue you like, I prefer hot glue as it is quick and does the job of securing the wheels perfectly.
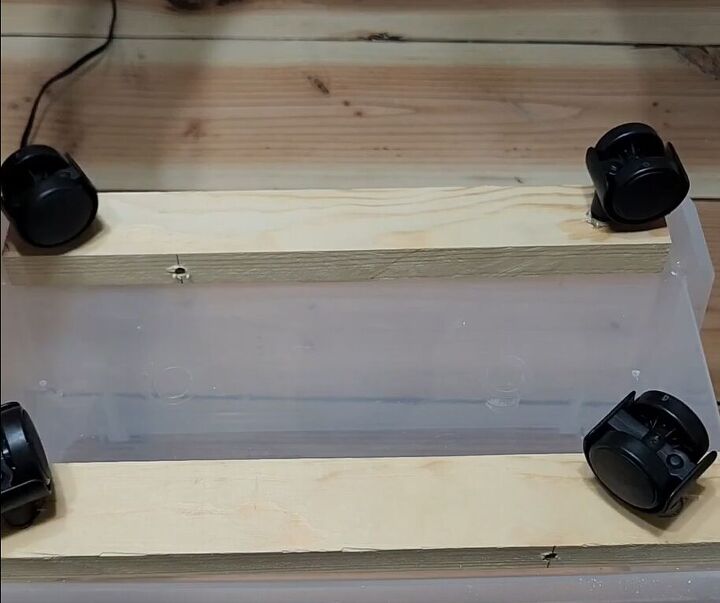
It is important to not overtighten the screws as this could damage the plastic bin or the caster wheels. Once all four caster wheels are securely attached, the homemade rolling basket is now mobile and easy to move around.

3. Decorating the Basket with Twine and Fabric
Now it's time to decorate the DIY fabric storage bin.
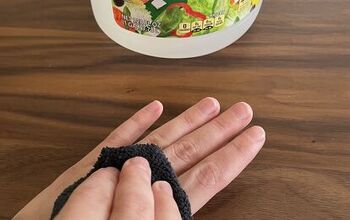
For this project, I picked up some twine at the Dollar Tree. Using our trusty hot glue gun, apply a bit of glue to the edge of the bucket to secure the starter piece of twine. It's important to ensure that the first row is perfectly aligned, so I use the edge of the bucket as my guide.
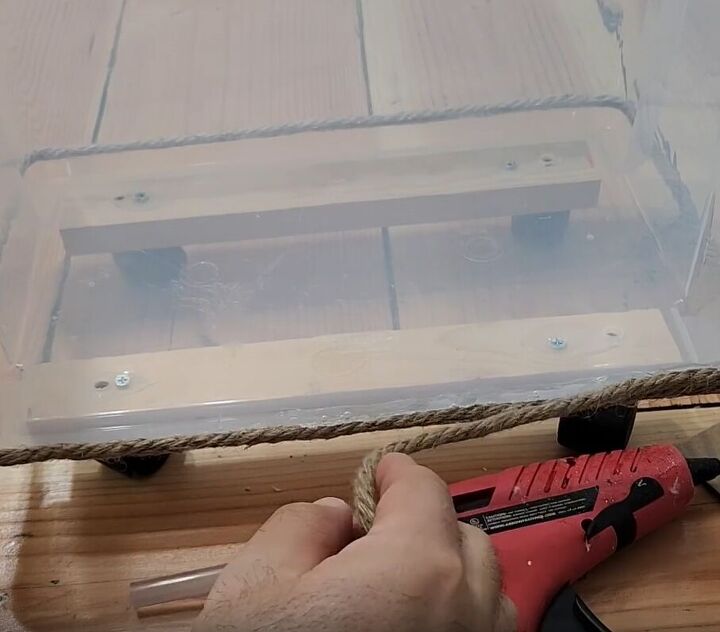
Continue wrapping the twine all the way around the bucket.
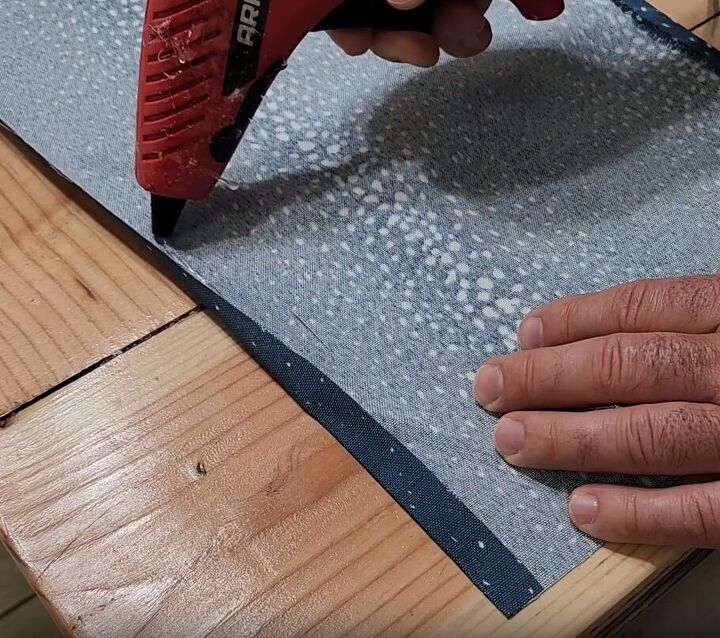
Once you've completed this step, grab a piece of fabric and cut it into a twelve-inch-wide strip. Fold over the edge of the fabric to create a neat finish and use the hot glue to secure it in place. Take your time with this step as the glue can get quite hot.
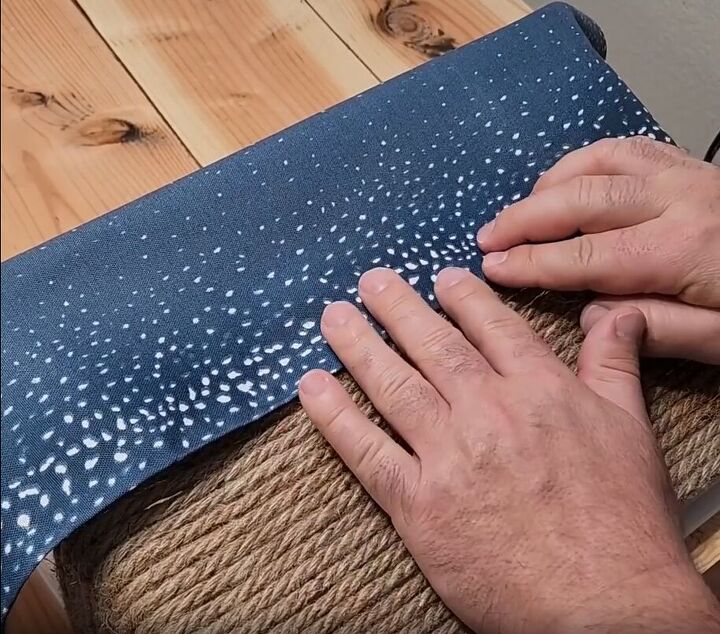
Once both edges are neatly folded, wrap the fabric over the bucket, covering all the plastic.
Finally, apply glue to the last bit of rope and press it down to secure the fabric. Continue wrapping the fabric around the bucket until it's fully covered. Voila! Your DIY fabric storage bin is complete and ready to be used.
More Storage Bin Makeovers

DIY plastic storage bin makeover
With just a few simple steps and some creative inspiration, you can transform a plain plastic storage bin into a functional and stylish rolling storage basket.
Not only will this DIY storage bin makeover add extra storage space to your living room or craft room, but it can also be used for organizing toys and books in your children's play area or bedroom.
So why not give these fabric storage boxes a try and see how easy it is to create a custom storage solution that meets all your needs? Start your DIY project today and enjoy the benefits of an organized and clutter-free space.
Resources for this project:
See all materials


Comments
Join the conversation
-
What video? I have a huge black block at the beginning of the article - is this the video? Can someone resend one? I always believe there is a reason they do not include a final pic. Just sayin ...
-
I would have been more leased if they had shown a completed project. It did not say how far up to wrap the twine. Also, it did not show a photo of putting on the fabric. They left out some important information. More photos would be better. Idea of doing this project was wonderful. I just could use more info and photos.
Thanks for idea.


Frequently asked questions
Have a question about this project?
a pic of the finished produce?????
So, can you show a photo of the stylish DIY Plastic Storage Bin?
thank you, elpen
i love this so much thank ya♥️