


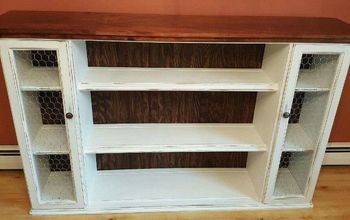
Coffee Table Makeover: How to Transform Old Furniture
Join me in a coffee table makeover. Transforming your old coffee table into a stylish centerpiece can be a fun and creative project. In this step-by-step tutorial, I'll show you how to give your coffee table a makeover that will leave your guests in awe.
With some basic supplies and a little elbow grease, you can achieve a custom look that matches your decor perfectly.
Follow along as I take you through the process from start to finish, including cleaning, sanding, priming, spray painting, glazing, and top coating.
Tools and materials
- Safety goggles
- Disposable gloves
- Respirator mask (for painting and sanding)
- Mild soap or wood cleaner
- Clean rags or paper towels
- Sponge or scrub brush
- Sandpaper (various grits: coarse, medium, fine)
- Sanding block or orbital sander (optional)
- High-quality wood primer suitable for your table's material
- Paint
- Cardboard or drop cloth
- Smoke glaze
- Aged glaze
- Paintbrush or sponge brushes for glazing
- Water-based polyurethane
- Paintbrush or foam brush for top coating
- Stir stick
- Clean container for mixing
Steps
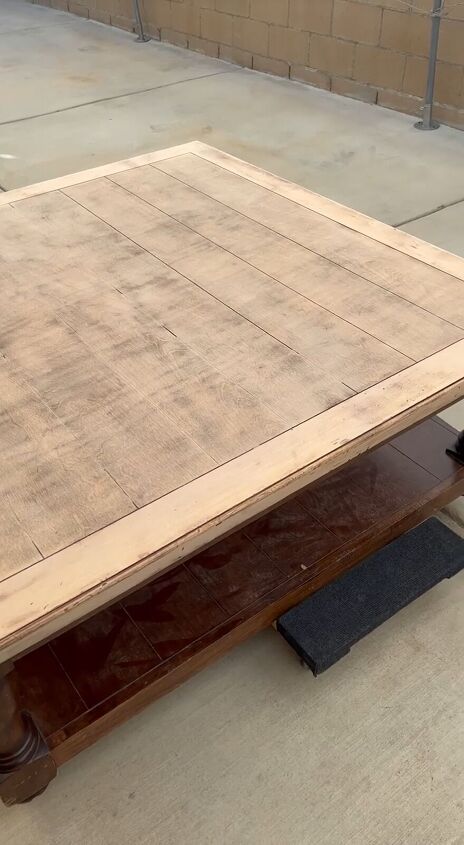
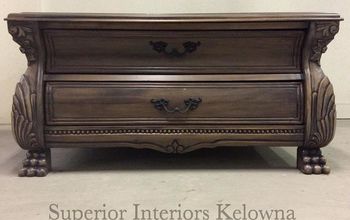
Step 1: Prep - Clean, Sand, and Prime
Begin by wearing your safety gear to protect yourself during the process. Clean the coffee table thoroughly using mild soap or wood cleaner, removing any dirt, grime, or old finishes.
Sand the table surface using coarse grit sandpaper to create a smooth and paint-ready surface. Progress to finer grits as needed. Wipe off the sanding dust with a clean cloth. Apply a coat of high-quality wood primer to the table. Allow it to dry completely before moving on.
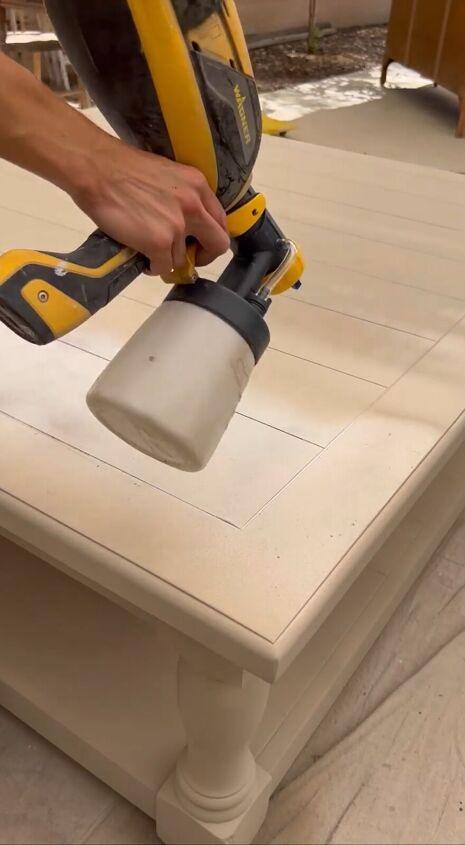
Step 2: Paint
Once the primer is dry, it's time to apply your paint. I’m using a paint sprayer. Spray the table evenly, holding the can about 12 inches away from the surface. Apply multiple thin coats, allowing each coat to dry before applying the next. This will give you a smooth, even finish.
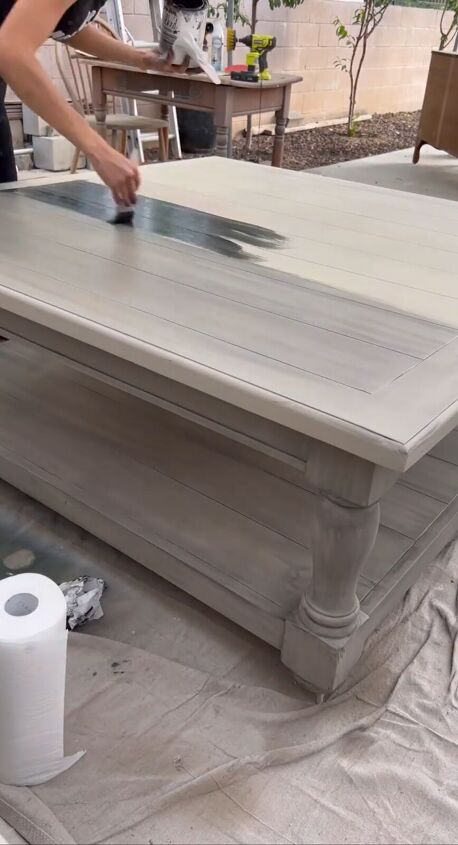
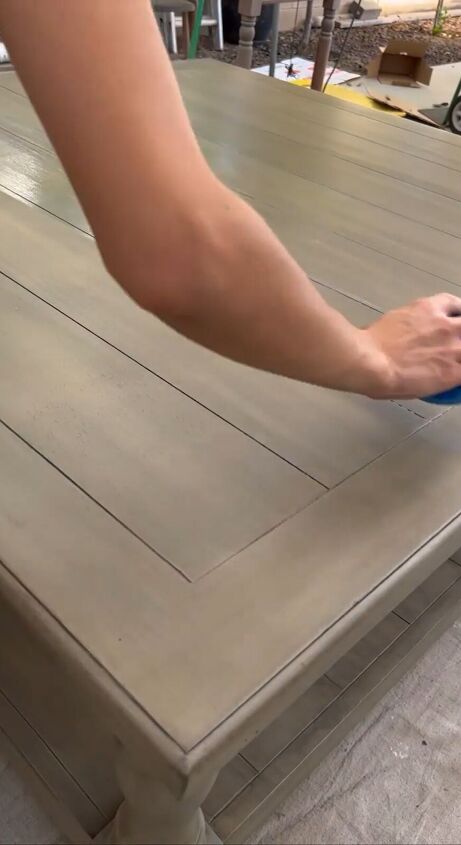
Step 3: Glaze
After the paint has dried, apply the smoke glaze to create depth and character. Use a rag or sponge brush to apply the glaze, focusing on the details and crevices.
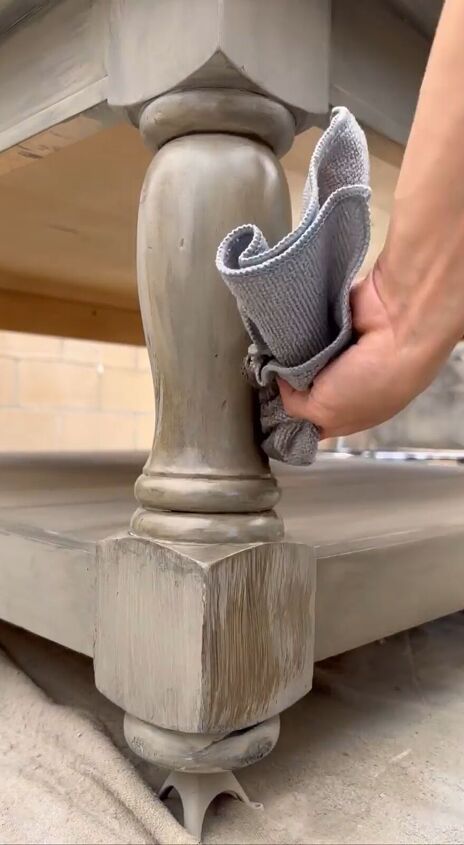
Wipe away excess glaze with a clean cloth or sponge. Adjust the intensity to your preference. This will give your coffee table a beautifully aged look.
Step 4: Top Coat for Protection
To protect your newly transformed coffee table, apply a water-based polyurethane top coat. Stir the polyurethane well, and then use a brush or foam brush to apply a thin, even coat.
Allow the first coat to dry completely before lightly sanding it with a fine-grit sandpaper. Apply a second coat of polyurethane and let it dry thoroughly.
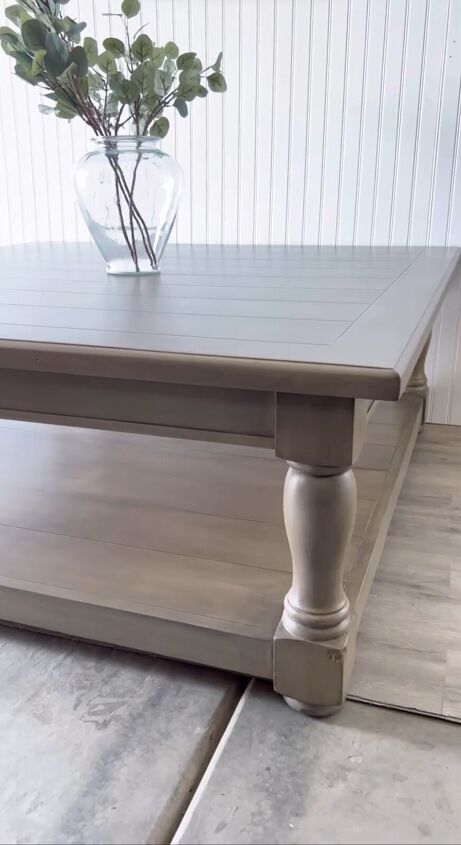
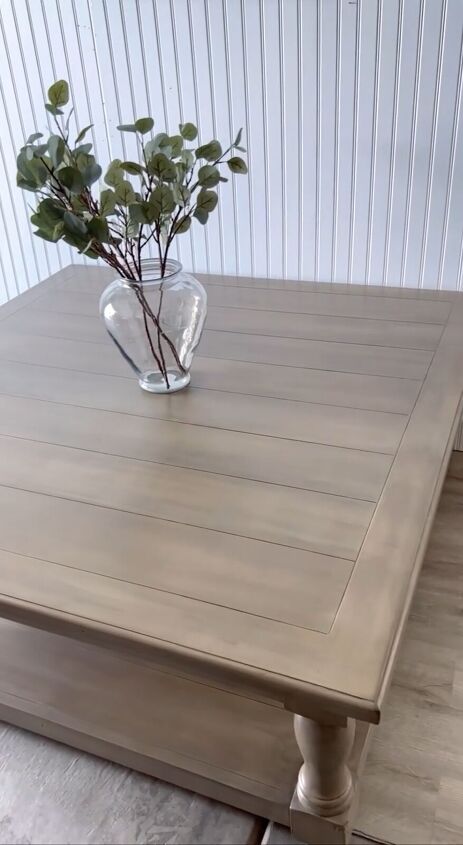
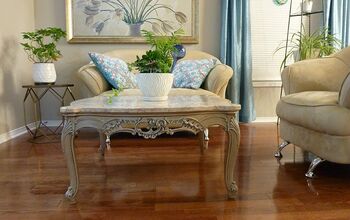
Coffee table makeover
There you have it—a complete coffee table makeover that breathes new life into your old furniture. This DIY project allows you to customize your table to match your style and décor, and the final result is sure to impress.
Whether you're going for a rustic, vintage look or a modern and sleek design, the possibilities are endless. Remember to take your time with each step, and soon you'll be enjoying your beautifully transformed coffee table in your home.
What do you think of this project? Let me know in the comments below.
Follow @moderntouchbyjanette on Instagram for more DIY ideas.


Frequently asked questions
Have a question about this project?