


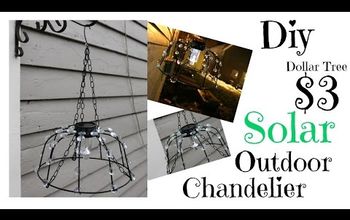
How to Craft a Cheap but Charming Outdoor Basket Chandelier
Add some rustic charm to your outdoor space with this stunning outdoor basket chandelier. This DIY pendant light project is not only budget-friendly but also a great way to repurpose decorative baskets while illuminating your evenings with a cozy glow.
This post was transcribed by a member of the Hometalk editorial team from the original HometalkTV episode.
Let's dive into the steps and transform a woven basket into a captivating DIY outdoor lighting masterpiece that will leave everyone in awe.
1. Gather Your Supplies
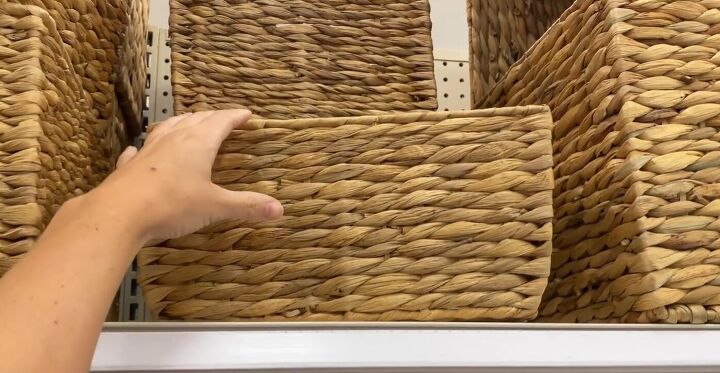
To get started on this outdoor lighting project, make a trip to your local thrift store and pick up the following:
Tools and Materials:
- Paintbrush
- Scissors (for cutting jute rope)
- Gorilla Tape or strong adhesive tape
- Woven wicker or rattan basket (thrift store find or Dollar store)
- White paint (for the aged look)
- Jute rope (long enough for hanging and weaving)
- Battery-operated puck lights with remote (available on Amazon or hardware stores)
- Outdoor hanging hook or strong rope (for hanging the chandelier)
These tools and materials will help you create a stunning outdoor basket chandelier that brings a rustic coastal inspired ambiance to your outdoor seating area. Make sure to gather everything you need before you start the project to ensure a smooth and enjoyable DIY experience.
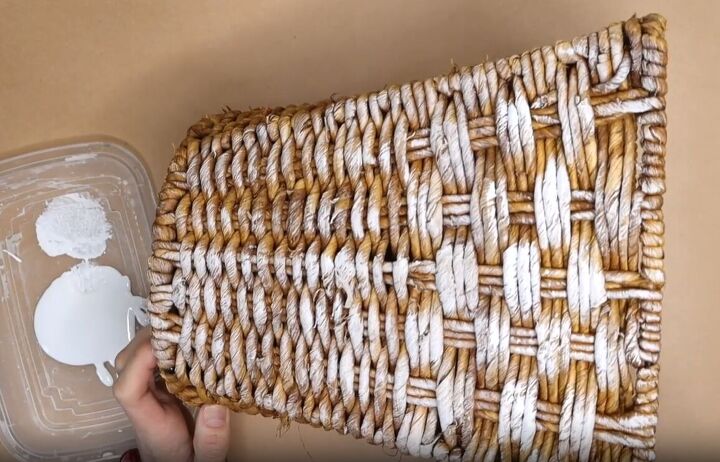
2. Create the Aged Look
With your paintbrush and white paint, carefully apply the paint all over the surface of the basket. This step will give it that perfect aged appearance, enhancing the weathered look of your DIY basket light. Once painted, allow the basket to dry completely.
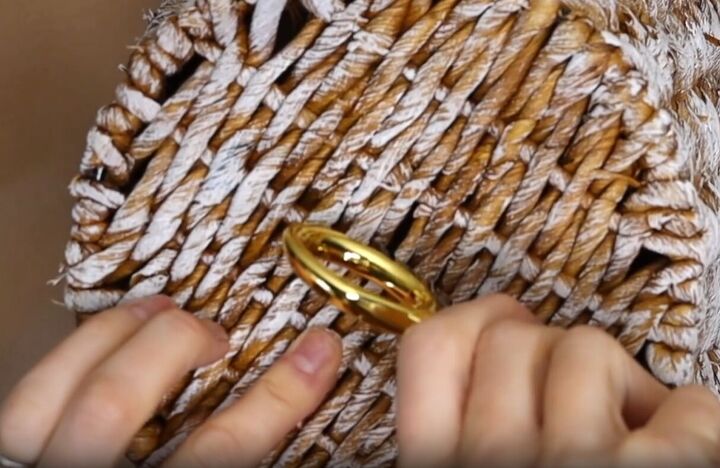
3. Prepare the Basket for the Rope
Start by separating the weave on the bottom of the basket or cutting it, if needed.
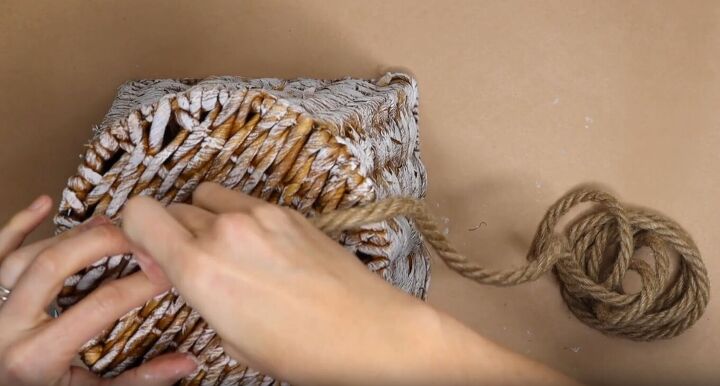
Grab a long piece of jute rope and thread it through the bottom of the basket.
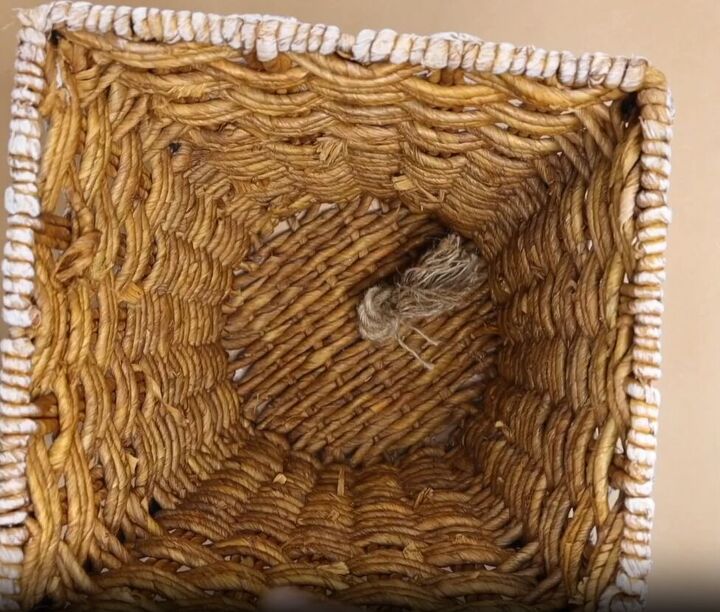
4. Secure the Rope
Tie a knot on the inner part of the basket using the threaded rope.
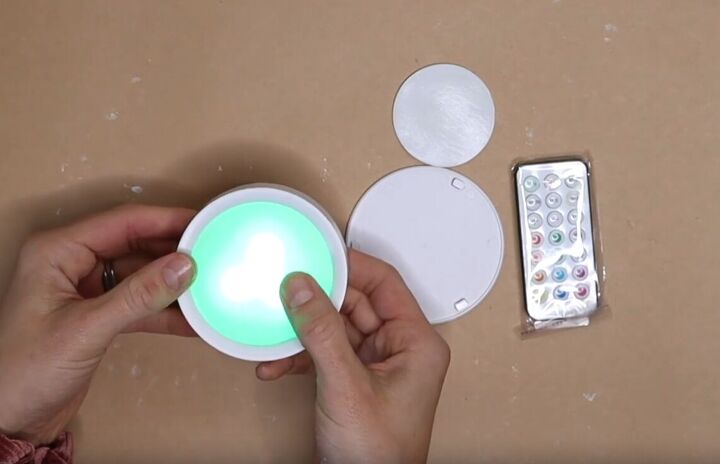
5. Illuminate Your Creation
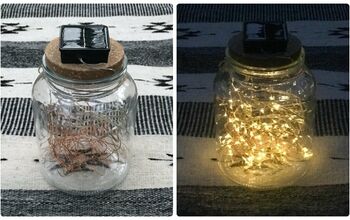
Now it's time to bring your DIY pendant light to life. For this, you'll need battery-operated puck lights with a remote – easily found on Amazon.
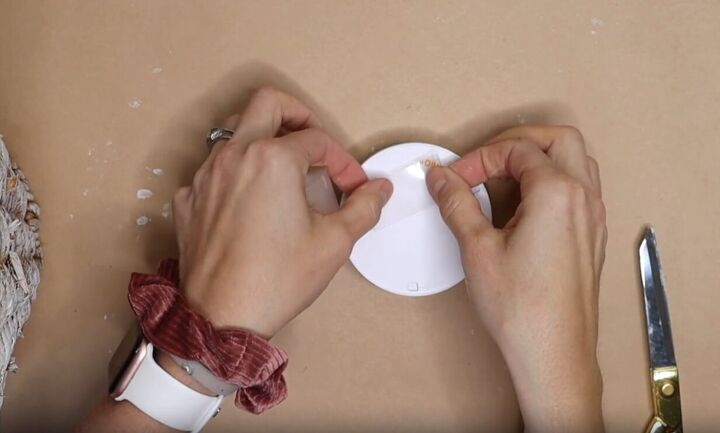
Attach two strips of Gorilla Tape to the back of each puck light and place them onto the inner part of the bottom of the basket.
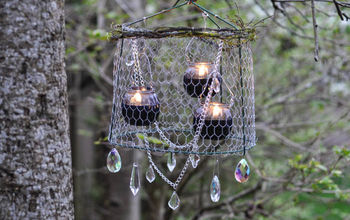
These lights will cast a cozy and inviting glow, perfect for creating a magical ambiance in your outdoor seating area.
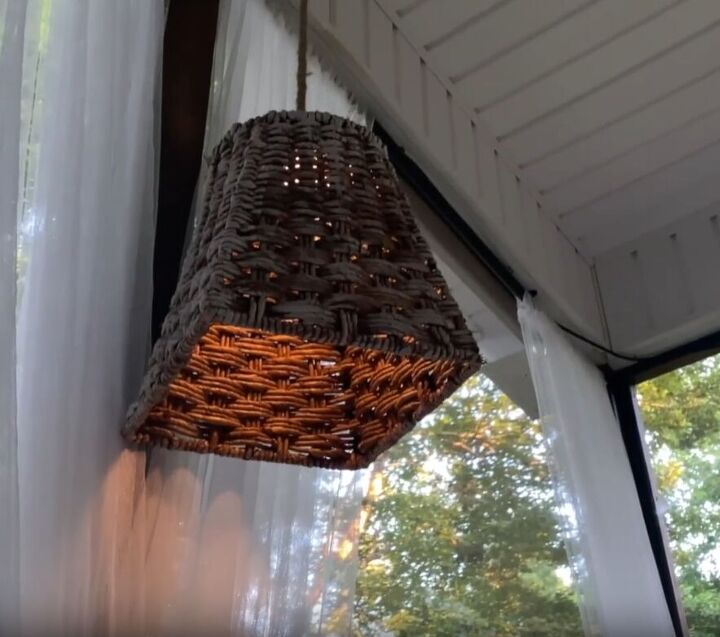
6. Hang and Enjoy
With the puck lights securely attached, find the ideal spot to hang your outdoor basket chandelier. Whether it's your patio, garden, or balcony, this unique piece will surely become the highlight of your outdoor decor.
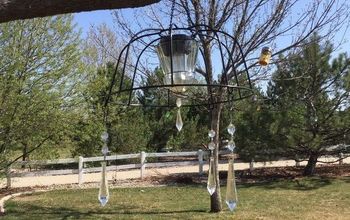
Looking to add more unique DIY outdoor lighting?
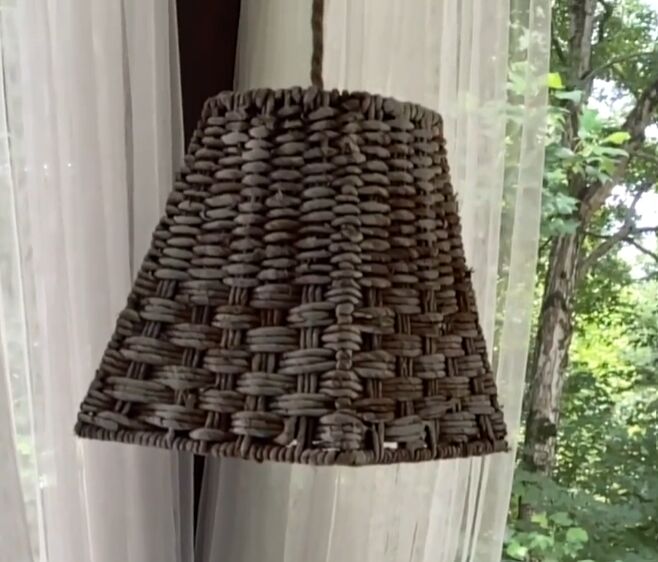
Outdoor Basket Chandelier Tutorial
If you're craving that cozy, relaxed atmosphere reminiscent of a beachy cottage, this outdoor basket chandelier is the perfect addition.
Share your thoughts and experiences in the comments below – I'd love to hear how this project has brought a touch of magic to your outdoor space!


Frequently asked questions
Have a question about this project?