


How to Easily Decoupage a Chair to Make It Pretty & Unique

Hey there, DIY enthusiasts! Welcome back to Fashion Attack! Today, we're going to decoupage a chair, which involves covering it with paper. This DIY IKEA chair hack is super cool because you can choose your own print and easily apply it directly to the chair.
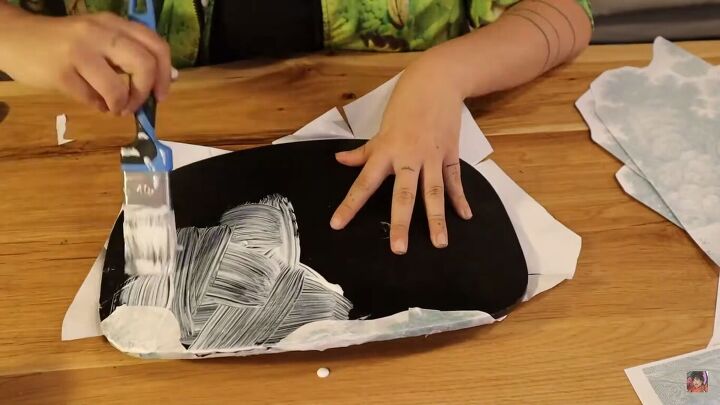
Additionally, I'll be spray-painting the bottom, but you can skip this step and dive right into the tutorial for how to decoupage a chair if that's what you prefer. Let's get creative with some decoupage chair ideas!

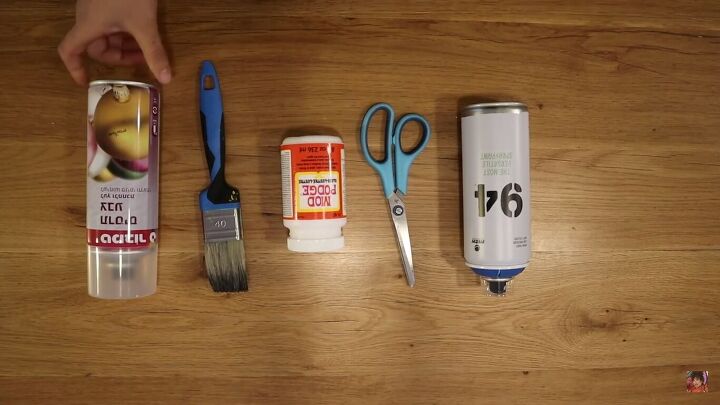
Tools and materials
- Paintbrush
- Mod Podge
- Scissors
- Spray paint (optional)
- Lacquer spray
- Paper designs
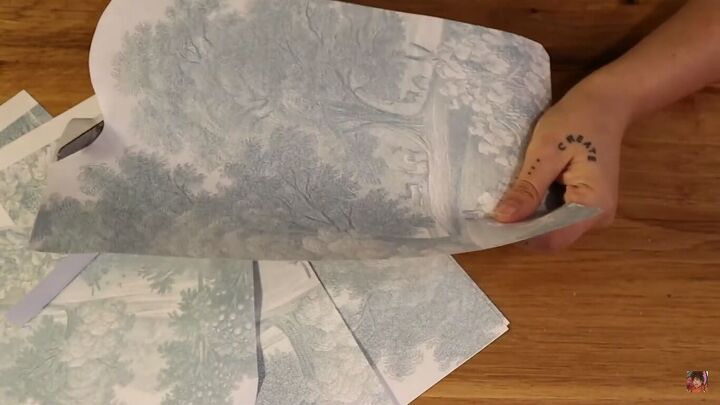
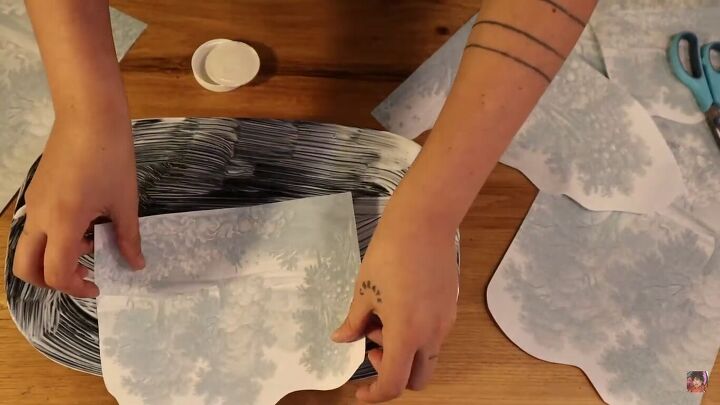
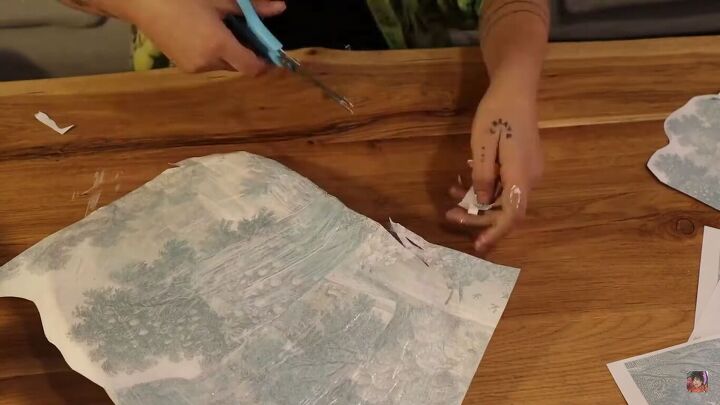
1. Cut out the images you want
For the paper design, you can print images from your computer, use a patterned napkin, or even cut out images from a magazine.
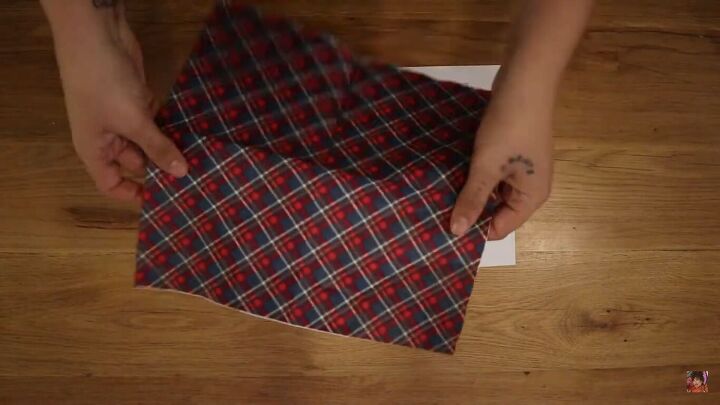
Trim around the edges to get the designs you want. If you leave it as a square or with sharp edges, it's not going to look so pretty.
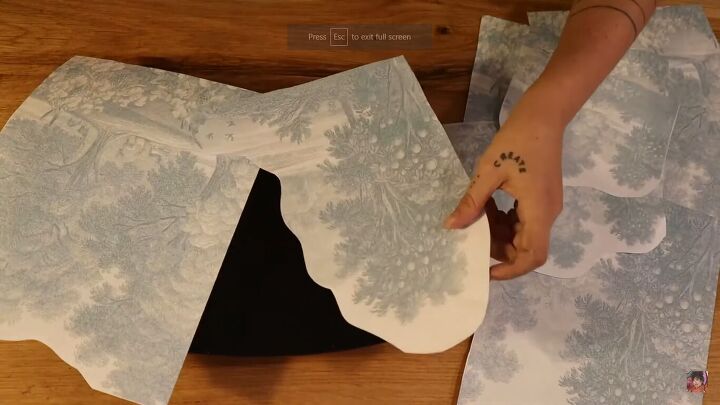
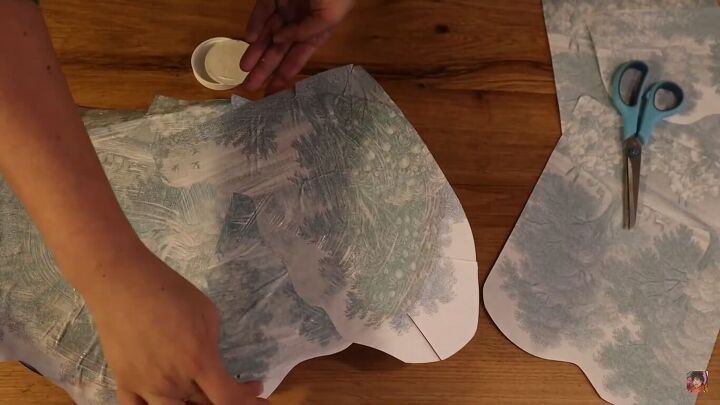
2. Create the design
Before sticking anything, try out the different designs to see where the images will go.
3. Cover the chair with Mod Podge
Cover the chair seat and back with a layer of Mod Podge, then place your paper designs on the glue, followed by a second layer of Mod Podge over the top. Repeat until the whole surface area is covered.
4. Cut the excess paper
For the excess paper that goes over the edge, create cuts so that you can fold the paper around the edge.
5. Repeat on the back
Wait until the paper is completely dry on one side, then repeat the same process on the other side. Fold the edges over and glue them down as well.
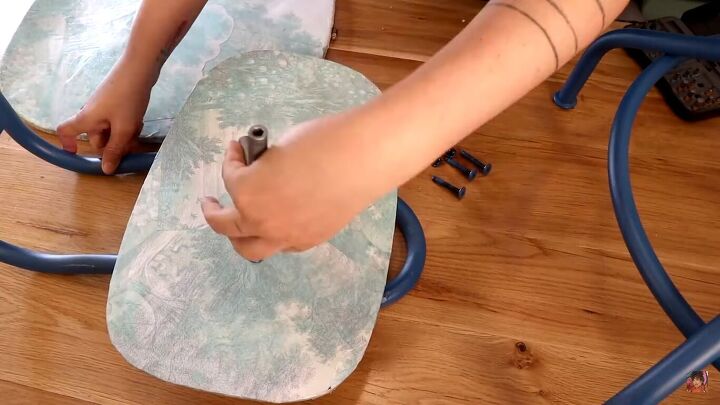
6. Poke holes for the screws
Very important: remember to poke holes where the screws or chair pieces fit together, or else you won’t be able to assemble your chair.
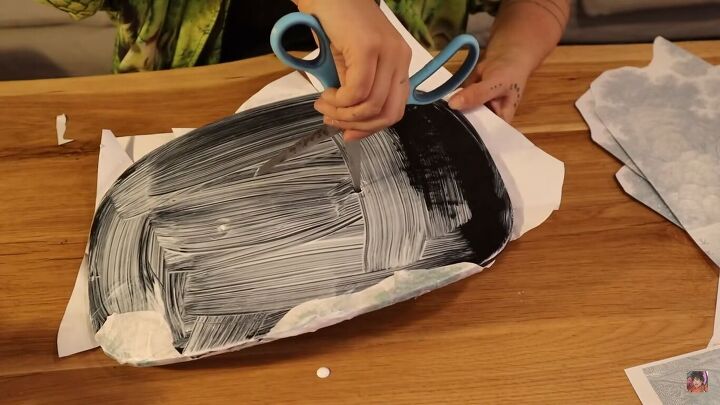
7. Trim the edges
Instead of doing the folds, this time I trimmed the design close to the edge so that there was no overlap.
8. Spray-paint the chair
This is an optional step, but I also spray-painted the chair hardware a vibrant blue color for an extra pop.
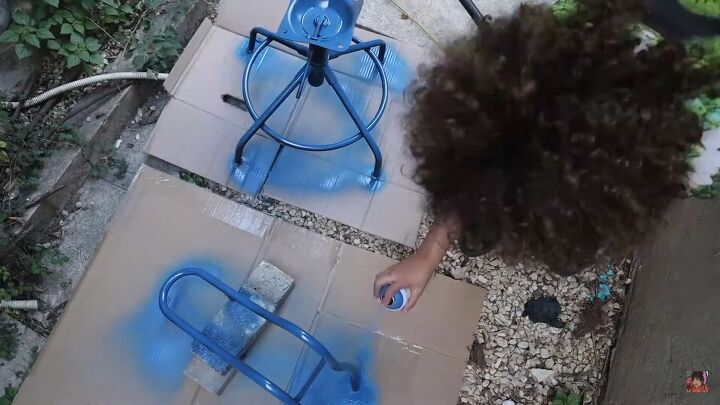
Tip: don’t forget the screws
Remember to spray-paint the tops of the screws as well so that they blend in with the design. The best way to do this is to poke them through cardboard and spray them on the top.

9. Assemble the chair
After leaving everything to dry overnight, put everything together.
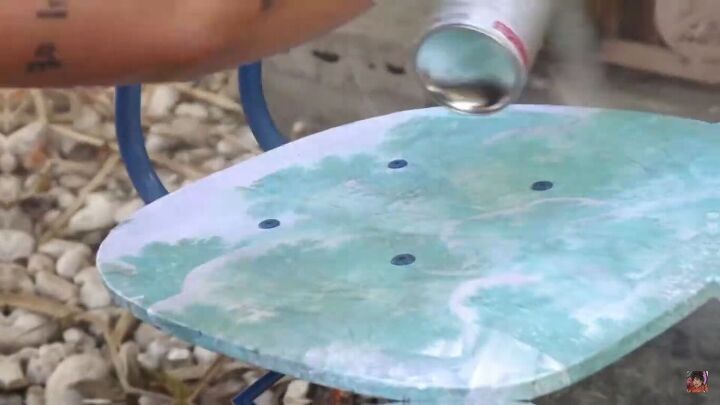
10. Spray with lacquer
It's time to protect our little piece of art and spray it with some lacquer to seal the decoupage design.
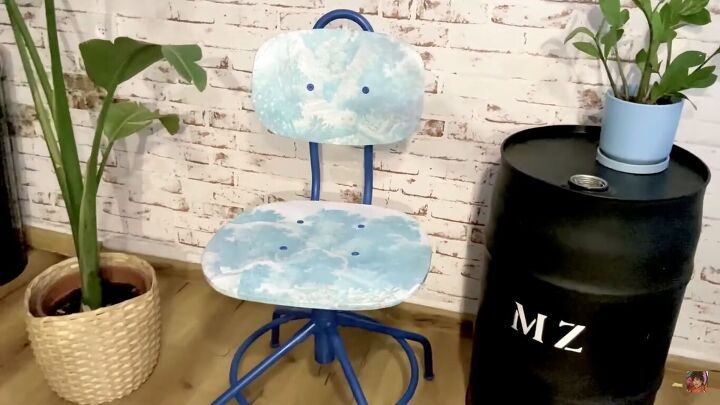
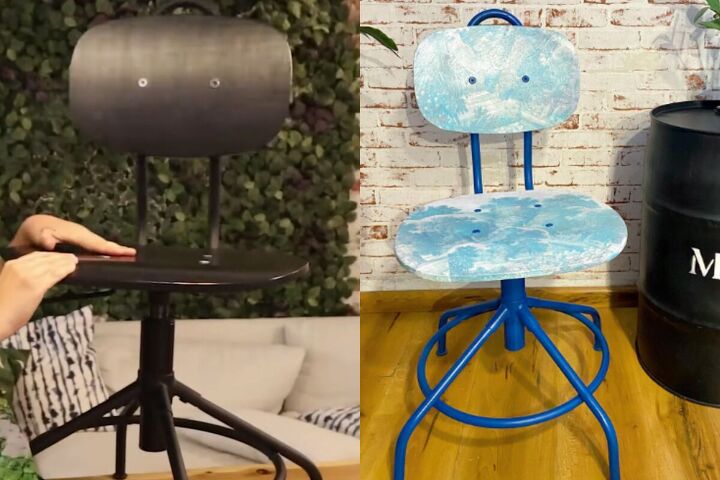
How to decoupage a chair
Here’s the final result! What do you think of this bright blue and pretty decoupage design? This DIY was so easy to do and really helped brighten up a basic IKEA desk chair.
Let me know what you think of this project in the comments below, what your experiences are with decoupage, and whether you’re inspired to try out some decoupage chair ideas of your own.


Frequently asked questions
Have a question about this project?