


How to Create a Geranium Hanging Basket
Creating a hanging basket filled with zonal geraniums accented with Diamond Frost is easier than you might think! Let me show you how!
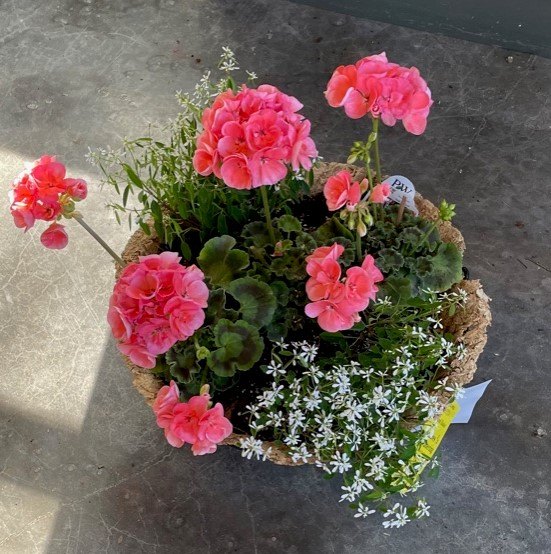
While I was back in Illinois earlier this month, I made a visit to my favorite Amish greenhouse. I couldn’t resist purchasing a few zonal geraniums & a couple of pots of Proven Winners Diamond Frost! I thought they would be perfect potted up as a hanging basket as a hostess gift for one of my childhood friends.
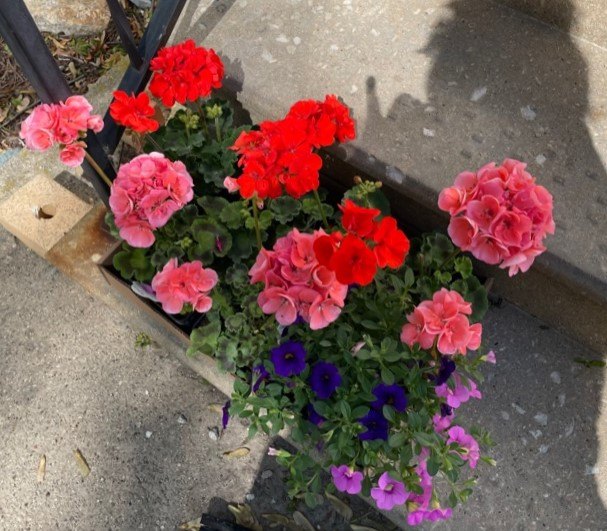
Zonal Geraniums and a pot of petunias for a different project!
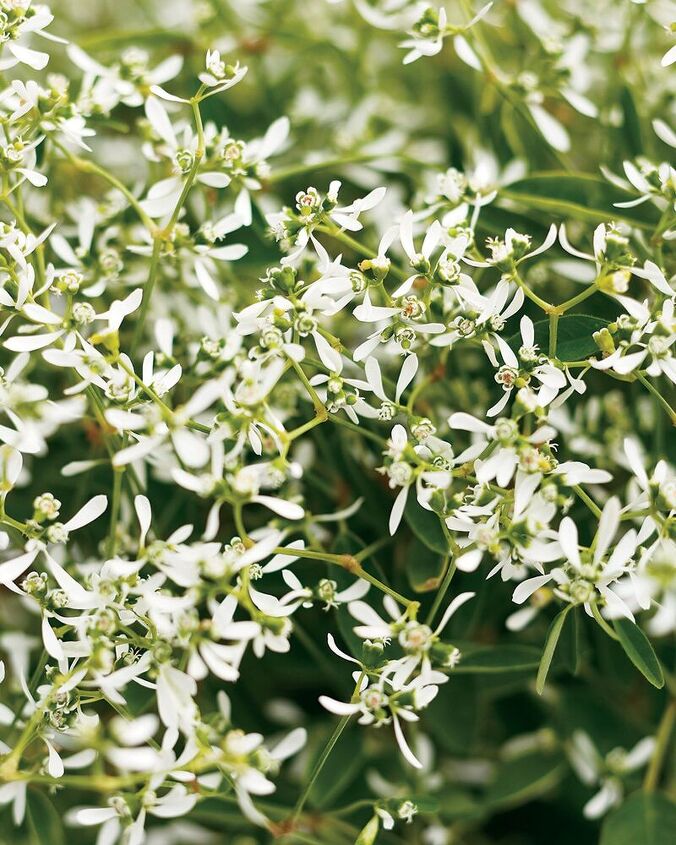
Proven Winners Diamond Frost
To Learn More about Diamond Frost, please check out this blog post!
The Supplies –
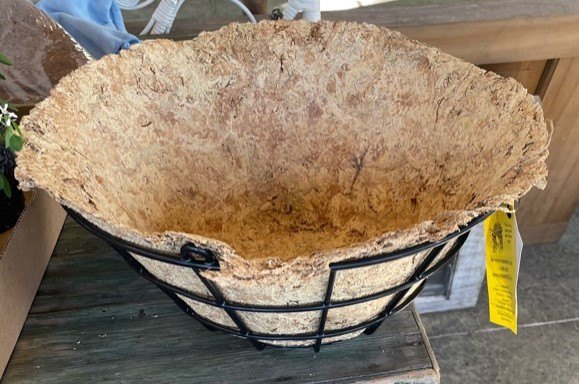
In addition to your plants, you will need a hanging basket and a liner. Potting mix or potting soil is also needed. As a former florist, I happened to have a large stash of hanging baskets as well as liners. I chose a 12″ hanging basket. If you don’t already have a basket with a liner, they are available at garden centers, home improvement stores, green houses and similar retail outlets.
For potting mix, I like to use a mix that includes ingredients that help with moisture control. What you don’t want to use is soil straight from your garden. I made the mistake of doing that once when I was younger. My plants did not thrive or even survive!
The Process
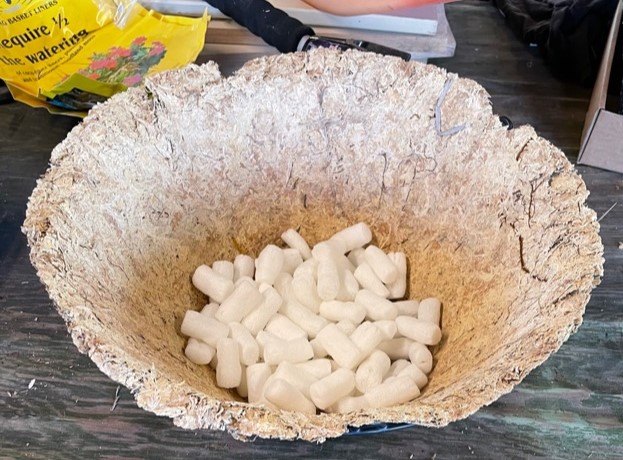
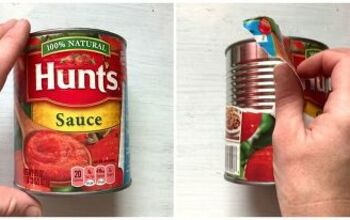
After gathering your basket, liner , plants and soil you are ready to get started. I sprinkled some packing peanuts in the bottom of the liner to save on the amount of potting mix I will use.
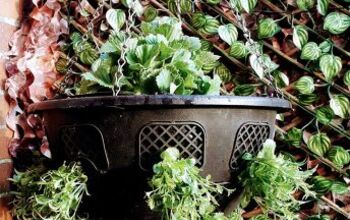
Next, I added enough potting mix to cover the peanuts and fill the basket liner a little less than 1/2 full. Gently remove the plants from their containers and place them in the liner. The ones that are going around the edge of the basket are placed at an angle while the geraniums are placed straight up. By placing the plants at an angle, it allows them to cover the edge of the basket and it looks more natural. I used 2 geraniums and 2 Diamond Frost plants.

Once you have the plants placed how you want them, add more potting mix to cover the roots. Add enough soil so that the roots are covered but leave about an inch space between the soil and the top of the liner.
Normally I would use moss to dress the top of the soil. This helps keep the moisture in and also gives the basket a more finished look. I didn’t use any this time since I was doing this “on the fly ” and didn’t have access to any moss.
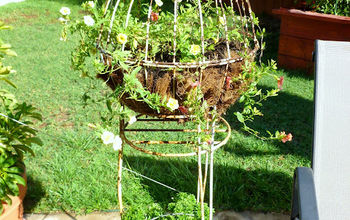
After watering the basket, you are ready to attach the hanger. Once the water has finished draining out of the basket, you are ready to hang it or give it as a gift!
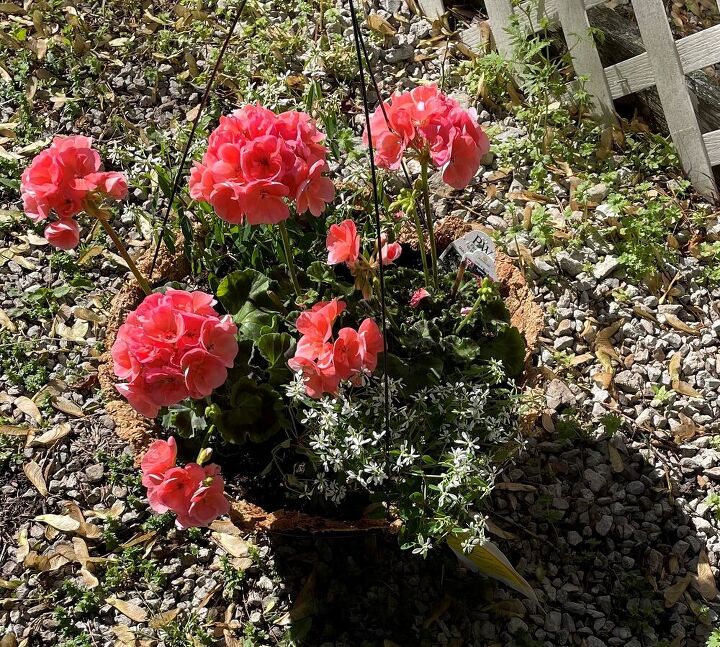
The finished hanging basket!
Resources for this project:
See all materials


Comments
Join the conversation
-
Thank you for the tip! That is a great idea!
-
Years ago planted four large pots which took 4 40lb bags of soil. Heavy. So when daughter asked if I could do same for her, li thought for their lifestyle, reduce weight. I used bean bag filler in bottom of pot and added 2, 2-1/2 bags of soil easy to move (my 160 lb pots have never moved since installing). Six years later plants thrive in pots and no problems with watering. I will advise do not attempt pouring filler on windy day. It was ugly until I moved into garage! Not my finest moment


Frequently asked questions
Have a question about this project?
Are those packing peanuts Biodegradable packing peanuts or Polystyrene-based packing peanuts? Biodegradable will dissolve when watered down.