


How to Install Malibu Wide Plank French Oak Flooring

This post is sponsored by Malibu Wide Plank.
Today, I am excited to share with you my flooring transformation with Malibu Wide Plank.
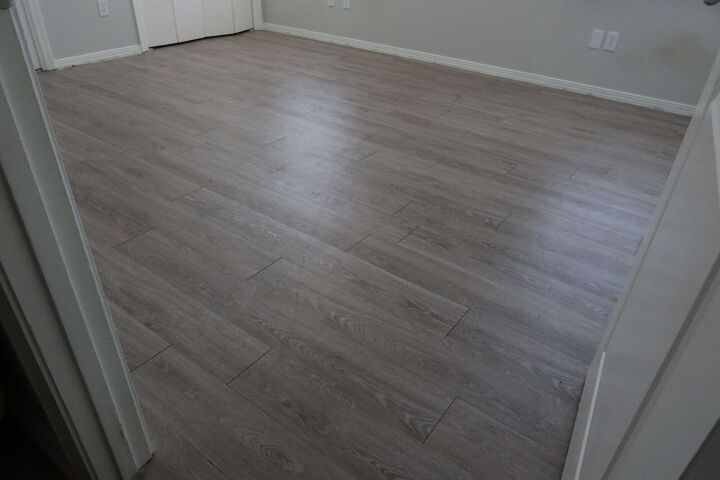
1. Prep
As you can see, we're doing a little prep work. To begin, I've removed the furniture and I'm dusting. The next thing you're going to want to do is remove the doors. Since I am floating this over the existing floors, I am having to cut all the doors down. The other thing that I didn't plan on doing, but I ended up doing, is removing the baseboards.
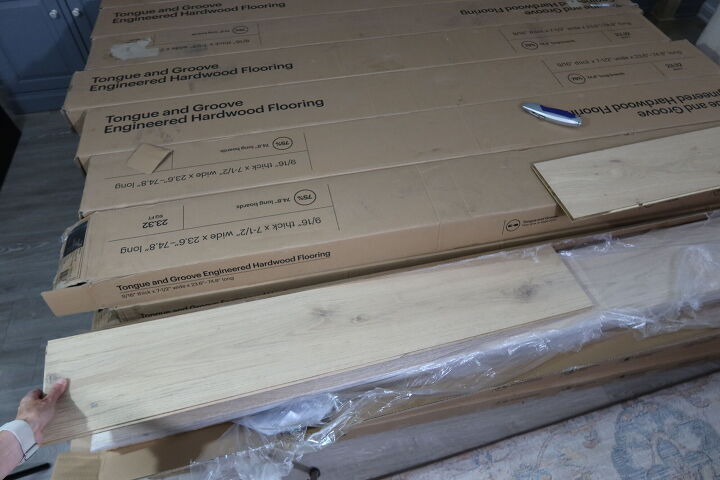
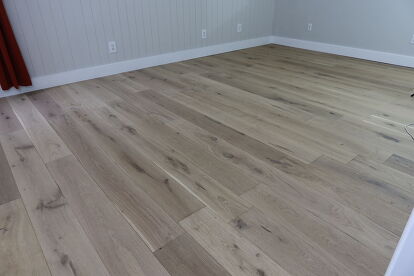
Check out this 3mm engineered Malibu Wide Plank French oak hardwood flooring in the color Grandview!
Before you start, you're going to need to drop a chalk line and put down a temporary straight piece of wood. The reason you do this is you don't want to rely on a wall to keep your board straight, because lots of times walls aren't straight.
2. How to install your Malibu Wide Plank French oak flooring
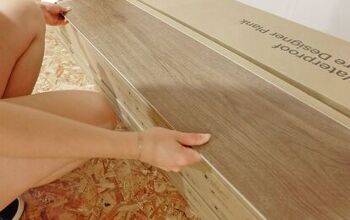
So, to start, you're going to put your first board up against that wood piece and just slide the boards into place.
As I get to the end of a row, I'm using a miter saw to make those cuts. And then I'm using PVA carpenter's wood glue on all the bunt ends.
Also, make sure to keep a 3-4 inch expansion space. I'm using a black spacer to keep that space. I am using a mallet. But you do need to be careful with the ends because the ends can be brittle. Once you finish one row, you just move on to the next row.
I am carefully placing the tongue and groove wood boards together. You are going to come into situations where you have to make some funny cuts. There's a couple of different ways to do it. I chose to make my own little template. Once I got my template made, I used an electric jigsaw tool to cut a perfect template to slide under that door frame.
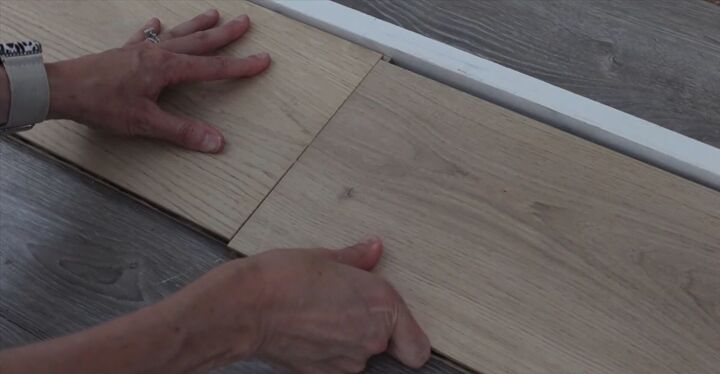
When you start a flooring project like this, you need to start from and install it from the left to the right with a tongue side towards the wall, with the groove side facing out from the wall. And you can see this is what I'm doing.
And, when I start, I'm pulled from at least three different boxes to make sure there is a variation in the color, just in case one of the boxes is a little tiny bit of a different tone than the other. I am using blue painters tape. Every four or five rows, I'm laying blue painters tape because I am floating on this floor. It helps to hold it together as the glue is drying.
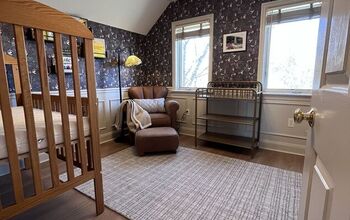
Once you've laid the whole room, you're going to pull up that temporary piece of molding, you're going to put your last piece of flooring in and then look at your new floor, guys. It's stunning!
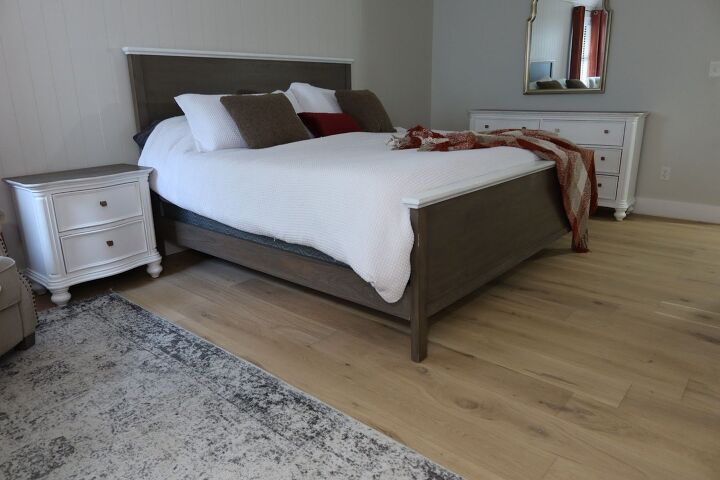
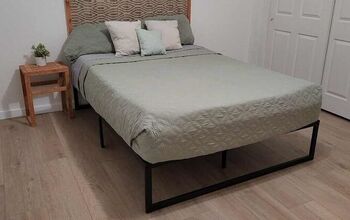
Once that room was done, I moved on to our master bedroom. And because I am doing multiple rooms and we are living in this space, I emptied one room out, laid the floor, then waited 24 hours before putting the furniture back. I then moved on to the next room.
You can see with this room, I started the same way as I did with the first room, which is to start from the left side and then on to the right. Make sure to keep a minimum stagger of six inches between the M seams from row to row.
This flooring features an antique finish and staining process with far more vivid color and depth that accents each piece. This process brings out the natural beauty and texture of the premium hardwood to create its elegant wire brushed surfaced visual.
Another thing I want to touch on is the underlayment. This flooring does require an underlayment or a moisture barrier. Because I'm laying it over top of my existing luxury vinyl planks and they are waterproof, the LVP is acting as my underlayment.
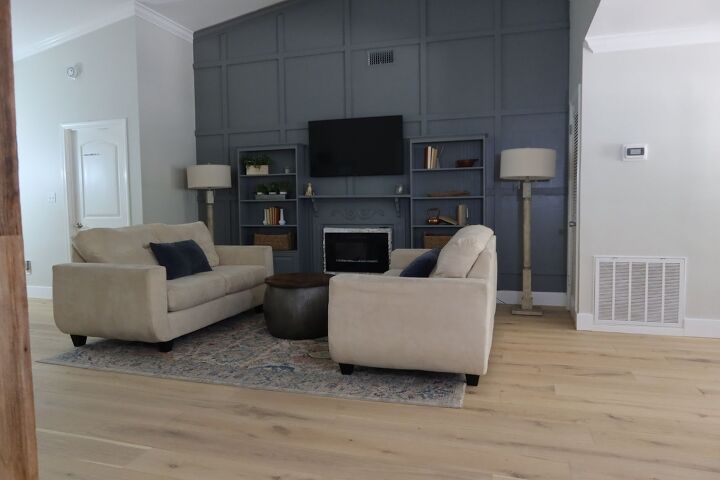
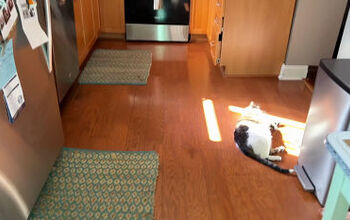
Once I finished the bedroom, I moved on to my living room and I was easily able to finish this
since these were long runs.
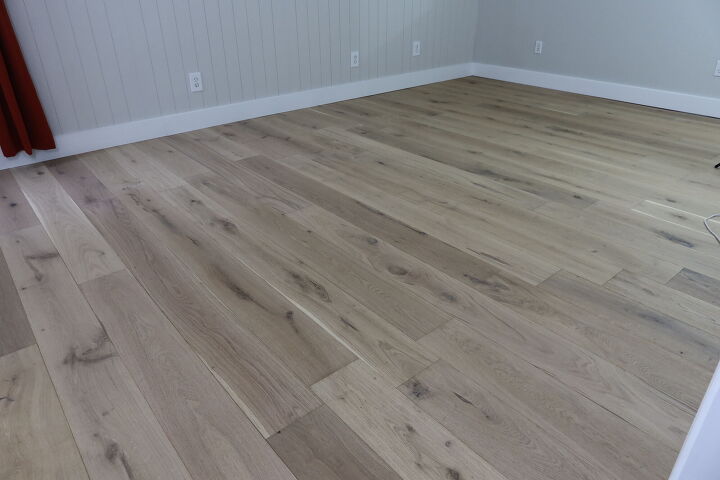
Malibu Wide Plank French oak flooring
And guys, here is the finished product. Overall, I am more excited about my floor than I ever thought I would be, and I'm smitten at how easy it was to install. The other cool thing about this rich and thick 3mm Malibu Wide Plank French oak flooring is that it can be re-sanded and refinished. It’s completely gorgeous!
Thanks again to Malibu Wide Plank for my new flooring and sponsoring this video.
Malibu Wide Plank French oak flooring
Comments
Join the conversation
-
Your floor looks beautiful. I had someone install my floor and you did a much better job.
-
Hello there! Wow, I'm really impressed with your flooring installation project using the Malibu Wide Plank French Oak flooring. It looks fantastic! I wanted to say that starting with the prep work, such as removing the doors and baseboards, was a smart move. And using a chalk line and a temporary straight piece of wood to keep the boards straight is a great tip.
I also liked how you mentioned using blue painter's tape every few rows to hold the floating floor together while the glue dries. Overall, your finished floor looks stunning, and I can understand why you're so excited about it. Great job!


Frequently asked questions
Have a question about this project?
Can you lay over tile?