


How to Make DIY Placemat Wall Art in a Few Simple Steps

In this step-by-step tutorial, I'll guide you through the process of creating DIY placemat wall art using an Ikea placemat.
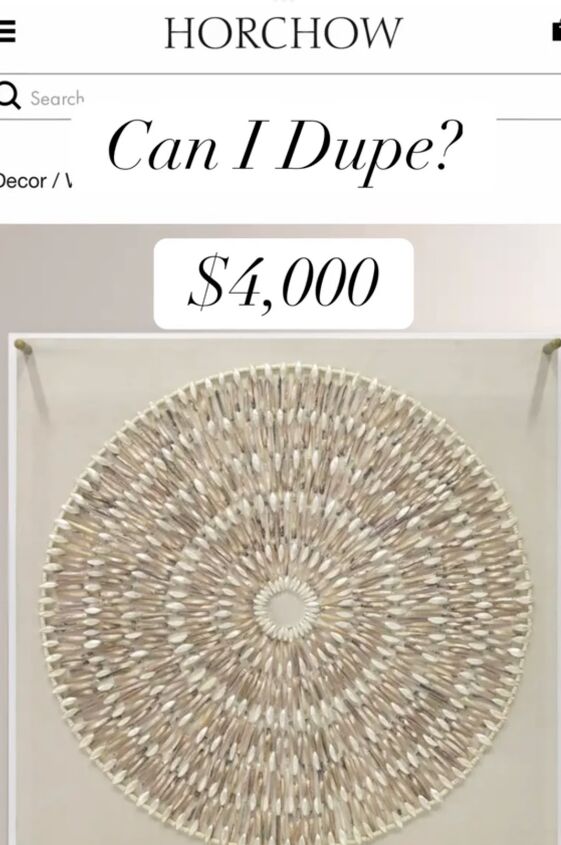
Looking to add a touch of elegance to your space without breaking the bank? With a few simple materials and a creative touch, you can achieve a high-end look for a fraction of the cost.
Tools and materials
- Ikea placemat
- White craft paint
- Paintbrush
- Frame (thrift store find)
- White paint for the frame
- Fabric (purchased at Hobby Lobby)
- Hot glue gun and glue sticks
DIY placemat wall art
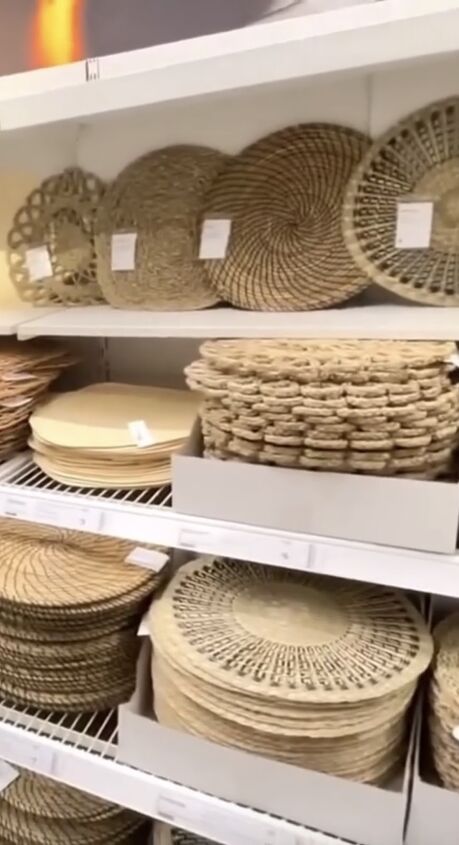
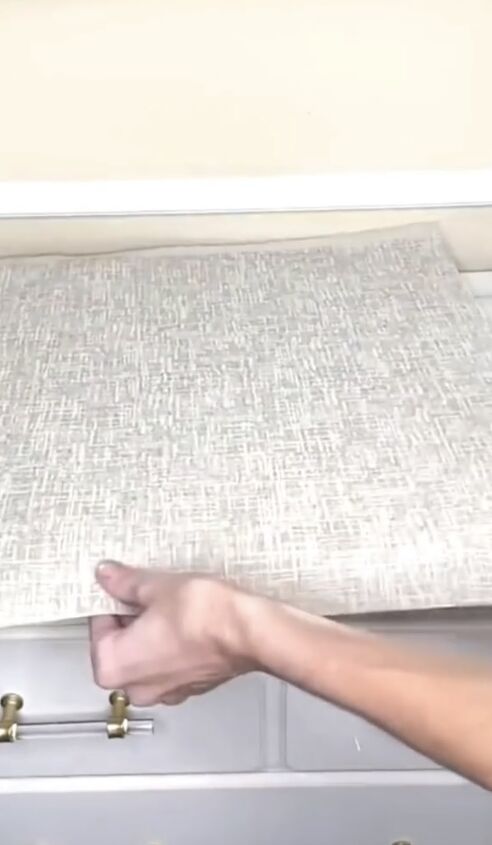
Step 1: Selecting the Perfect Placemat
Start by choosing a placemat from Ikea that closely matches the shape of your inspiration piece. The intricate detailing and ridges on the placemat will serve as the foundation for your artwork.
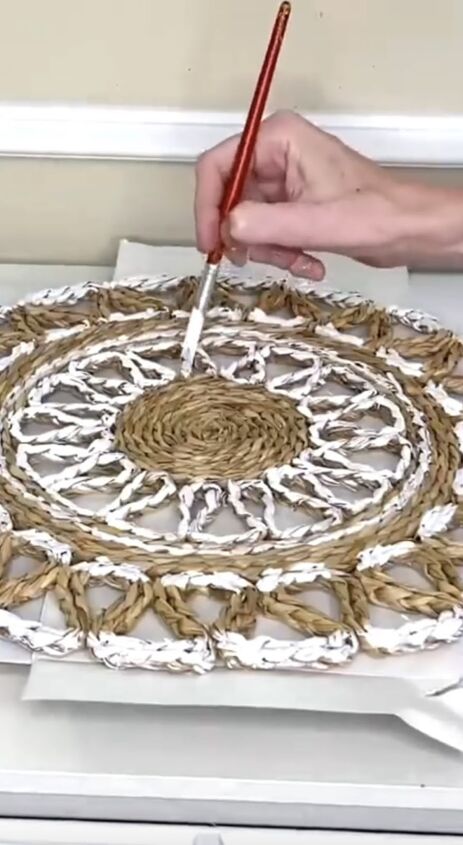
Step 2: Painting the Placemat
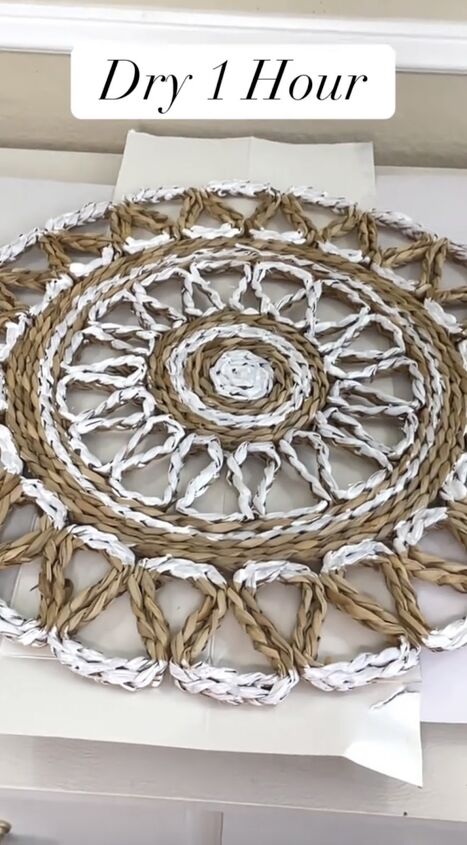
Using white craft paint and a paintbrush, carefully paint along the ridges and intricate detailing along the perimeter of the placemat. Mirror the white paint application to mimic the areas of your inspiration piece. Allow the paint to dry for one hour.
Step 3: Preparing the Frame
Find a suitable frame at a thrift store and paint it white to complement the color scheme of your artwork. This step adds a polished and cohesive look to the overall piece.
Step 4: Fabric Backing
Cut a piece of fabric, preferably purchased at Hobby Lobby, to cover the back of the frame.
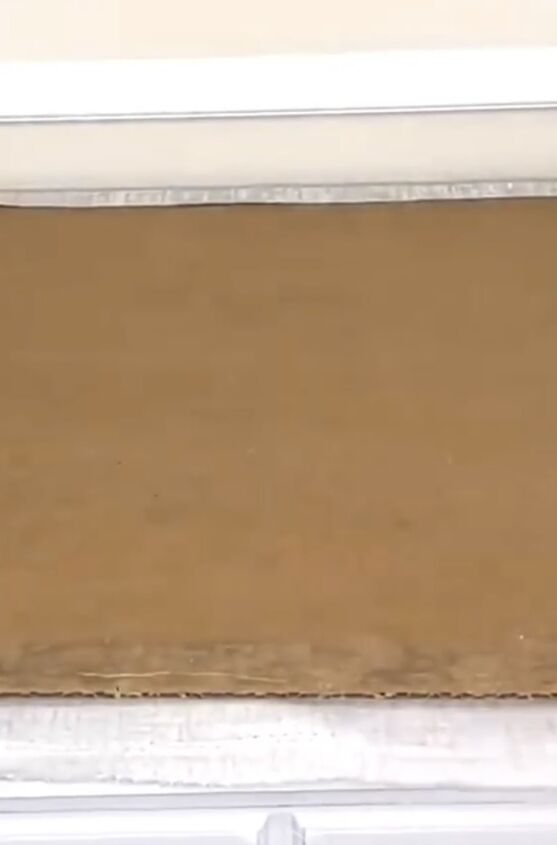
Use the hot glue gun to secure the edges of the fabric to the back of the frame on all four sides. This fabric backing will provide a clean and finished appearance.
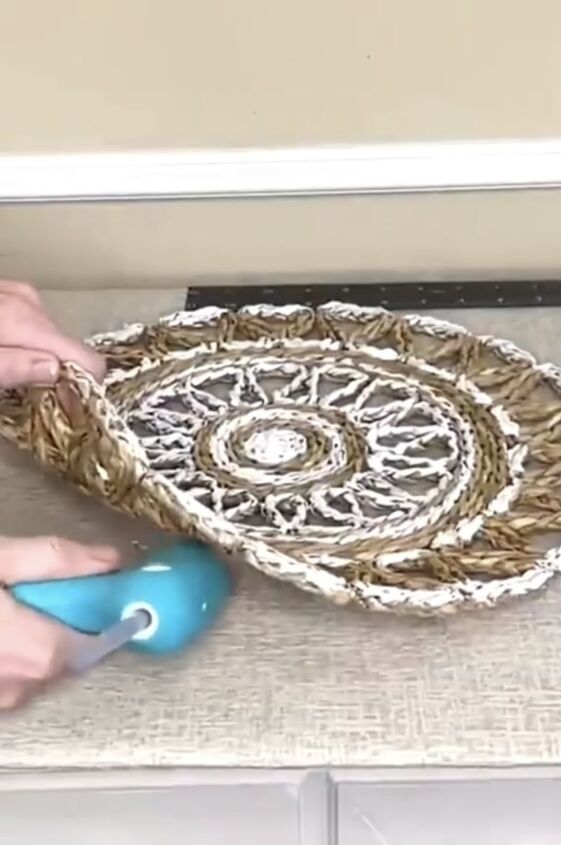
Step 5: Attaching the Placemat
Apply hot glue to the back of the painted placemat and carefully center it on the fabric-covered frame. Press down to secure the placemat in place. The fabric backing ensures a stable attachment.
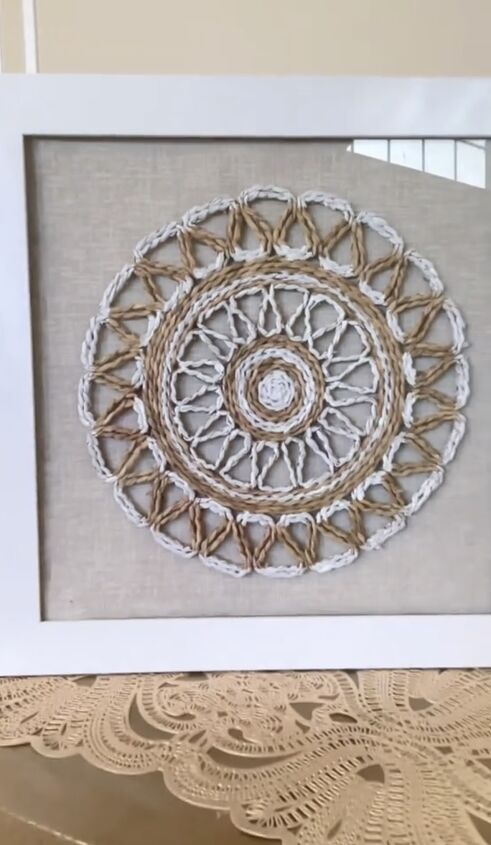
Step 6: Assembling the Artwork
Place the assembled placemat and frame back into the painted frame. This step completes the artwork, giving it a polished and framed look.
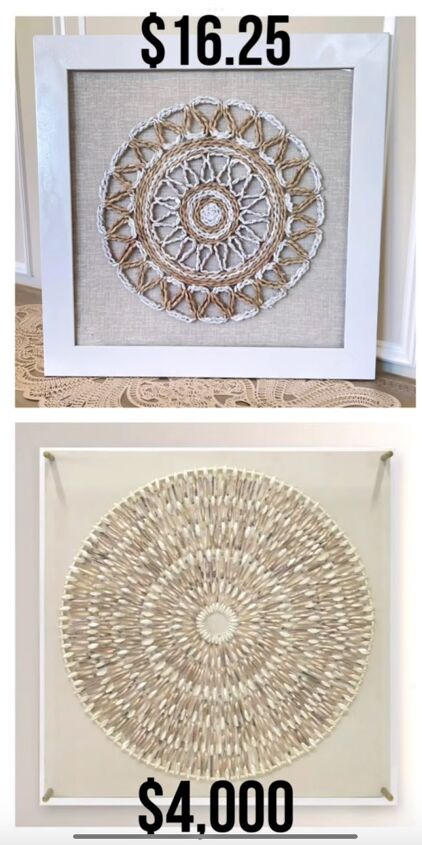
The finished product looks unique, special, and expensive but comes at a fraction of the cost.
DIY placemat wall art
You've successfully recreated the high-end inspiration piece for only $16.25, making it a budget-friendly alternative to the $4,000 original.
With a bit of creativity, you can use DIY placemat wall art to transform a simple Ikea placemat into a stunning piece of wall art that rivals expensive decor.
This step-by-step tutorial has shown you how to achieve a high-end look on a budget, allowing you to enjoy beautiful and personalized artwork in your home without breaking the bank.
Follow @lisa_burningham on TikTok for more DIY ideas.
Comments
Join the conversation
-
this inspired me, thanks for sharing!
-
I think it’s very cute. It’s not meant to look exactly like 4K one. It’s just an example of how you can create different pieces of decor on your own. Thank you for sharing.


Frequently asked questions
Have a question about this project?