


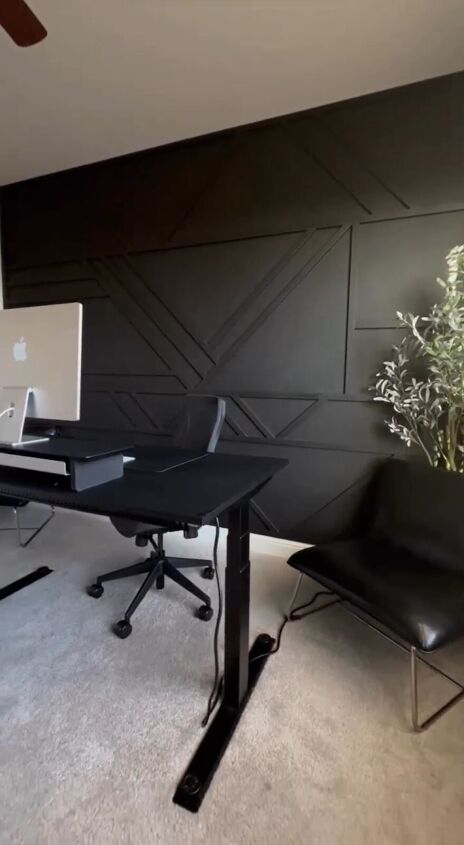
How to Create a DIY Geometric Black Accent Wall With Wood Trim
Hey everyone. Today I’m super excited to show you all how I made this gorgeous black accent wall for my office. I am so thrilled with how it came out. I just had to share it so you could try it too.
Tools and materials
- Projector
- Painter’s tape
- Matte black paint
- Paint brushes or rollers
- Wood pieces cut to size
- Saw
- Wood glue
- Sandpaper
- Wood filler
- Screwdriver
- Nails
Steps
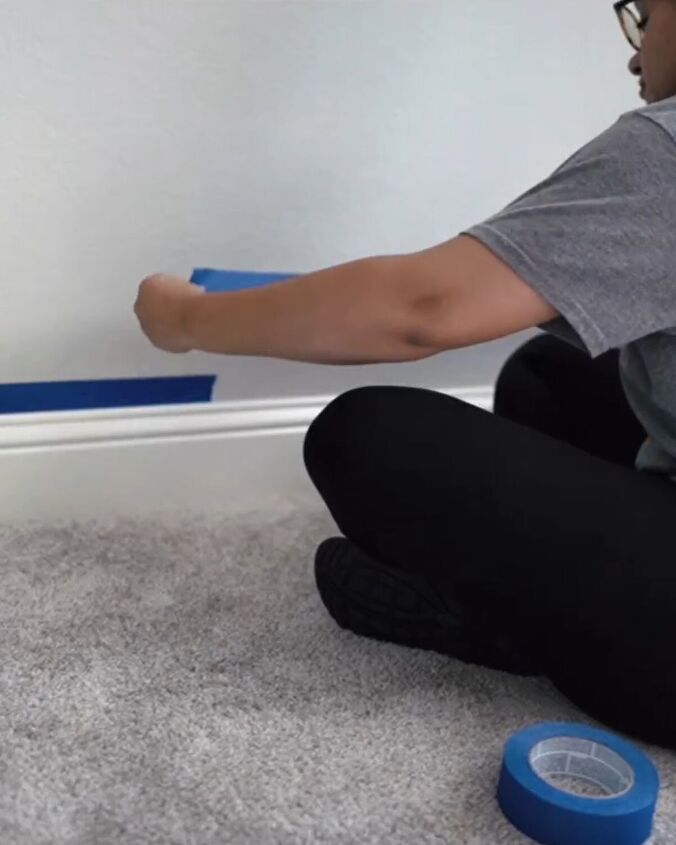
1. Prepare the Wall
Position the projector at an appropriate distance from the wall where you want to create the accent wall. Load the pattern you want to project onto the wall into the projector.
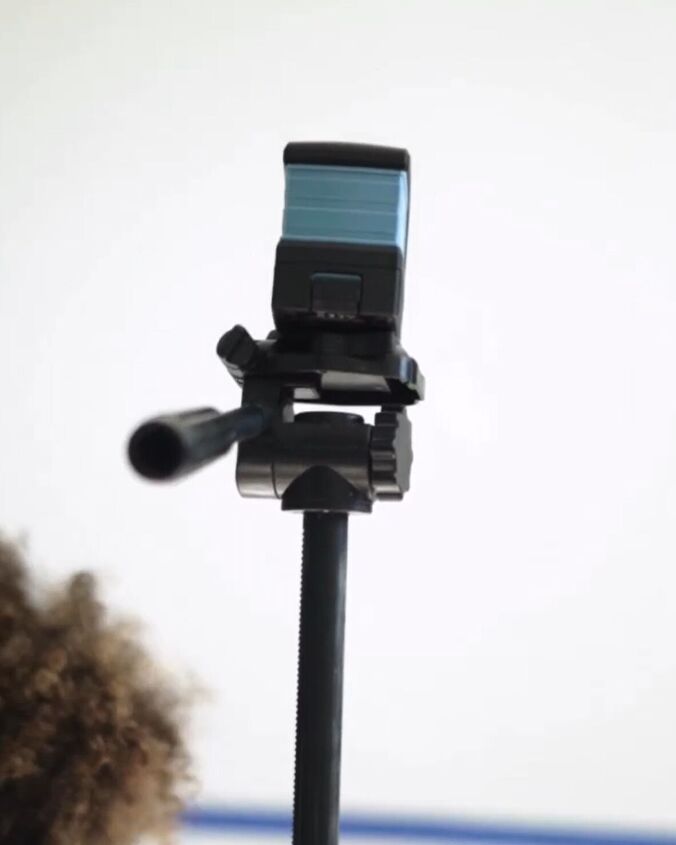
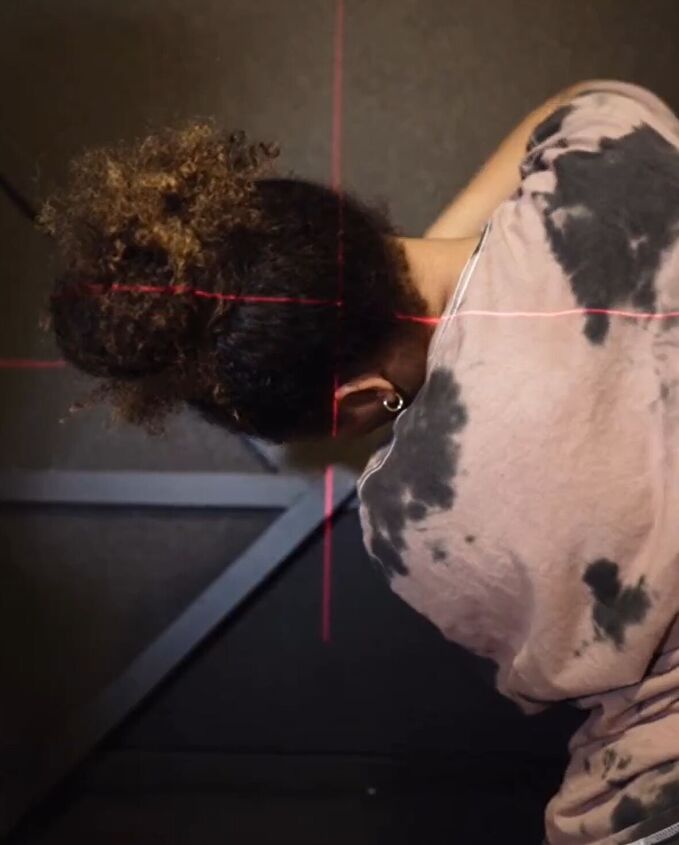
2. Project the Pattern
Turn on the projector and adjust the focus and size of the pattern until it aligns perfectly with the area you want to cover on the wall.
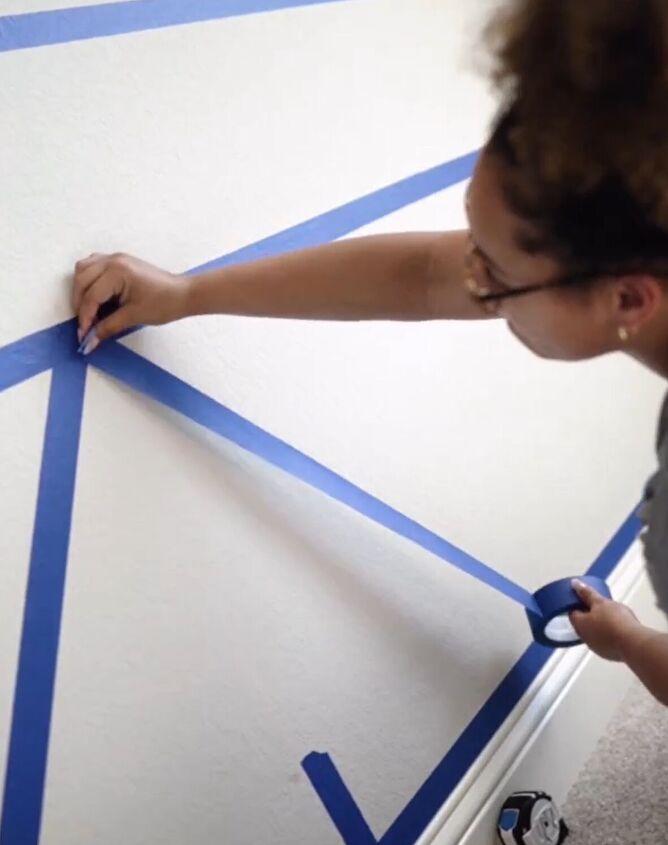
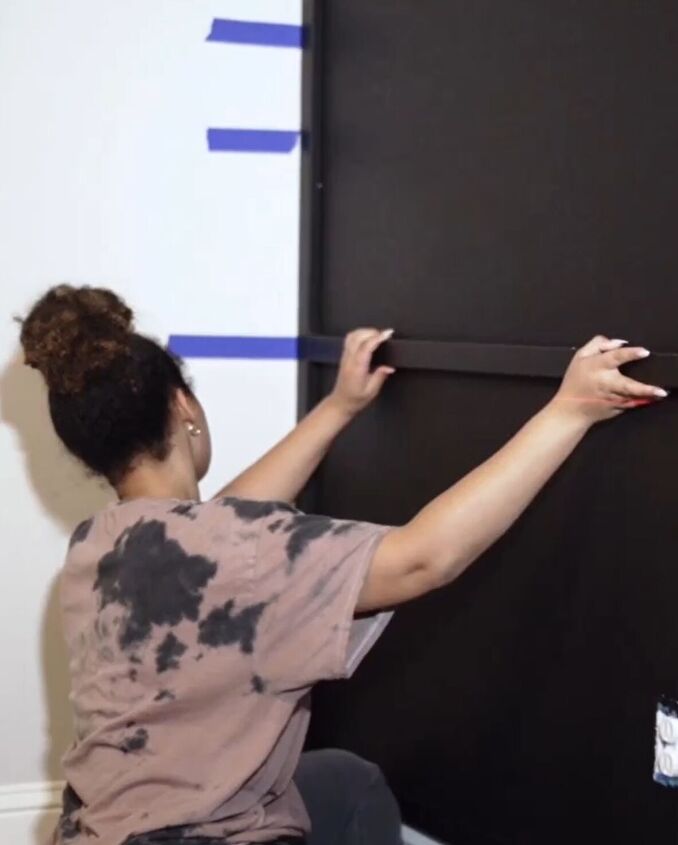
3. Create the Geometric Shapes
Using painter's tape, carefully trace the projected pattern on the wall to create geometric shapes. Take your time to ensure clean lines and sharp angles.
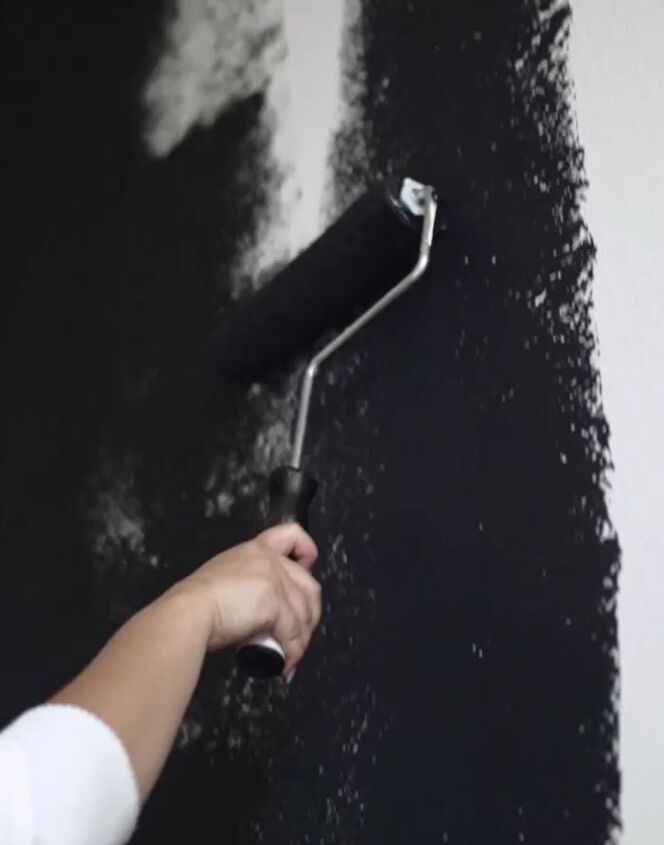
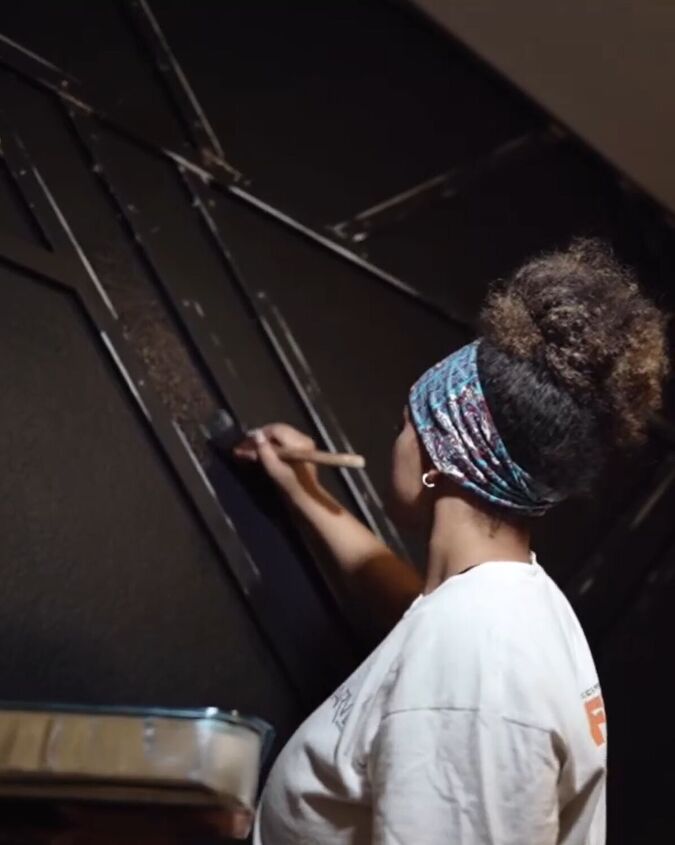
4. Paint the Wall
With the painter's tape still in place, start painting the entire wall with matte black paint. Use even strokes and allow the paint to dry according to the manufacturer's instructions before proceeding.
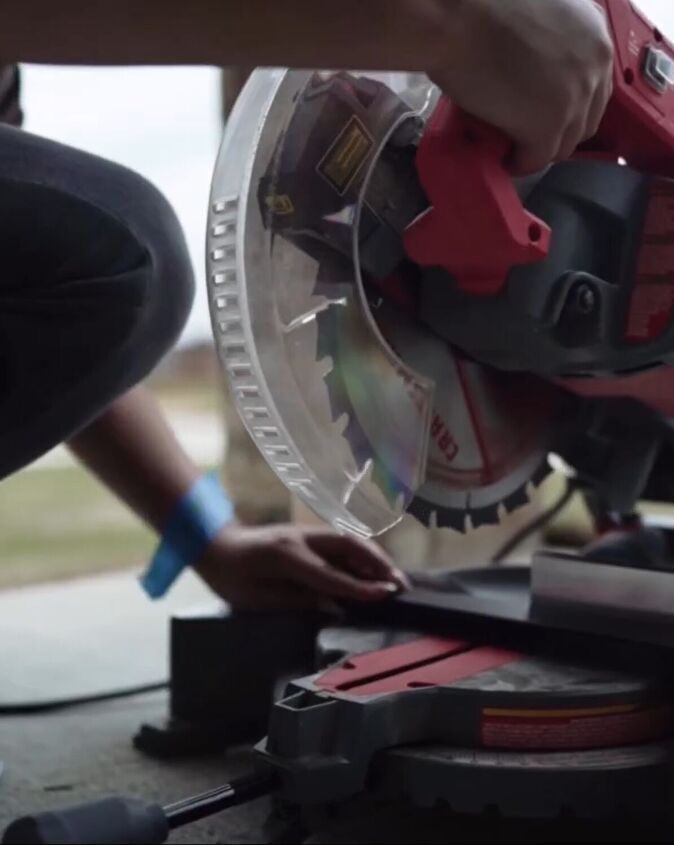
5. Cut and Prepare the Wood Pieces
Measure the dimensions of each geometric shape on the wall. Use these measurements to cut the wood pieces to fit each shape. If you purchased pre-cut wood pieces, ensure they match the required dimensions.
6. Adhere the Wood Pieces to the Wall
Apply an appropriate adhesive to the back of each wood piece. Carefully place each piece on its corresponding geometric shape on the wall. Press firmly to ensure a strong bond.
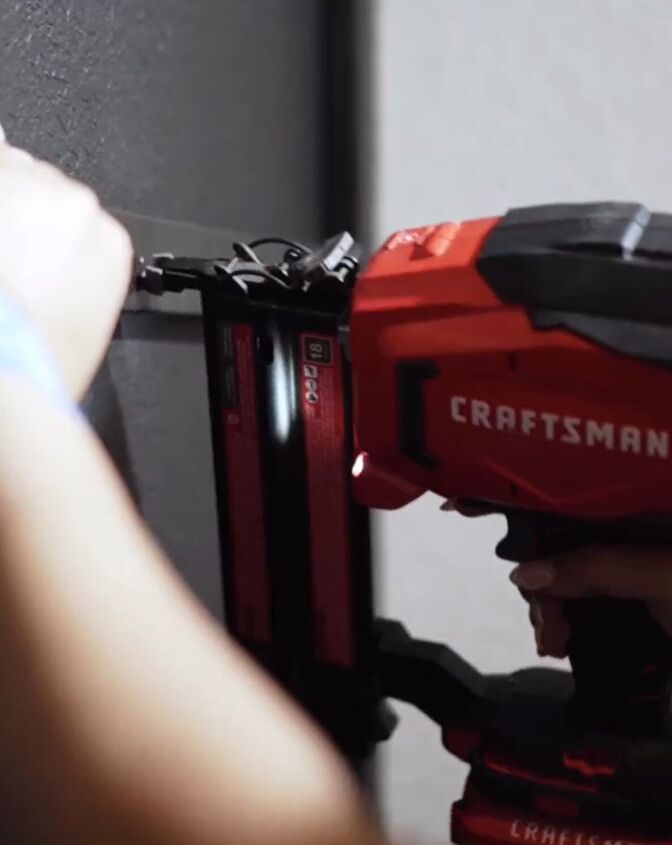
7. Secure the Wood Pieces (if needed)
If the wood pieces are heavy or if you want extra reinforcement, use screws or nails to secure them to the wall. Make sure to countersink the fasteners and fill the holes with wood filler for a seamless finish.
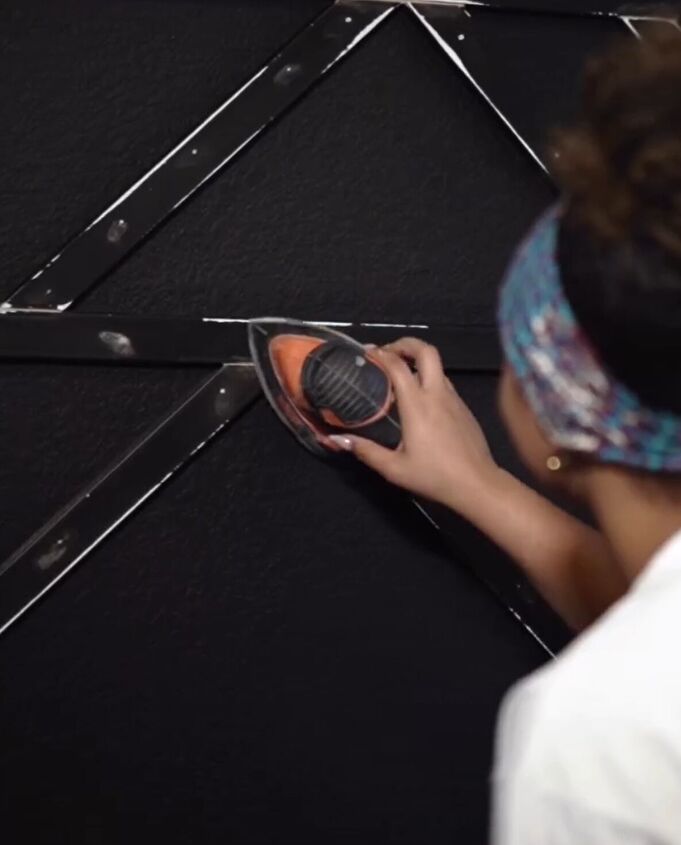
8. Fill and Sand
Inspect the wood pieces for any gaps or imperfections. Use wood filler to fill in any holes or cracks. Once the filler is dry, sand the wood pieces until they are smooth and level with the wall.
9. Paint the Wood Pieces
Paint the wood pieces with the same matte black paint used for the wall. Apply thin, even coats and allow the paint to dry between each coat for the best results.
10. Final Touches
Inspect the accent wall for any touch-ups or areas that may need additional attention. Make any necessary adjustments to ensure a clean and professional-looking result.
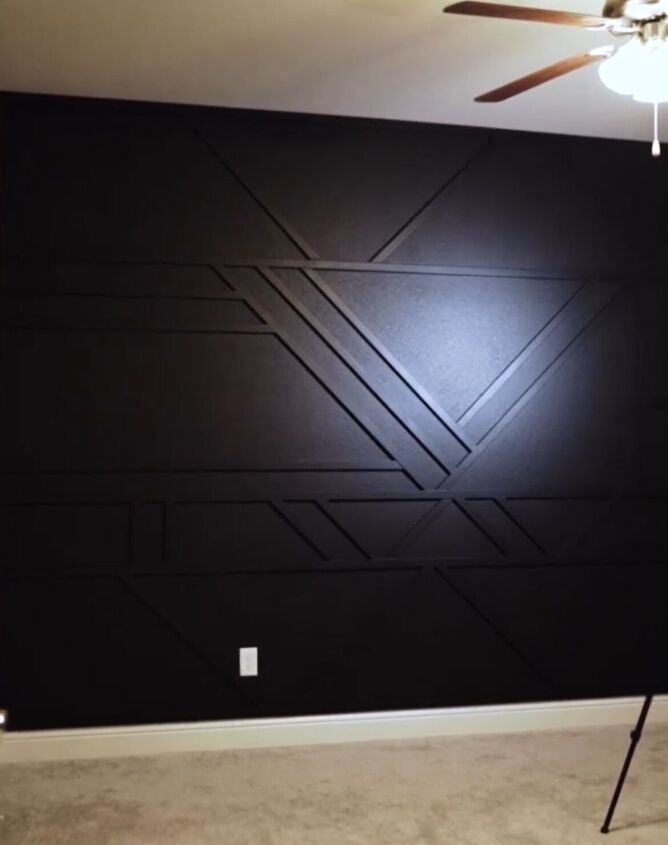
DIY geometric black accent wall with wood trim
Congratulations! You have successfully created a stunning geometric wood accent wall that adds a unique touch to your space. Enjoy your new eye-catching decor!
For more ideas, follow @flippedbyfaith_ on Instagram.


Frequently asked questions
Have a question about this project?