


How to Easily Update Your Bathroom With Beadboard Wallpaper

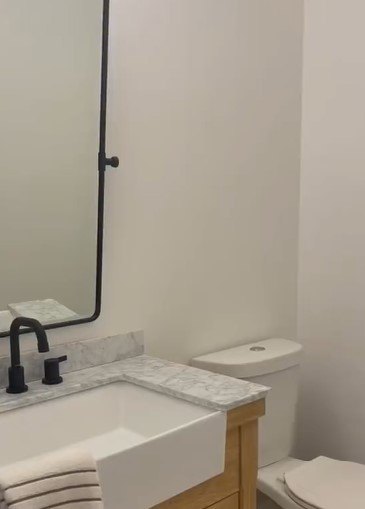
I decided to give my boring powder room a fresh look by using prepasted beadboard wallpaper. I only used it to wallpaper one wall of the bathroom. By just using bathroom wallpaper on one wall, I made it a pretty accent in my powder room.
Tools and materials
- Prepasted beadboard wallpaper
- Measuring tape
- Level
- Cutting tools (scissors or utility knife)
- Paint tray
- Water
- Roller
- Wet sponge
Steps
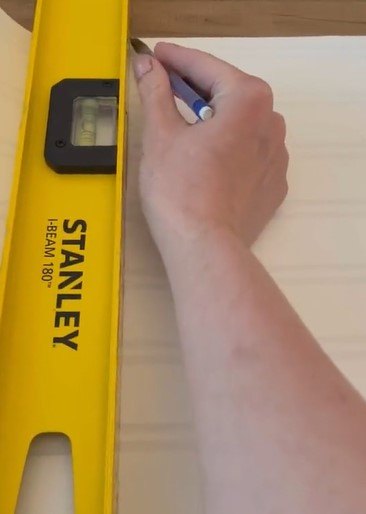
Step 1: Measure and cut wallpaper
I measured the dimensions of the wall that I wanted to cover. Using my measuring tape, I carefully measured the height and width of the wall. I then cut my wallpaper using the level to keep everything as straight as possible.
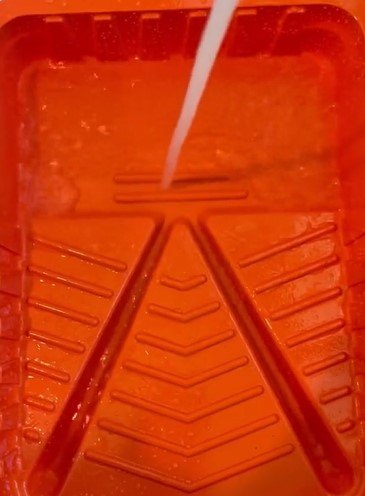
Step 2: Prepare the paint tray with water
I filled a paint tray with water. This water will be used to activate the paste on the wallpaper and make it stick to the wall.
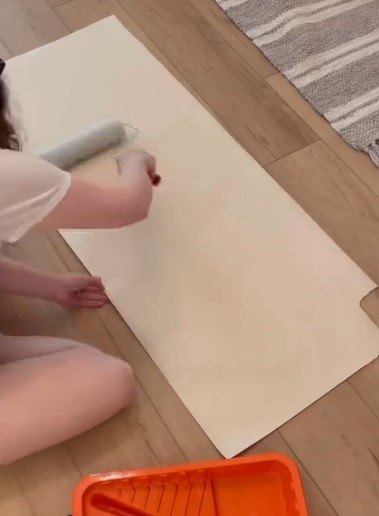
Step 3: Apply water to the wallpaper
Using a roller, I rolled water onto the prepasted side of the beadboard wallpaper. It's important to ensure that the entire surface is evenly coated with water. This will help activate the paste on the back of the wallpaper. Let the water sit for about 30 seconds before folding.
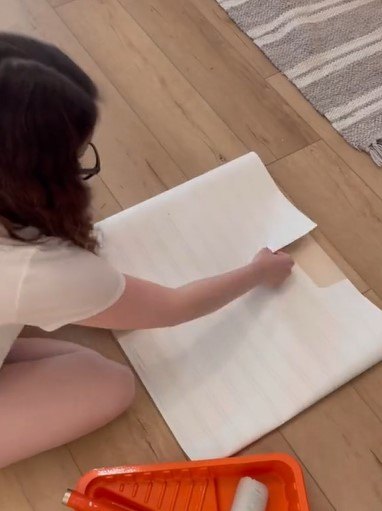
Step 4: Fold the wallpaper
After the water had sat for about 30 seconds, I carefully folded the wallpaper onto itself, paste-side in. This step helps to evenly distribute the water and activate the paste along the entire length of the wallpaper.
Step 5: Wait and unfold
I waited for about 5 minutes, allowing the paste to fully activate. During this time, I took the opportunity to prepare the wall by making sure it was clean and dry. After the 5-minute wait, I unfolded the wallpaper.
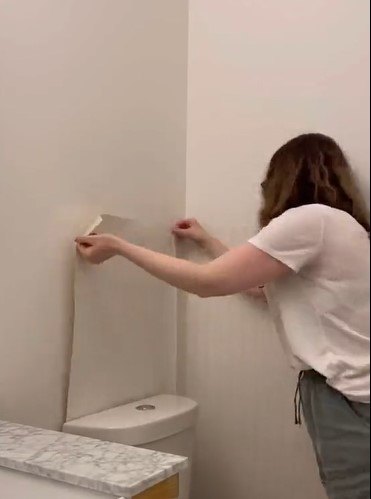
Step 6: Apply wallpaper to the wall
With the paste now activated, I positioned the wallpaper on the wall, starting from the top. I gently pressed the wallpaper onto the wall, smoothing it out as I worked my way down. This ensured proper adhesion and minimized air bubbles. I used a wet sponge to further smooth it out.
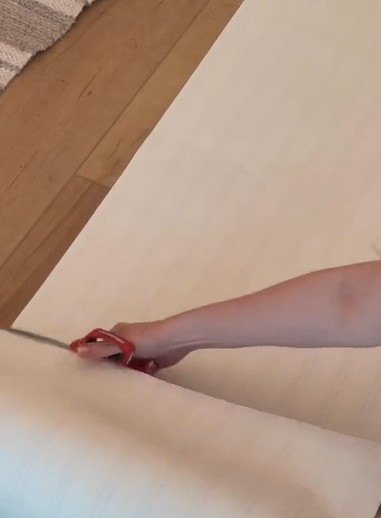
Step 7: Trim the bottom
Using my cutting tools (scissors or utility knife), I carefully trimmed the excess wallpaper at the bottom to match the height of the wall. This step gave the wallpaper a clean and finished appearance.
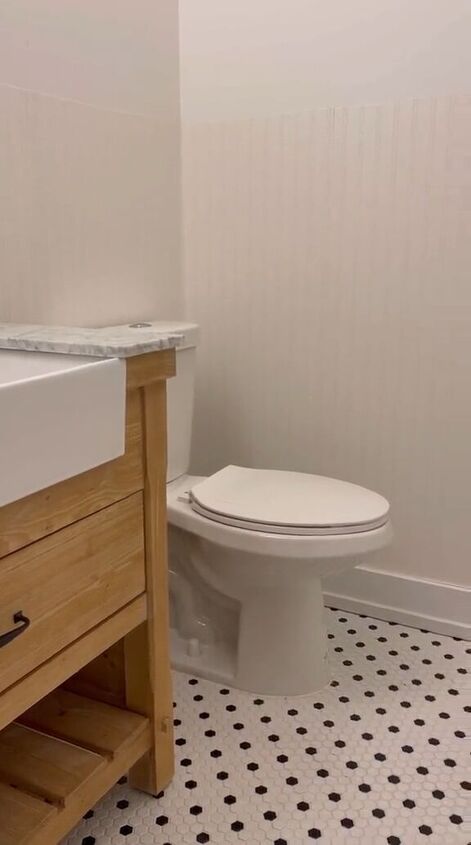

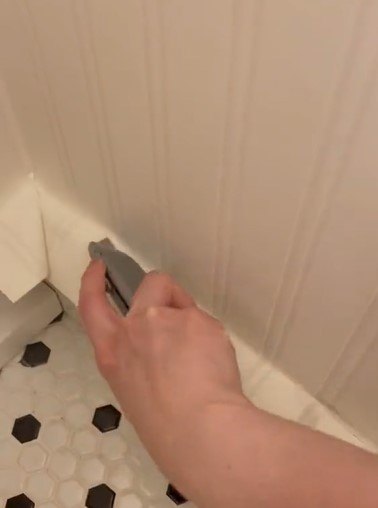
Results, but not done yet!
DIY beadboard wallpaper
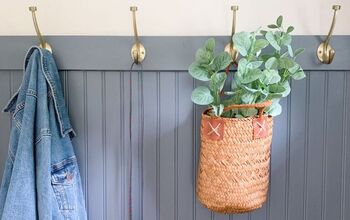
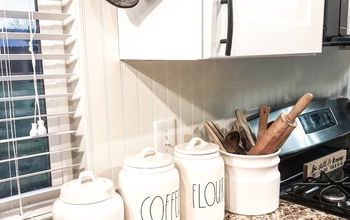
With the wallpaper in place, I am almost done with my bathroom transformation. To achieve a polished look, I will need to caulk any gaps between the wallpaper and the surrounding surfaces. I will also need to install trim around the edges to frame the wallpaper nicely.
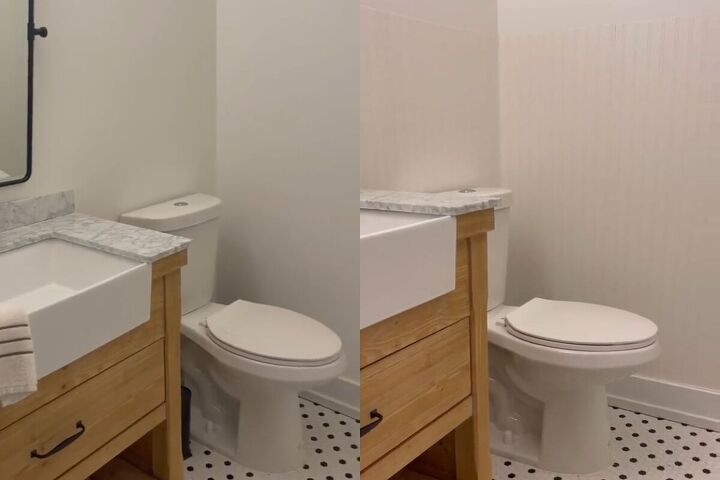
I was able to give my powder bath a boost of character and style with prepasted beadboard wallpaper. Let me know how you have refreshed your powder room by leaving a comment below.
Follow @kristina.roy_ on TikTok for more DIY ideas.


Frequently asked questions
Have a question about this project?