


Updated Old Metal Candlesticks

by
Mani
6 Materials
$15
1 Day
Easy
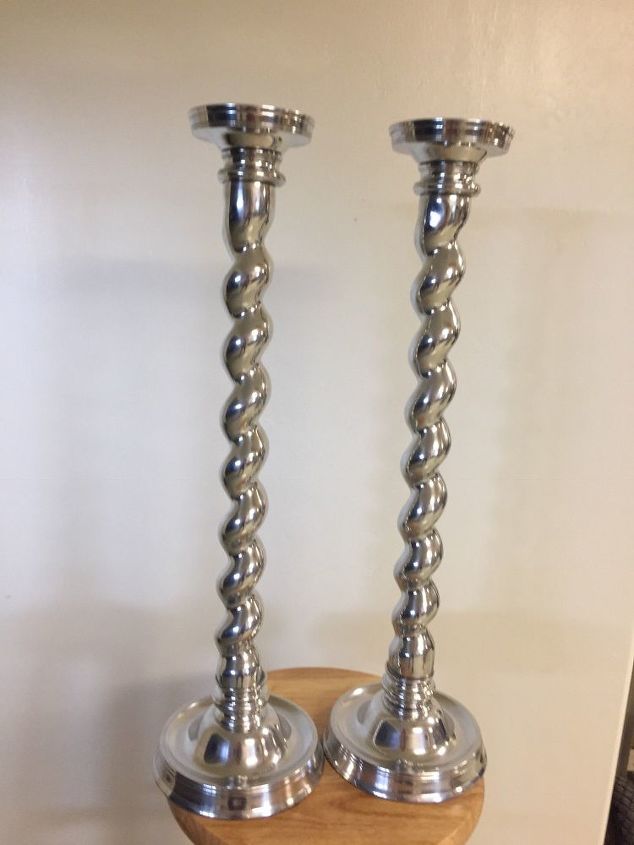
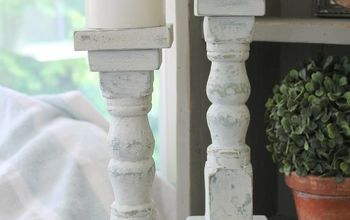
I’ve been looking at these two silver candlesticks for over three years now and just couldn’t stand it anymore. I bought them about 15 years ago when silver accessories were popular. Like many people, my style and tastes have drastically changed. I wanted an aged copper look to go with the rest of my decor. So with a can of copper spray paint and a few other colors of acrylic paint, I transformed the outdated to updated.
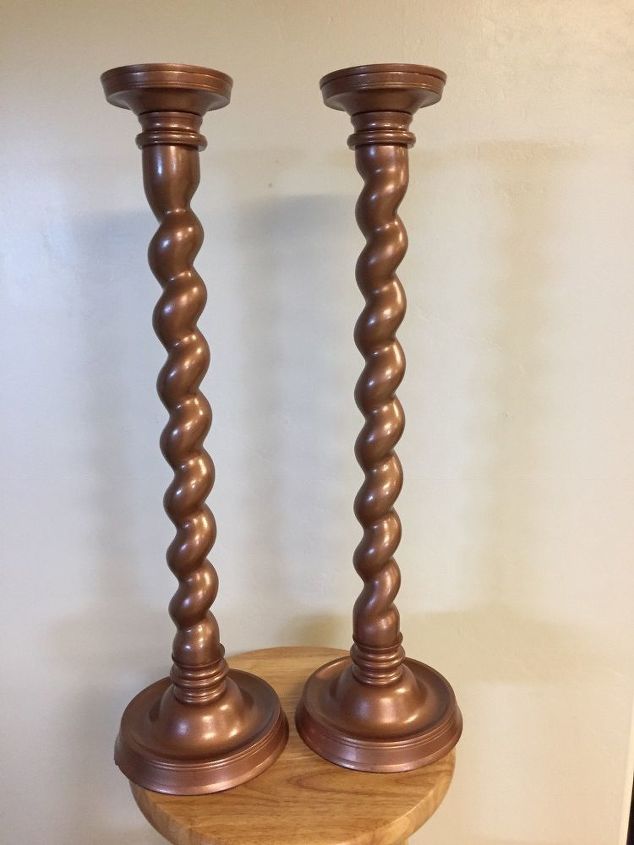
The first step was to clean the surface to remove any dust or residue. Since I was using Rust-oleum, no other preparation was needed. I applied three coats of the Copper Hammered paint and let dry for recommended time before going to next step.
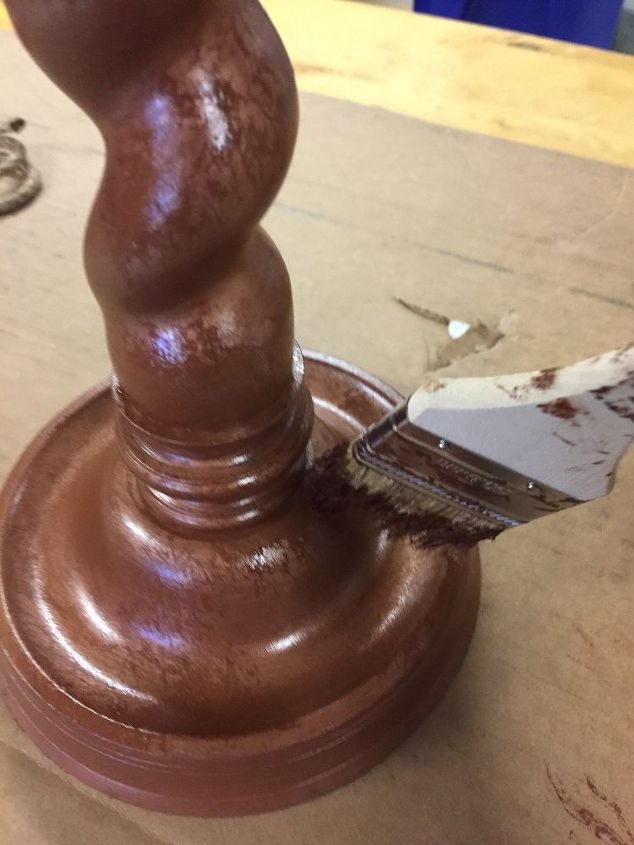
Next, using a chip brush, I applied brown paint from ArtMinds in small sections and immediately wiped the surace with soft cloth. This removed most of the paint. After this step, I then did a dry brush stipple to add a second layer of the brown paint.
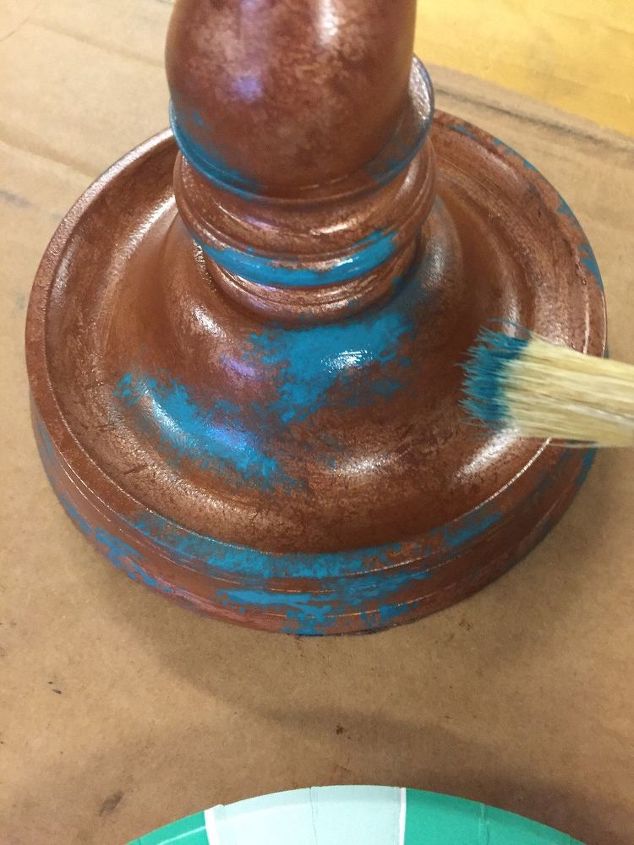
Once both candlesticks had dried (about an hour), I used a small chip brush to add a turquois color to simulat the effects of corrosion.
After drying another hour, I added one coat of Minwax Polycrylic SemiGloss protective finish. Once the protective finish was completely dry, I added some rope just to add some texture to the candlesticks. Once the candlesticks we’re ready to be placed back by the fireplace I decided I did not like both being the same height. A quick trip to At Home I came up with a copper candle pot and turned it upside down. This elevated one candlestick making it much more visually appealing. Now I am so happy with the results.
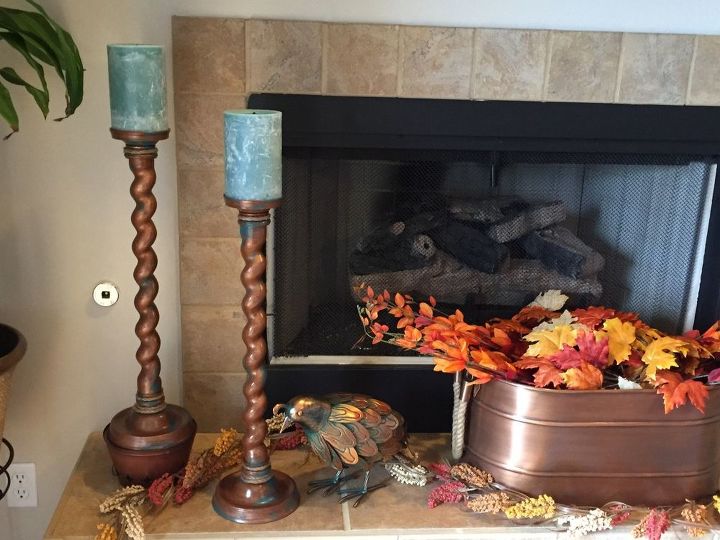
After, results are amazing.


Frequently asked questions
Have a question about this project?