


How to Give Your Lampshade a Stunning Lampshade Makeover With Straws
Have you ever wondered what drinking straws and a lampshade could possibly have in common? Well, you're about to discover an ingenious DIY project that combines these two unlikely elements to create a stunning transformation.
Today we will be crafting with straws, turning an ordinary drum lampshade into a bold and beautiful DIY home accent.
This post was transcribed by a member of the Hometalk editorial team from the original HometalkTV episode.
Get ready to makeover a lampshade and add a unique flair to your home.
Tools and Materials for Your DIY Lampshade Makeover:
- Drum lampshade
- Pencil
- Level
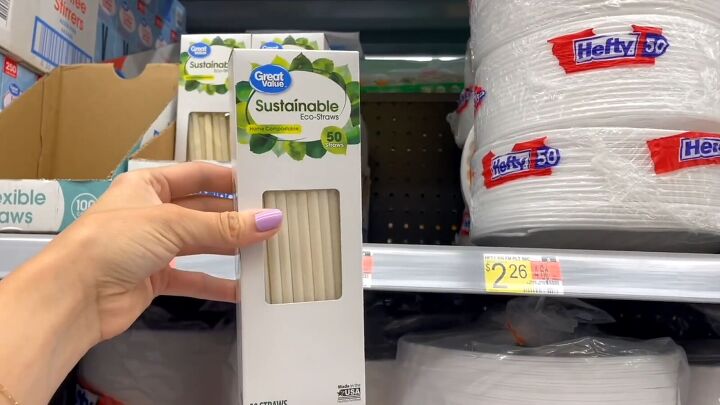
- Non-bending straws
- Hot glue gun
- Spray paint (color of your choice)
- Finial in a matching or coordinated color
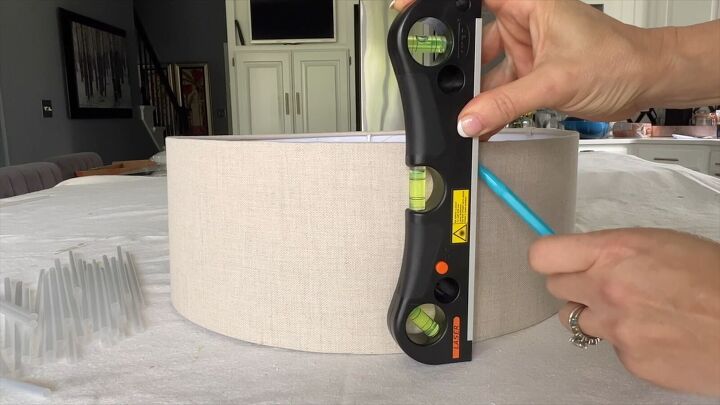
1. Marking Plumb Lines
Begin by taking your drum lampshade and a pencil. Draw a level vertical plumb line on the side of the lampshade.
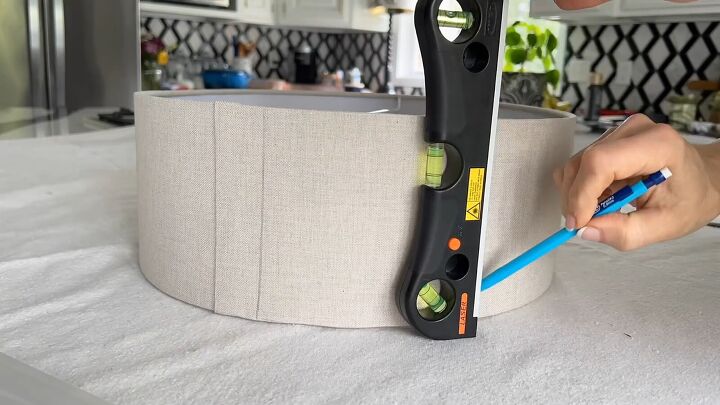
Continue to draw these plumb lines approximately every 7 to 8 inches around the entire lampshade. These lines will serve as guides for the placement of the straws.
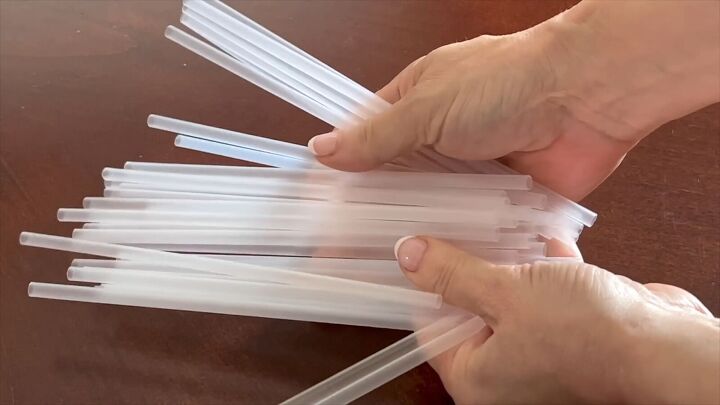
2. Arranging Straws in a Zigzag Pattern
Now, take a handful of non-bending straws.
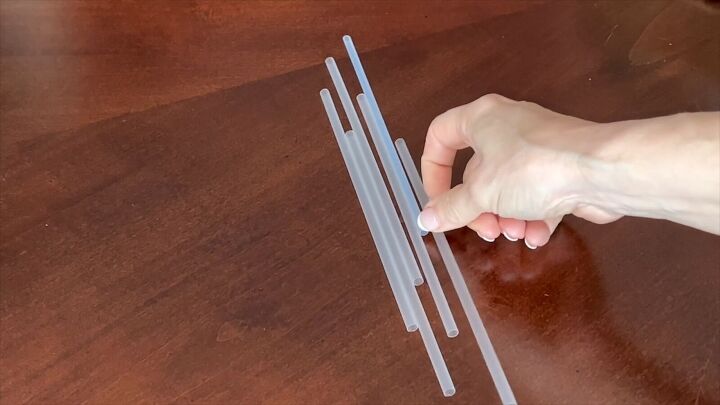
Arrange them in a random zigzag pattern on the table. This step will give you an idea of how you would like to place the straws on the shade. There's no need for precision here; in fact, the more random the pattern, the better the final result will look.
Experiment with different angles and overlaps to create a visually appealing design.
Tip
Snap a photo of the design you created to easily replicate it on the lampshade.
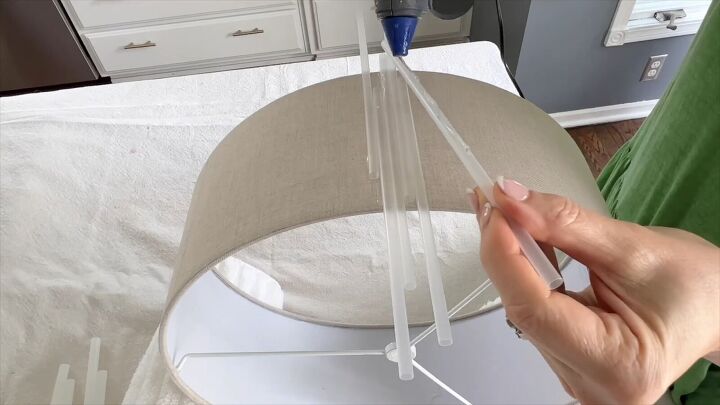
3. Securing Straws with Hot Glue
Using a hot glue gun, apply a line of glue along one side of a straw. Carefully place this straw on the lampshade, aligning it with one of the plumb lines you drew earlier, but allow part of the straw to hang off the edge of the shade.
Here's a time-saving tip:
Instead of gluing each straw separately, you can apply hot glue directly onto the lampshade and then lay the straws on top. This method is considerably faster, especially for larger lampshades.
Continue this process, gluing straws side by side onto the lampshade, following your chosen random pattern.

Adjust the positioning of the straws as needed when you reach each plumb line to ensure they lay evenly.
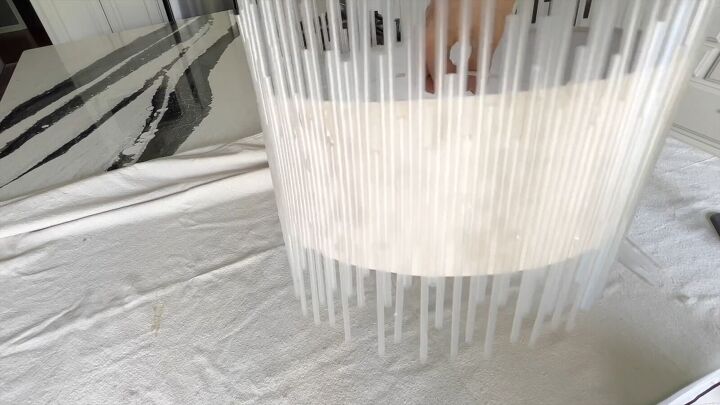
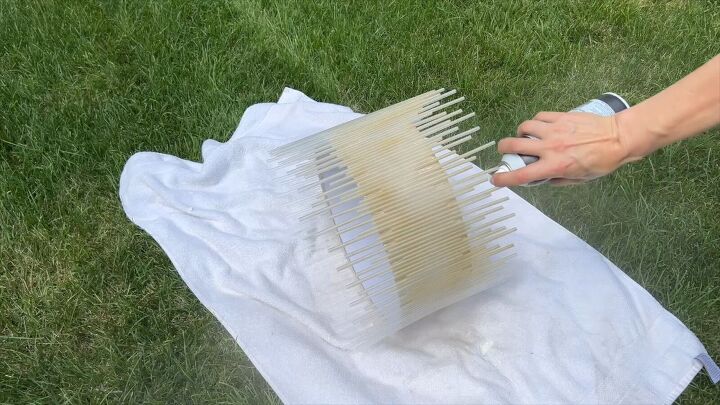
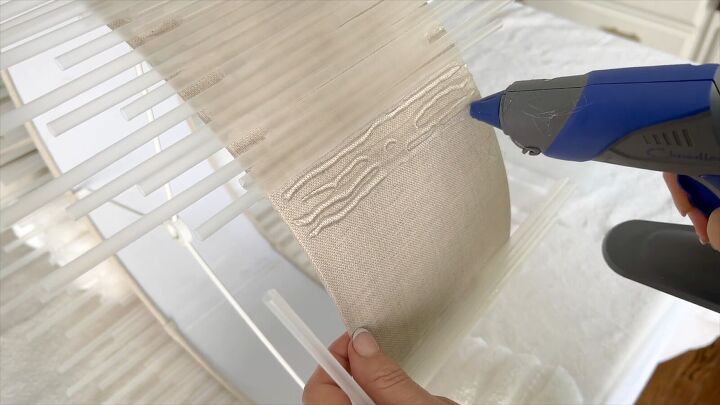
5. Spray Painting Your Lampshade
In a well-ventilated area, grab your favorite color of spray paint and give your newly adorned lampshade a fresh coat. Don't forget to spray the inside of the shade as well for a complete and cohesive look. Let the paint dry thoroughly before proceeding.
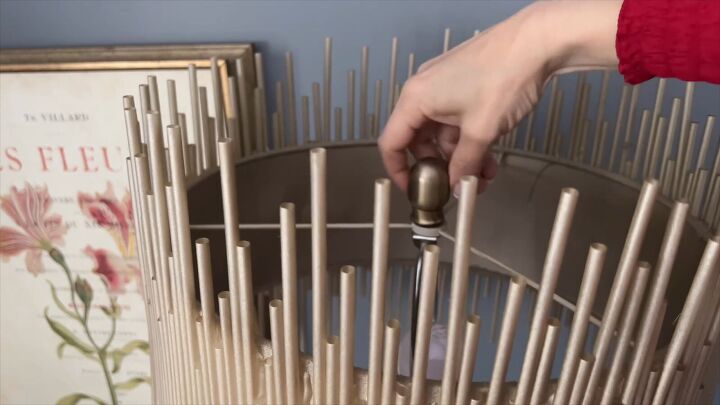
6. Attaching the Lampshade to a Base
To complete your lamp makeover, use a finial in a matching or coordinated color to attach the shade to a lamp base. This finishing touch will not only secure the shade but also add a stylish element to your lamp.
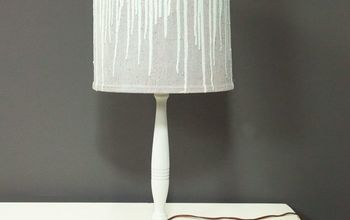
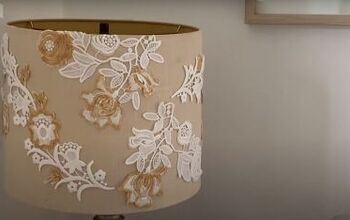
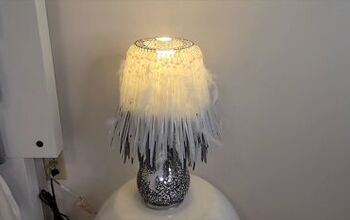
More Gorgeous Lampshade Makeovers
How to Decorate a Lampshade
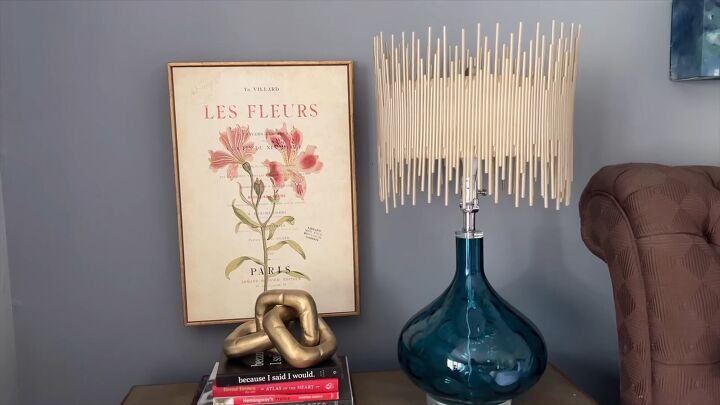
And there you have it—a remarkable lampshade makeover achieved with just a little glue and some straws. Your once-ordinary lampshade has now become a gorgeous focal point in your decor.
So, why not give it a try? With a bit of imagination, you can turn everyday objects into extraordinary pieces of art!
Share your thoughts on this creation in the comment below.

Comments
Join the conversation
-
So cute, but I would do this with the straws longer and same size. Great inspiration.
-
Love love love this project!


Frequently asked questions
Have a question about this project?