


How to Make Custom Picture Frame Inserts For Any Size Photo

In this step-by-step tutorial, I'll guide you through the process of creating custom picture frame inserts to perfectly accommodate your 4x6-inch picture within an 11x14-inch frame.
With a few simple supplies and a little creativity, you can transform your mismatched frame into a seamless display for your cherished memories.
Supplies Needed:
- Craft paper (color of your choice)
- 11x14-inch frame with a removable insert
- 4x6-inch picture
- Scissors
- X-Acto knife
- Cutting mat
- Ruler
- Pencil
- Double-sided tape or adhesive putty
How to make custom picture frame inserts
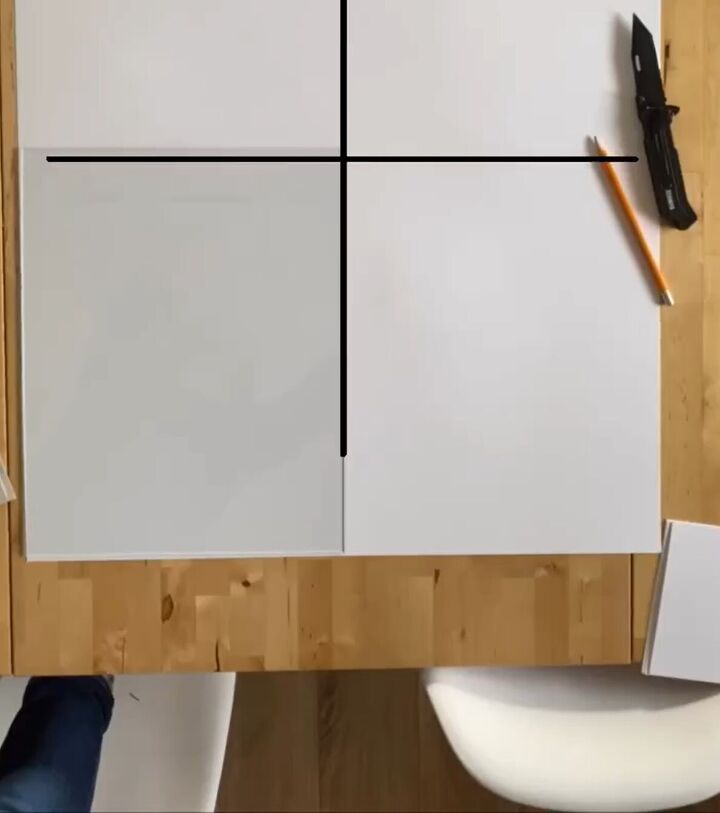
1. Measure and Cut Craft Paper Inserts
Begin by measuring and cutting the craft paper into 11x14-inch rectangles. These will serve as your frame inserts. If your frame has a pre-existing insert, you can use it as a template to trace the shape onto the craft paper. Carefully cut out the inserts using scissors.
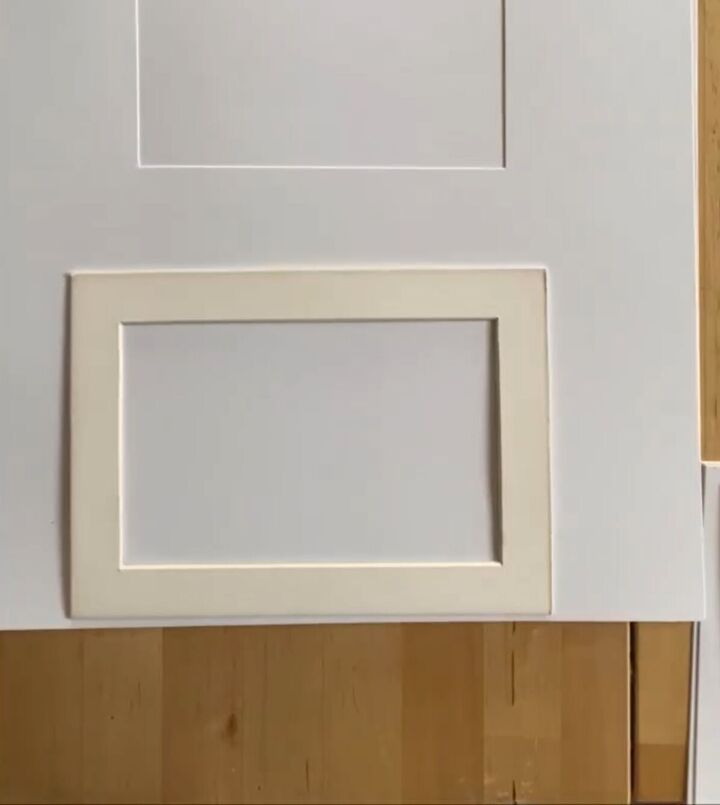
2. Trace and Cut the New Insert
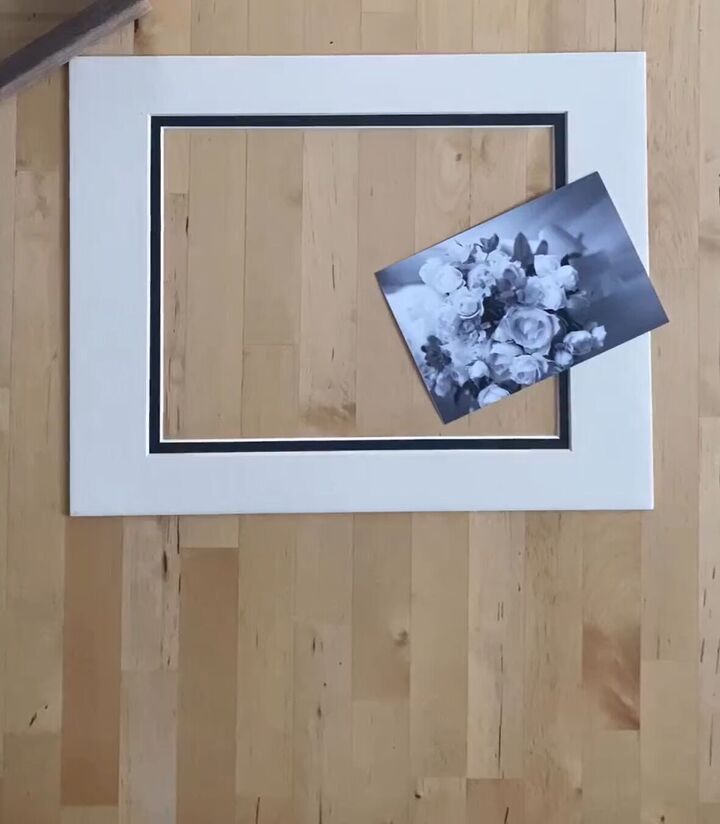
Lay your 4x6-inch picture on the cutting mat and position it where you want it to be displayed within the frame. Use a pencil to trace around the edges of the picture onto one of the craft paper inserts. This will be your guide for cutting.
Now, take your X-Acto knife and carefully follow the traced lines, cutting out the 4x6-inch rectangle. Make sure to use a cutting mat underneath to protect your work surface. Take your time and use smooth, controlled cuts.
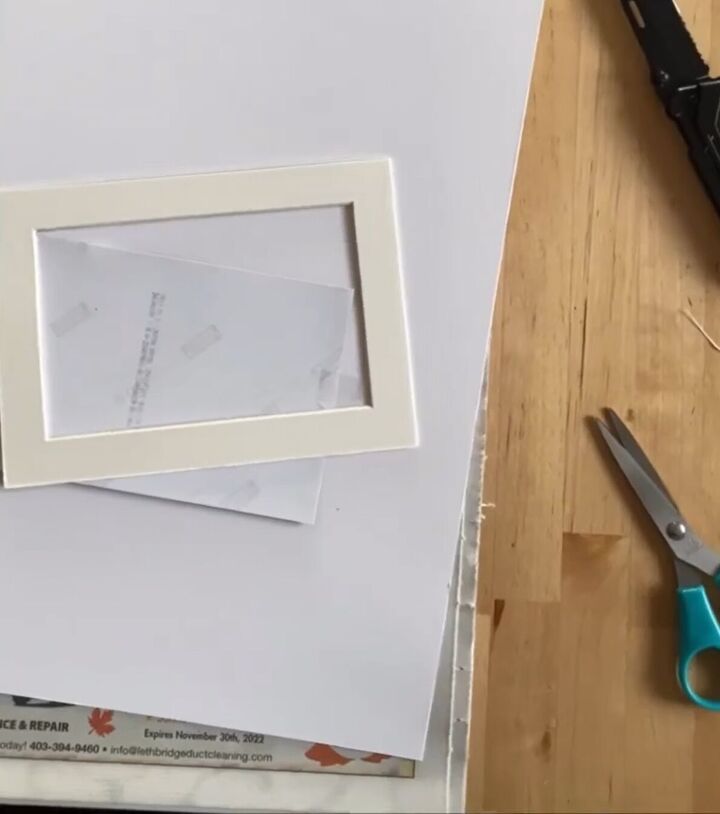
3. Insert the Picture
Gently place your 4x6-inch picture into the newly cut opening on the craft paper insert. Ensure that the picture is centered and aligns perfectly within the rectangle. If needed, use a bit of double-sided tape or adhesive putty to secure the picture in place on the backside of the insert.
4. Assemble the Frame
With your custom frame insert ready, carefully insert it into the 11x14-inch frame. Make sure it fits snugly and lays flat against the glass. If your frame has any tabs or fasteners to hold the insert in place, secure them as needed.
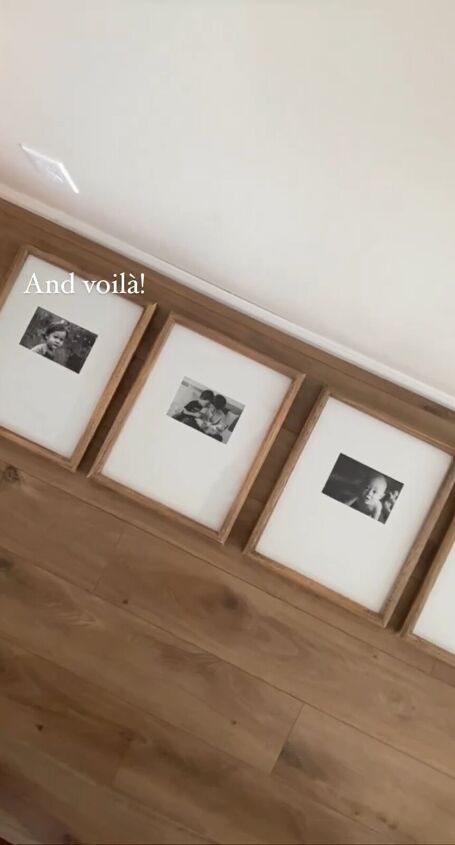
5. Display Your Creation
Congratulations! You've successfully resized your frame to fit a smaller picture using a custom insert. Place your framed picture in a prominent location to showcase your handiwork and enjoy your personalized decor.
How to make custom picture frame inserts
With a bit of craft paper, an X-Acto knife, and a dash of creativity, you've transformed your oversized frame into the perfect home for your 4x6-inch picture. This DIY project not only saves you money on custom framing services but also allows you to add a personal touch to your living space. Get ready to impress your friends and family with your newfound framing skills!
Follow @home_ironandmaple on Instagram for more DIY ideas.


Frequently asked questions
Have a question about this project?