


How to Easily Make DIY Fall Wall Art With Colored Sand

Fall is just around the corner, and what better way to embrace the season than with a fun and creative DIY project? Today, we're going to show you how to make a beautiful pumpkin sand art piece that will add a touch of autumnal charm to your home decor. Let's get started creating some DIY fall wall art!
This post was transcribed by a member of the Hometalk editorial team from the original HometalkTV episode.
Tools and materials
- Foam board
- Pumpkin
- Elmer's clear glue
- Paintbrushes
- Colored sand
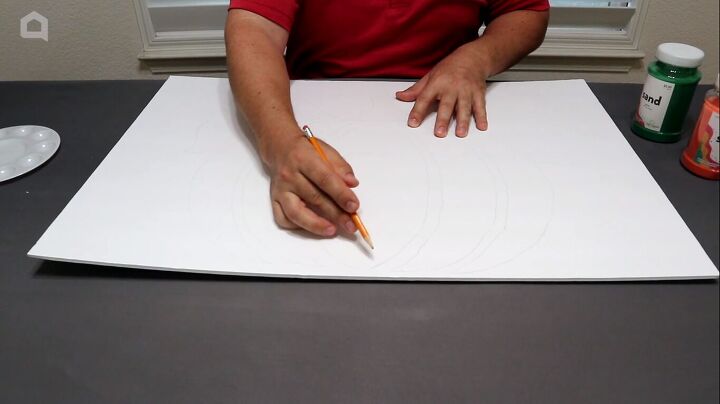
1. Draw the design
For today's project, all we're going to do is take a piece of foam board and a pencil, and what I've done already is outlined the picture or the drawing that I'm going to apply the glue.
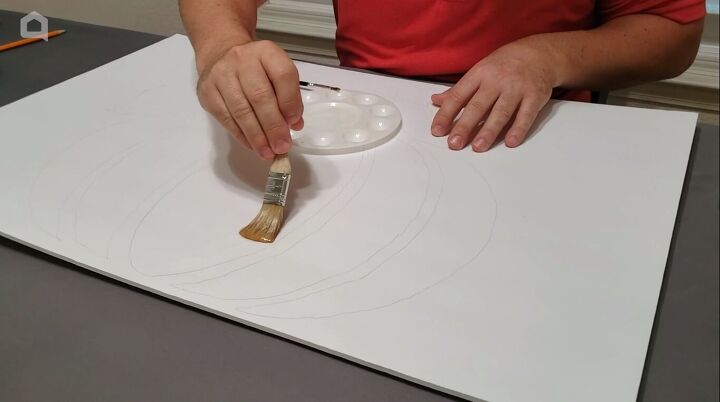
2. Apply clear glue
I went ahead and used some Elmer's Clear glue. That is important. Got to use clear glue. This is washable with water so it comes out really easy, especially when you're ready to get your brushes all washed out.
Start putting that glue on just like this. It doesn't have to be pretty or anything like that, you just got to get that glue on.
Now, I know in school they taught you not to go over the lines, but on this one, you want to go barely over the lines when you're putting that glue on.

I used a larger chip brush to get the bigger areas done. Now, when it gets to the smaller little areas, I can use a smaller brush and get right there with a little bit more detail and right up to those lines, get them covered.
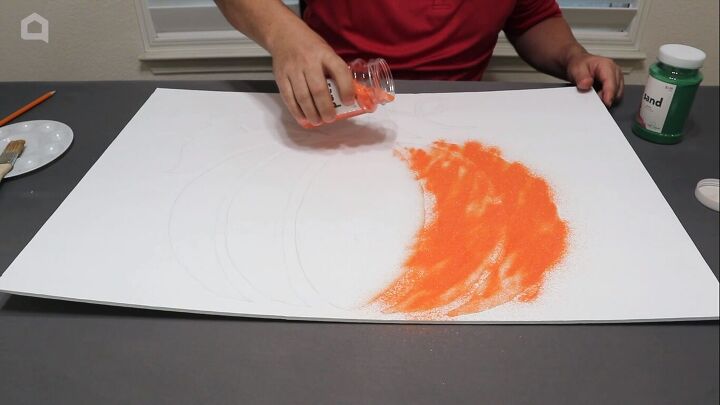
3. Add the colored sand
Now that we've got all our glue on, we're going to go ahead and go to our colored sand. Start sprinkling right where the glue is.
Tip: I put a tablecloth down that I don't mind getting some sand on, because when this is done, we can go ahead and put it outside and just sprinkle it off out there.
The sand blocks are not going to be solid because the glue is going to be thicker in some areas and thinner in others. I also have to be careful on the top because I'm going to put a different color there.

Now, time for the green. You're going to have a little bit of the colors mixing up with each other, but that's fine because the great thing about this kind of project is the texture.
Who doesn't like working with some glue and some sand?
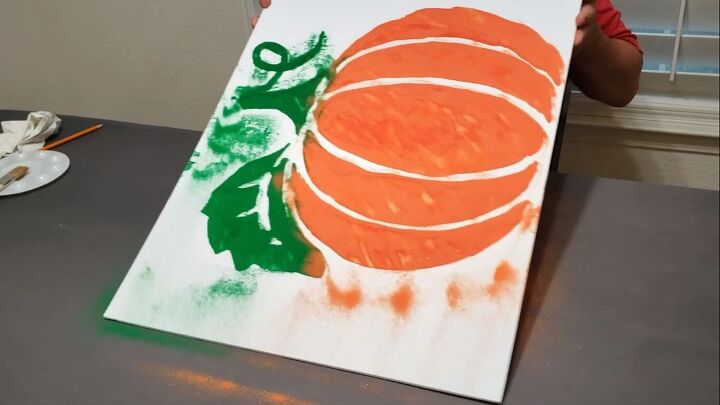
4. Shake off the sand
Okay, now that I've got all the sand exactly where I want to go, I don't want to flip it up and let this green run over the orange. So I'm going to turn it sideways like this.
Now the cool part is we're going to give it a little bit of shake, and that's going to help separate it just like that. Then we'll go ahead and just dump it. All of that loose sand is going to come right off of there.
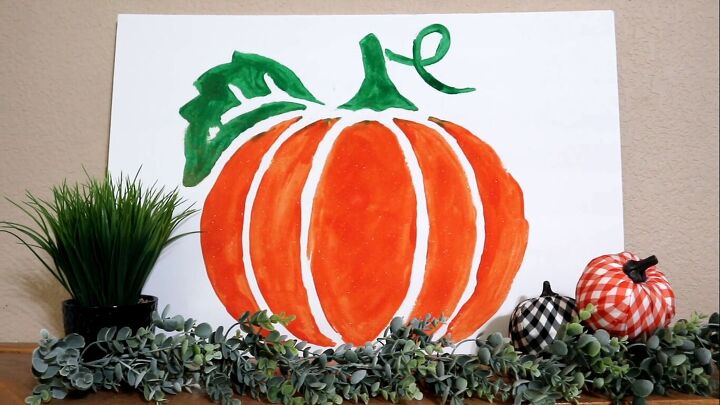
DIY fall wall art
There it is, the final DIY fall wall art project. We wanted to go ahead and get ready for the fall season, so we made this pumpkin. It looks so good. When you do sand art, the texture is just amazing and the sky's the limit; you can use all the different colors you want. This is a great example of super-simple DIY fall decor.
What do you think of this simple pumpkin sand art project? Let me know in the comments below.
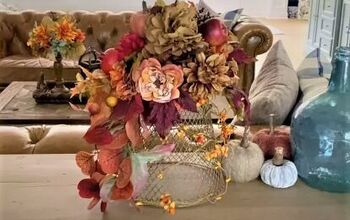
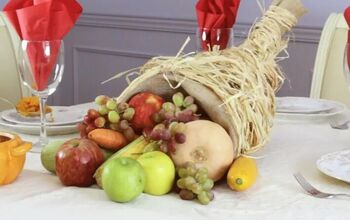
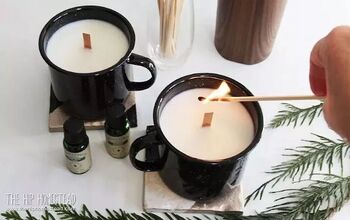
DIY fall crafts
For more creative autumnal decor projects, discover Hometalk's best fall craft ideas here and budget fall DIYs here.


Frequently asked questions
Have a question about this project?